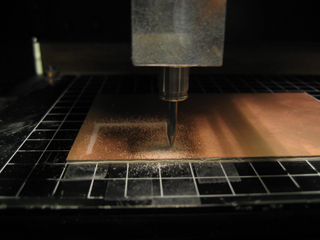
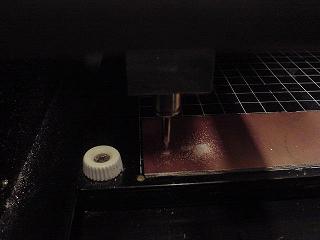
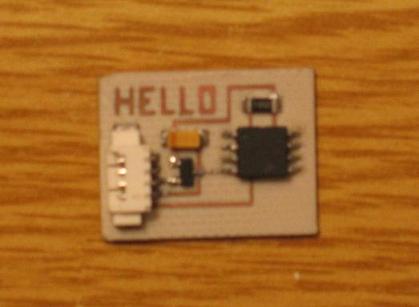
In here you can see the Modela milling the PCB on a copper-coated board.

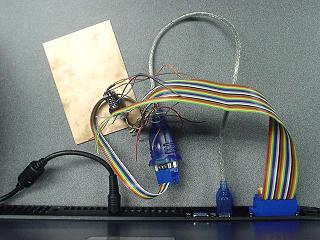
Ok, now to the REALLY tricky part. We needed two cables, one for the serial communication with the PC and a parallel one to program the chip. The parallel cable was fairly straightforward, we just soldered a clip to one end of the cable and a parallel connector to the other side. The serial cable though was a little bit trickier because of the small white plastic connector which needed several attempts (>5) before it worked.
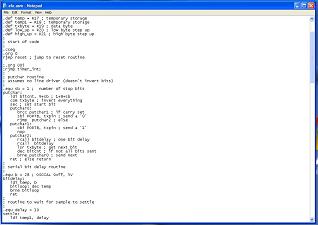
This picture shows the code for the AT Tiny15 microcontroller used in the board.
A special thanks to Ayah (for helping me to program the chip) and Christine (for setting up the environment), without them this would have been impossible!
This is the end result: a screen full of characters! Hey! what did you expect! it is only a "Hello World" project!
It is actually echoing the characters received by the microcontroller and showing them in a terminal window created by python.

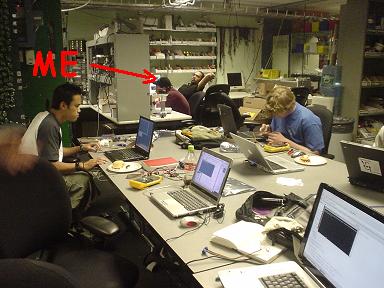
And finally a picture taken on some weird and forgotten Sunday at the Media Lab's lower level at 2:00 AM... (Those crimpy metal things!)