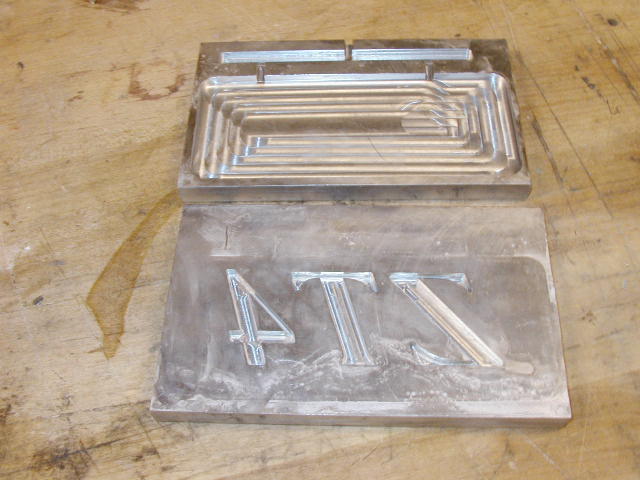
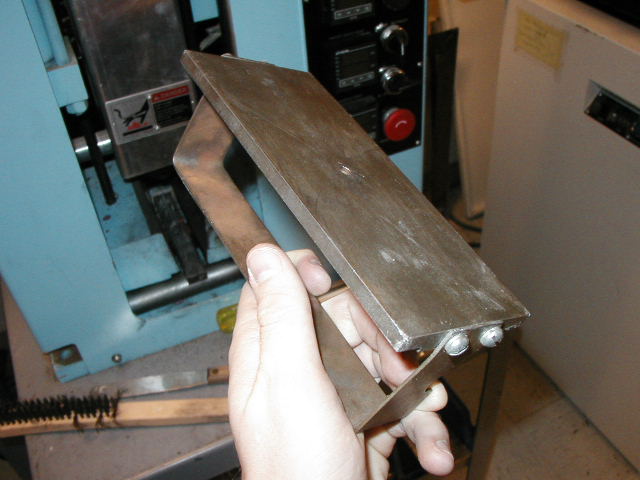
This project began where last week's ended, with the finished ZT4 mold. Also shown here is the plate which fits along with my mold into the larger angled plates which are then held by injector. The hole into which the plastic is injected is halfway down the plate, but the plate should be on the right side in the injector for best performance.
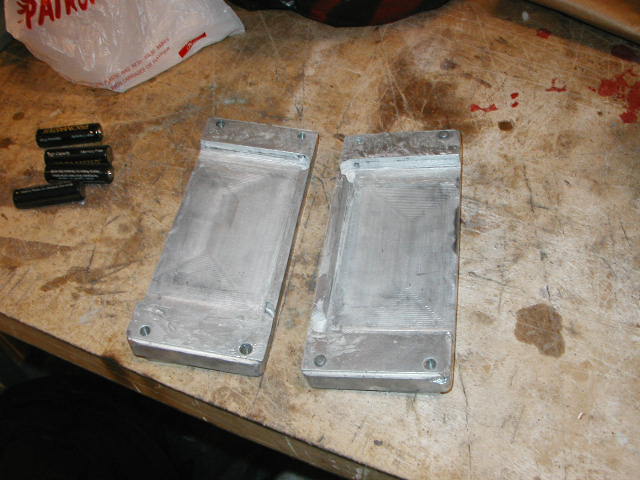
These are the angled plates which hold the mold that I milled and the shim material placed into these plates with my mold to make a tighter fit.
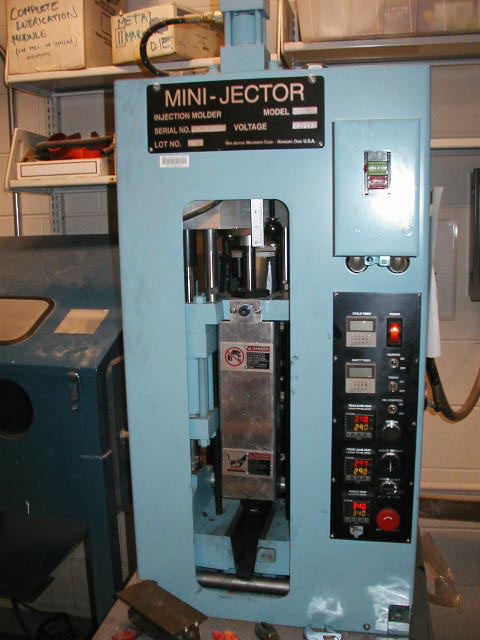
Here is the injector. Notice the wedge-shaped space at the bottom--this is where the plates fit intot the machine.
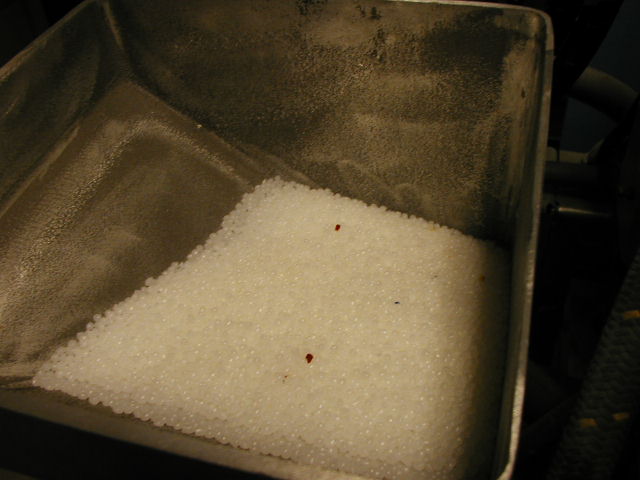
This is the hopper behind the machine from which plastic is drawn into the injector. As the following will show, it takes very few of the colored pellets to make brightly colored parts.
Before injecting my mold, the machine had to be purged. To do this, I simply went through the steps to inject a mold (below), only with a special tool used for this purpose in place instead of the mold.
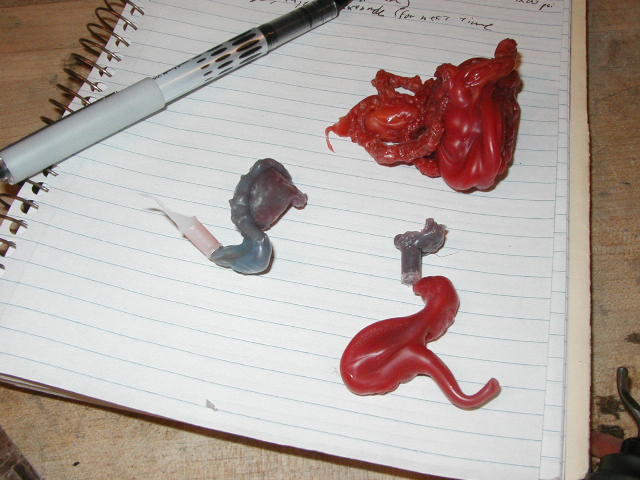
These are the results of the purging operation.
On the first attempt, I extruded far too little plastic and didn't get far past the gates.
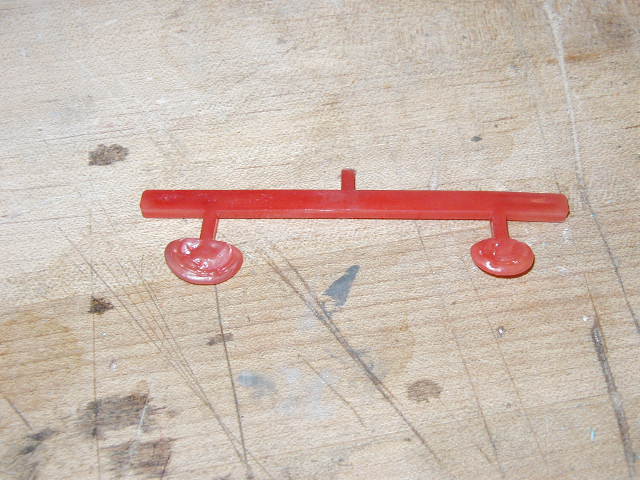
On the second attempt, most of the mold was filled, but not all of it.
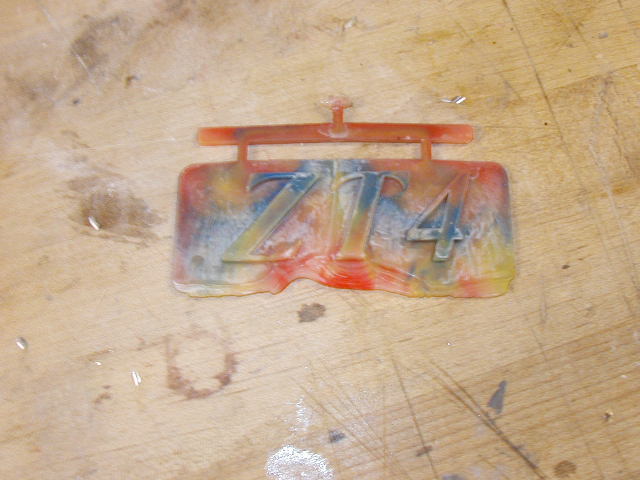
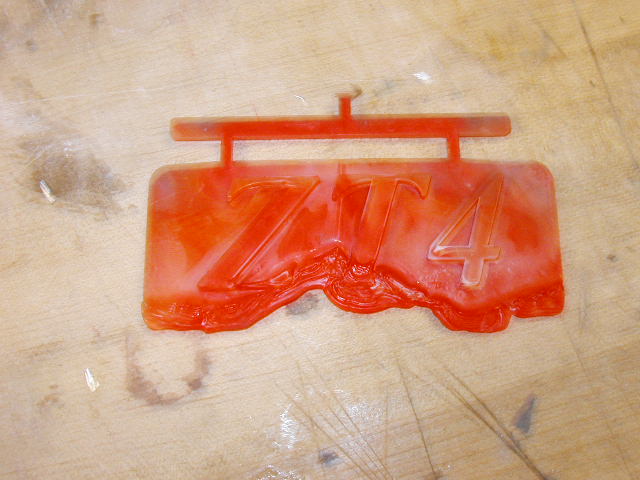
On the third attempt, more of the mold was filled.
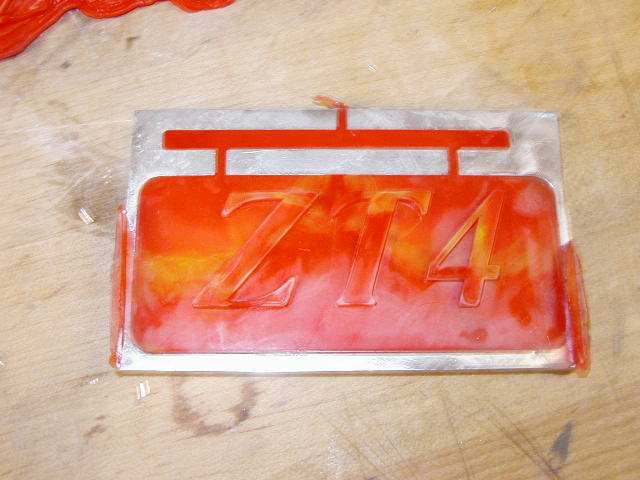
The fourth attempt finally filled the mold.