test.svg
edit
edit
Michael Sable's MAS 863 Blog
Contents
Quick Introduction
First Thoughts on a Project
Assignment 1 - Model, animate and render the final project: Ultra-Mobile PC
Assignment 2 - Where to Put Almost Anything: A Press-Fit (Jewelry) Box
Assignment 3 - Printed Circuit Board Fabrication: Hello World
Assignment 4 - Microcontroller Programming
Assignment 5 - 3D Scanning and Printing
Assignment 6 - Input Devices
Assignment 7 - Waterjet Cutter
Assignment 8 - Output Devices
Assignment 9 - Molding and Casting
Assignment 10 - Networking and Communications
Final Project - Shake It Up
Quick Introduction
I am a doctoral student in international development at MIT. I am interested in sustainable development and appropriate technologies for developing country environments. My goal in this class is to learn how to build prototypes that can be adapted to the rugged conditions in developing countries, particularly those that lack basic infrastructure.
First Thoughts on a Project
My goal for a final project is to adapt one aspect of an information device--a cell phone, PDA, Ultra-Mobile PC or some permutation thereof--for deployment in a developing country milieu.
At present there are more than 1.2 billion cell phone in use worldwide, making cell phones the most prolific information device in the world. However, despite its utility, a cell phone is a highly disposable device. Each year about 125 million cell phones are discarded resulting in more than 65,000 tons of waste. Only about 1% of cell phones are recycled or reused. This is highly problematic because many of the materials of which cell phones are comprised require oil for their manufacture and are highly toxic as they can stay in the environment for long periods of time.
Given the importance of cell phones and other mobile computing devices, I propose to design a "green" cell phone/information device. One that is powered manually and that will be comprised of materials and components to facilitate physical durability so that less battery waste is created.
Thoughts on CAD
Assignment 1 - Model, animate and render the final project
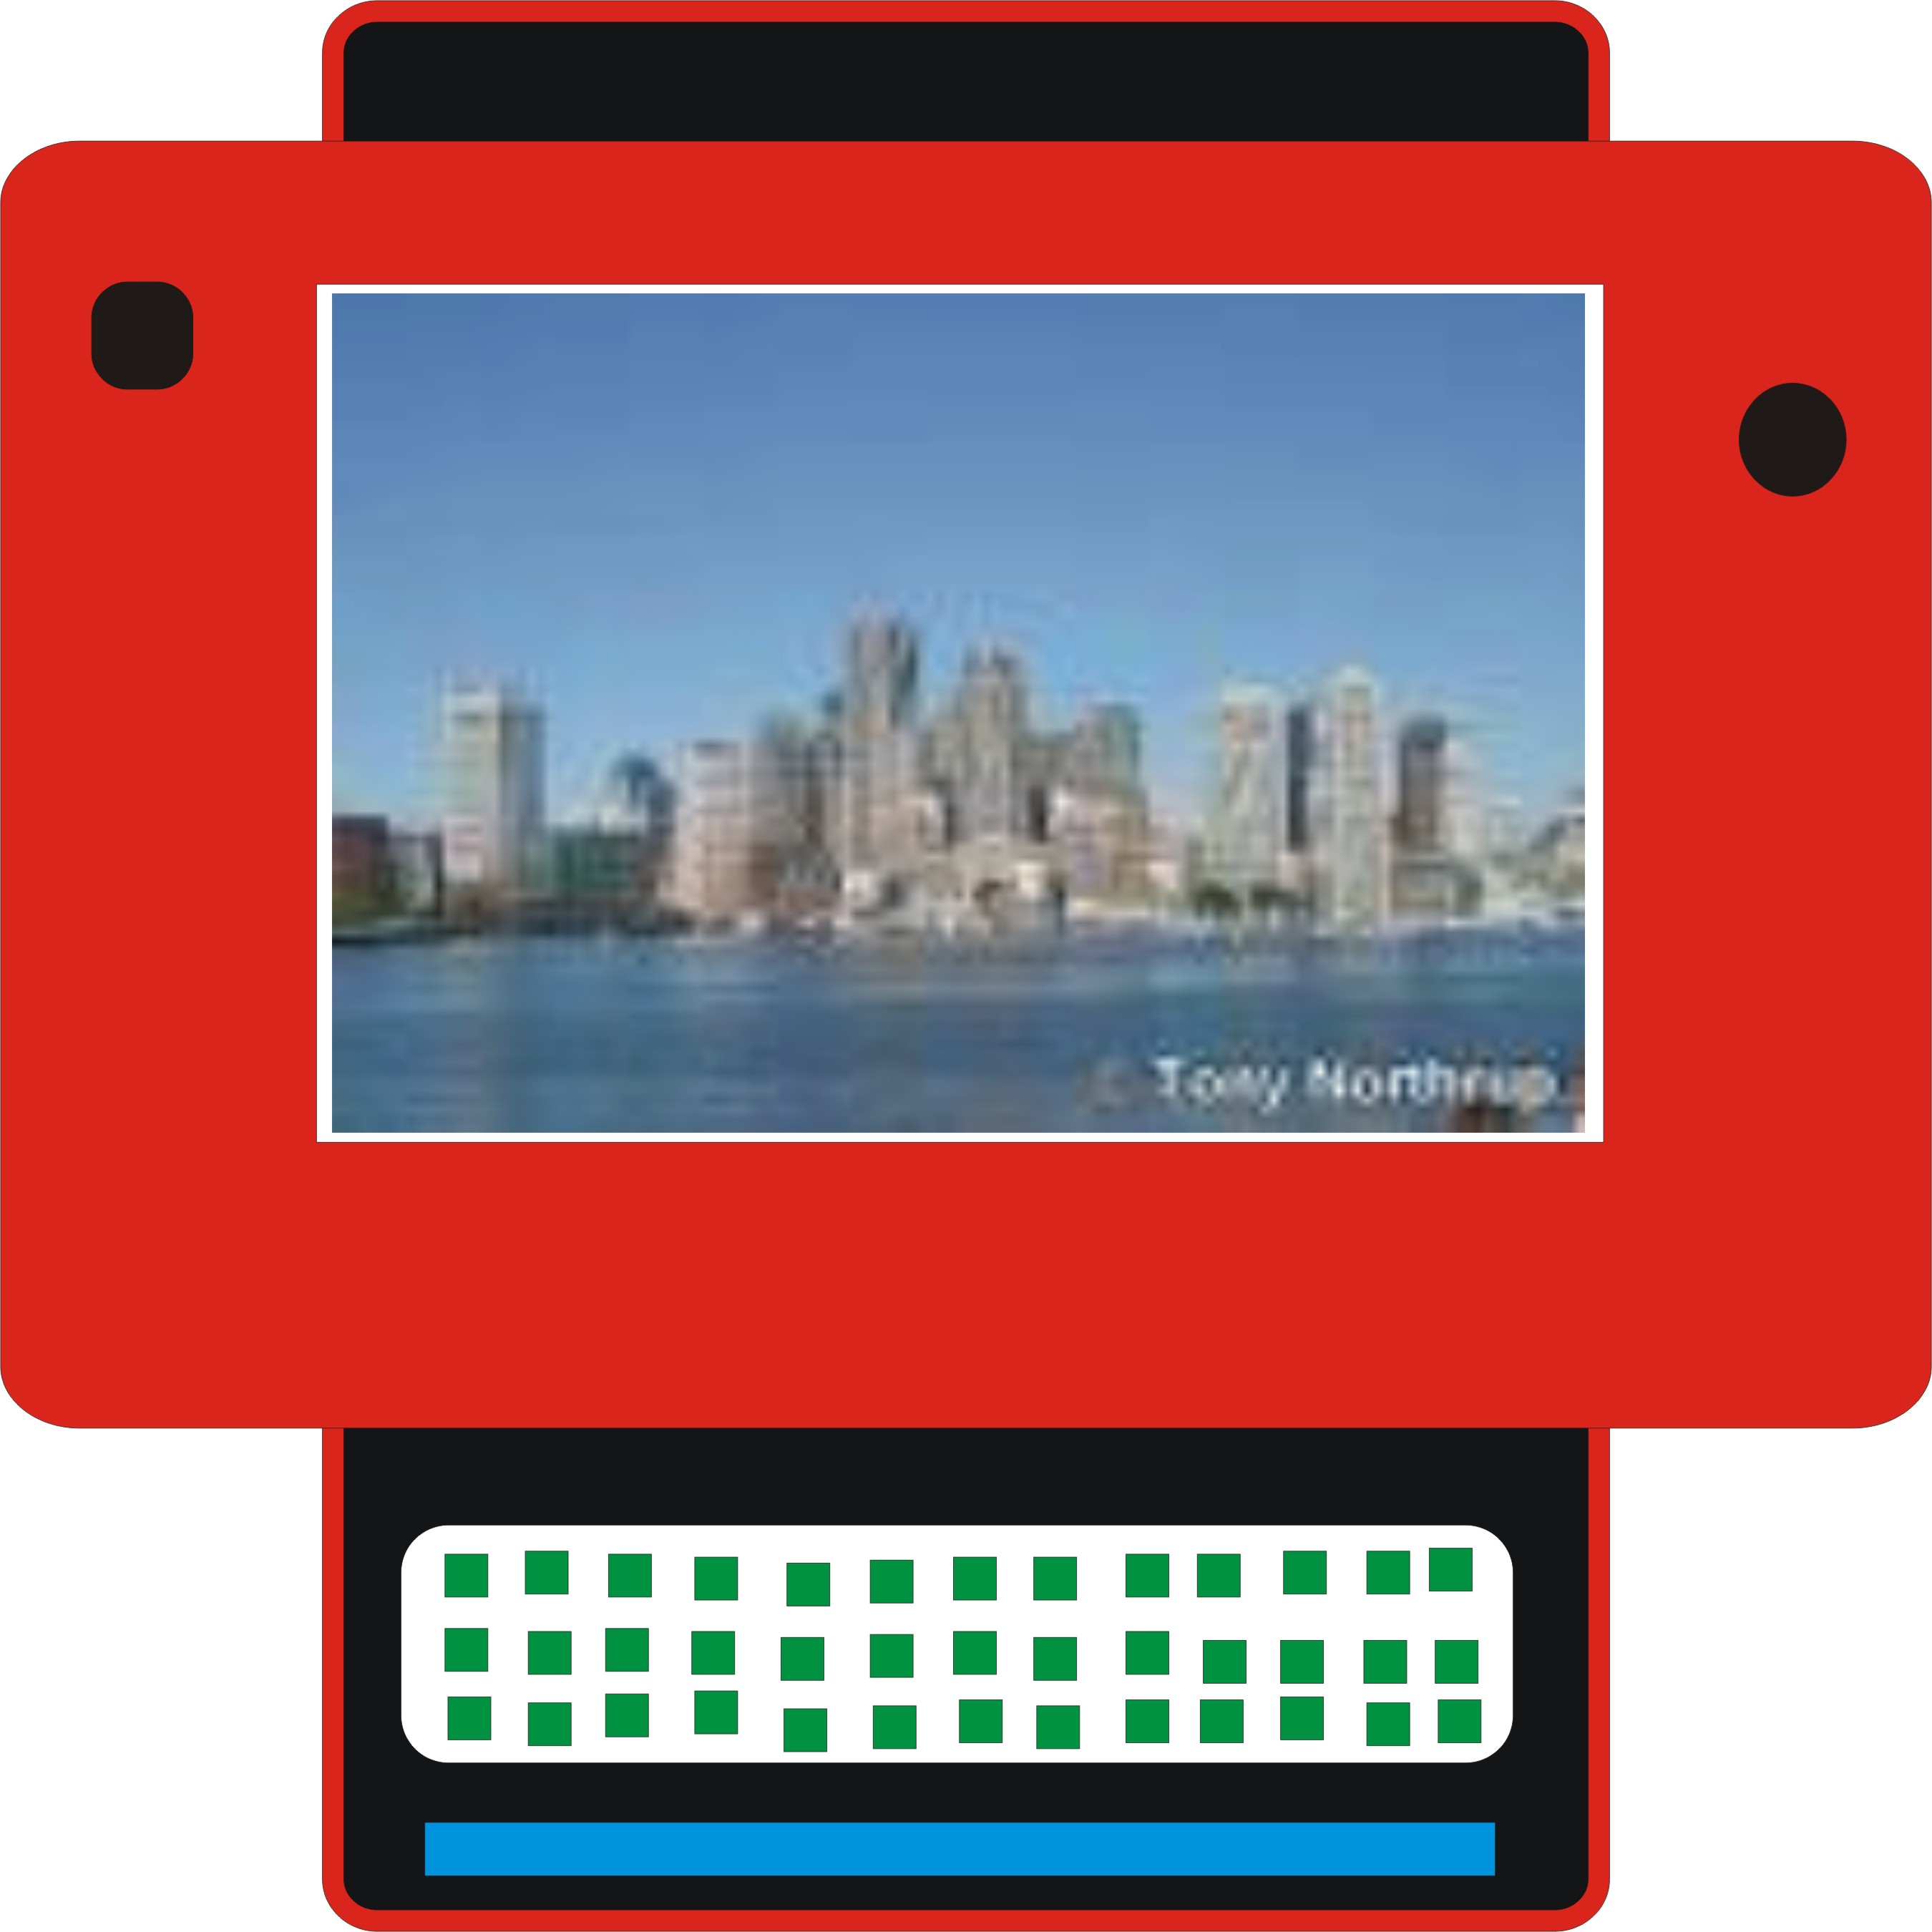
An Ultra-Mobile PC is the next evolution in hand-held devices. It is bigger and more functional than a cellphone and I think it will be the next big thing. I created this model in CorelDraw and I hope to have it evolve over the course of the semester.
Assignment 2 - Where to Put Almost Anything: A Press-Fit (Jewelry) Box
Assignment 2 - Where to Put Almost Anything--A Press-Fit (Jewelry) Box
I used CorelDraw to design this. The aim was for a functional structure that I could use to put loose objects in--including but not limited to jewelry. I like the power of CorelDraw and the intuitive interface. I used cardboard as recommended but I think I will use plastic in the future because it is more aesthetic.
Assignment 3 - Printed Circuit Board Fabrication: Hello World
The fun part of this assignment was manufacturing the circuit boards on which you lay the various electronics components. But networking them with the solder and getting the "hello world" command to function was very tricky. As you can see from the picture used, in my case, there was an extra problem with the fraying of some copper on my board so I had to jury-rig it by adding an extra connection. All I can say is that soldering is definitely an art that takes alot of practice which this assignment provided lots of.
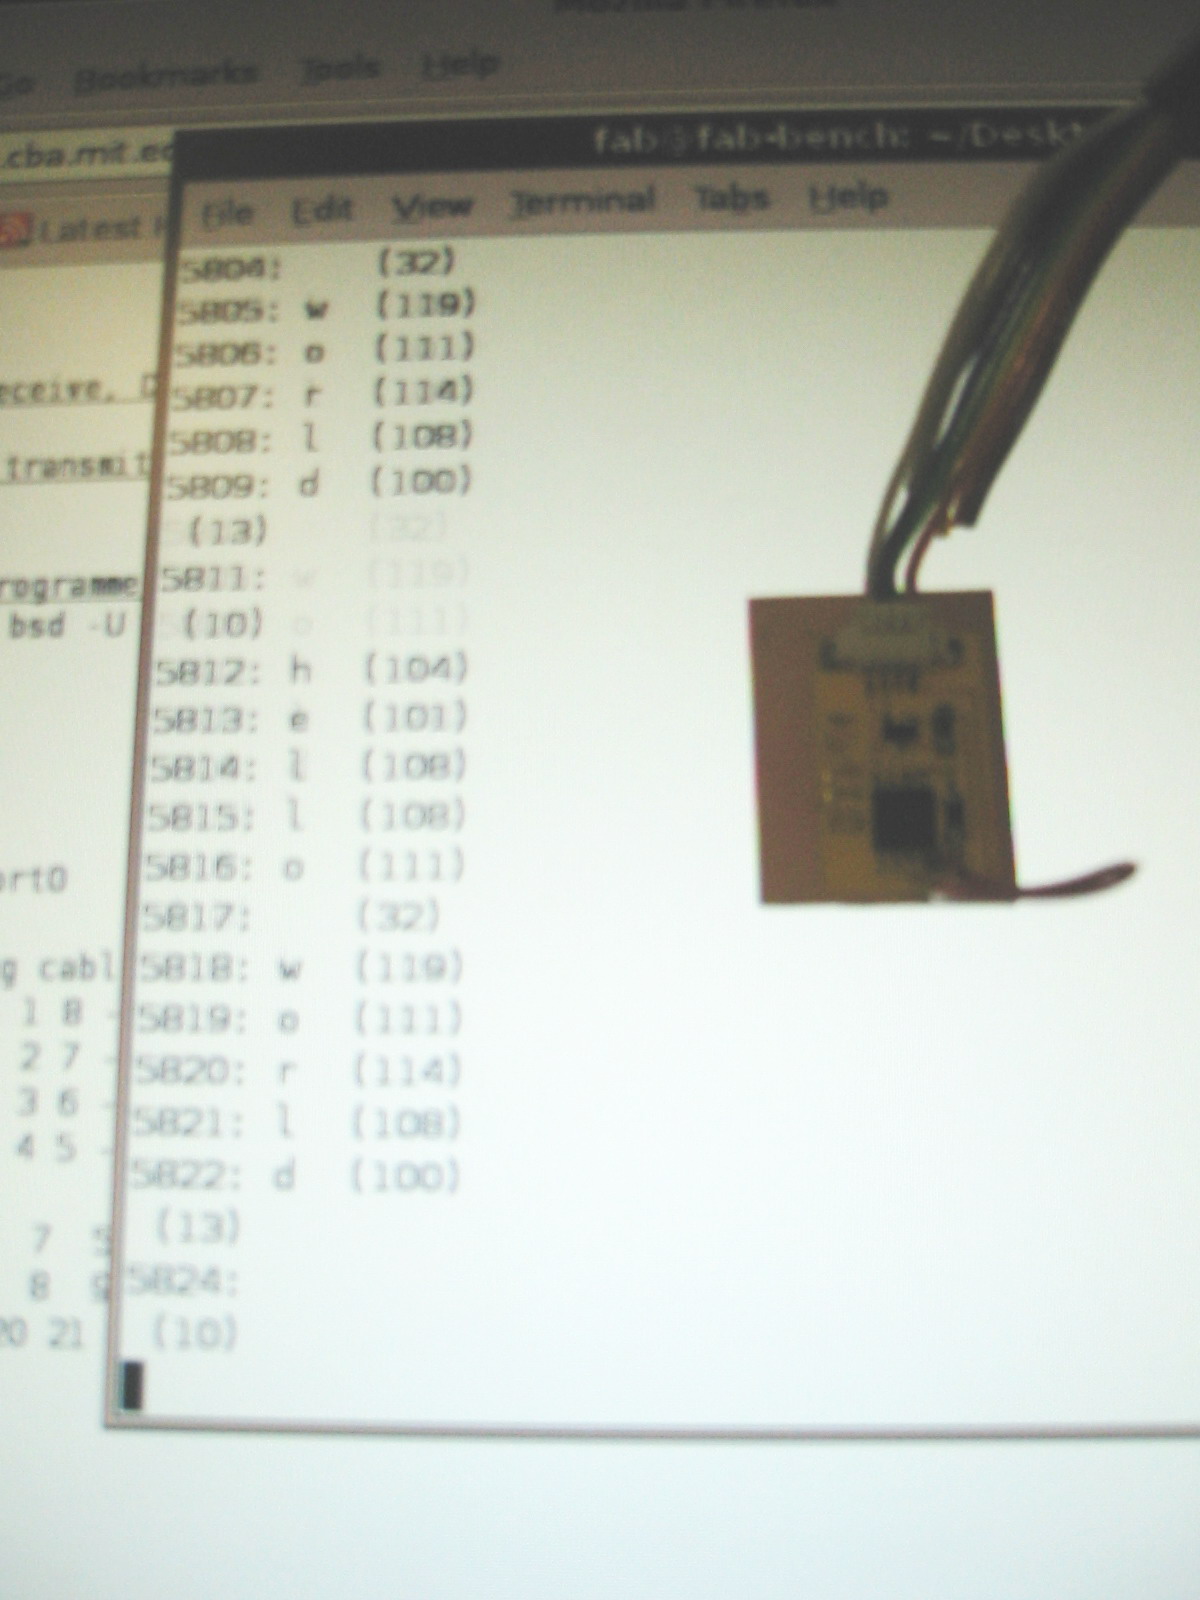
Assignment 4 - Microcontroller Programming: How to Measure (Almost Anything)
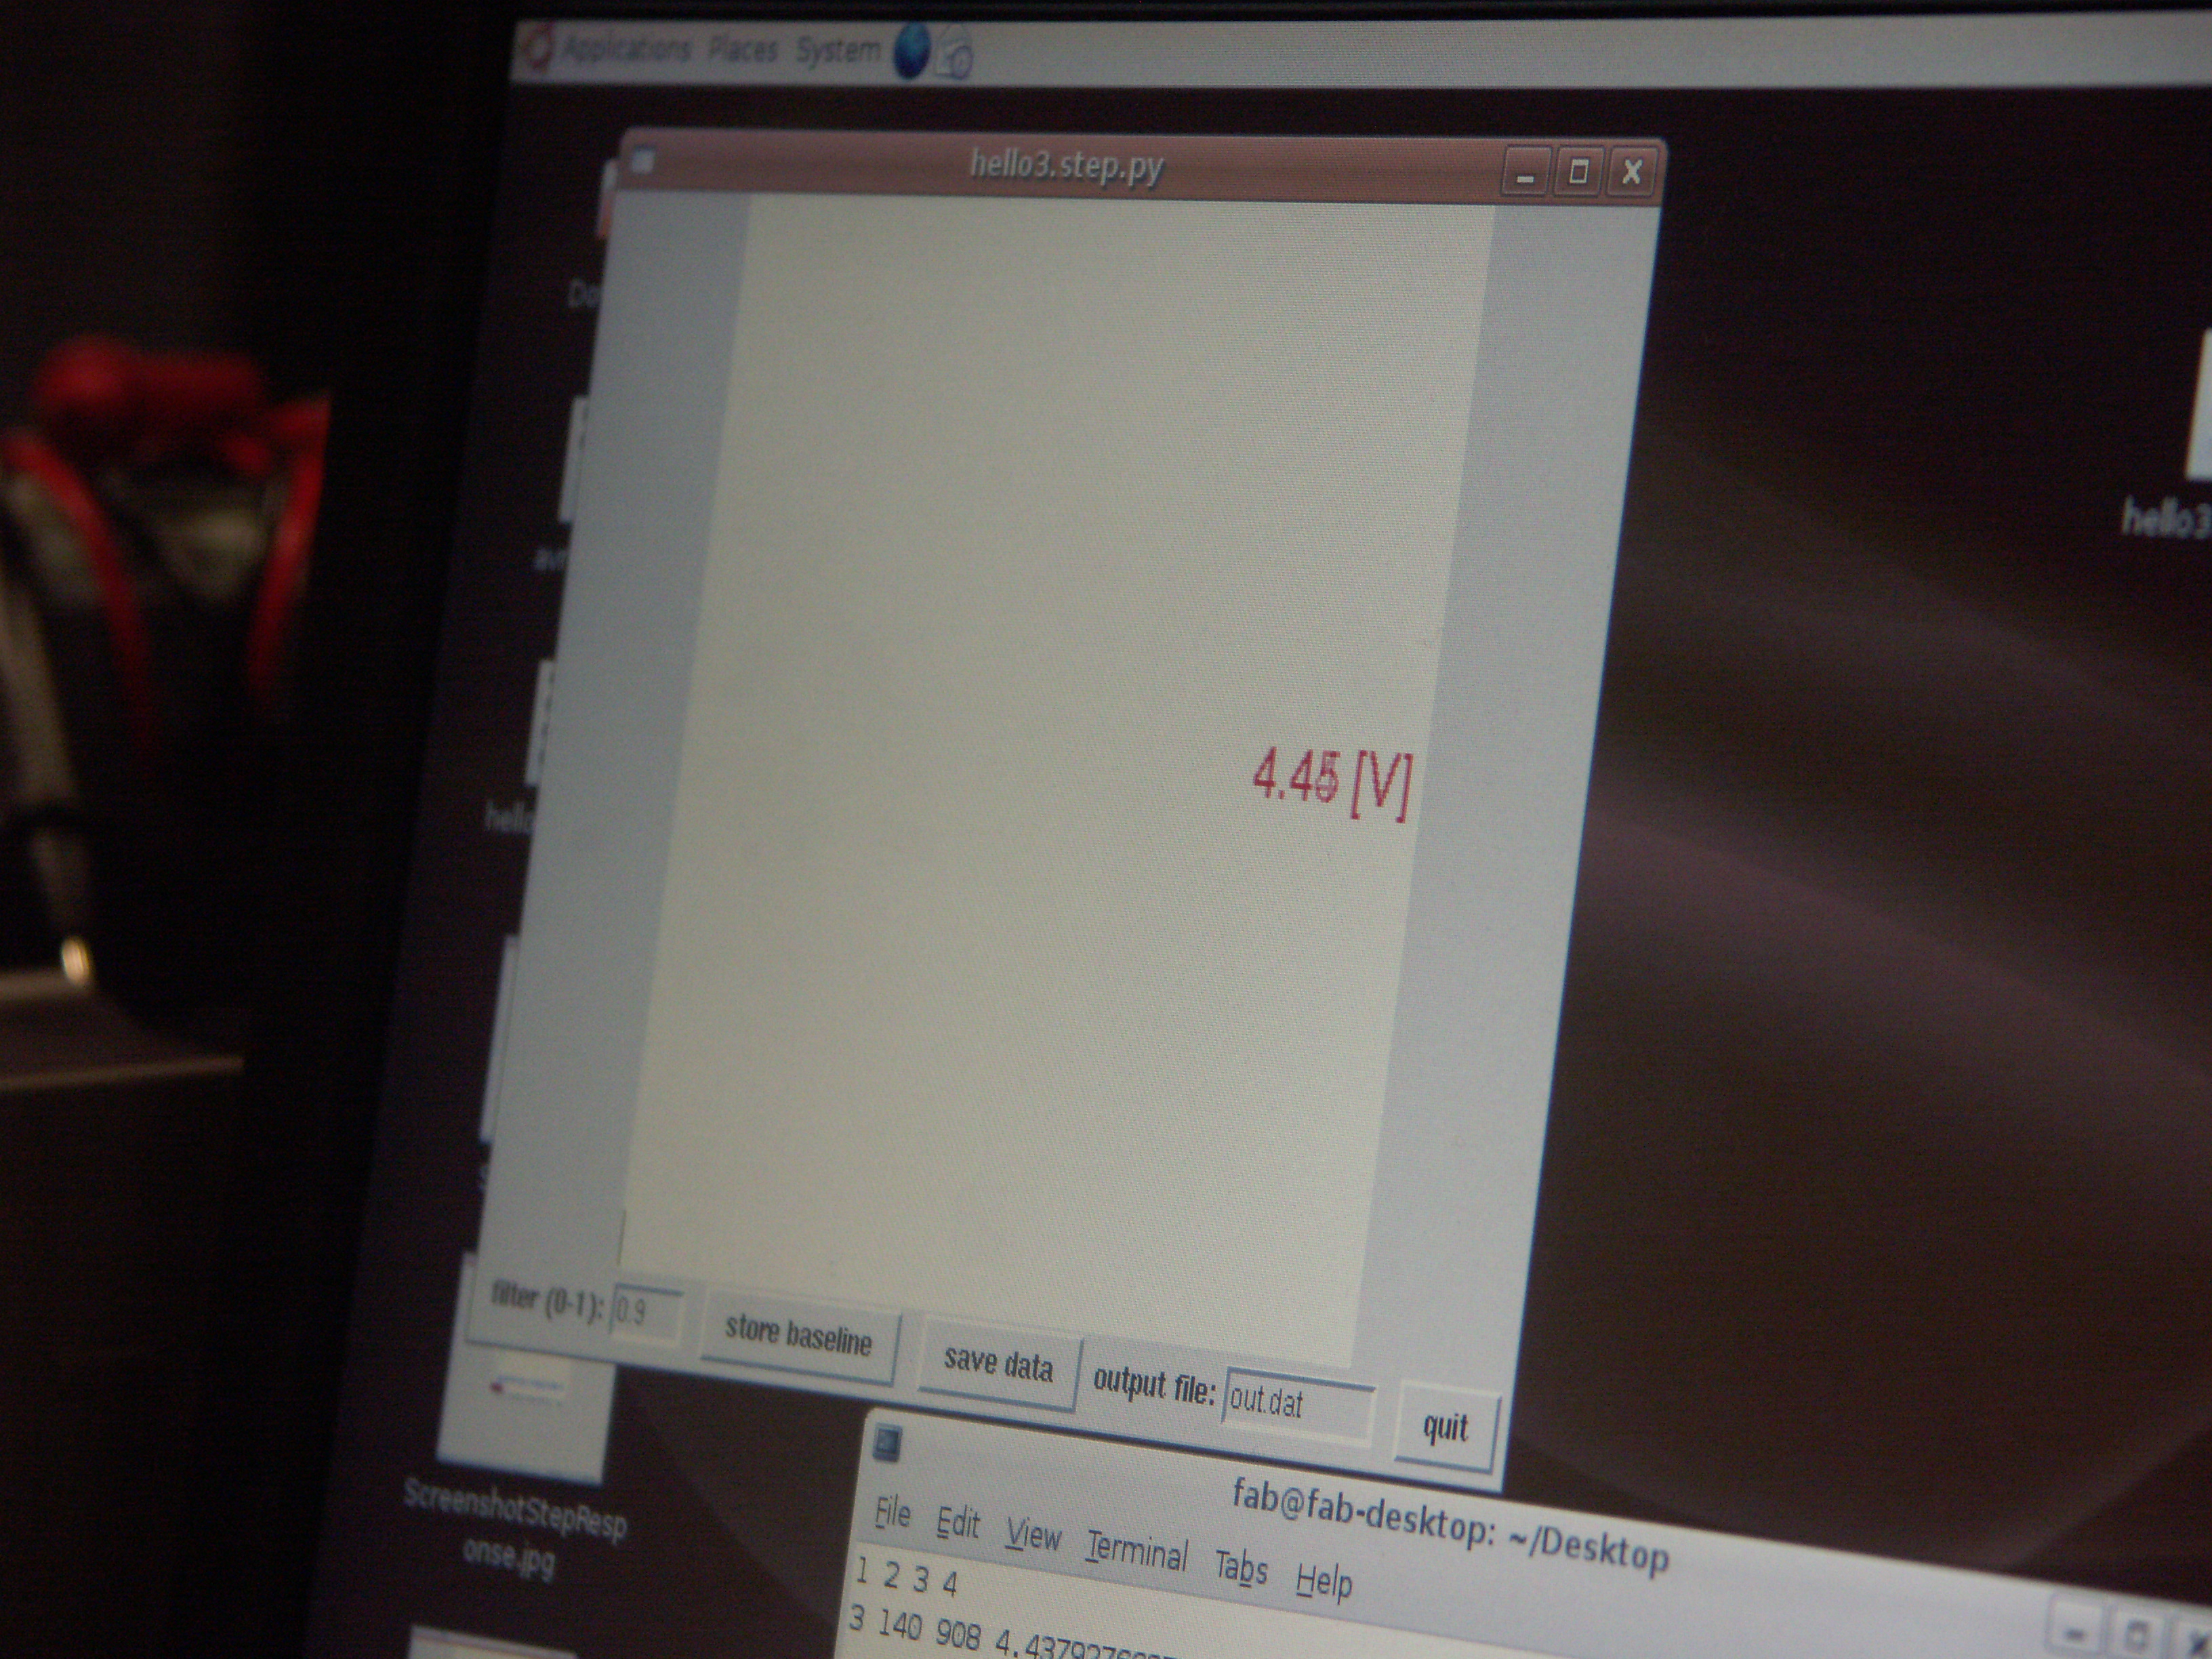
For this assignment, I decided to make a volt meter. This required adapting the code that we were given to take out the delay loops so as to get it to measure something that is a continuous process. The range was 0 to 5 volts. The values are 0 to 1023 (2 to the 10th power) which represents volts in digital form that have to be mapped with a conversion equation that makes them actual. You then multiply by 255 (0-255) which is 256 which is 2 to the 8th power). It was important to program the rx.py to convert those values in a non-linear order.
Changing functions in python when you don't know python was the challenge. As it turned out there were not many changes that needed to be made but we had to learn where to learn about python-- pythonware.com--and assembly language. Then we adapted the code that we were given to learn what changes worked and didn't. It was a very long and at times frustrating process but it worked. The assembly code adaptations involved knowing what to eliminate from the original. Essentially there were three changes that needed to be made to the python code for the GUI: font size; voltage value normalization; and color. All of which required defining values and setting parameters. It was a highly iterative process that involved alot of peer to peer learning as we shared our "eureka" moments. In the end, seeing the physical representation of voltage being measured was sheer bliss.
Assignment 5- 3D Scanning and Printing
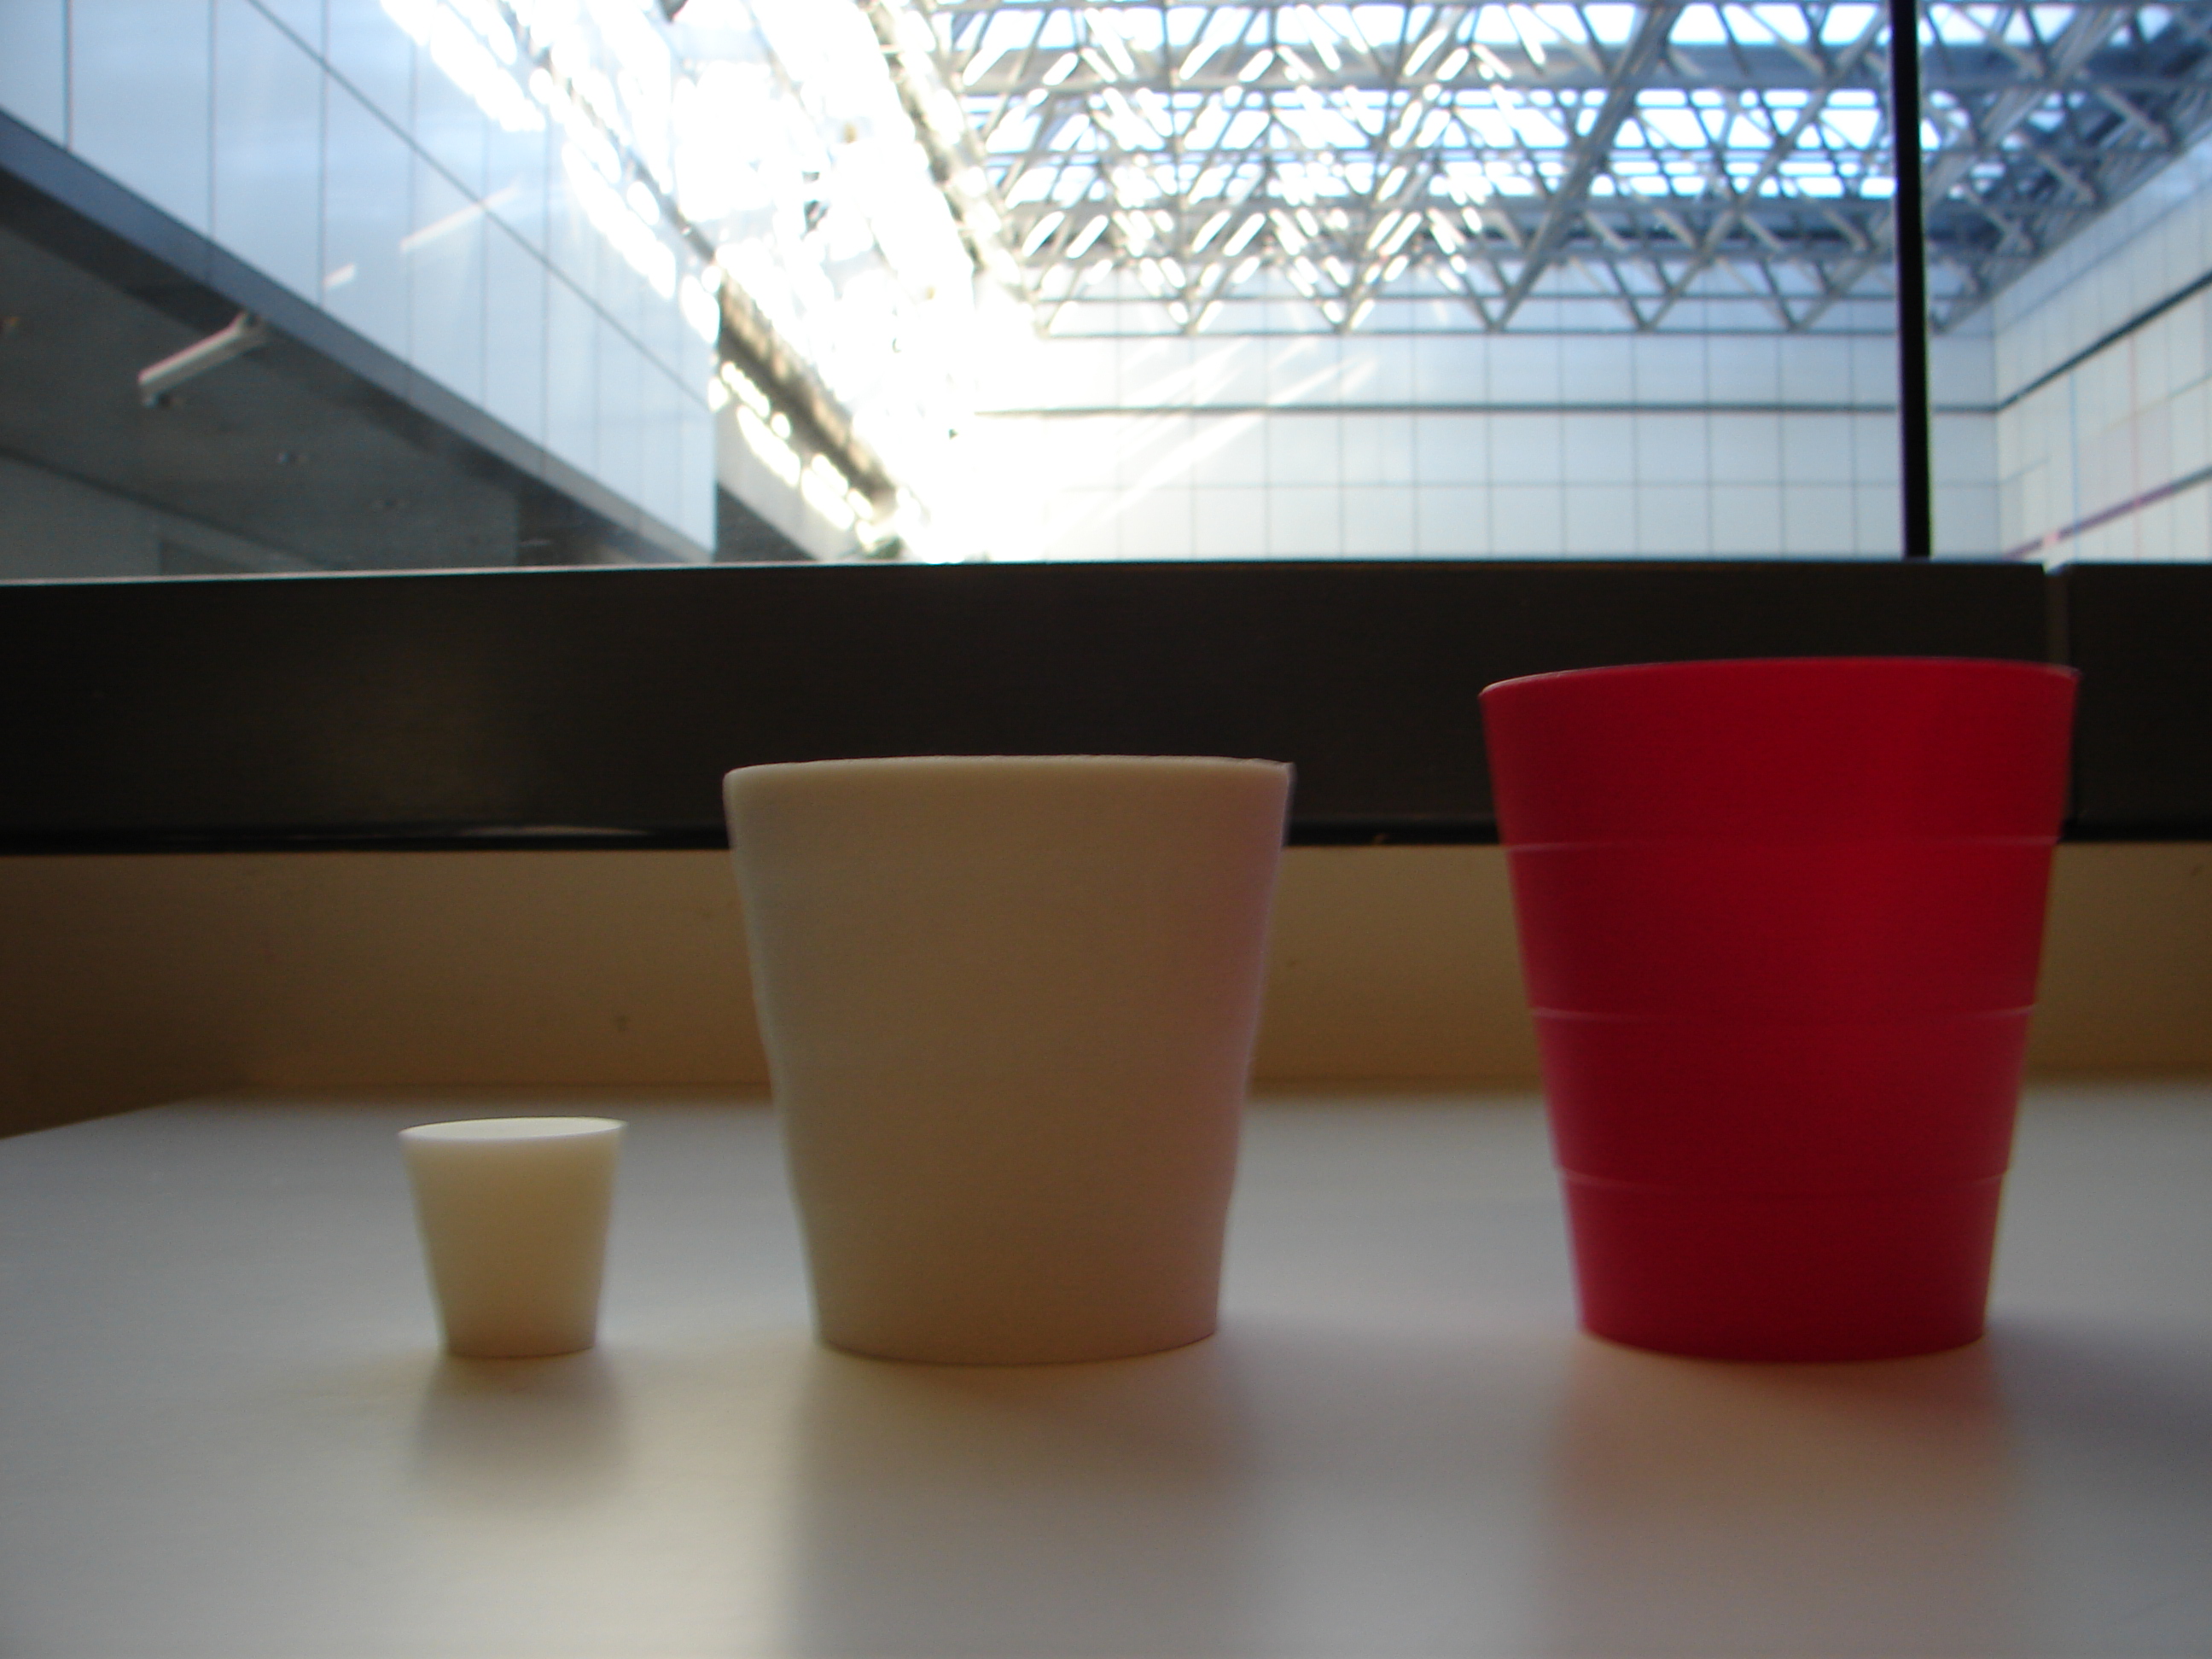
For this assignment, I decided to make a simple cup. I had wanted to scan my PDA but that proved to be too shiny to effectively scan so I was forced to go the simple route. The scanning using Geomagic was fun but the printing proved to be problematic as like a malfunctioning oven the printer kept screwing up our batches despite what we thought were good recipes.
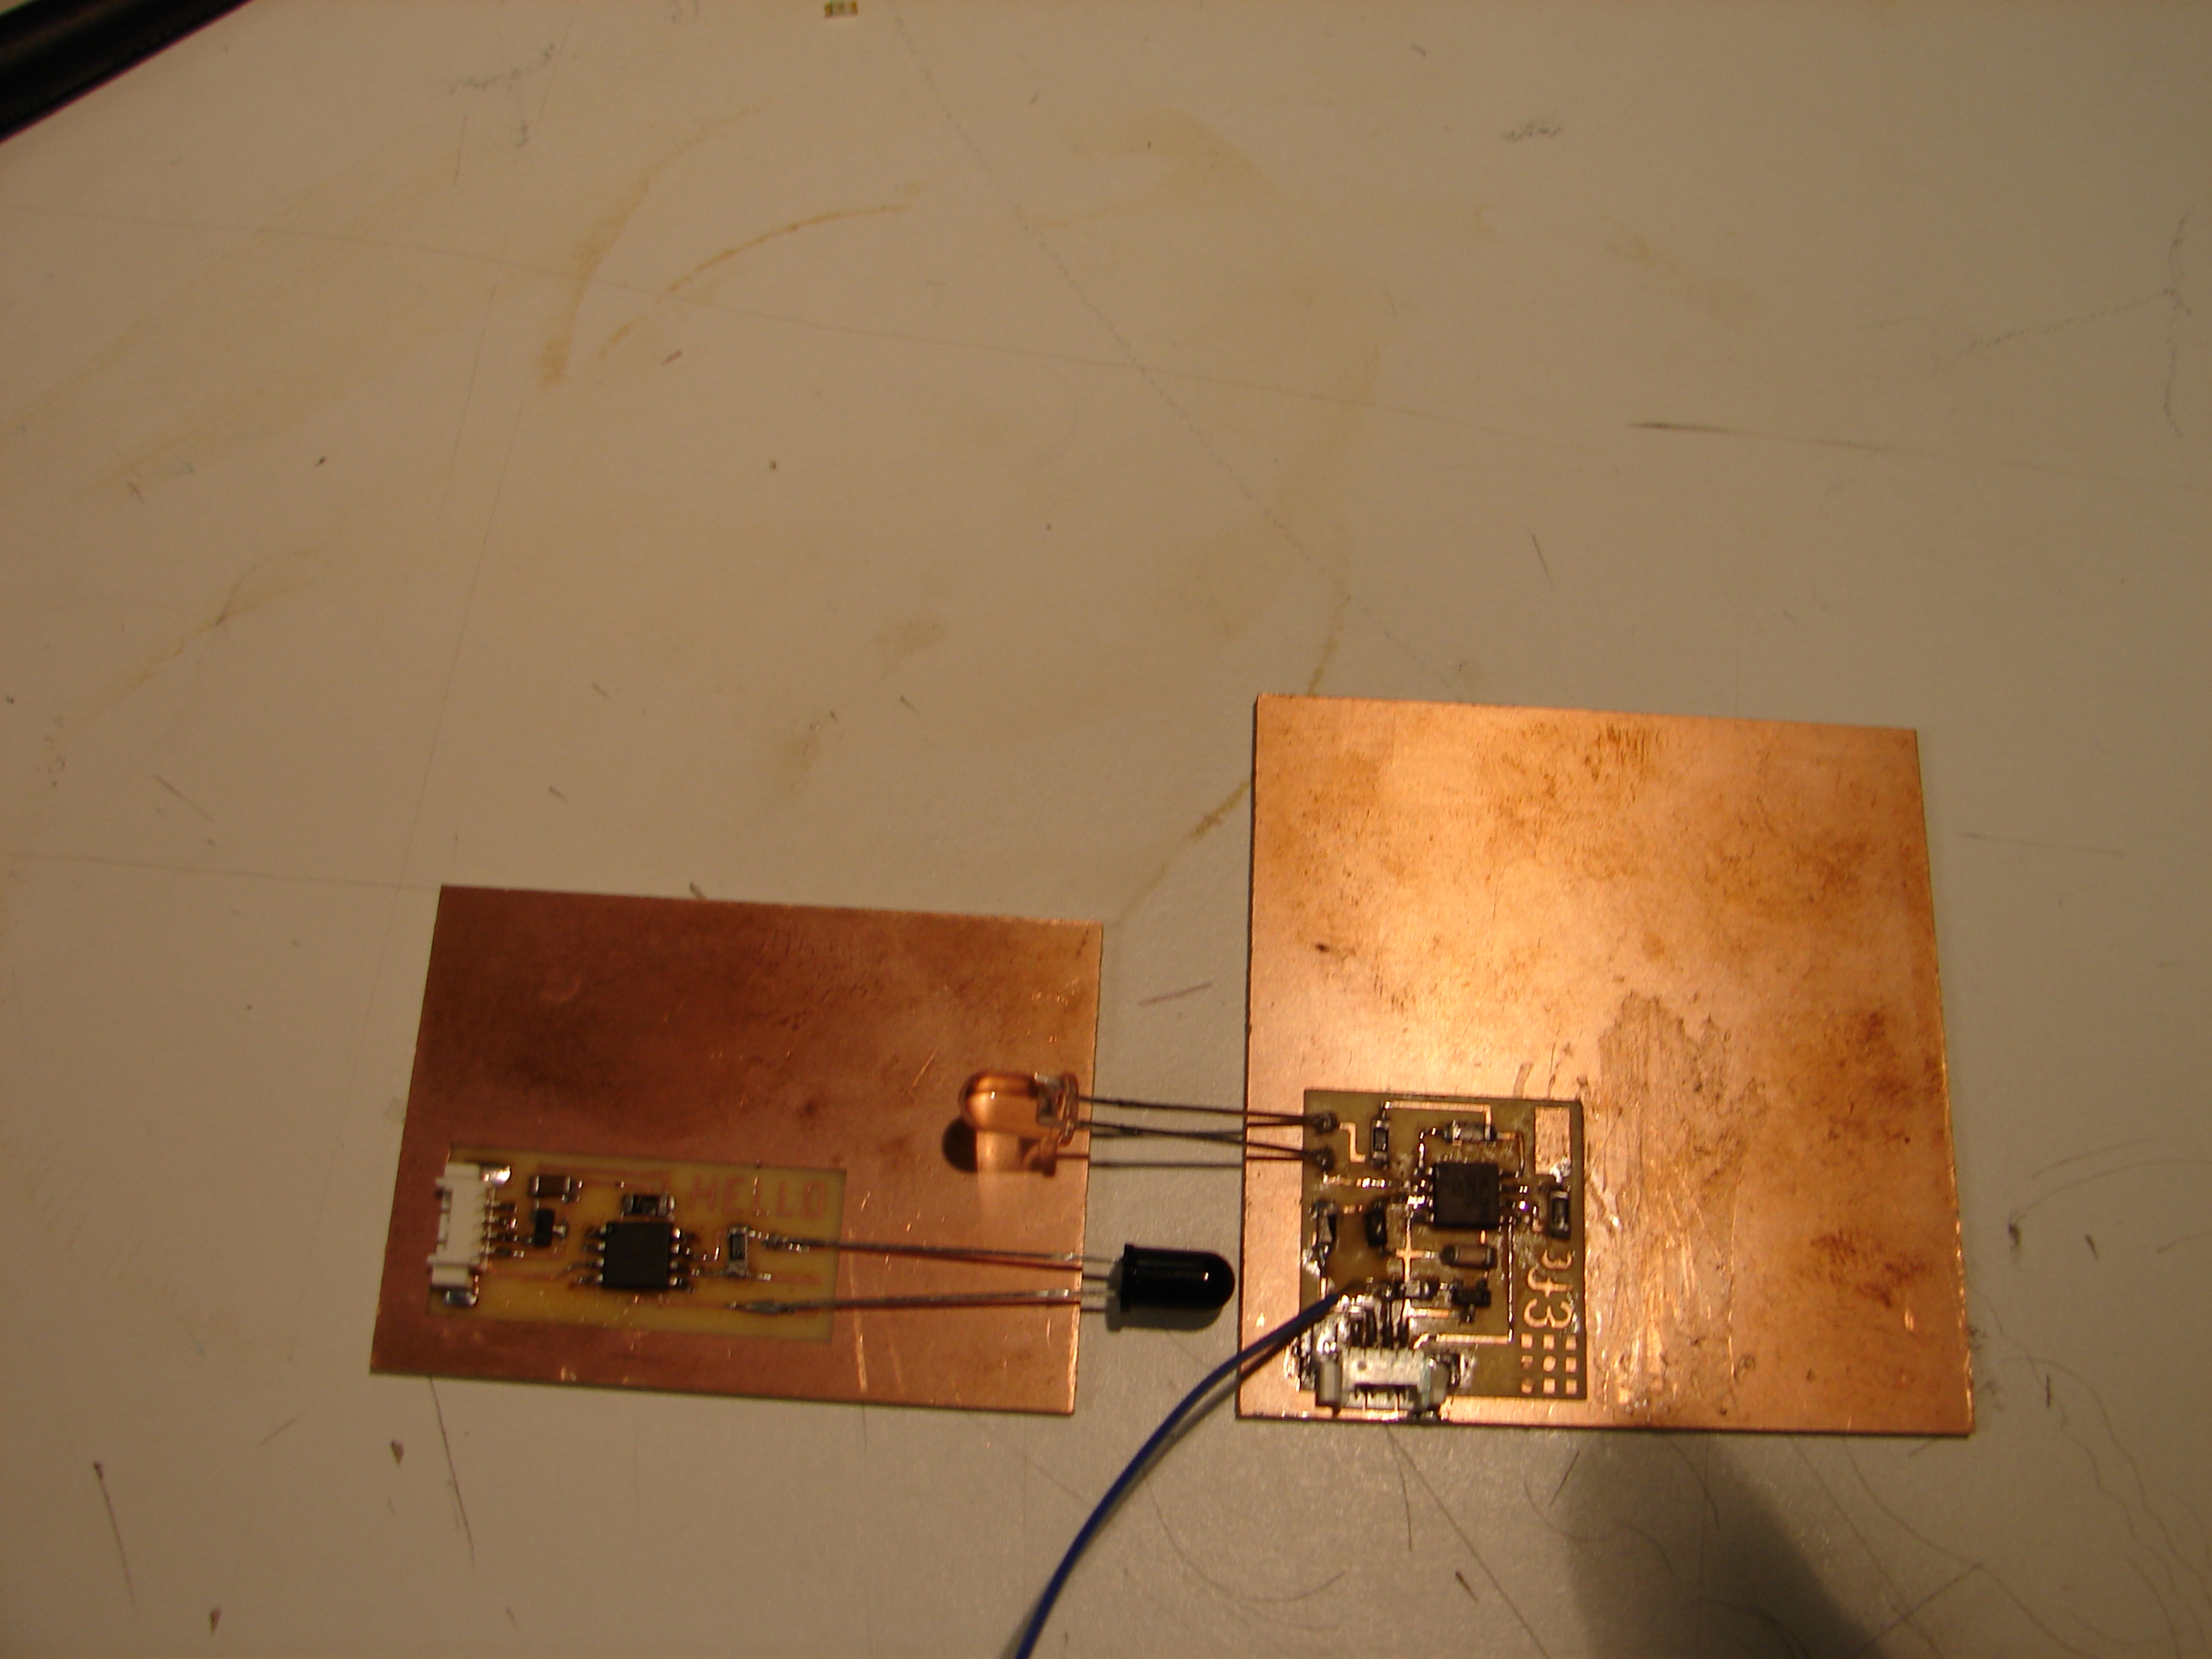
Assignment 6- Input Devices
I made an IRDA (infrared) receiver for this assignment. I used the hello3 and efe boards for the two components. This assignment was especially challenging and called for me to become especially familiar with Eagle.
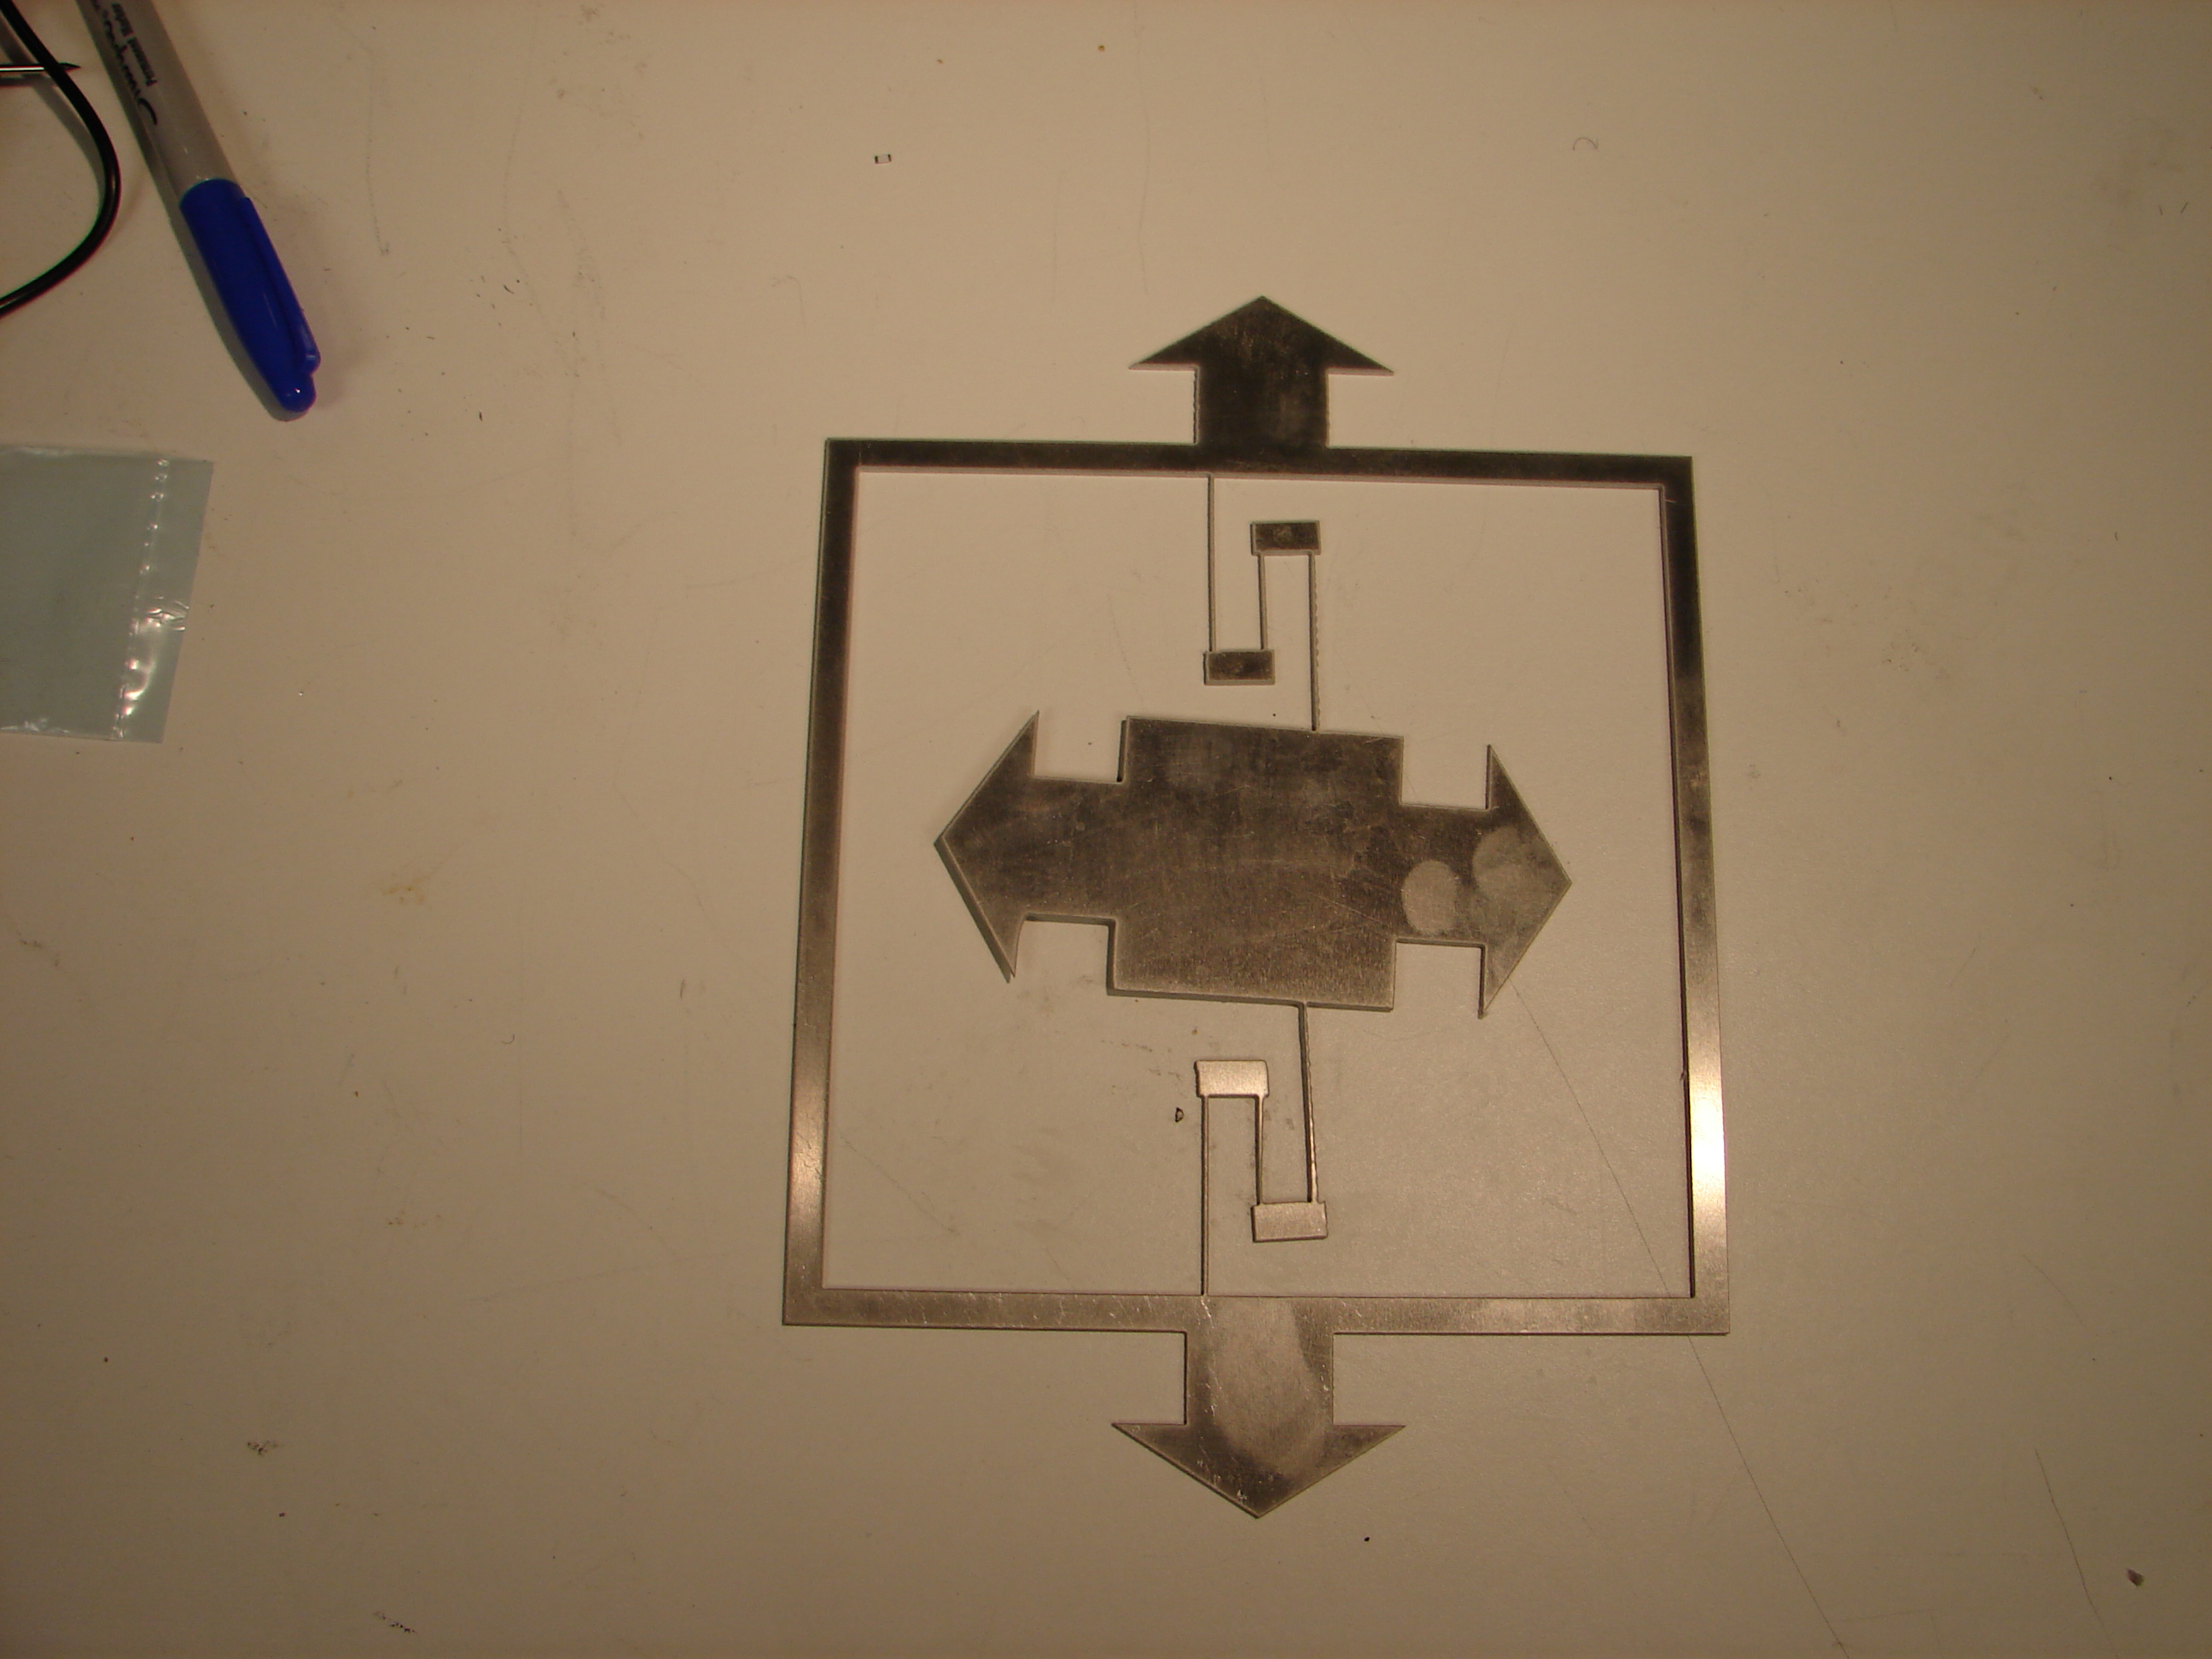
Assignment 7- Waterjet Cutter
For this assignment, I decided to make a compass that could be pointed in opposite directions on two planes with a flexure. It is amazing how precisely the waterjet can cut despite the thickness of the metal.
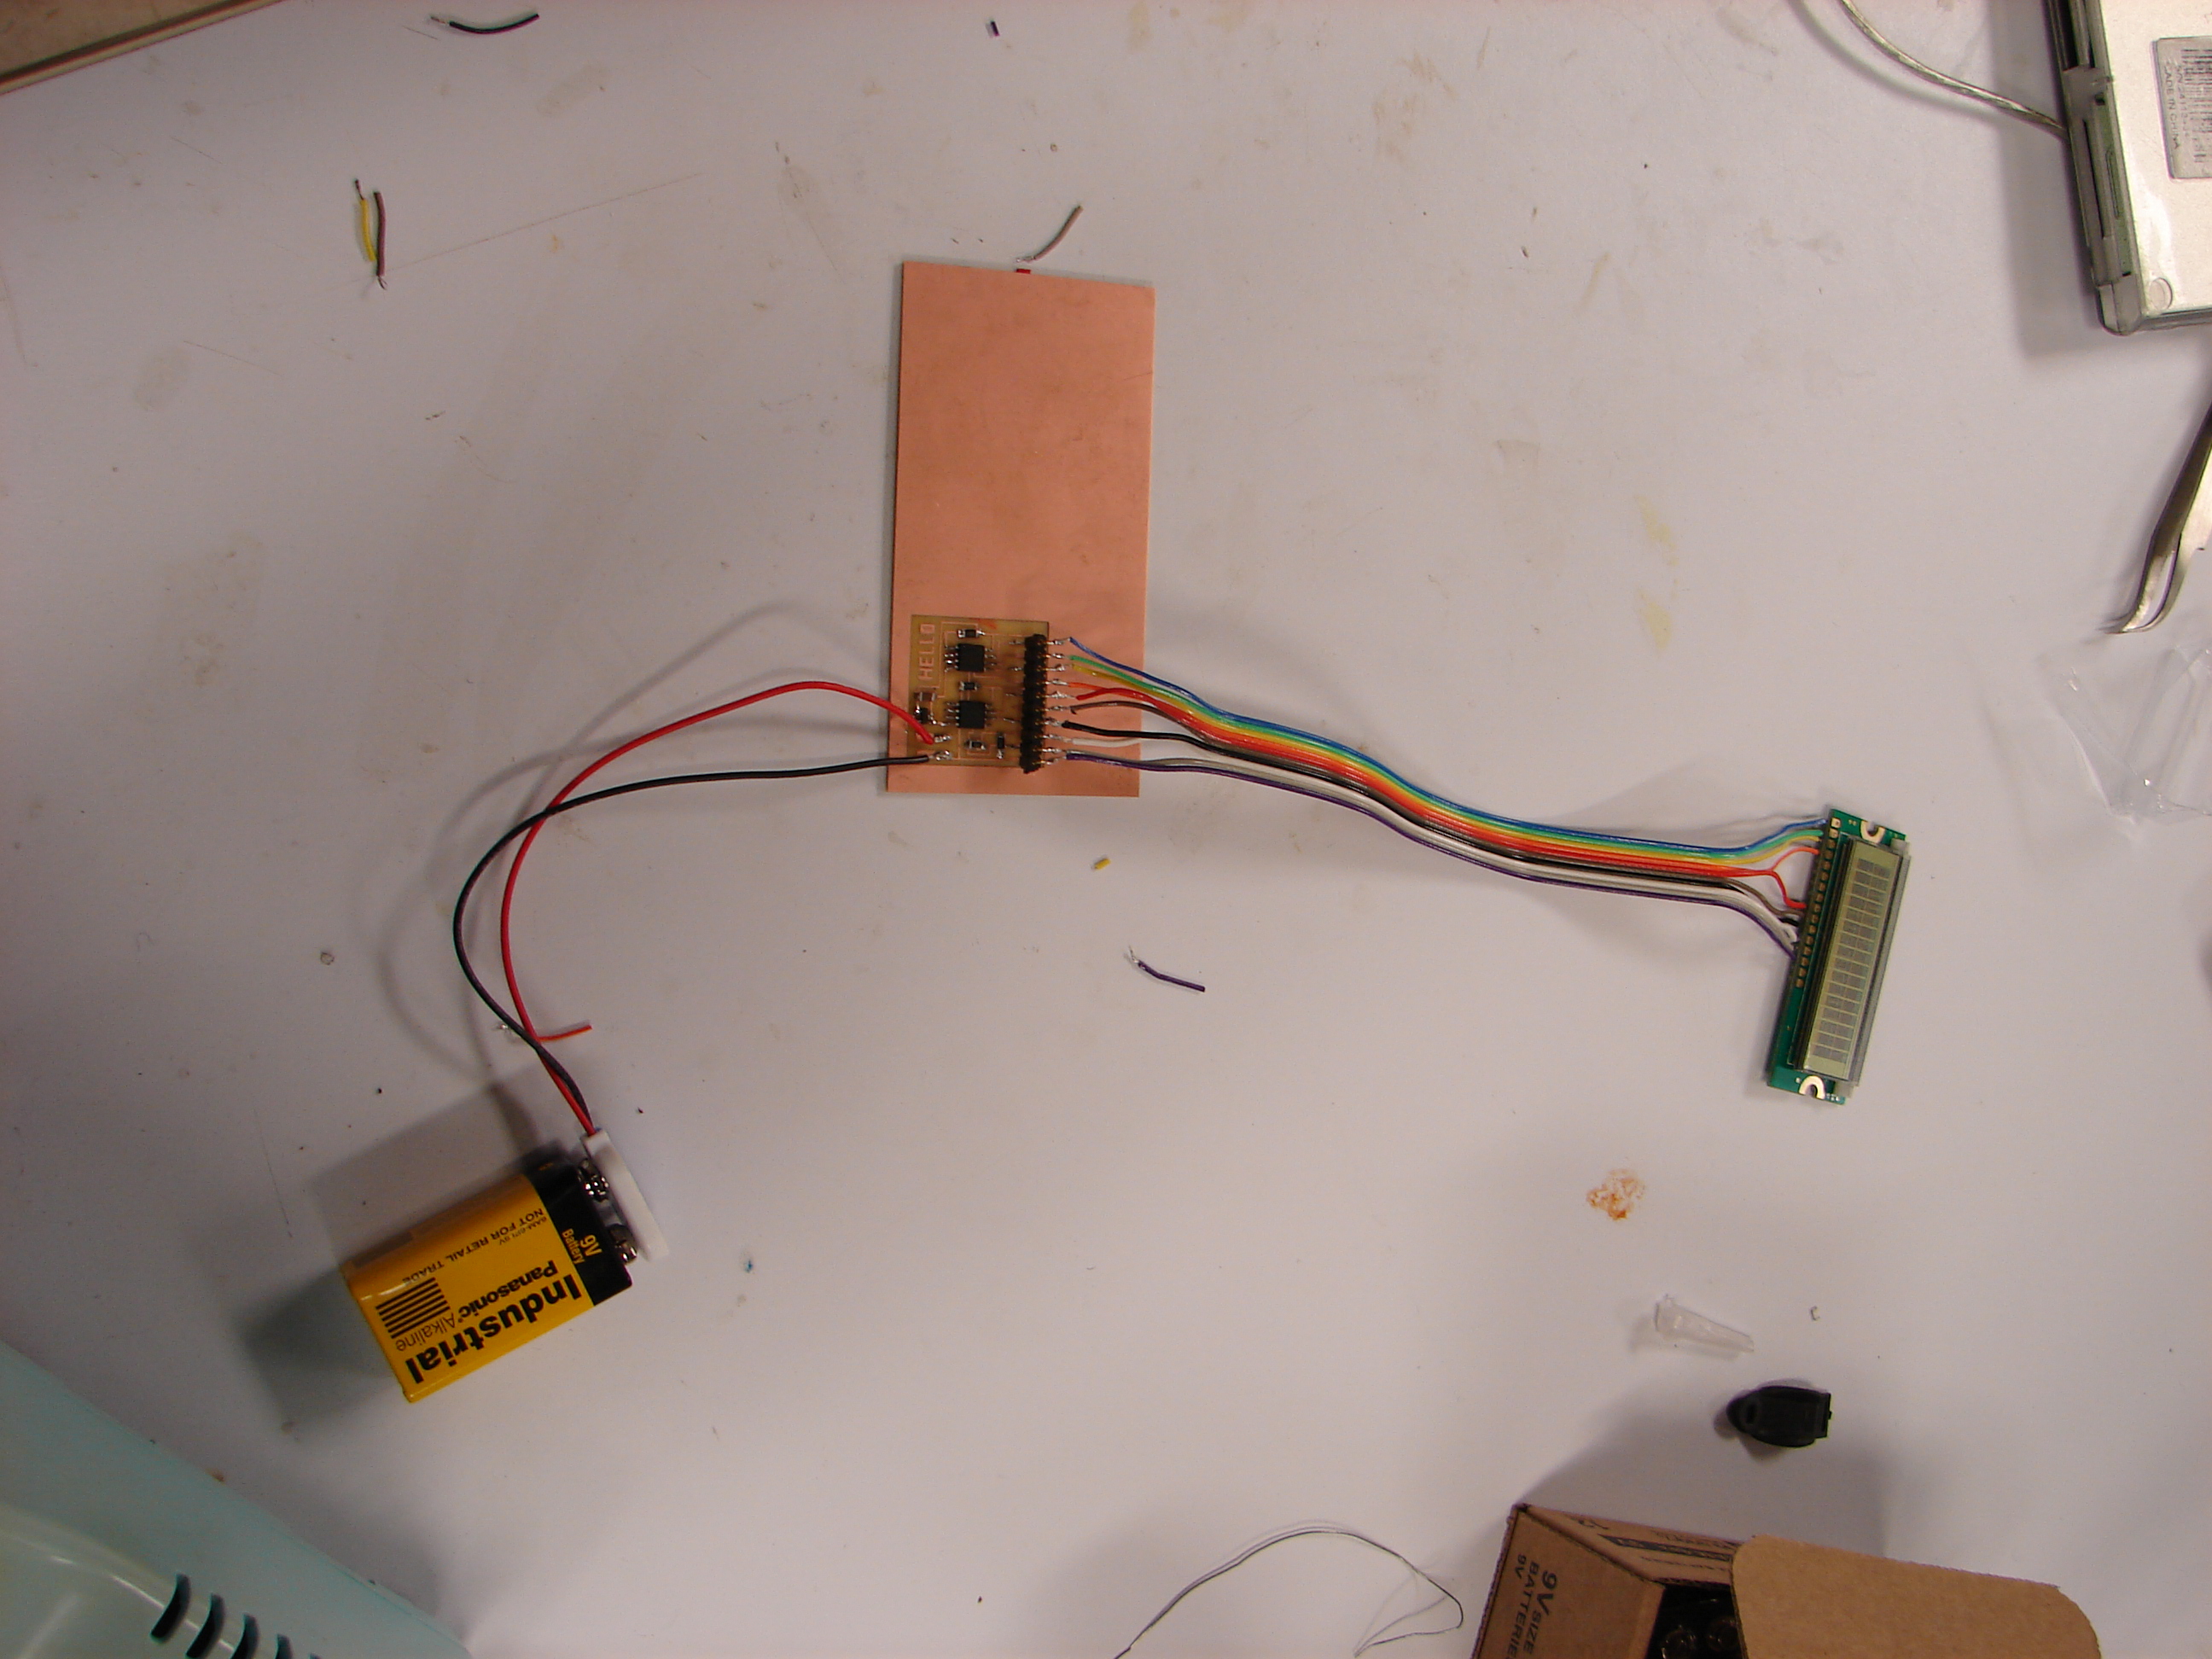
Assignment 8 - Output Devices
I created an output device by using the hello7 board and LCD screen to display "Hello World" or anything else I desire. Very practical.
Assignment 9 - Molding and Casting
I cast a crank for this assignment. Cad.py does have its advantages as far as being able to use jpegs but it is still easier to simply draw an image as the modela seems to handle that better. An absolutely critical skill for prototyping...
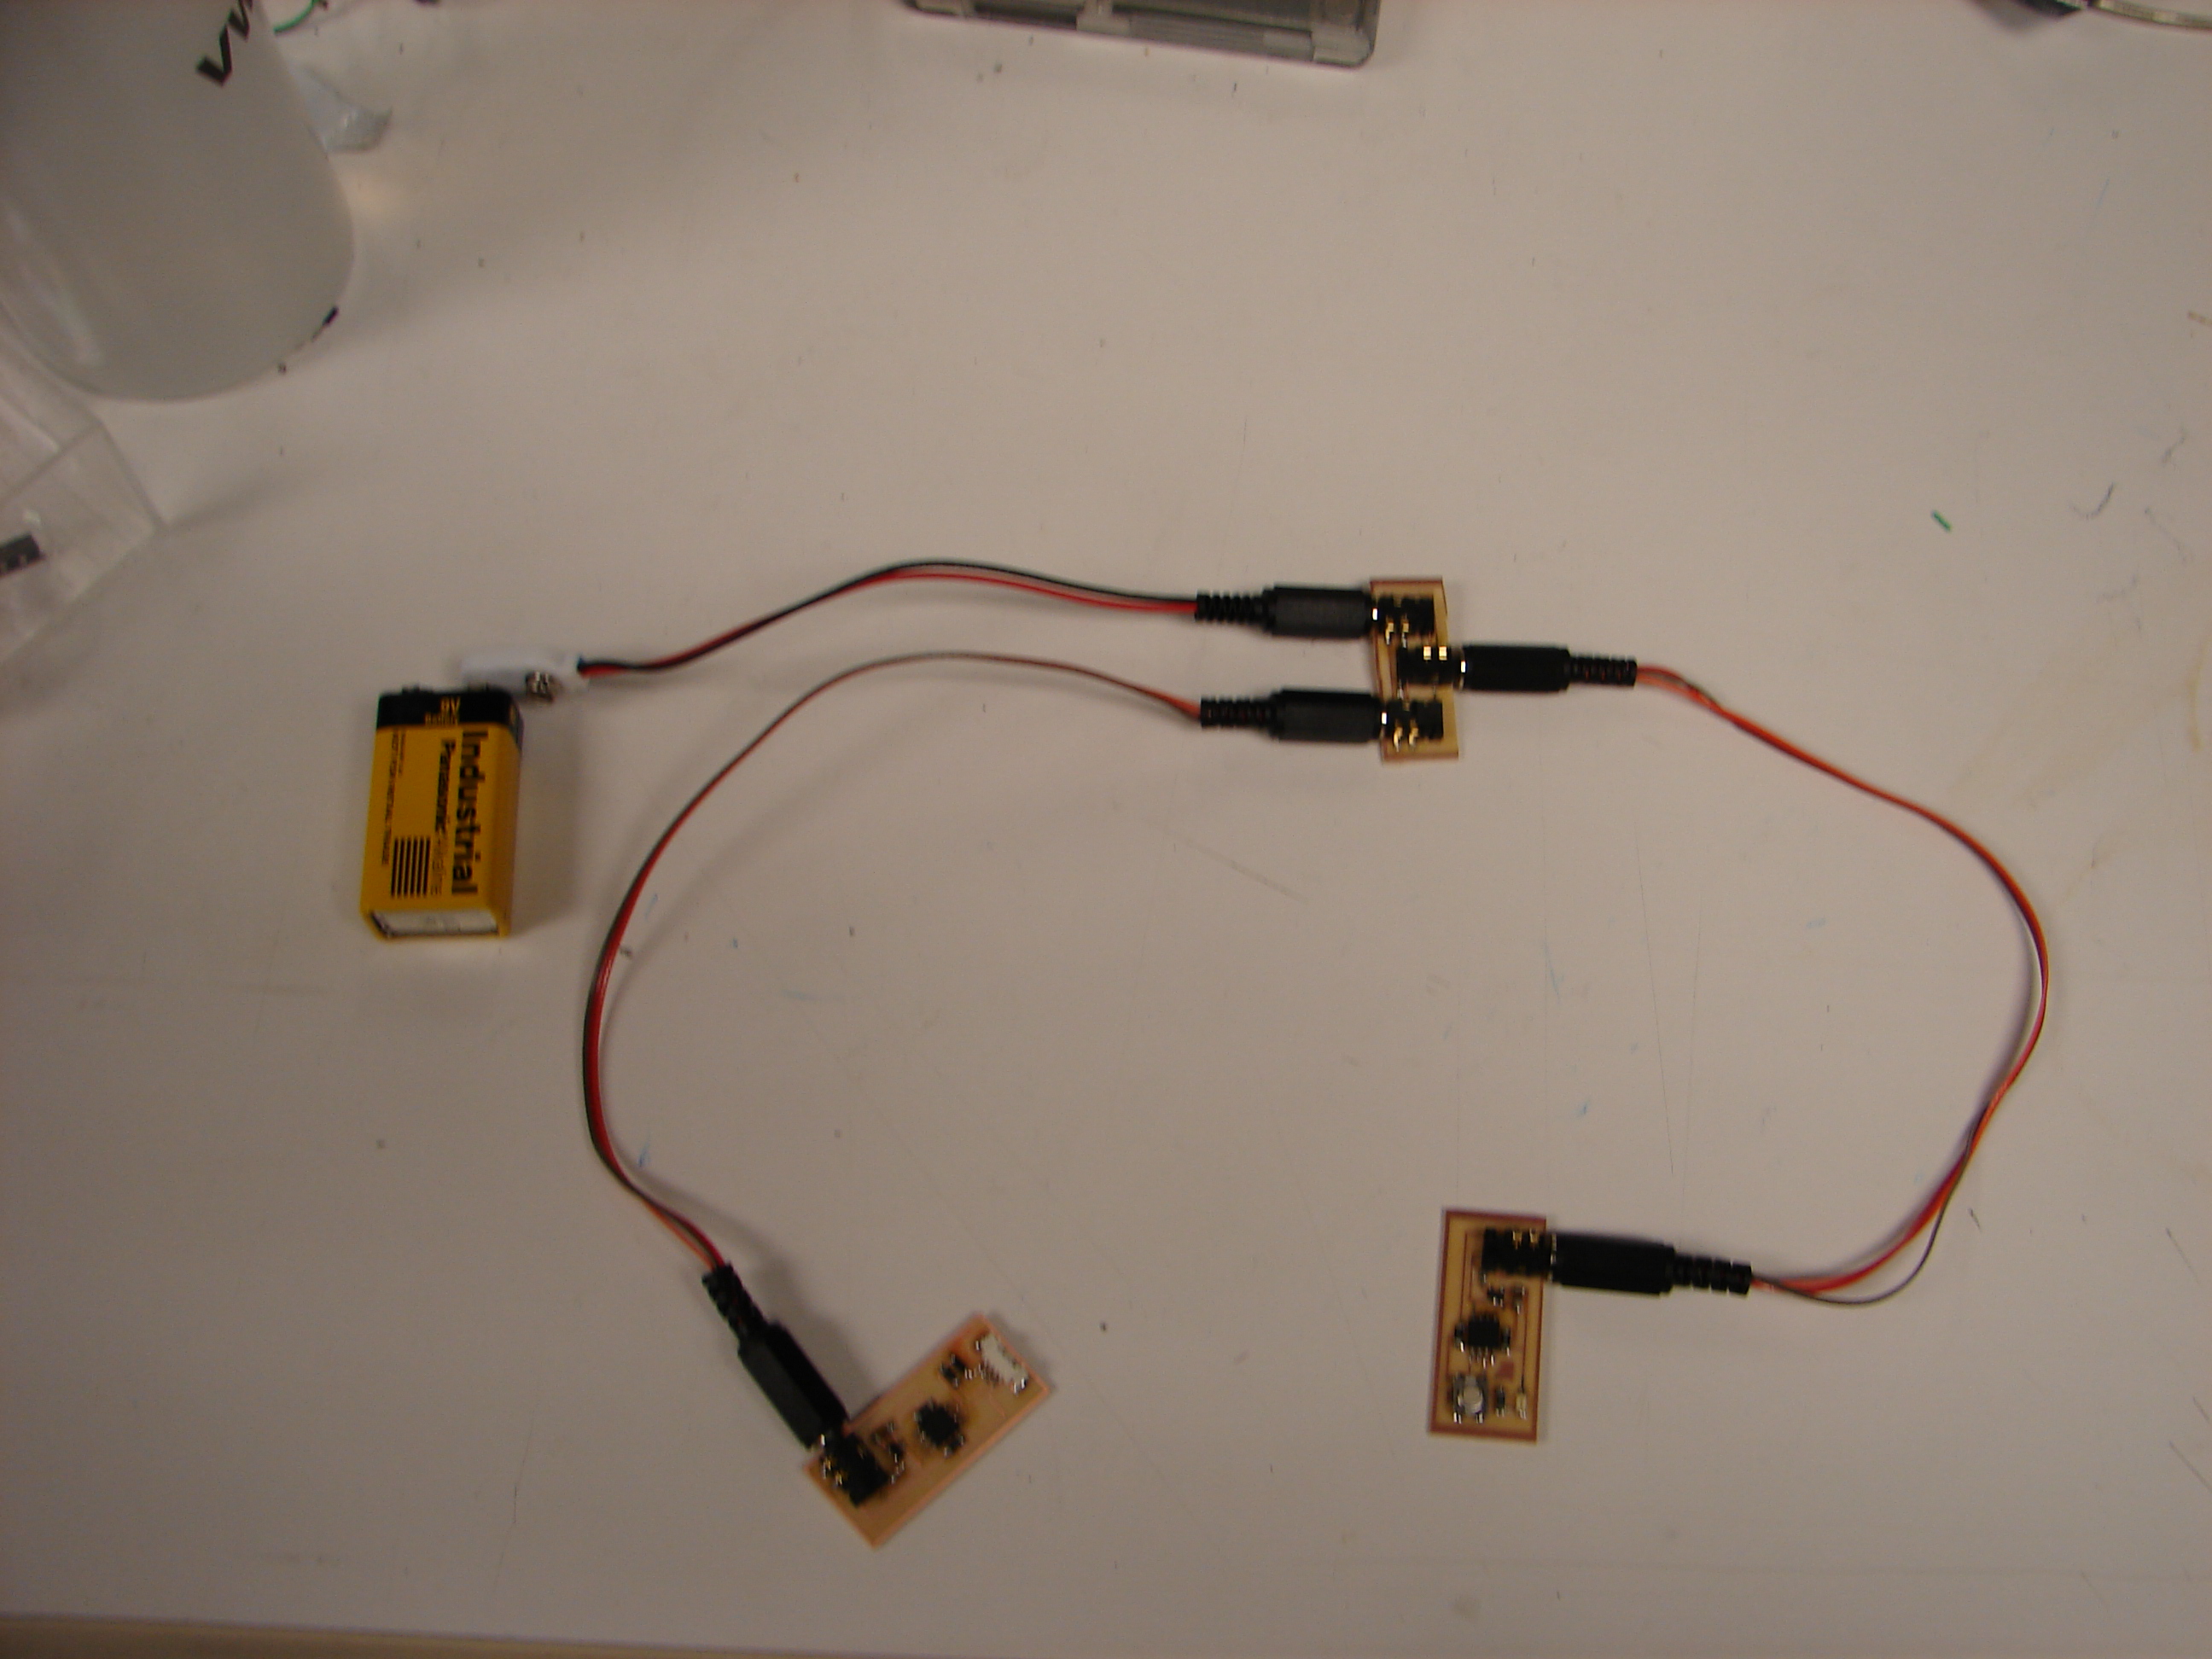
Assignment 10 - Networking and Communications
I built a working network comprised of a hub, two networked nodes and a power cord. Alot of fun as again this project has tremendous applicability to alot of different things. I also picked my
final project--build a handpowered battery to replace the 9 volt batteries used to power IO boards in class.
Assignment 11 - Laser Micromaching and Confocal Microscopy
This was a group assignment and we settled on the construction of a microgear. Really cool stuff. Not quite nanotech but the precision involved in work that small was amazing.
Description of Final Project
My goal for my final project is to create a battery replacement for Fab class that can be used to power IO boards by replacing the 9 volt batteries that we use in class generating an equivalent amount of power.
System Diagram
System Diagram
This device has several components:
1) A tube of 1/2 an inch in diameter with 3600 wraps of coil within
which 20 magnets are passed to induce a current
2) Jacks--One for receiving power from the battery and one for
transferring that power to a device
3) A Rectifier to transform the Alternating Current to a Direct
Current
4) A Capacitor to store the current
5) A Regulator which keeps the charge in a certain range
6) A Zener Diode to push current towards the output jack
Pictures of Components
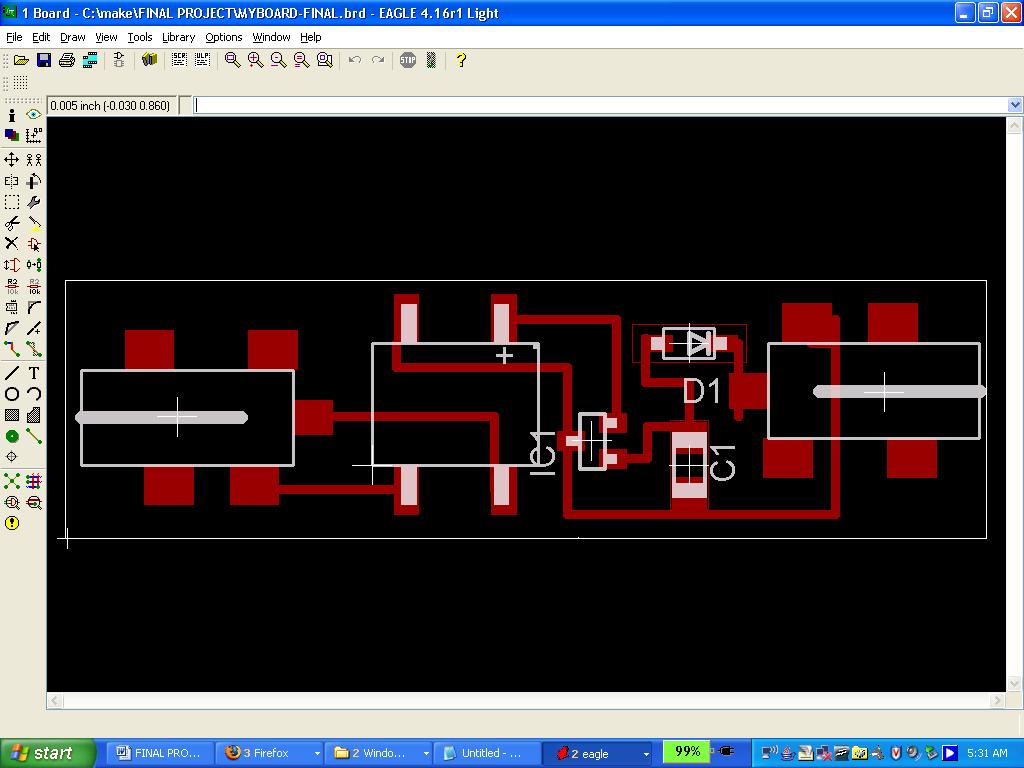
PCB Image - Shake It Up
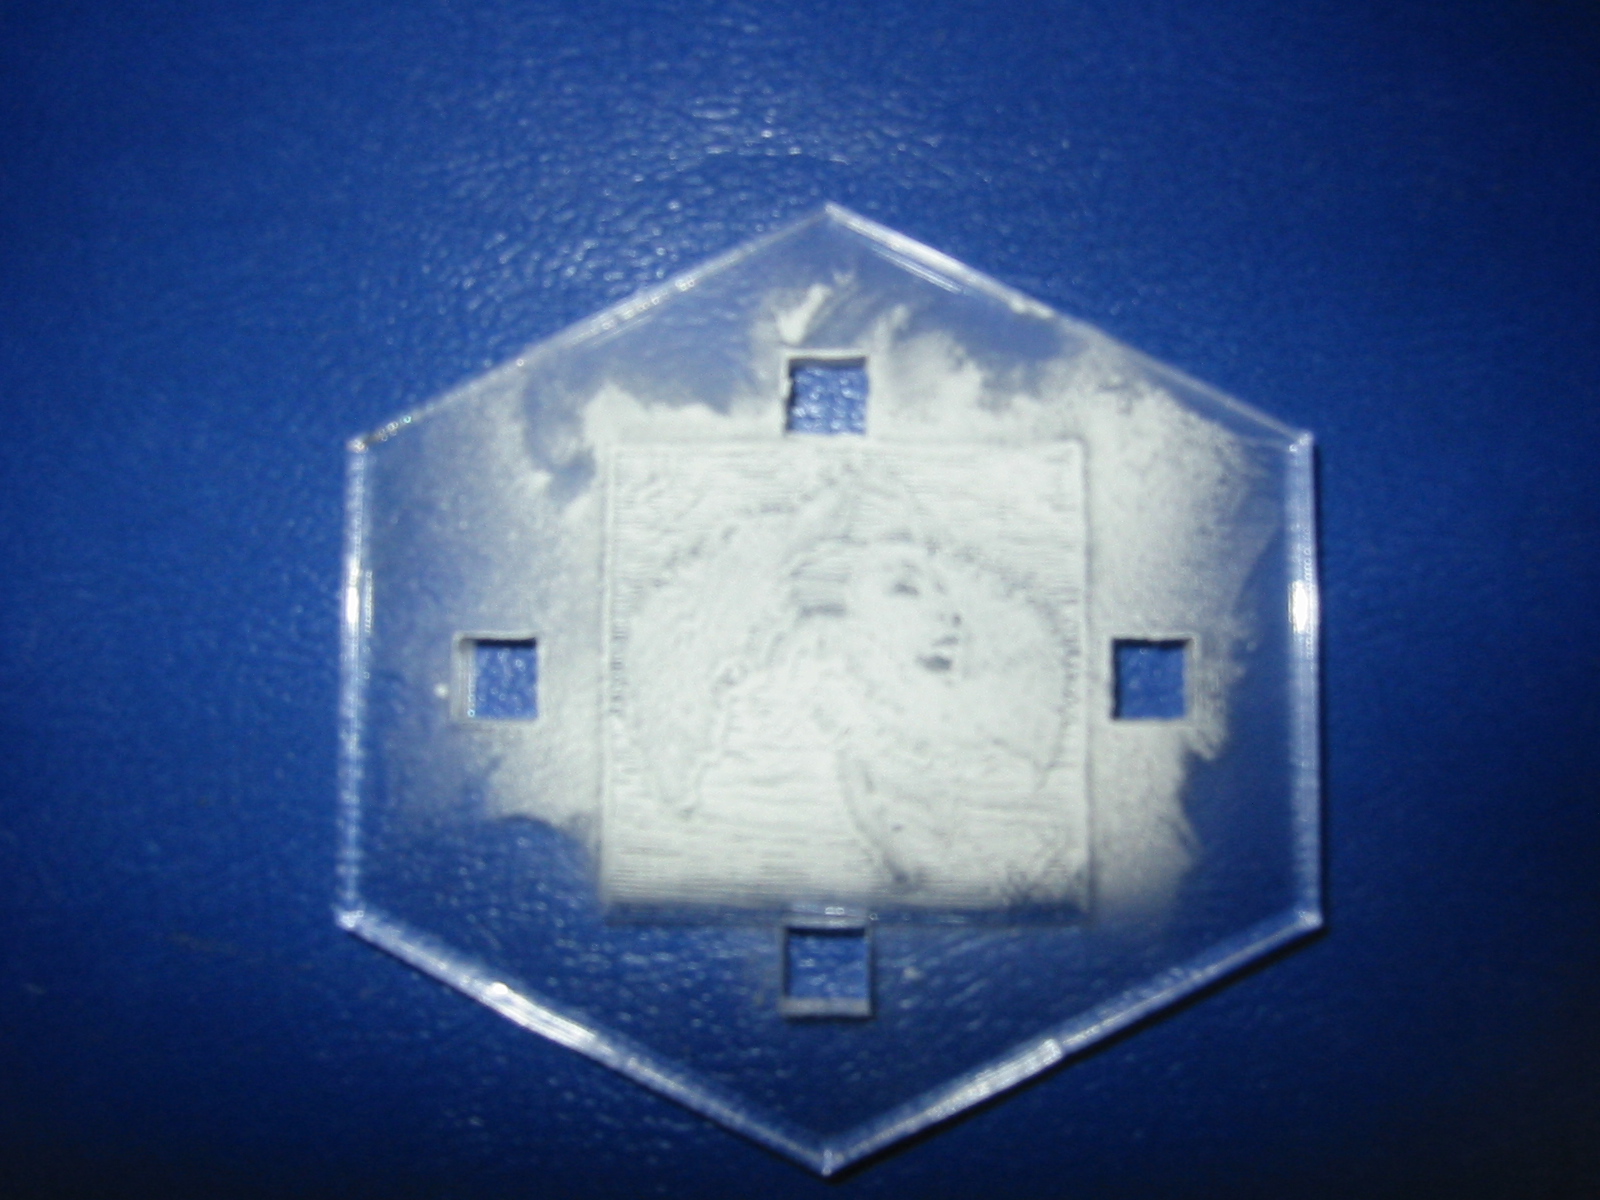
Rastered Image - Shake It Up
BATTERY Image - Shake It Up
SUCCESS - Shake It Up
Summary of Fabrication Processes Used
PCB Fabrication--I used Eagle and the modela to create the board that is used to transform the AC to DC and maintain a current level.
Laser Cutter--I used this device to cut the clear acrylic case for the battery. I had fun by figuring out how to raster both the image for The Cars' Shake It Up album cover and the words "SHAKE ME".
Input/Output Devices--The kinetic battery will be used to "hopefully"
charge the Internet O Networking Devices.
Molding and Casting--I cast a small two layered cork for the base of the tube. A spring is sandwiched between the two plastic corks. The base is tightly inserted but I decided to use a shaved wine cork for the top of the tube. There is a spring there two but the wine cork is much easier to remove.
edit