Project 5: Scan a 3-D object and then print it using a 3-D printer.
-- s c a n n i n g --
I tried to scan several objects, including asterix and obelix pez dispensers. I thought it would be fun to have a replica of a pez dispenser that you could not open. It was surprising how difficult this was.
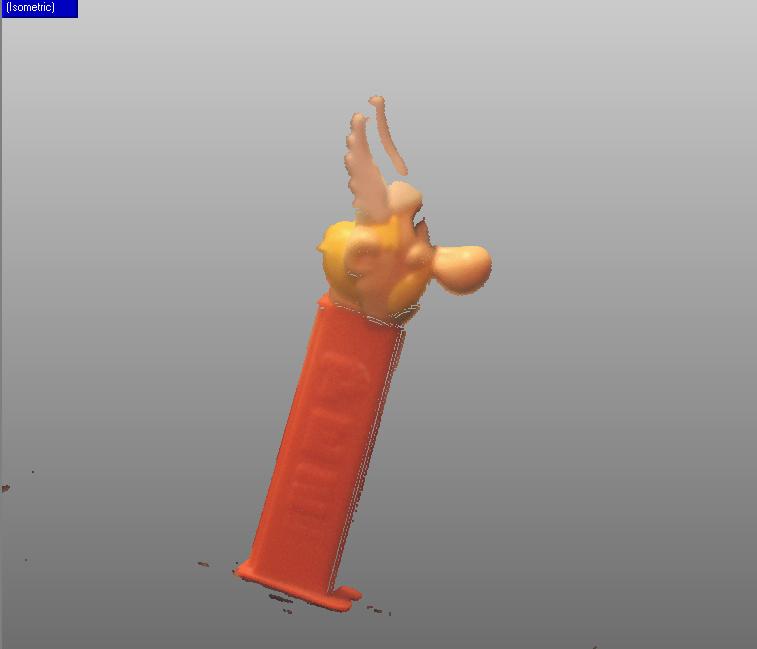
It seems that the scanner mostly likes light colored objects that are mostly convex.
As it was hard to get enough time on the computer, I decided to try for an easier object.
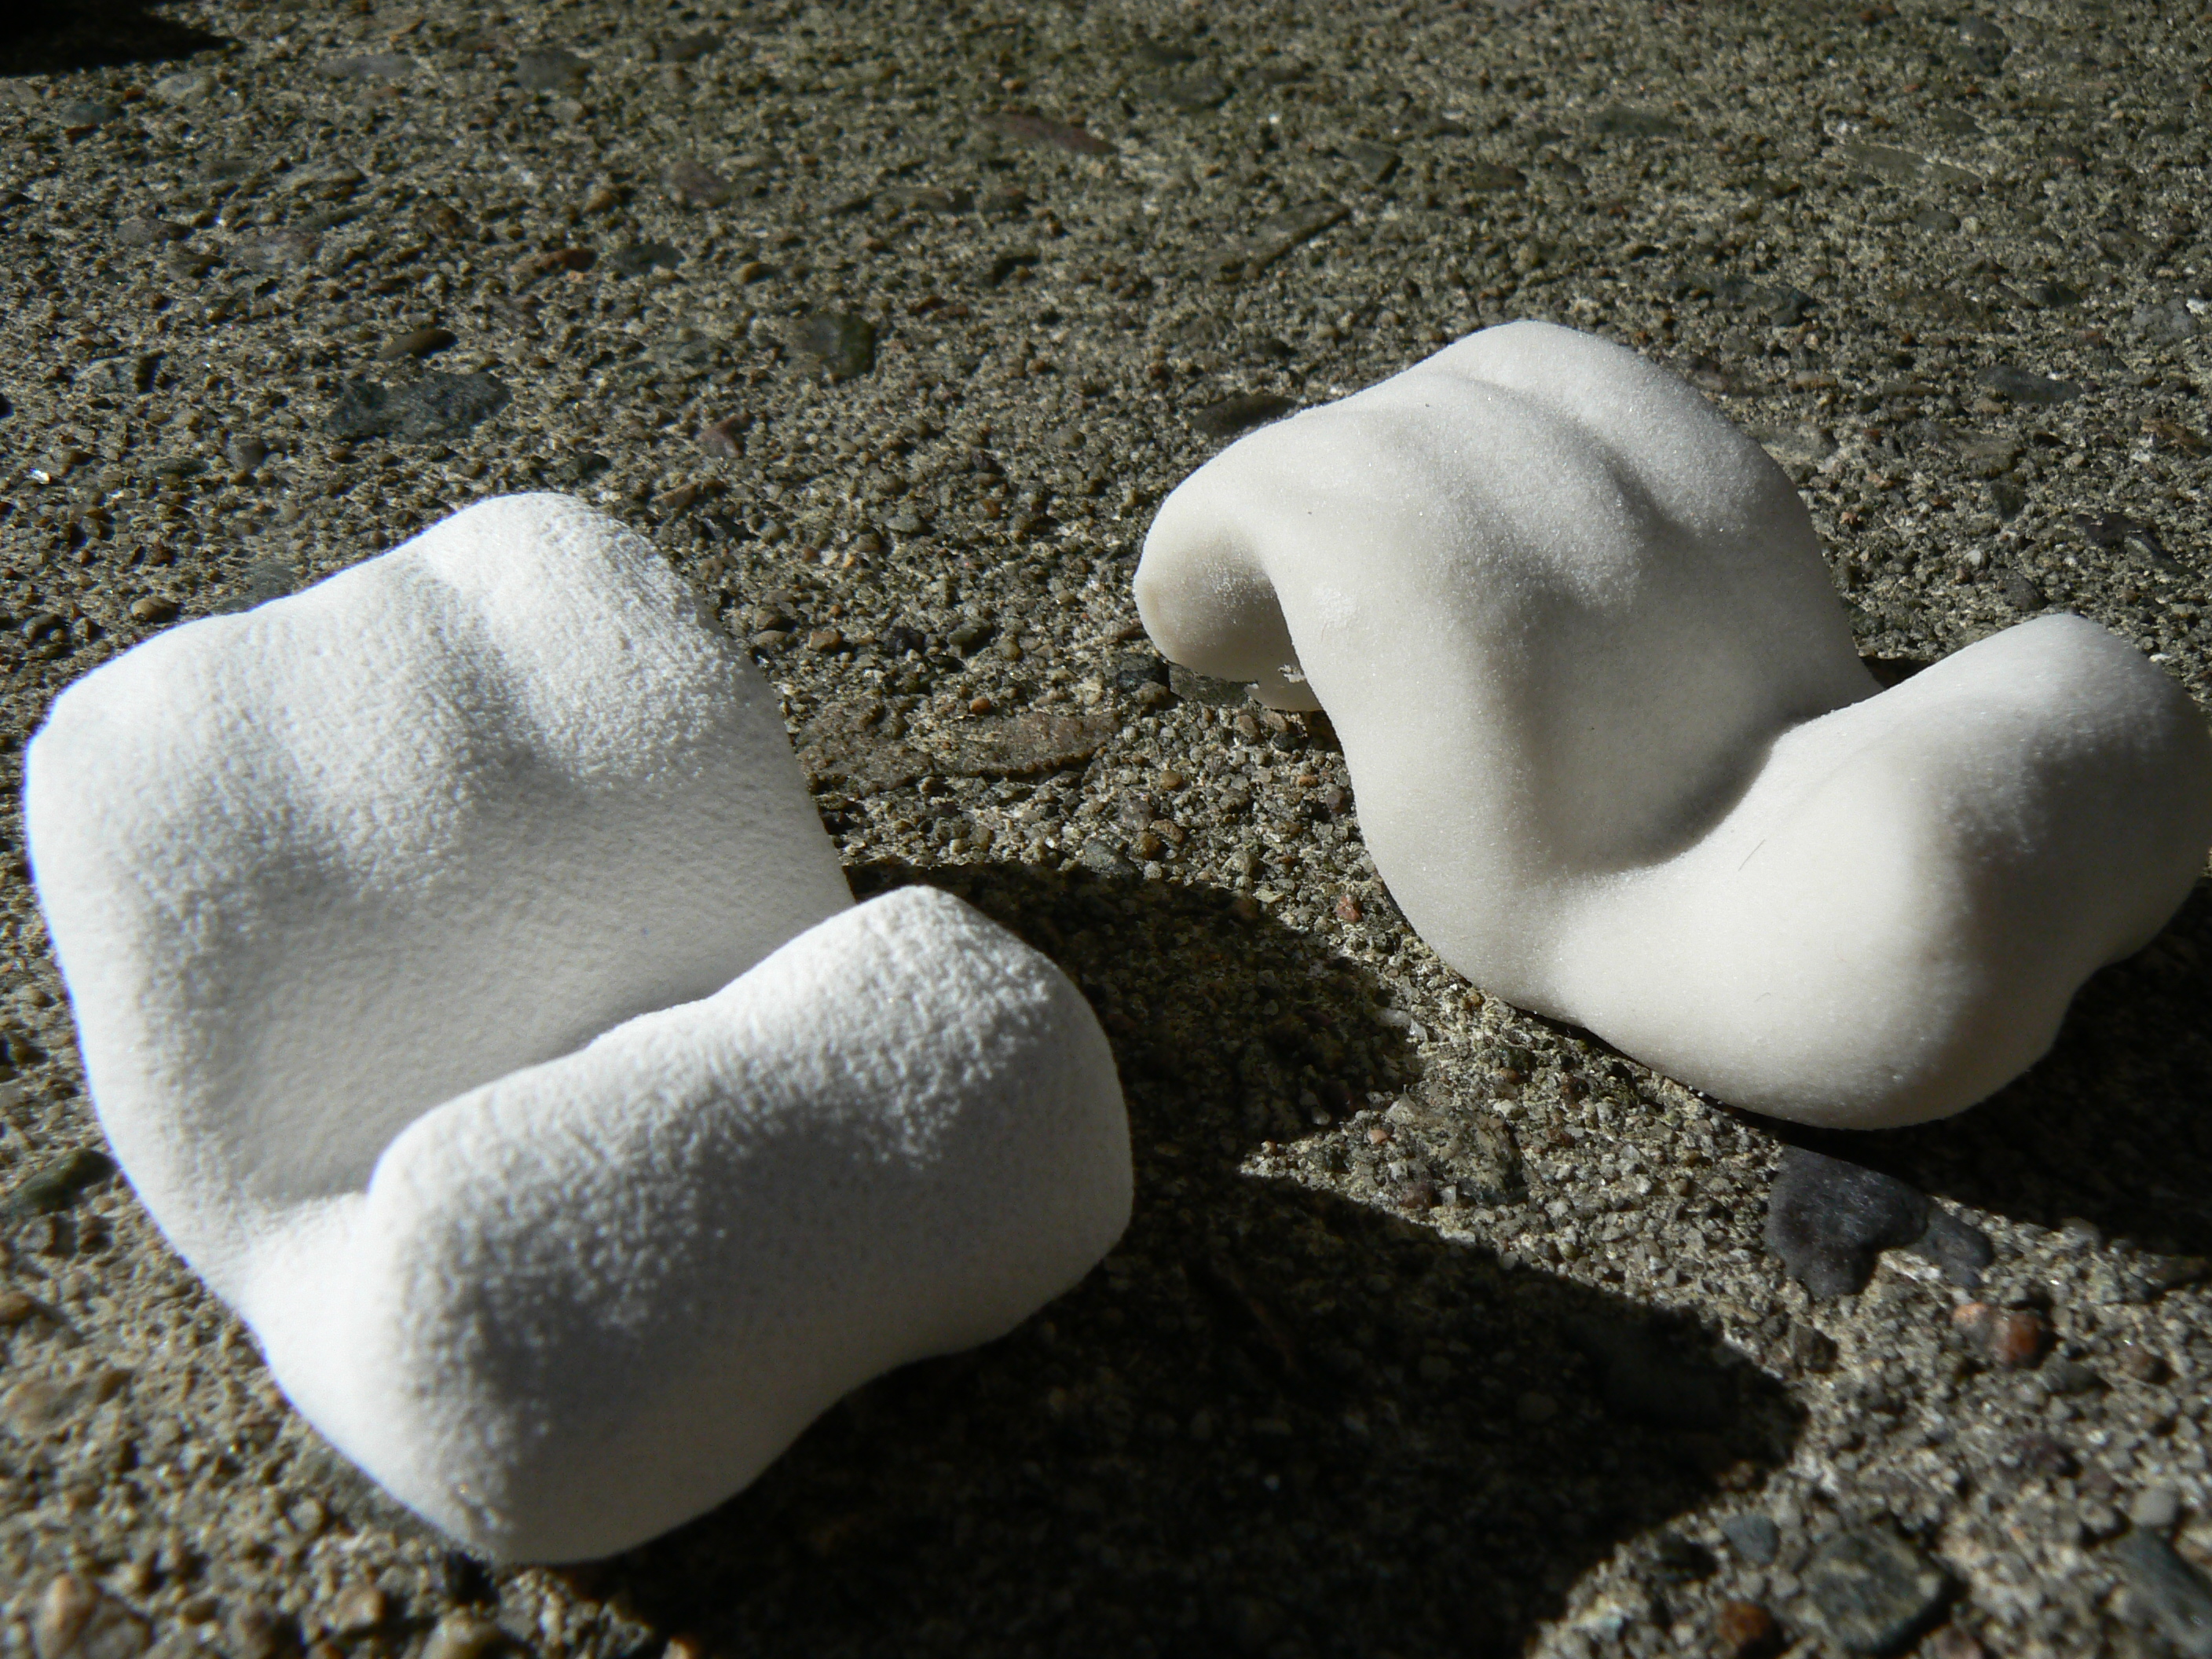
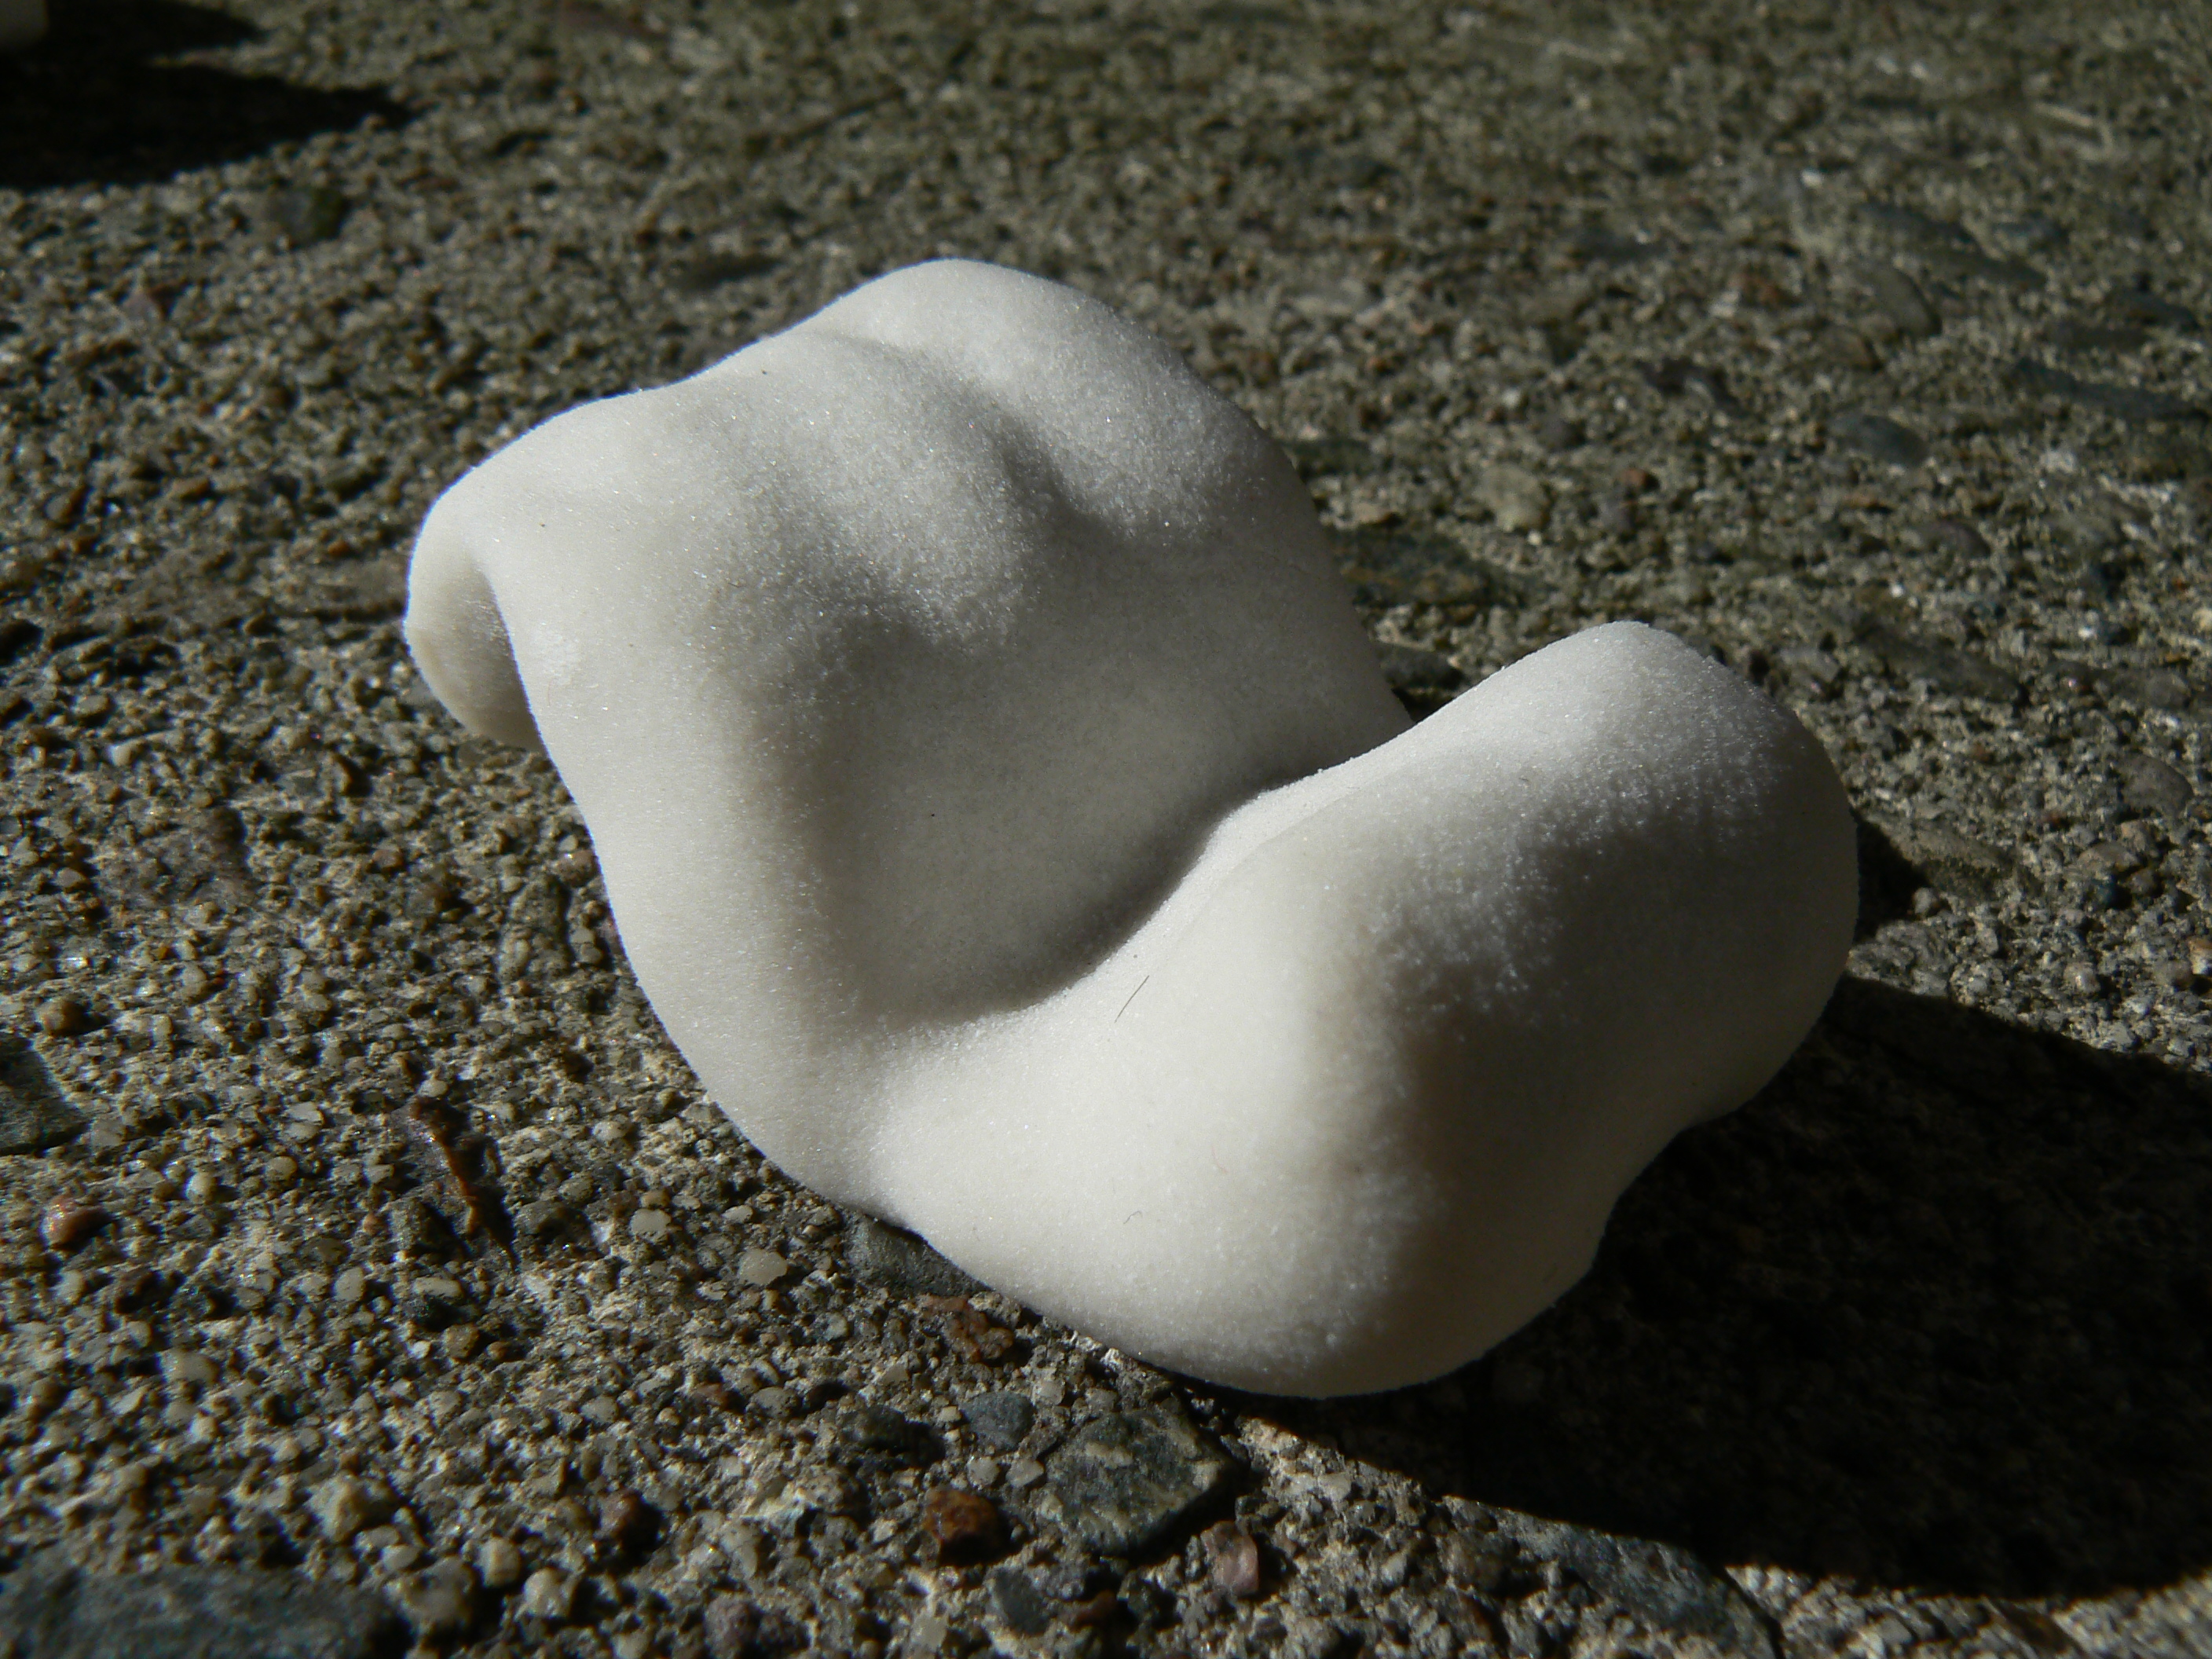
Voila the packing peanut.

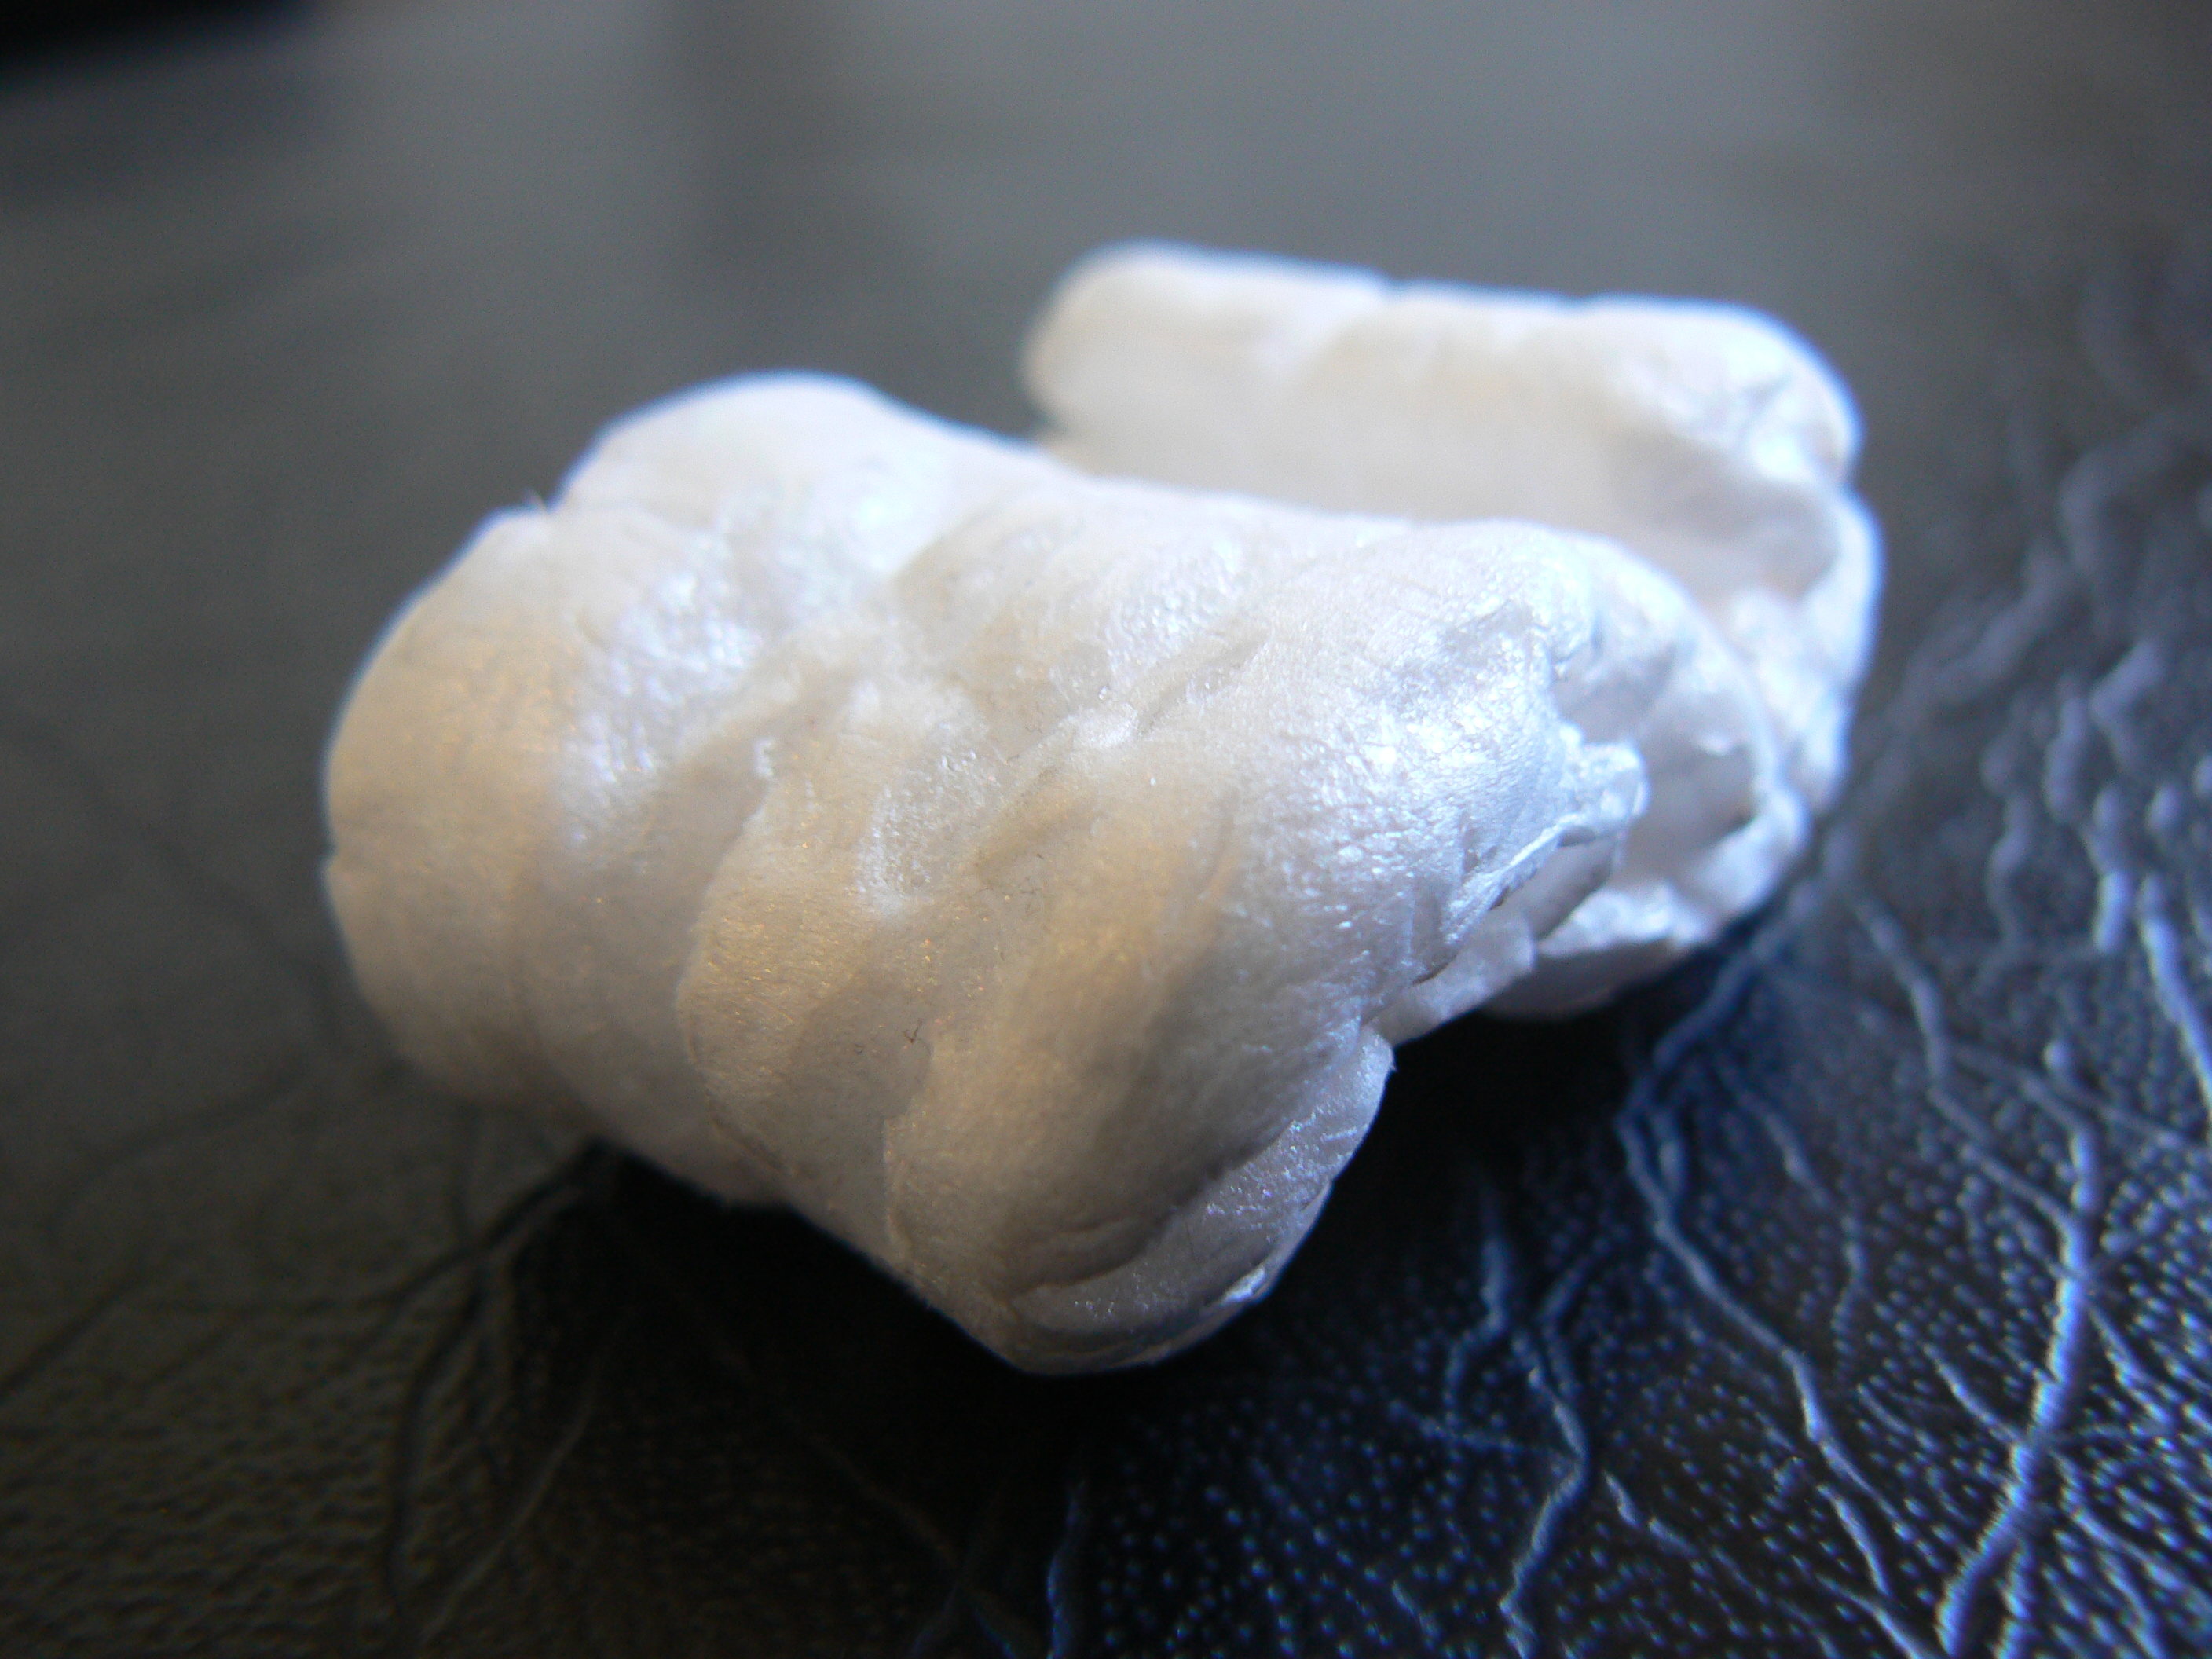
I admit this is not the actual peanut I scanned. That one broke to pieces in my bag. How ironic, an object used to protect fragile objects from breaking is so fragile itself.
I chose the packing peanut because I wanted an object that was more light and uniform in color. Plus, as I was scouring the basement of the media lab for an object to replace the more difficult objects I had brought, I happened upon the packing peanut and was actually struck by what an interesting form it has.
By replicating the packing peanut, I am hoping that it will make people stop and admire the beauty of such a prosaic object. The history of the packing peanut and what it is made out of is also interesting--it used to always be styrofoam, but now there are more bio-friendly materials, and now I'm making a peanut with ABS plastic and powder with binder. By changing its size, I'm prompting the questions: why are packing peanuts always the same size? How was this size standardized? Could another size be better?
.
.
I'm kidding, sort of.
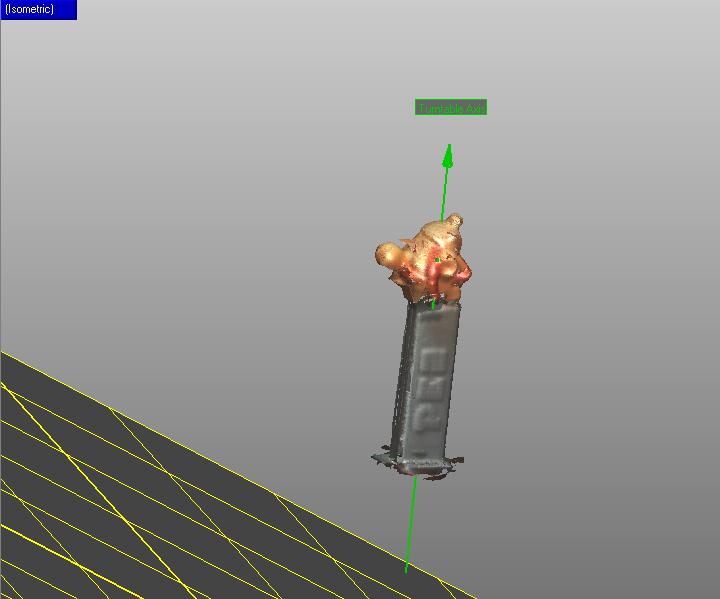
Below are some images of the point clouds from a couple of the scans (I did 4 scans with a 90 degree rotation) before merging. I stuck the peanut vertically on the turntable with putty.
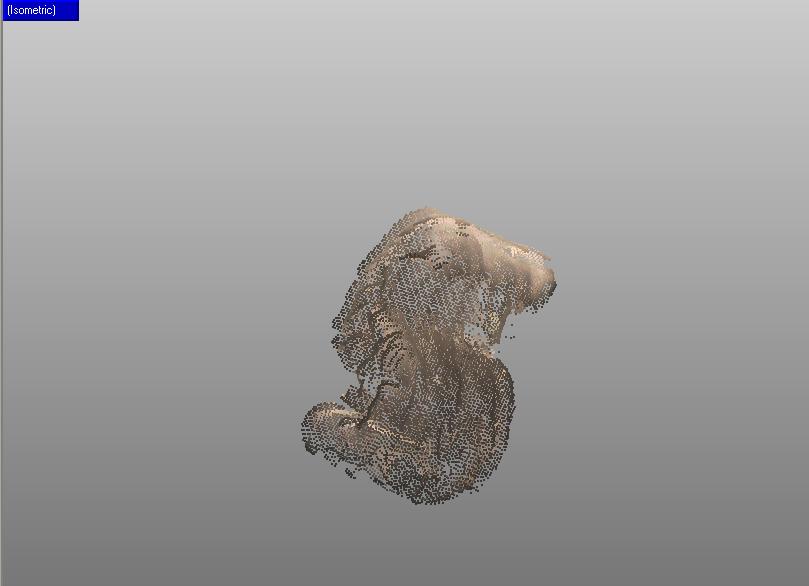
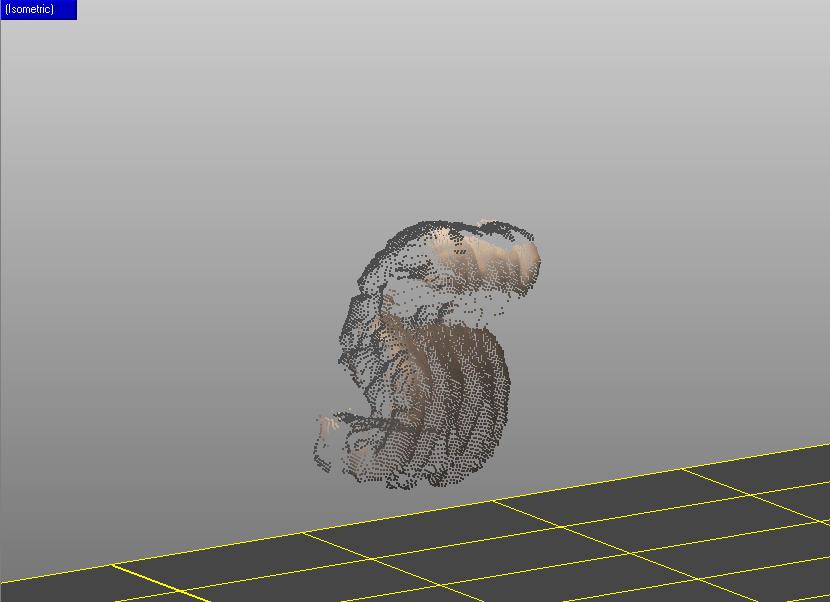
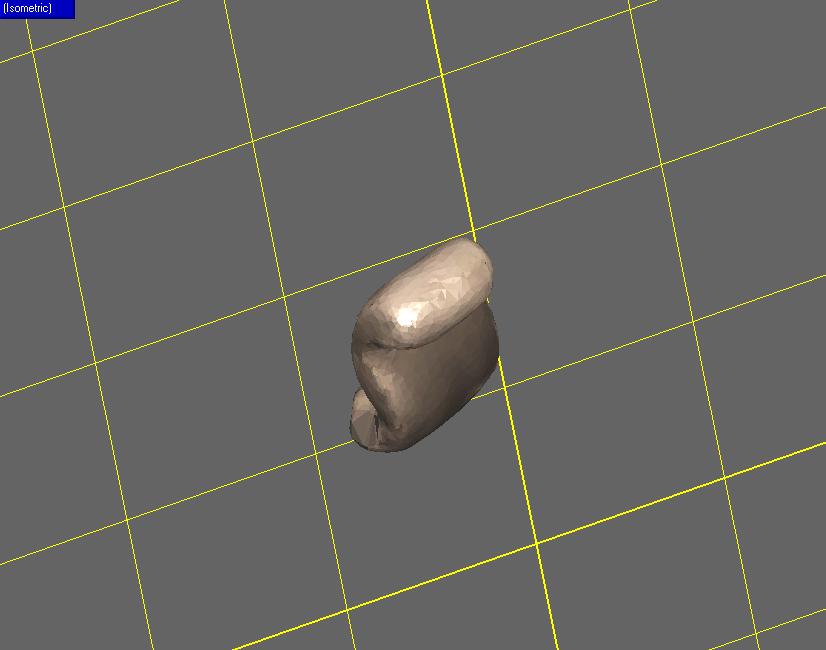
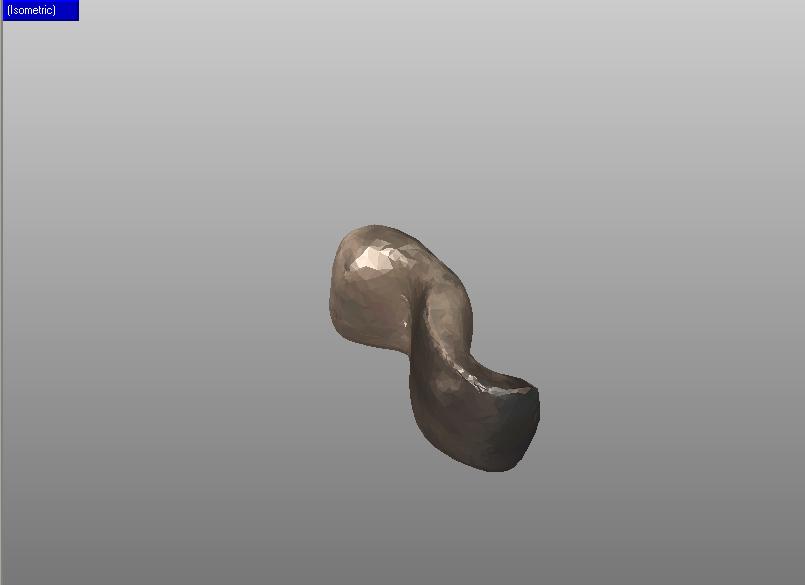
Below are some views of the merged scans, after reducing the noise, reducing the number of polygons, deleting spikes, and filling holes.
-- p r i n t i n g --
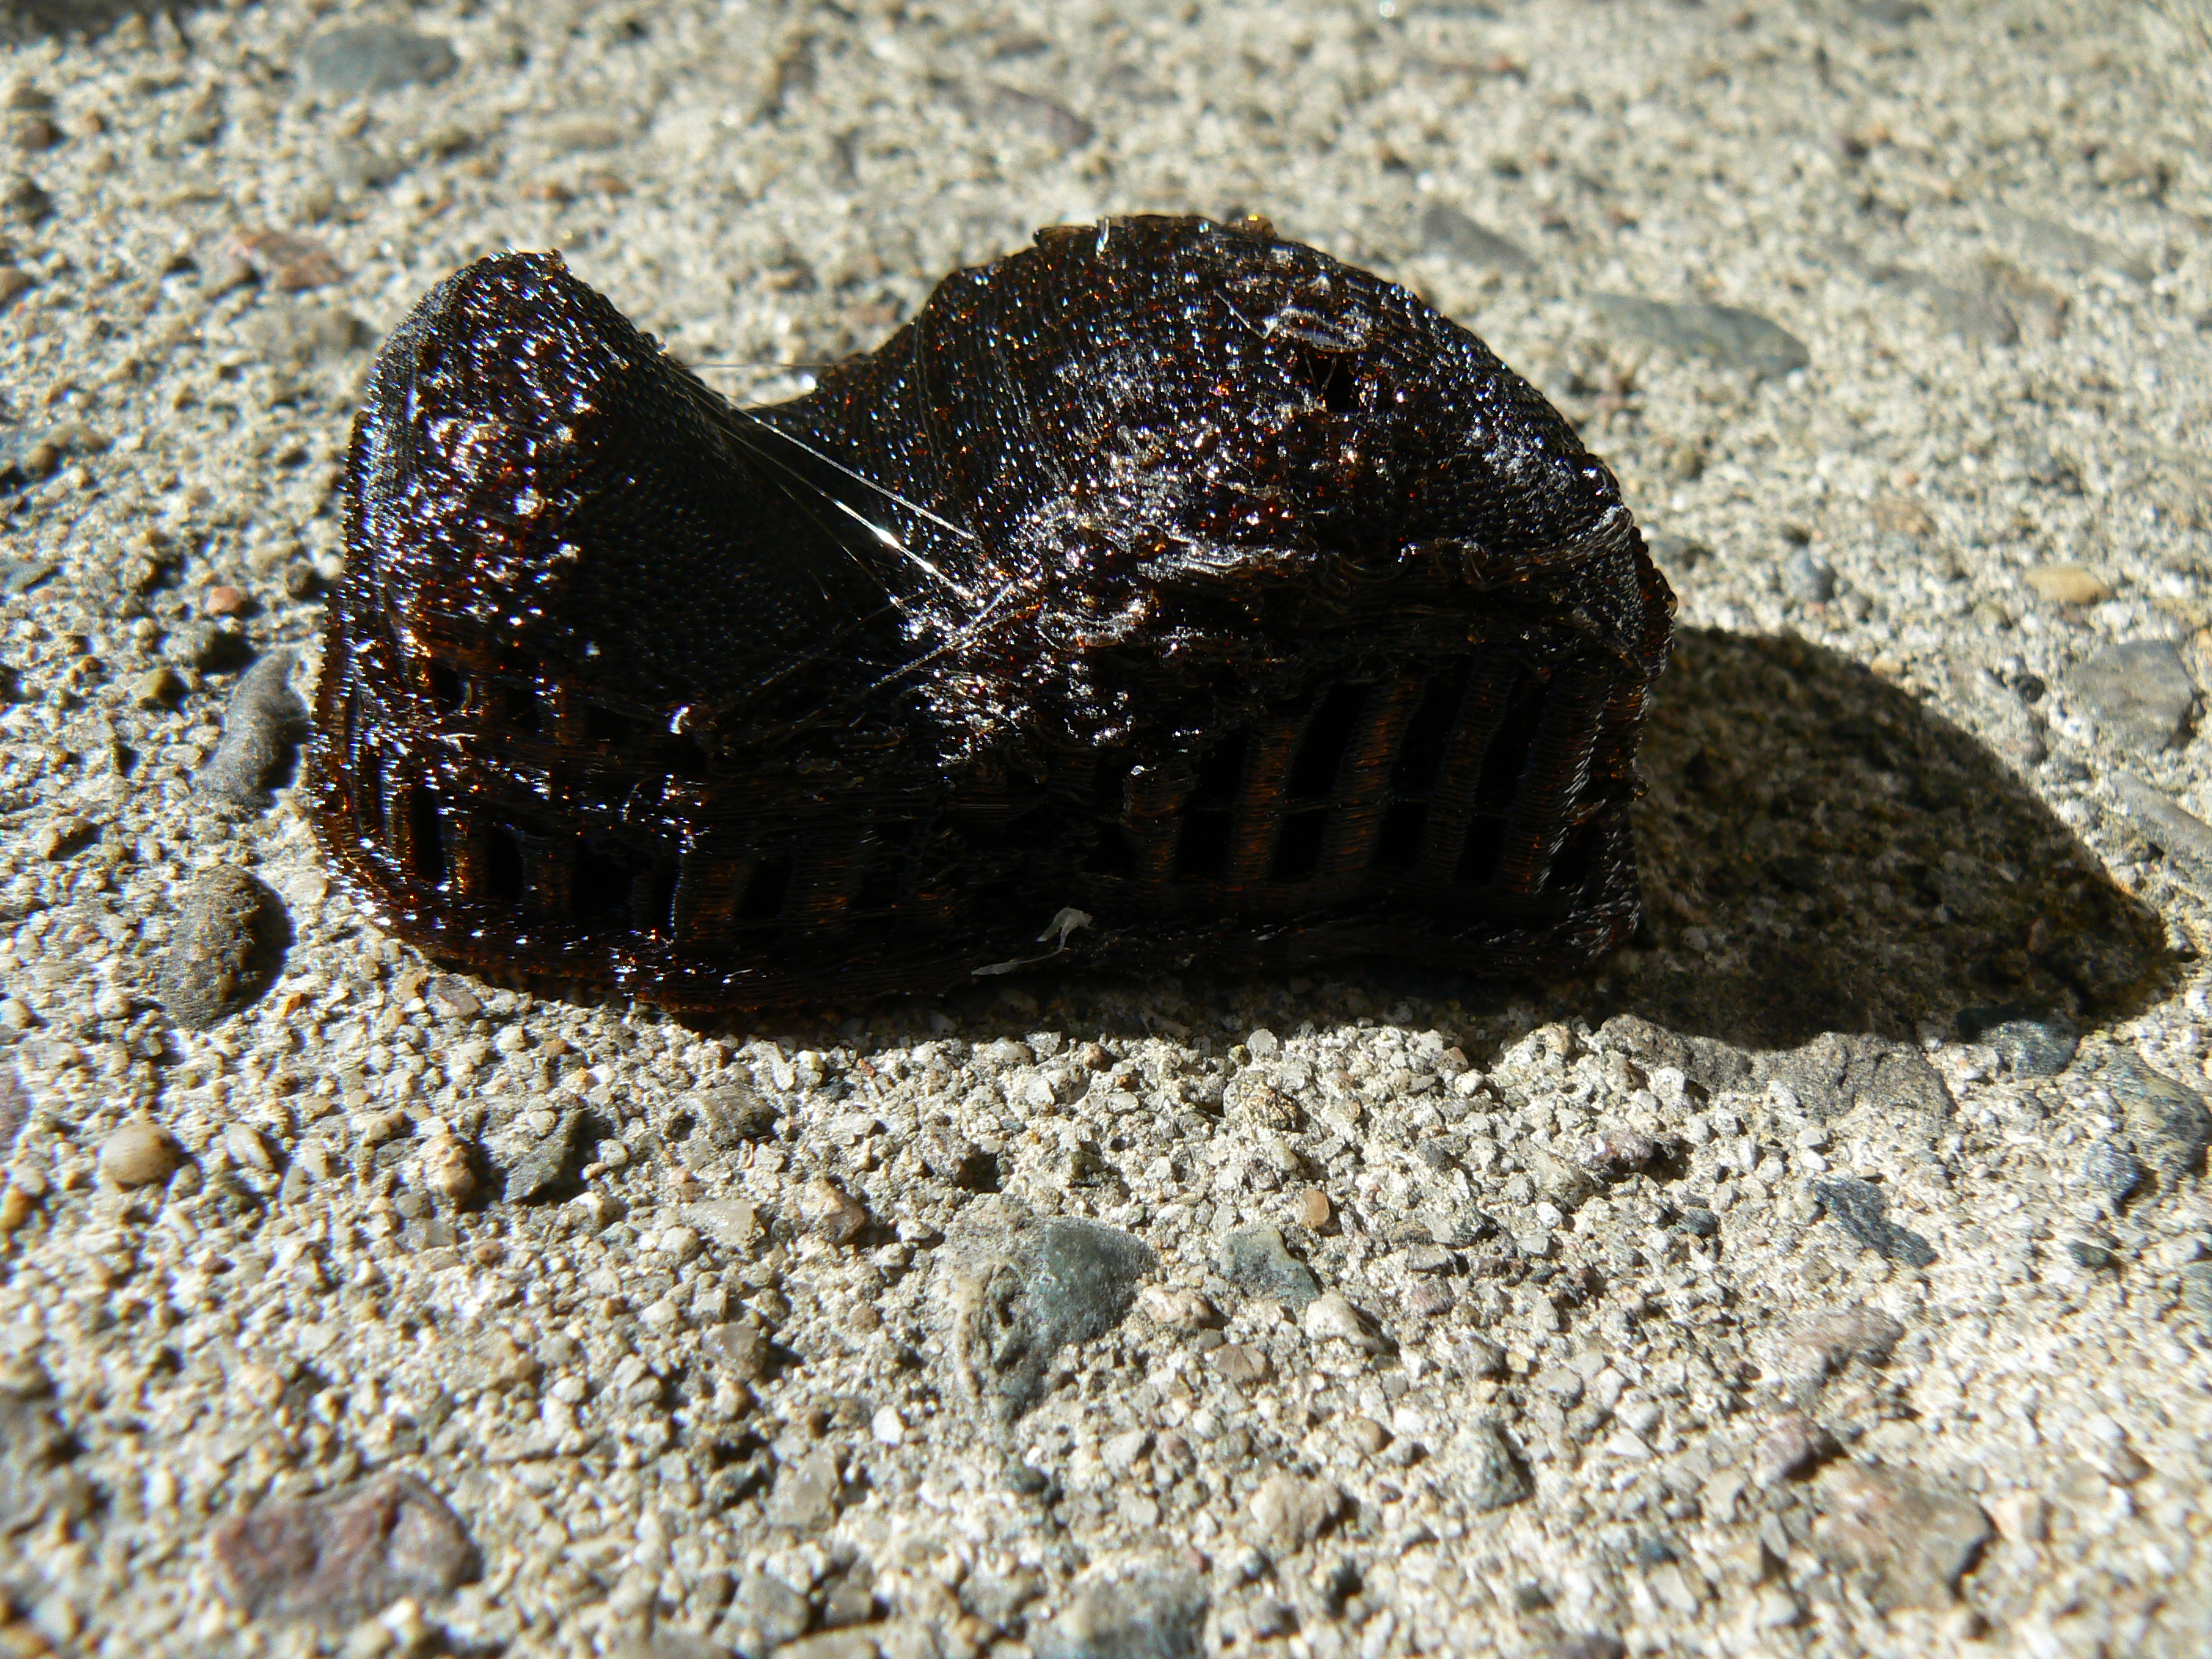
I printed on both the Stratasys FDM and the ZCorp machine.
My first few print jobs were done with a file that had a hole near the bottom of the peanut. It still looked okay though, so I proceeded.
The first print on the FDM came out okay, but the scale was tiny.
I then fixed the hole in the GeoMagic software, but then I had problems with the stl file. For some inexplicable reason, it would not print. The FDM dealt with this by making a shell of the support material that is hollow inside, and the ZCorp printer did not print it at all.
I re-exported an stl file from the fixed peanut model and was finally able to print on the ZCorp! Unfortunately however, as I was blowing the model with the air gun part of it crumbled :-(