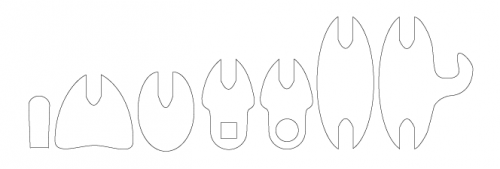
a room divider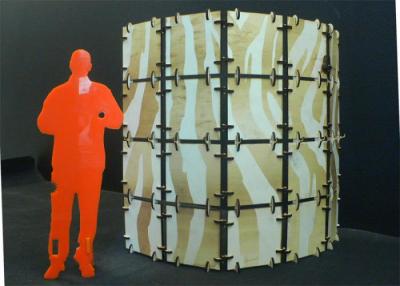 I started off making some tests with cardboard with discs and arms, but i didnt like the design of it. I wanted to make something totally reduced to as less possible parts, and use very basic shapes like a square. Another aspect was that I wanted it to become a product. So i endet up with making a room divider. A room divider has to be flexible, so I had to think of press fit joints. I used 4mm soft wood which is very light. Here are all the connector shapes neccesary to build the room divider.
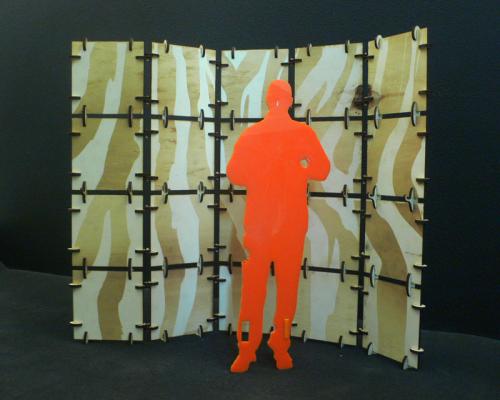
Obviously the joint is build by putting the 'nail' through the one piece with the whole, and press it in the other one with the square shape. Notice the detail on the piece to the right. Nothing special but handy, you can hang a towel on it ;) You can also leave out some squares to create windows if you like. As for laser settings for the wood I used: cutting: s = 1 / p = 100 / ppi = 1000 | raster: s = 100 /p = 20 / ppi = 400 The press fit measurments: For all the connectors, the drawing is 0.5mm thinner than the material thicknes. The nail is on the bottom 4.1 mm, and on top 4.9. With this measurments you can really press it in the square of the joint piece. The whole of the other joint piece is 5.6 which is simply exactly the diagonal lenth of the square. The zebra pattern just finished off the design for me, but it could be any image off course. I like the idea that people who buy one, can send their own pattern and we will laser it on the squares. Plans: I really want to scale it up to the real size. I guess i will increase the material thickness to 8mm and build a big one.
on the image above, the feet is missing ;-)
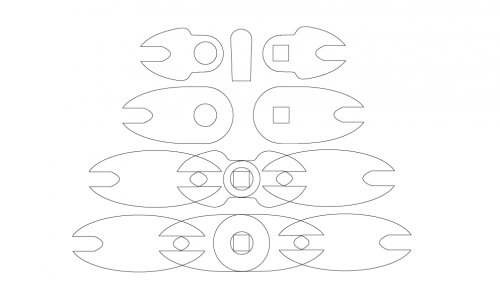
Sunday september 28: No the joints are improved to reduce the space between the rows of the room divider. Look at hte image below. You can see that now there is the same distance as on the vertical connectors. that must look even better. Tommorow I will laser it and test the stability of them.
|