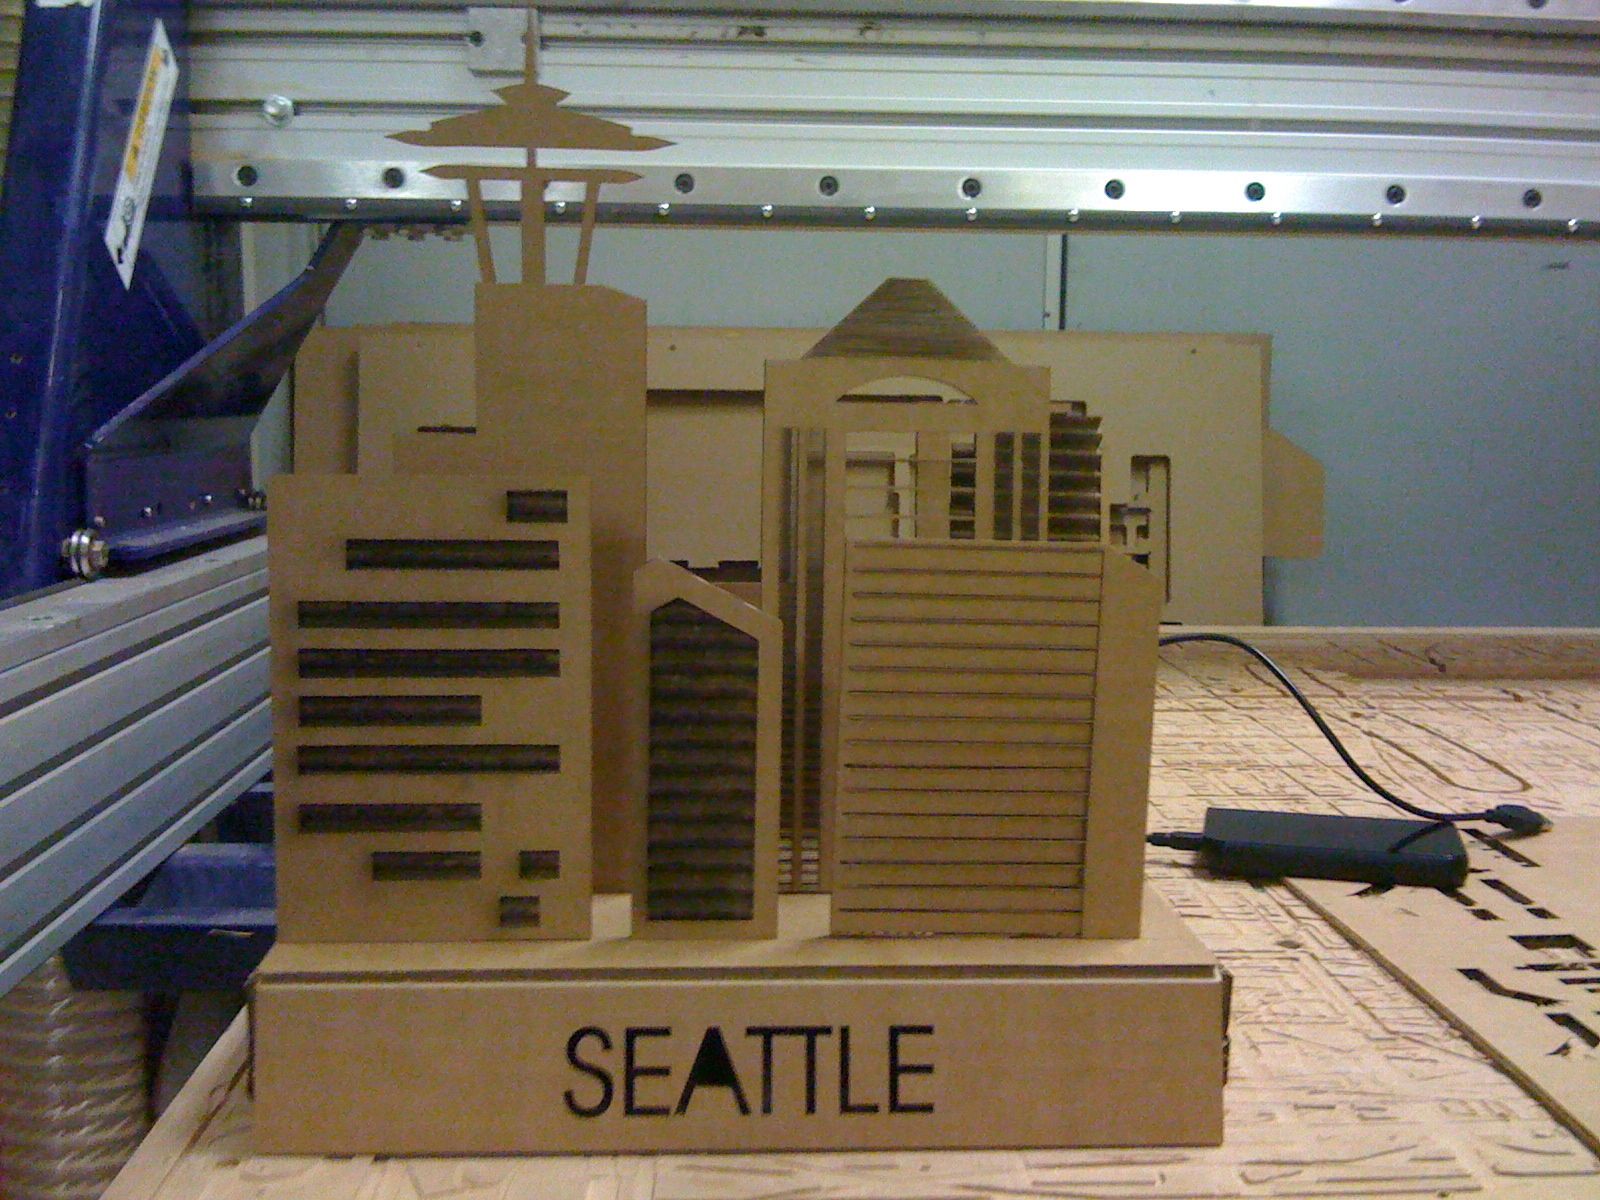
 For my laser cutting assignment I chose to make a press fit cuttout of Seattle, just because I like the tower and I liked the idea of making something that would come in a flat package and then pop up.
   To complete this assignment I took the following steps:
1. I prepped the cutout in Adobe Illustrator, setting the canvas to 31" x 17", 1" short of the max on the cutter, making sure I had enough room. The key with Illustrator is to make lines with the smallest # of paths for optimal printing (and so you don't accidently cut something you don't want to). 2. I did import som PNGs, but had mixed results and had to remake most of the items by hand in the end. If you do import, it seems that the "technical drawing" mode is the most accurate for outlines. 3. I then downsaved the file to illustator 8 so that I could open it in corral draw for the laser cutter. I first tried dxf, but this worked much better. Here are my files: Illustrator 8 BuildingsIllustrator 8 Base
Coral Draw Buildings
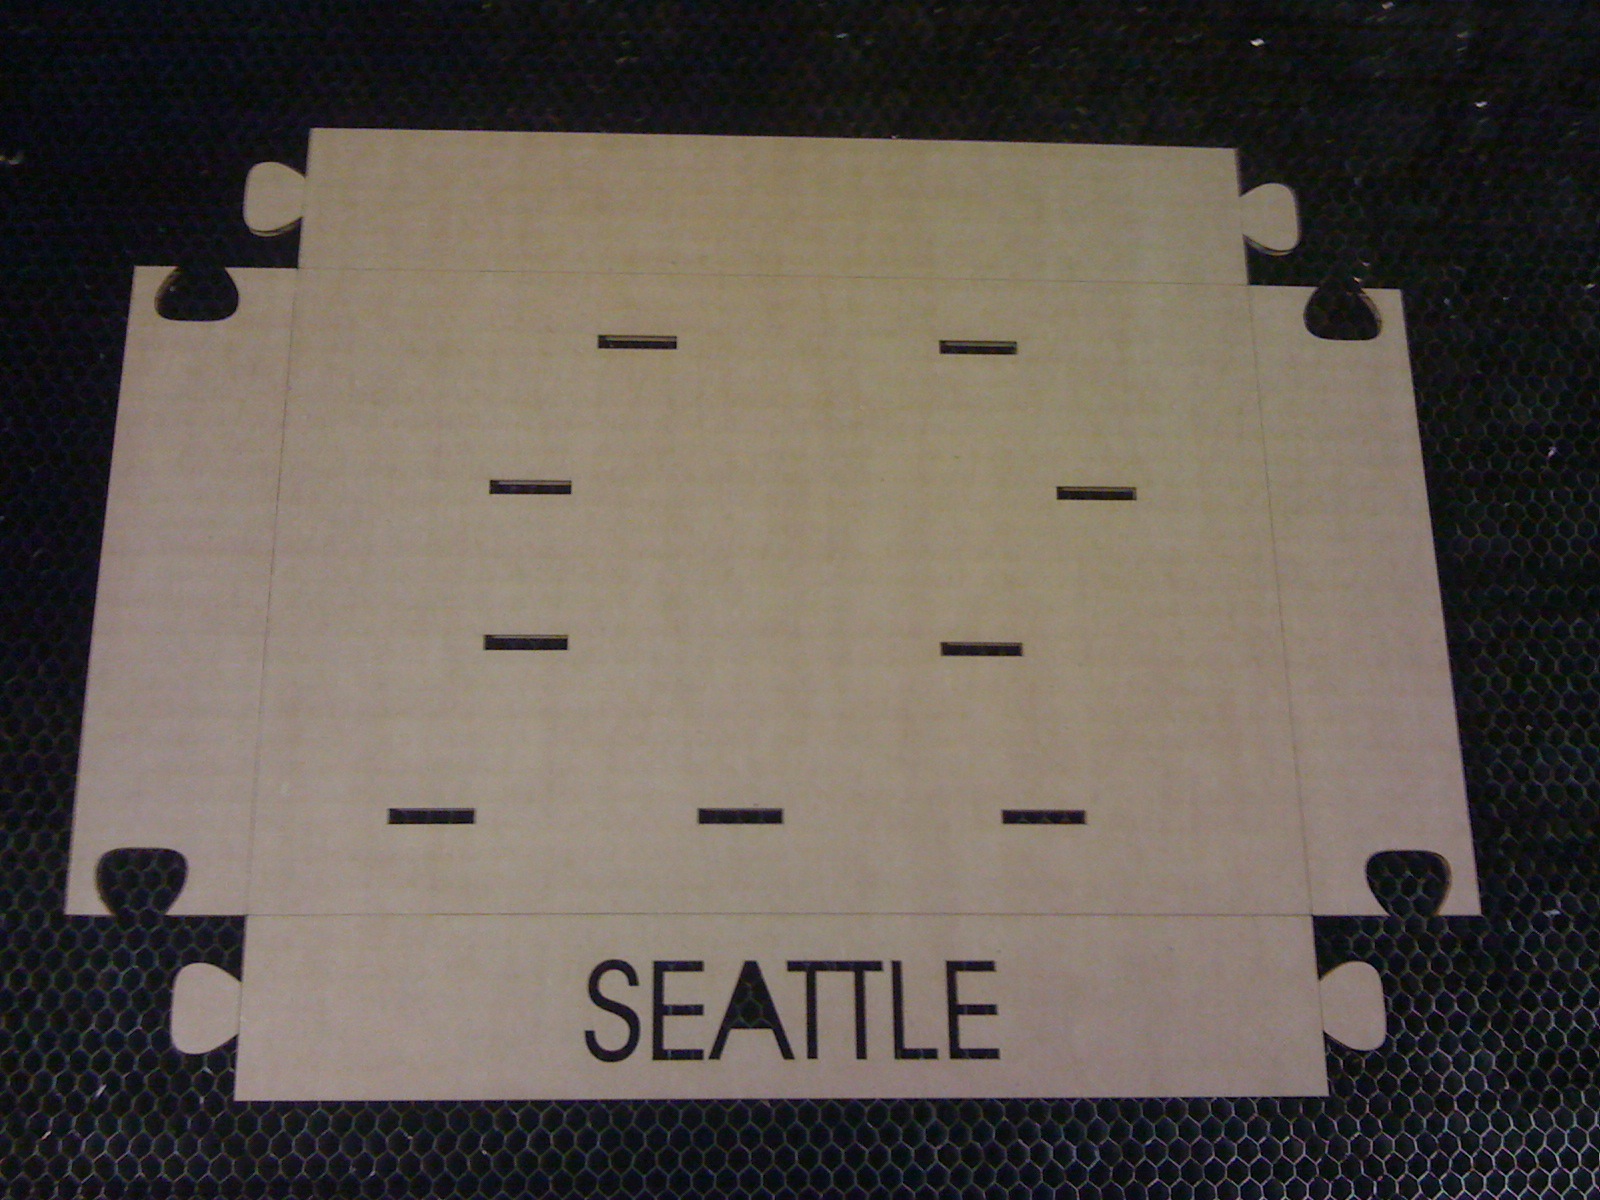
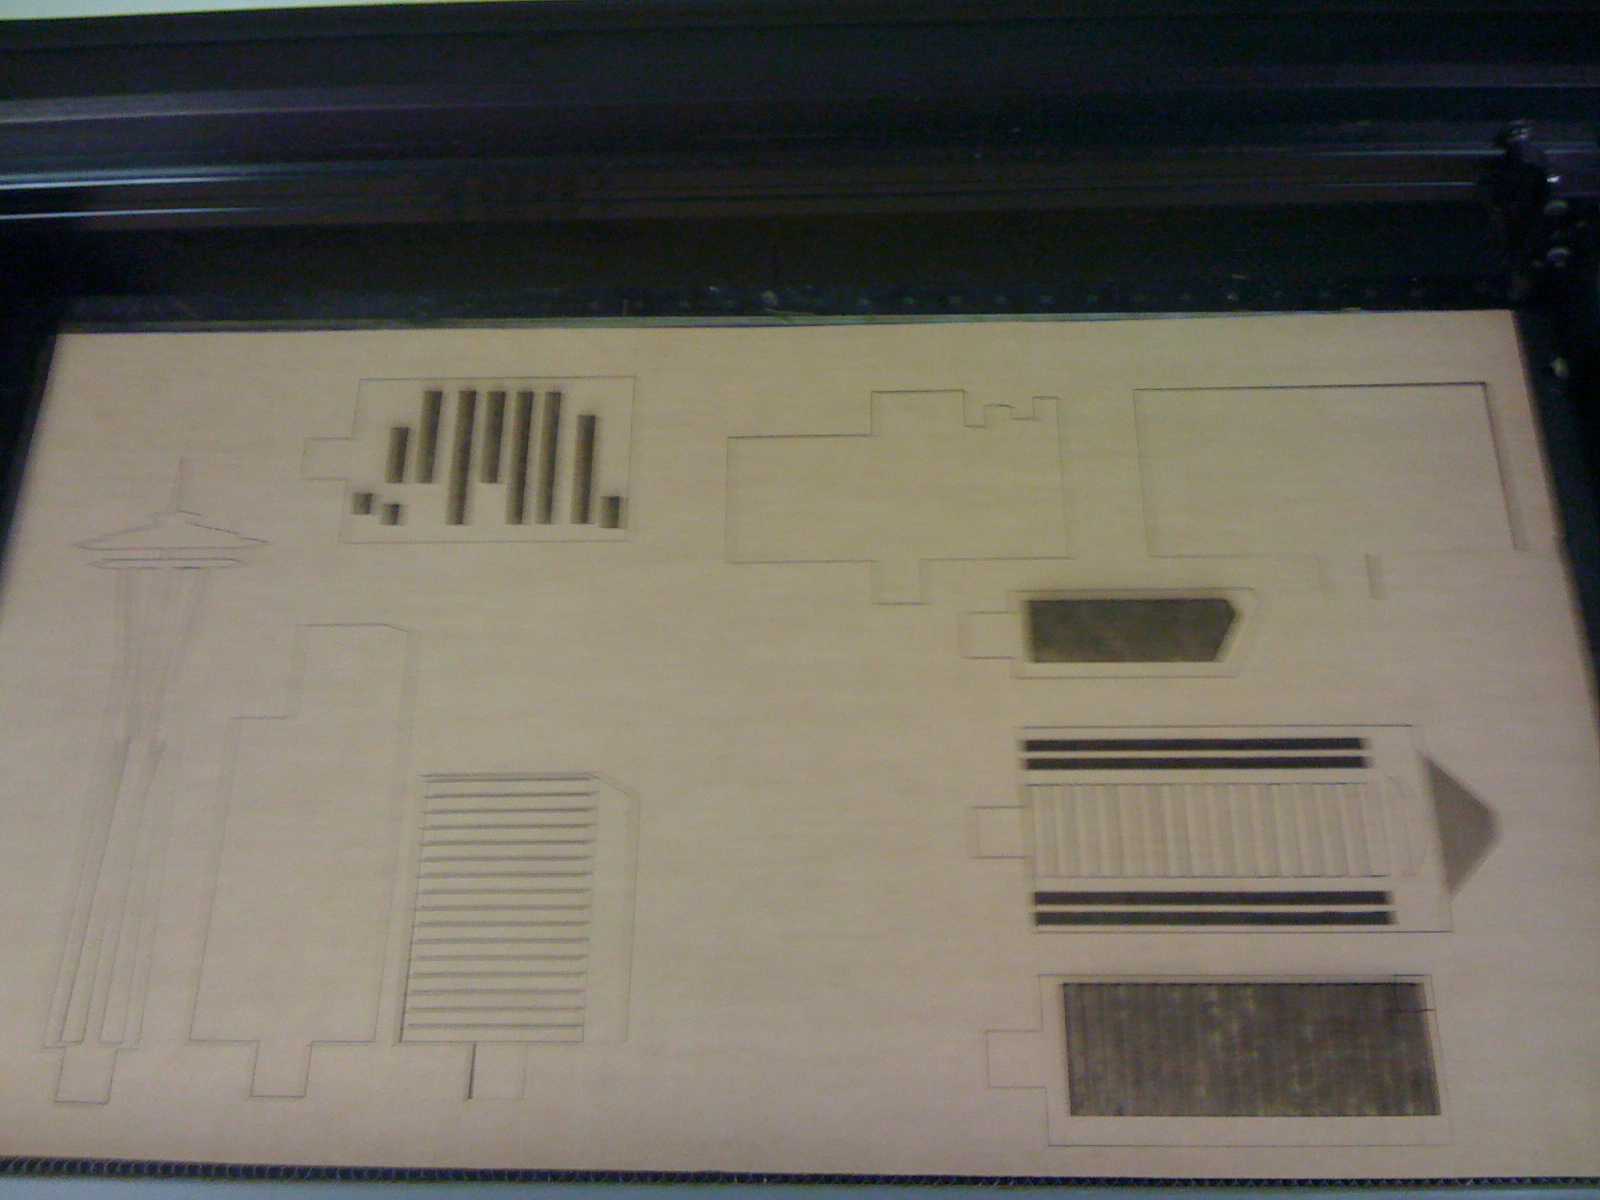
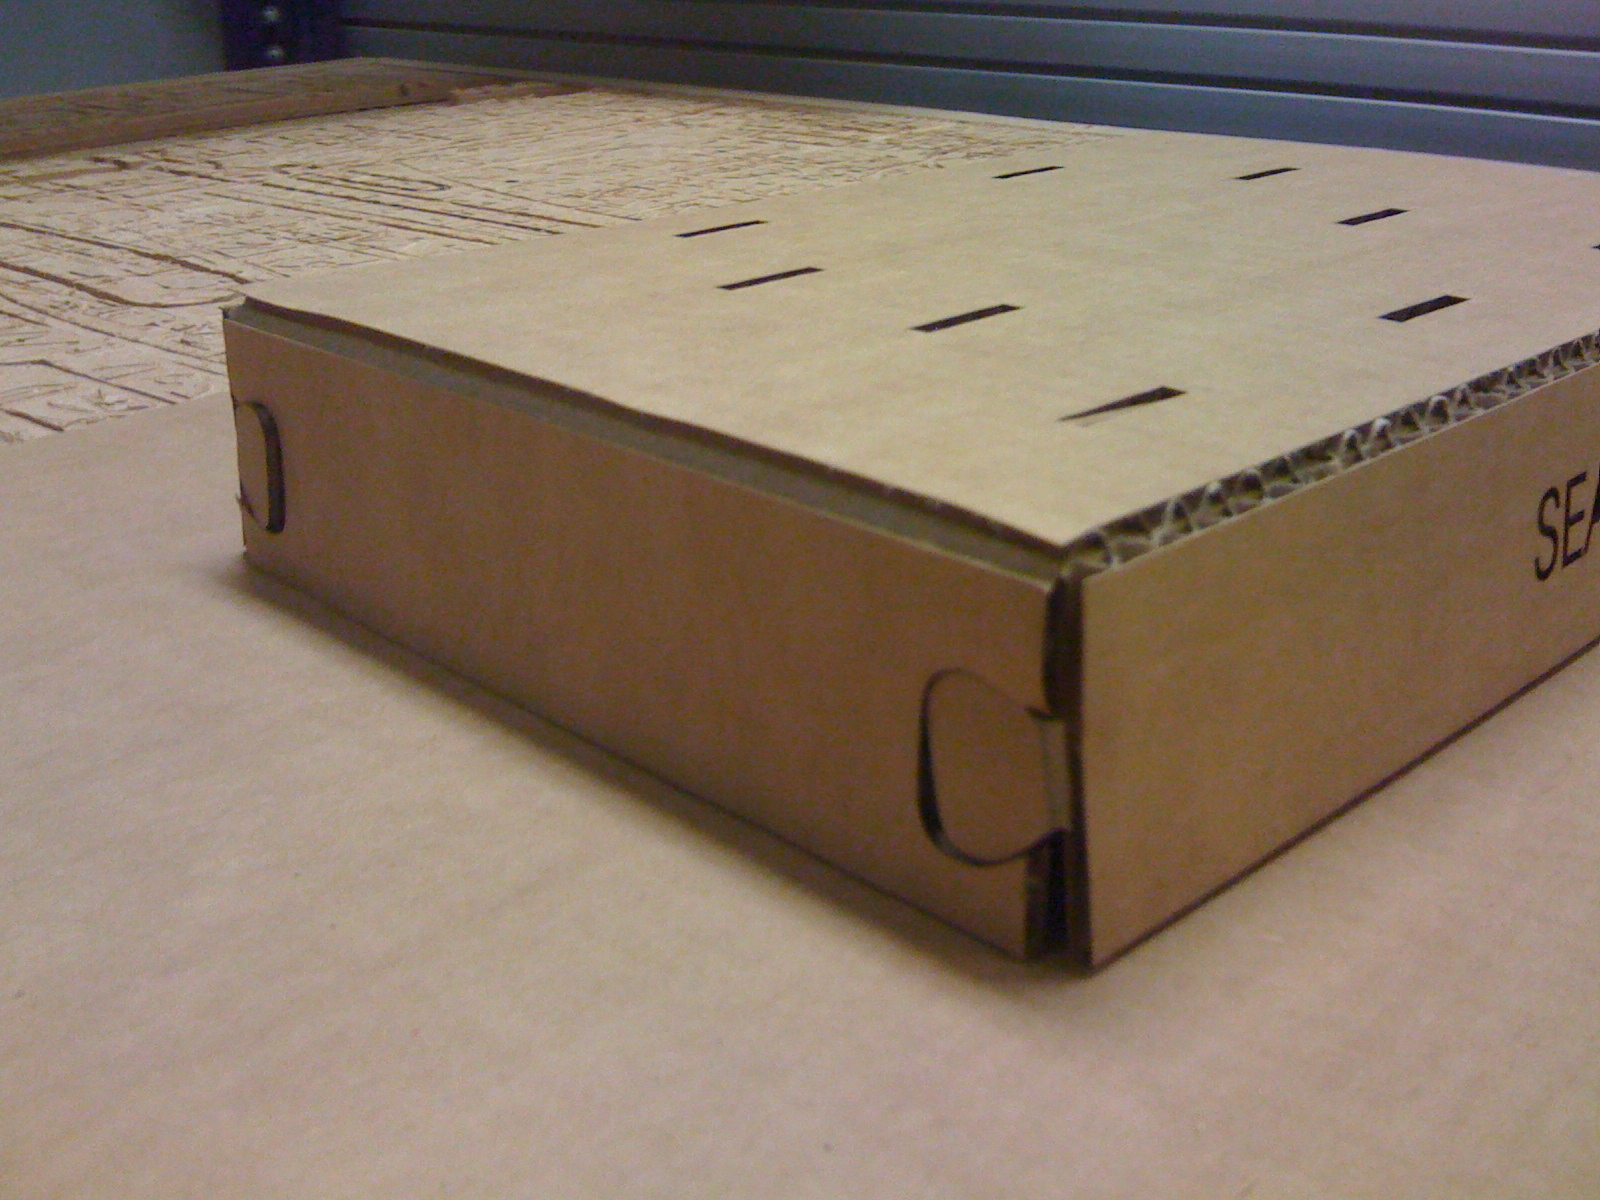
4. Printing was pretty sweet, but I had to make two attempts at it because I made some mistakes with how fine the laser can cut. I got an apocolyptic city by having too many fine paths together in one place. I took the opportunity to make my base a little better too. The second time I printed I also oriented my rasterized images so that they were vertical rather than horizontal. This orientation allows the cutter to work faster. 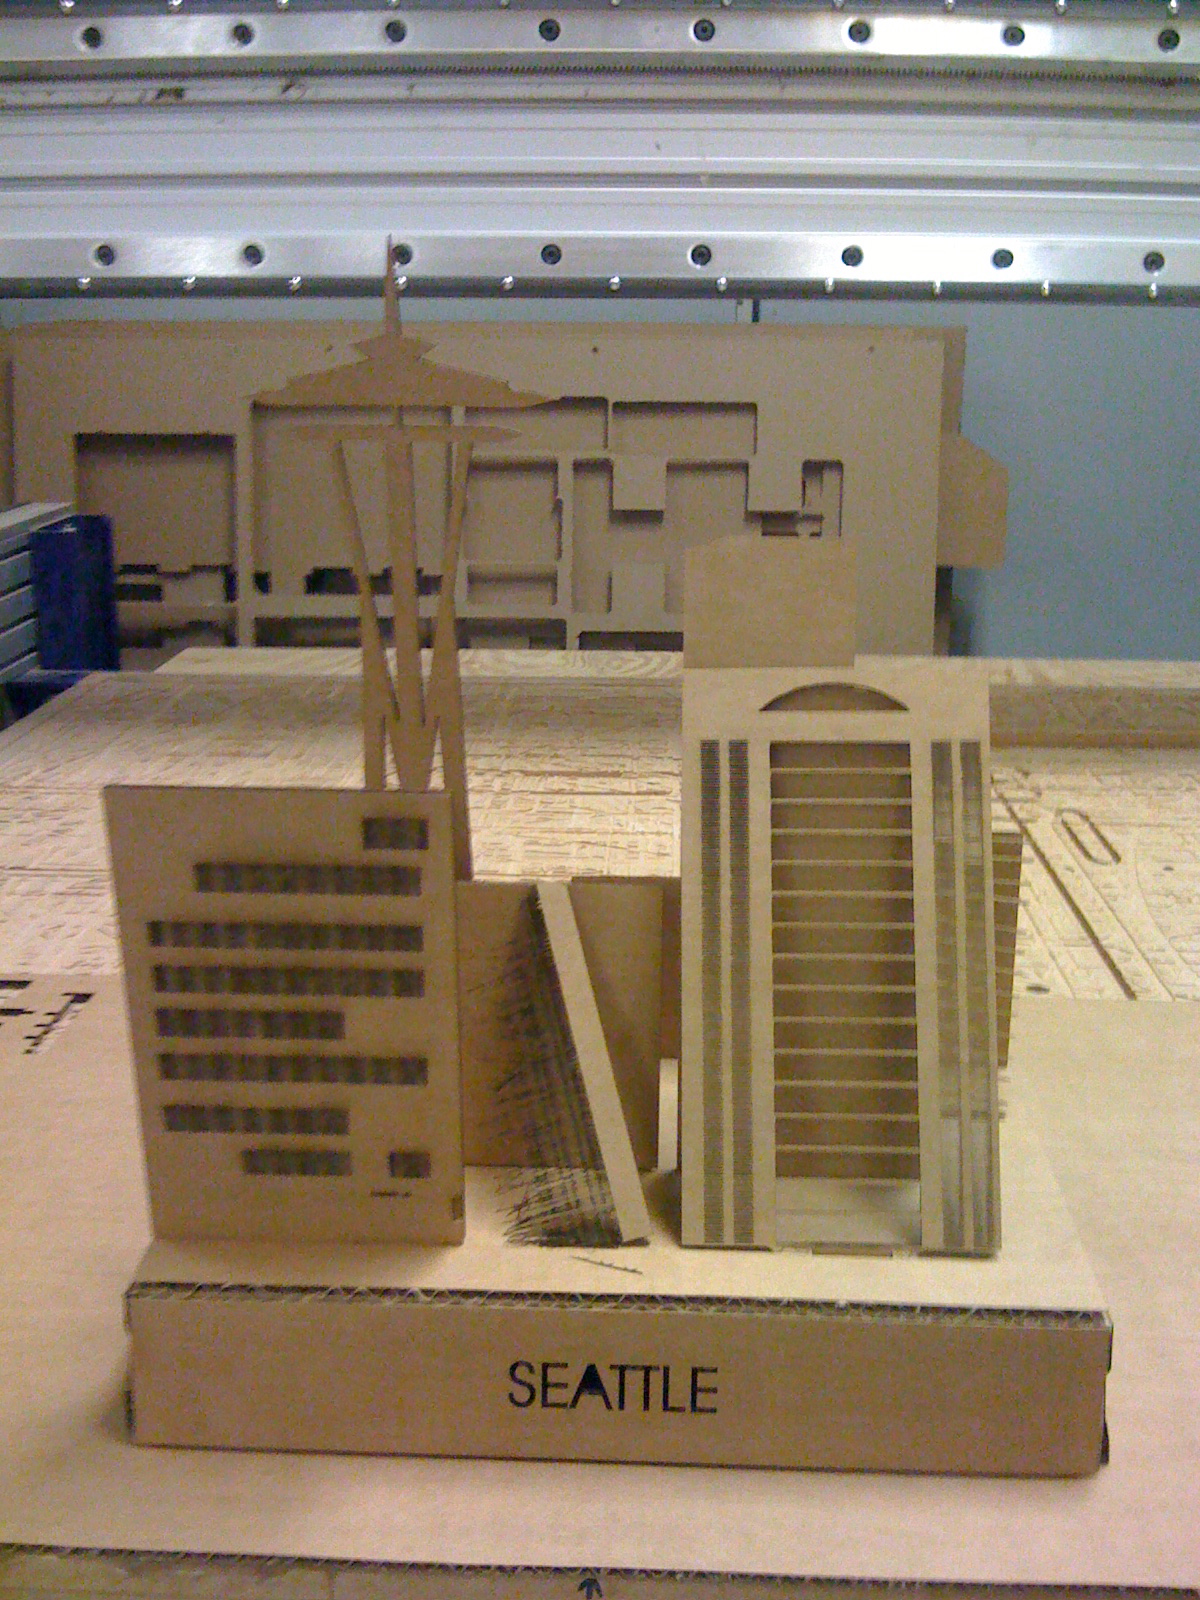 5. Some advice for printing: cardboard slots should be NARROWER than the cardbodard, duh, but I didn't get it right the 1st time :) Also, you should make sure that your yellow or any color for that matter, that is being used for power dillineation on the laser is set to the color in coraldraw not what you think is that color.
And you're in Seattle... |
//Conclusion | |
|