|
For this assignment we were asked to create a programmable cuircuit board, cables to attach it to a PC and to program it to say Hello World!
   To complete this assignment I took the following steps:
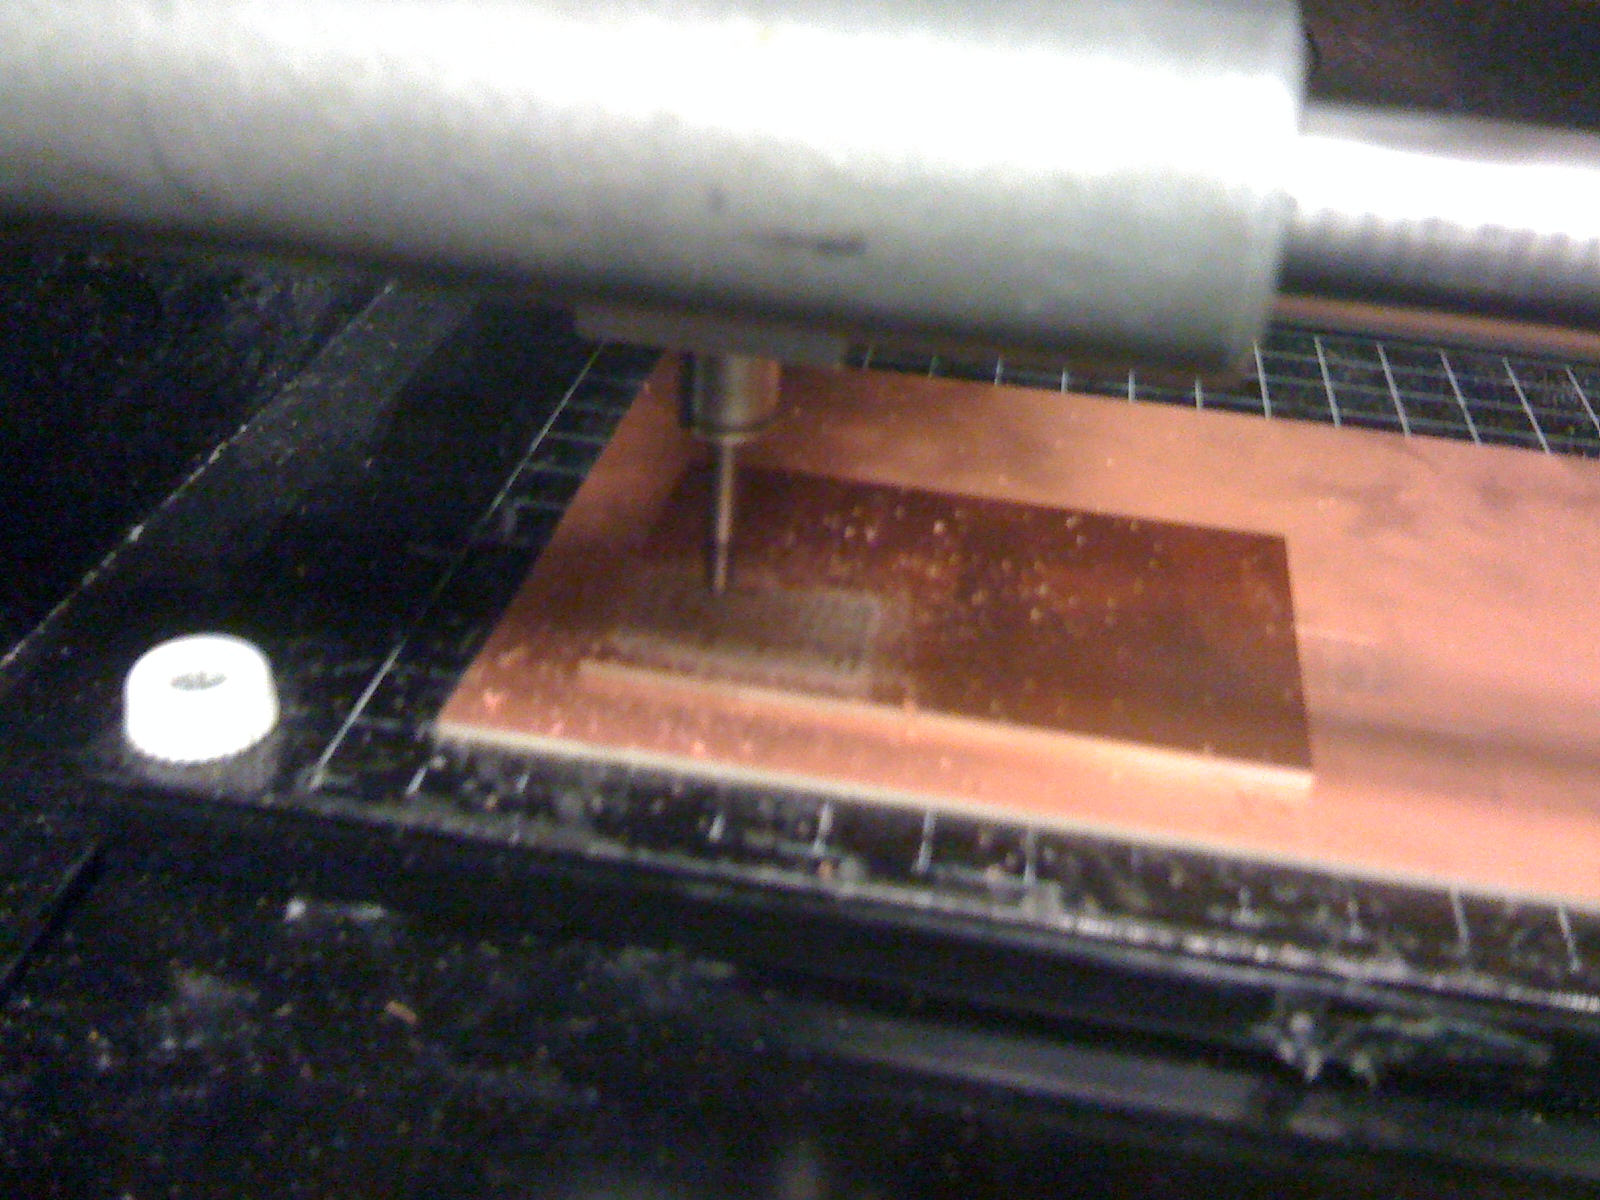
1. I milled the board using the Modela fabrication machine and cad.py on the provided cad file. This process ewas pretty straigh forward, though it takes a bit of practice to zero the drill bit just right, I made one board where the etching was way too deep. I found teh extending teh tape beyond the length of the board really helped to keep it flat and secure during milling.
To complete this assignment I took the following steps:
1. I milled the board using the Modela fabrication machine and cad.py on the provided cad file. This process ewas pretty straigh forward, though it takes a bit of practice to zero the drill bit just right, I made one board where the etching was way too deep. I found teh extending teh tape beyond the length of the board really helped to keep it flat and secure during milling.
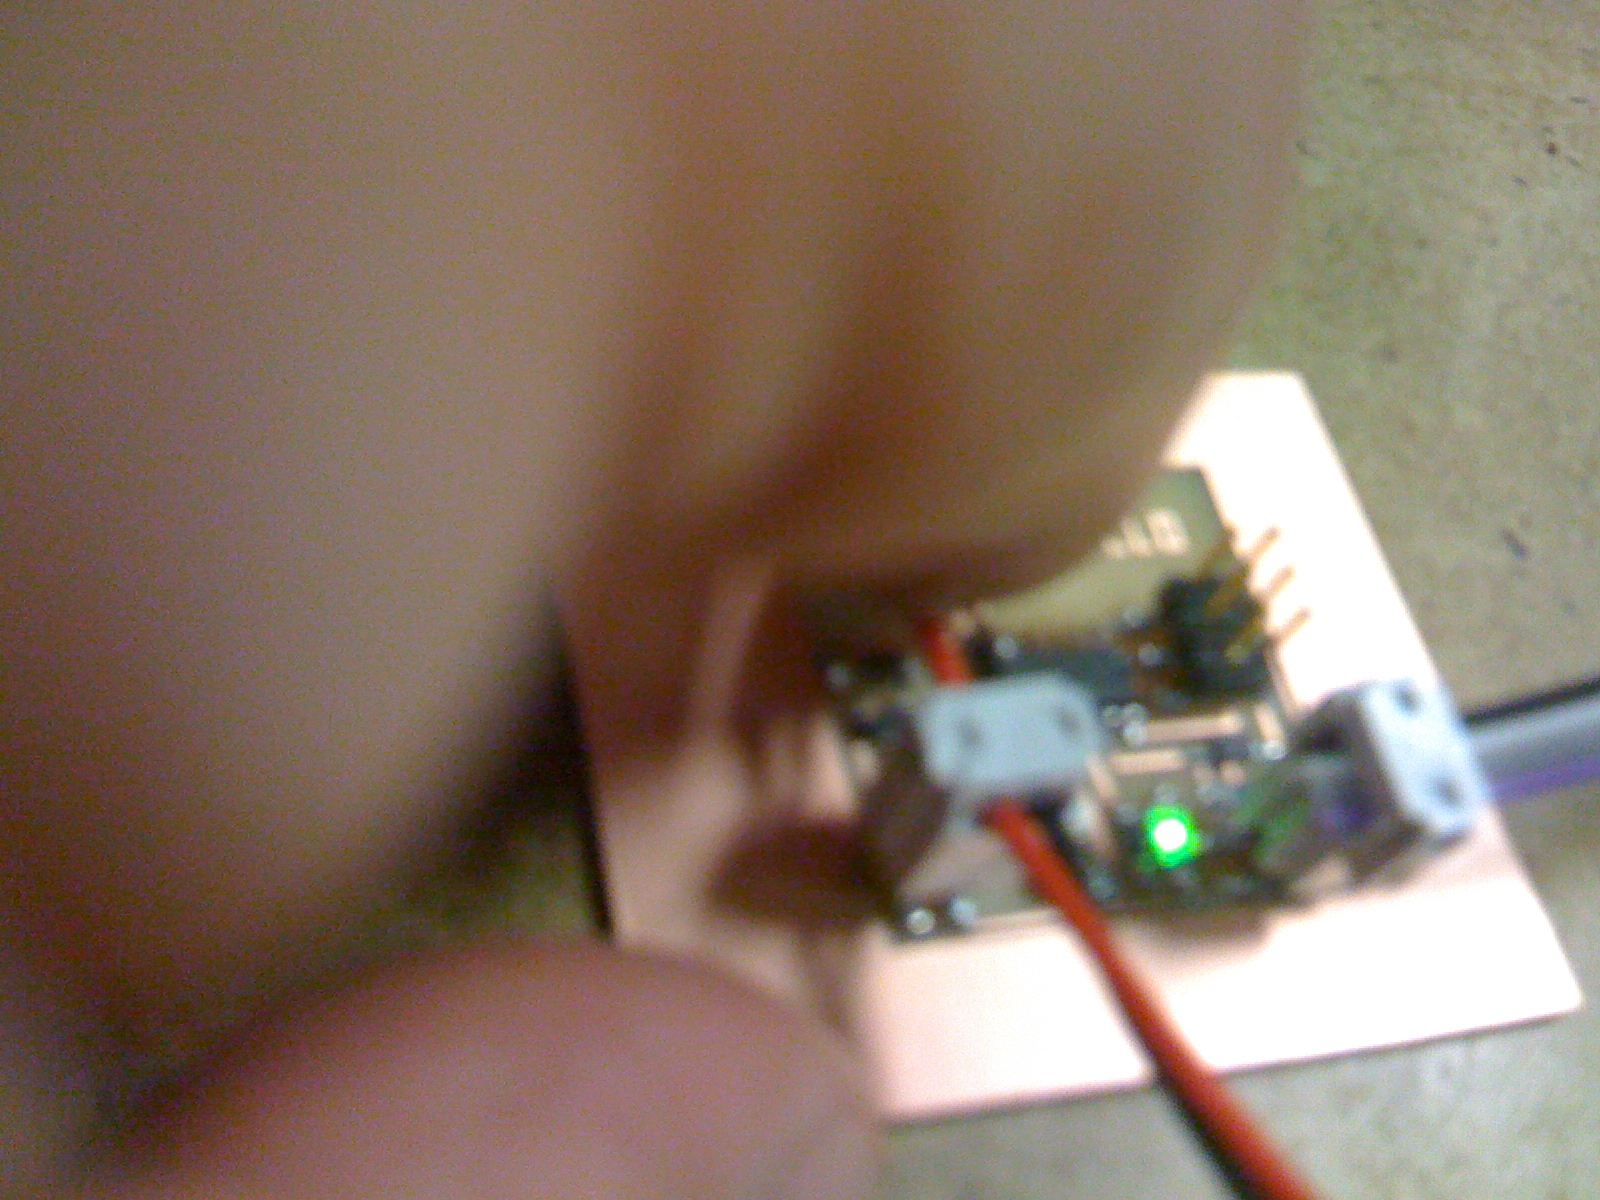
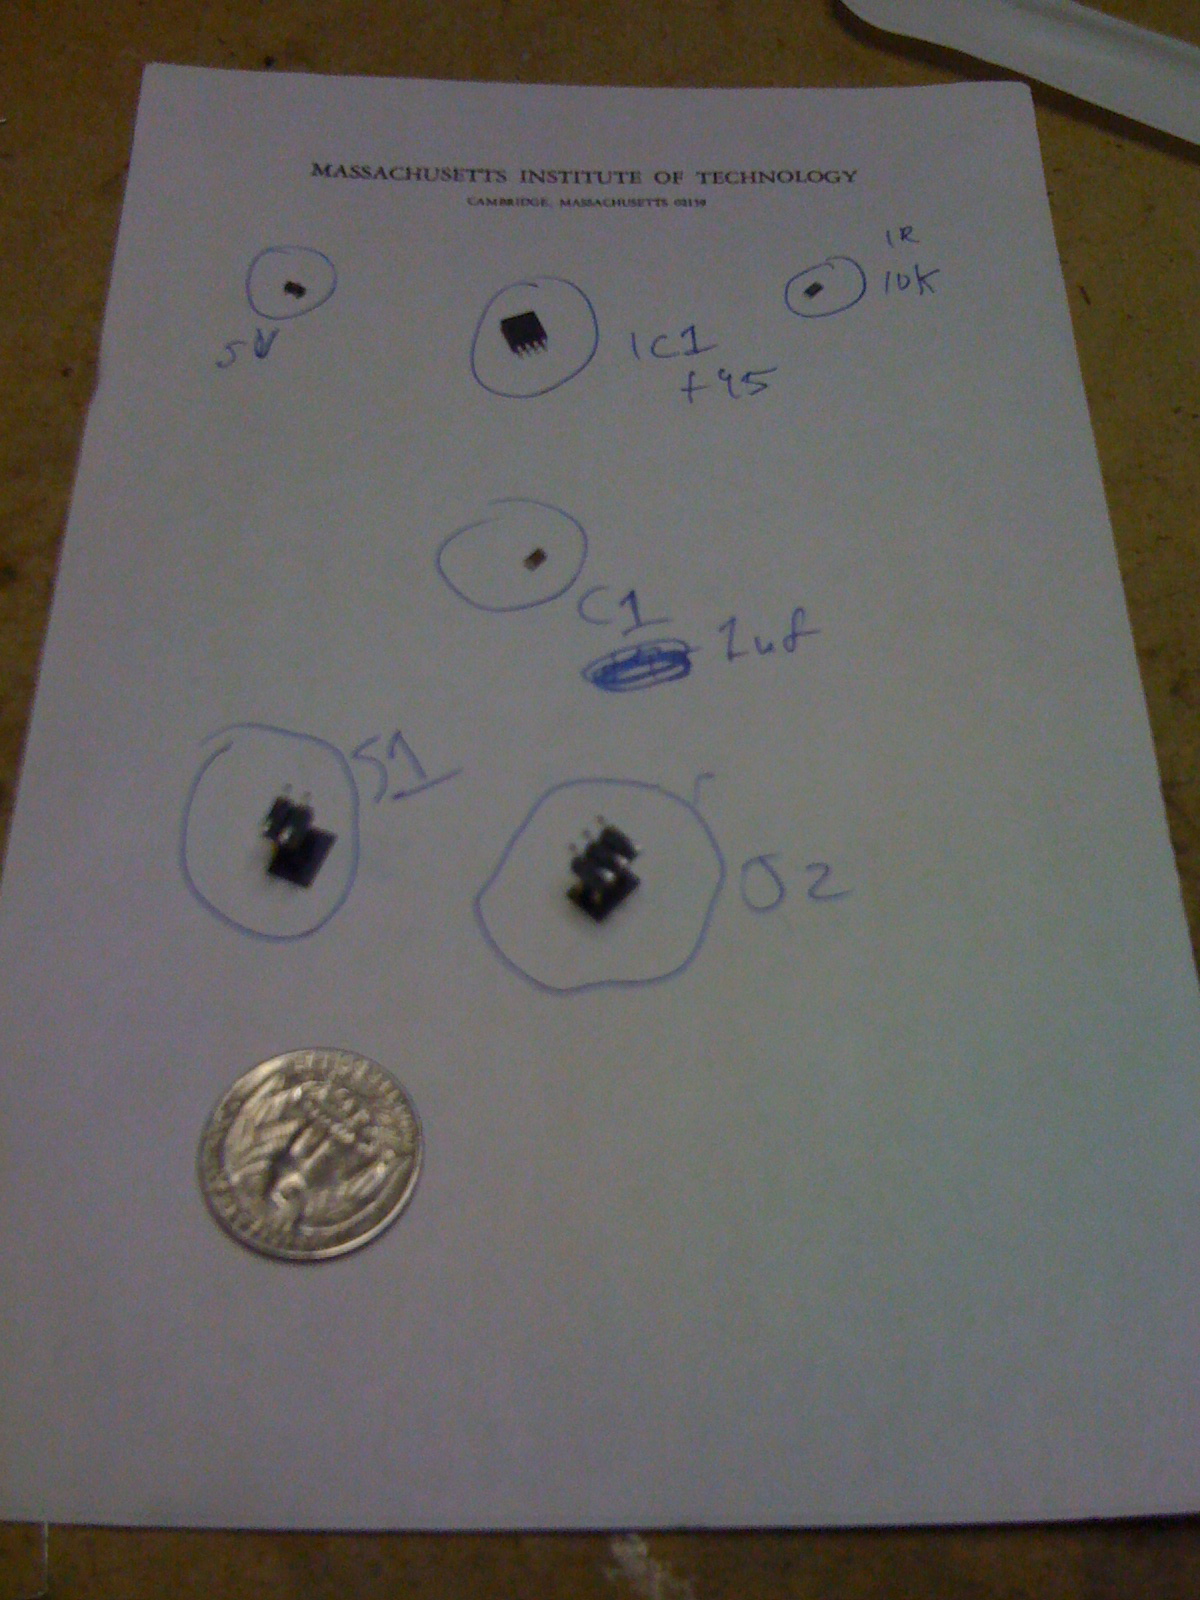
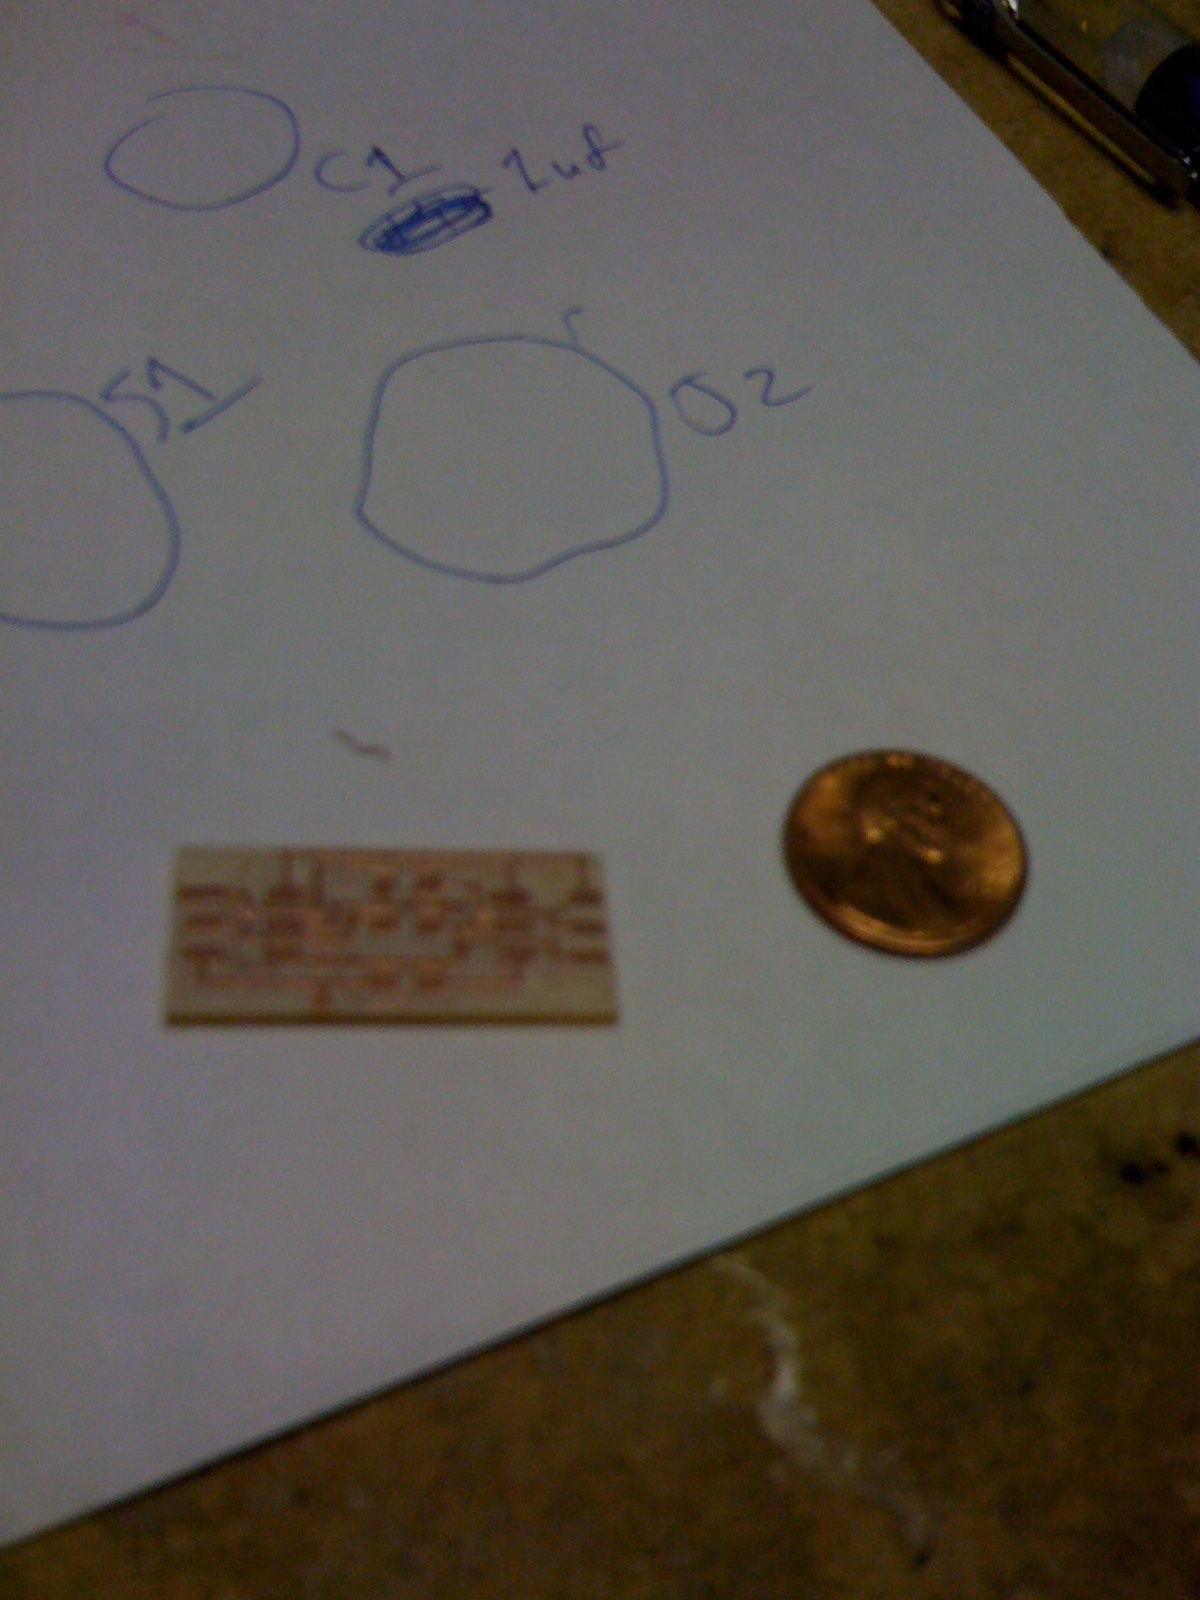
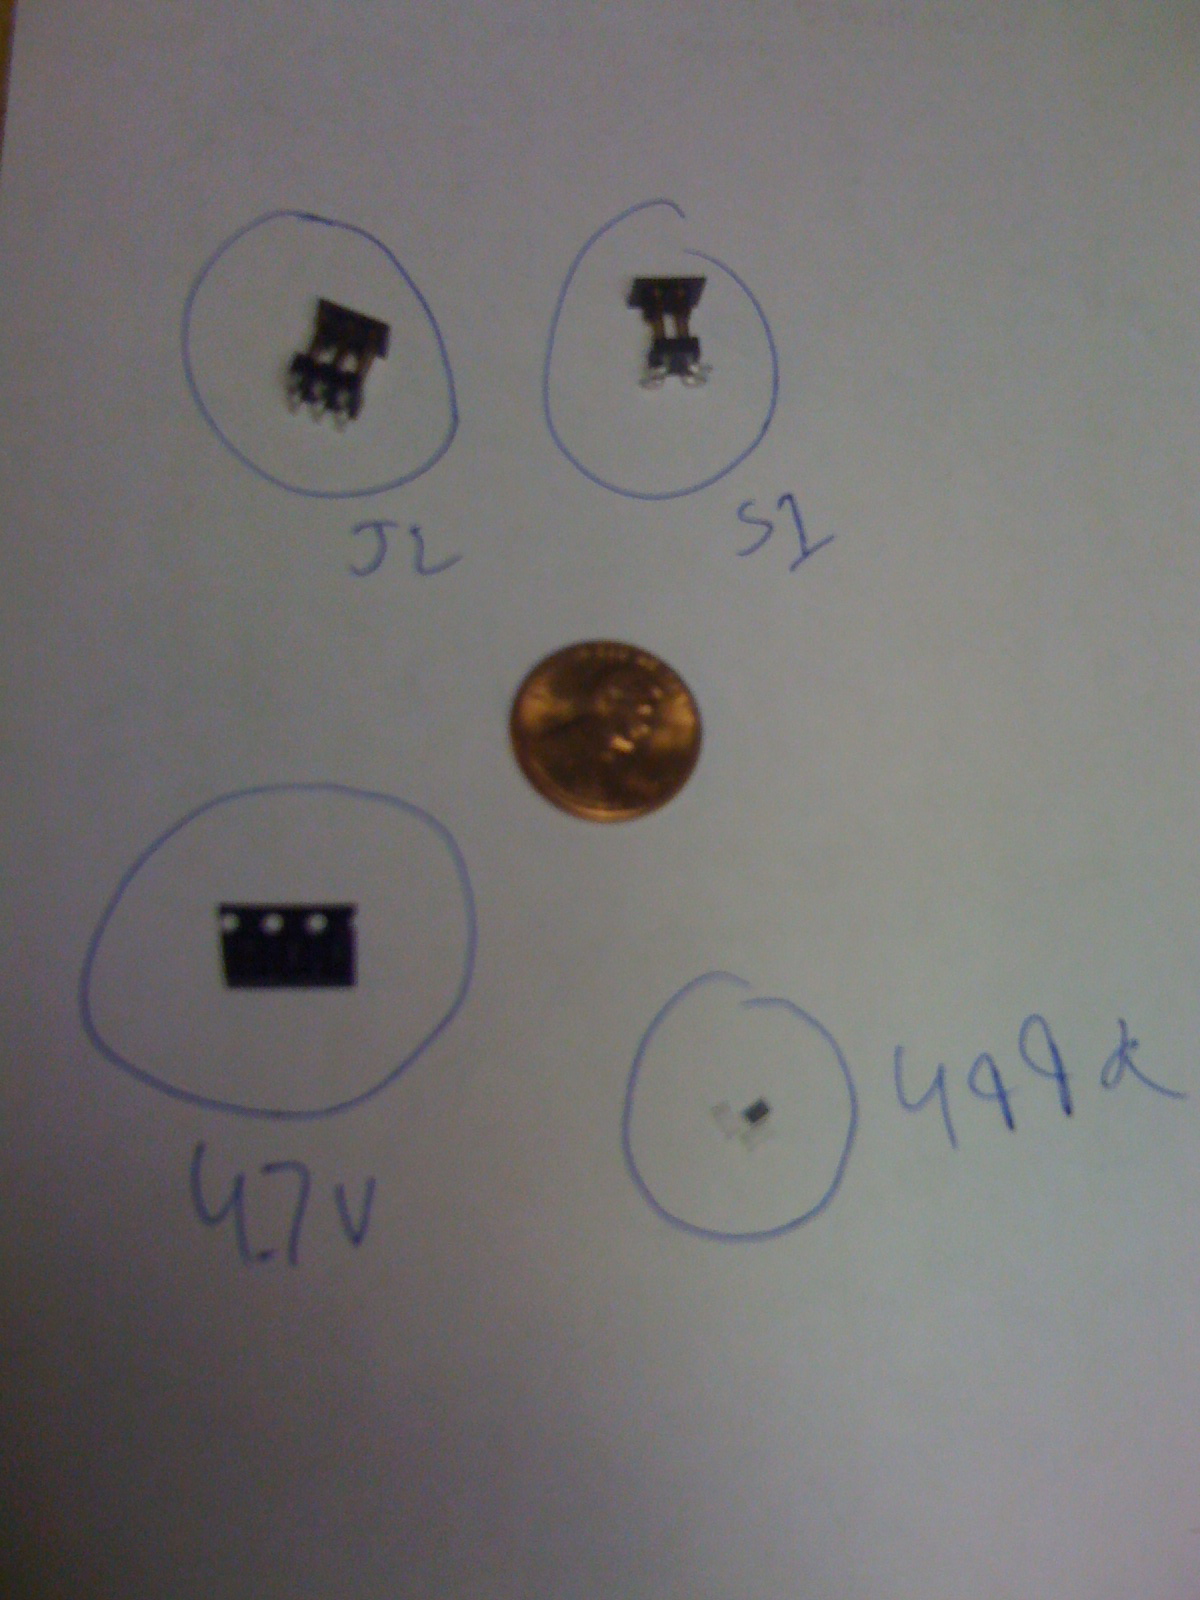
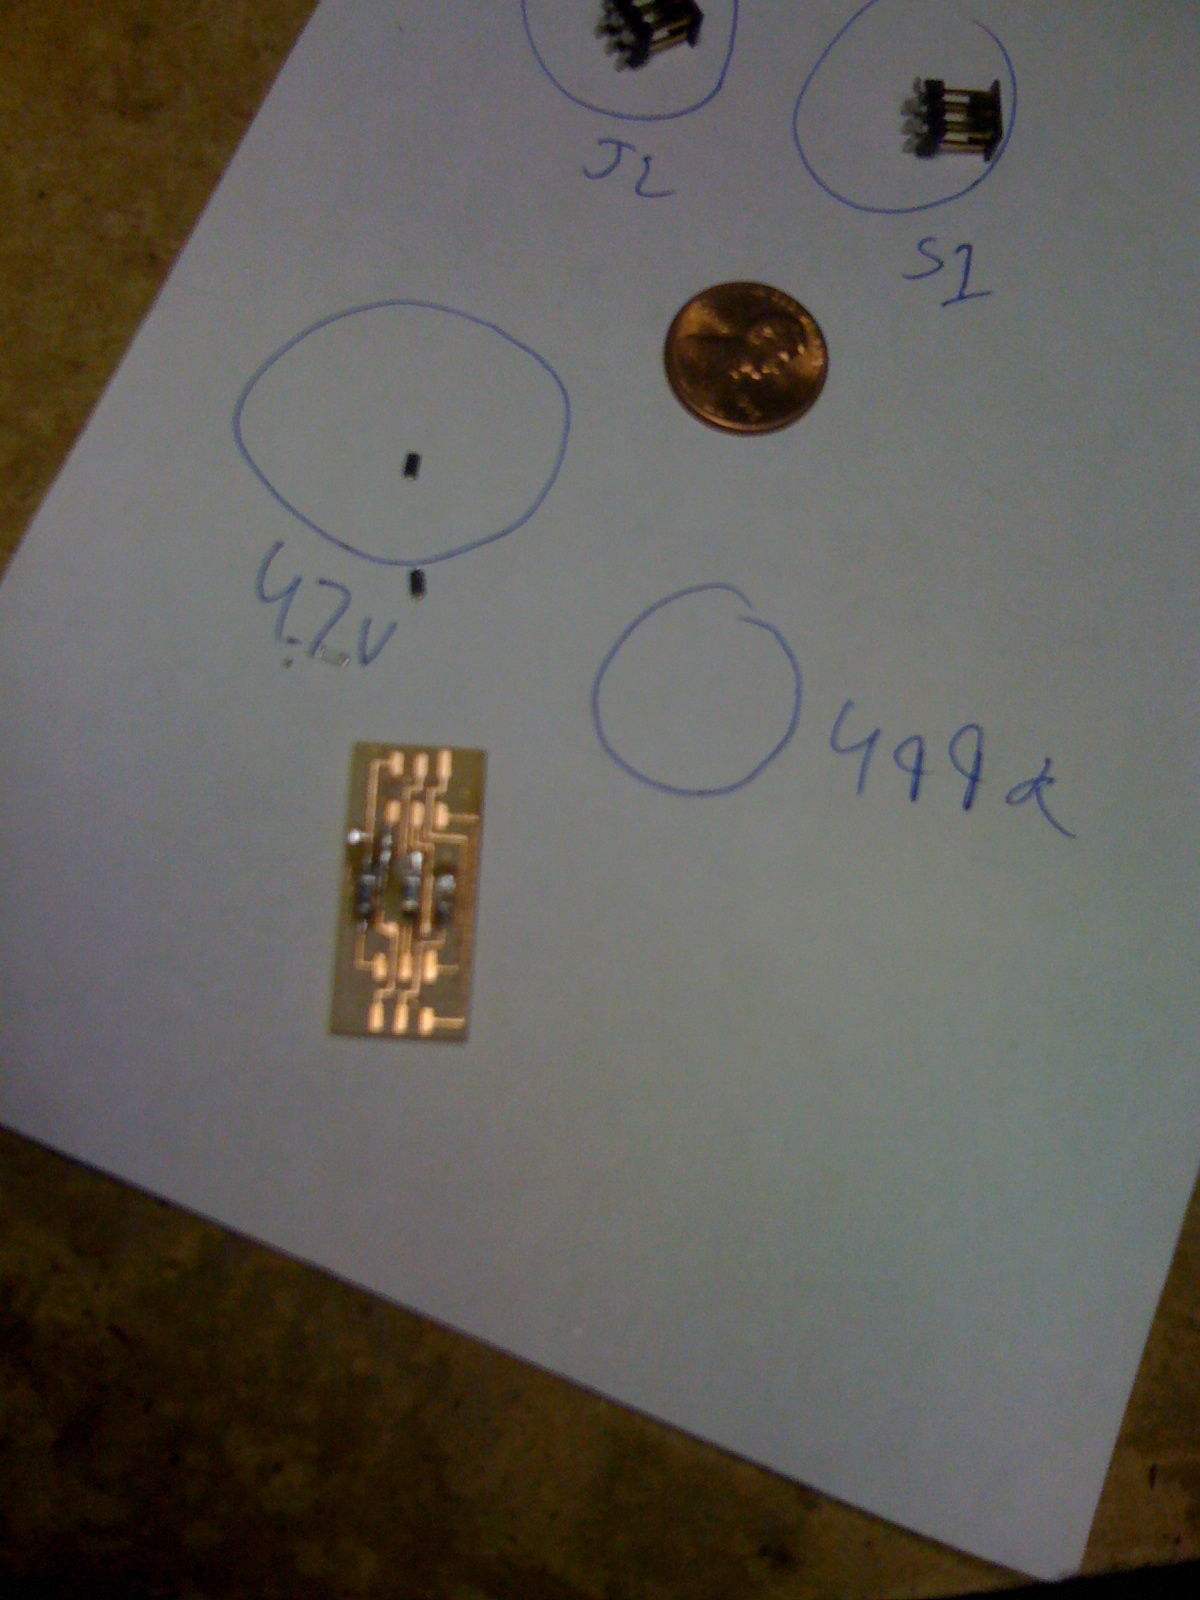
   2. I soldered on the parts. I found that spreading them all out on a piece of paper and marking what they were, made for a much easier time while soldering. This part went pretty smooth.
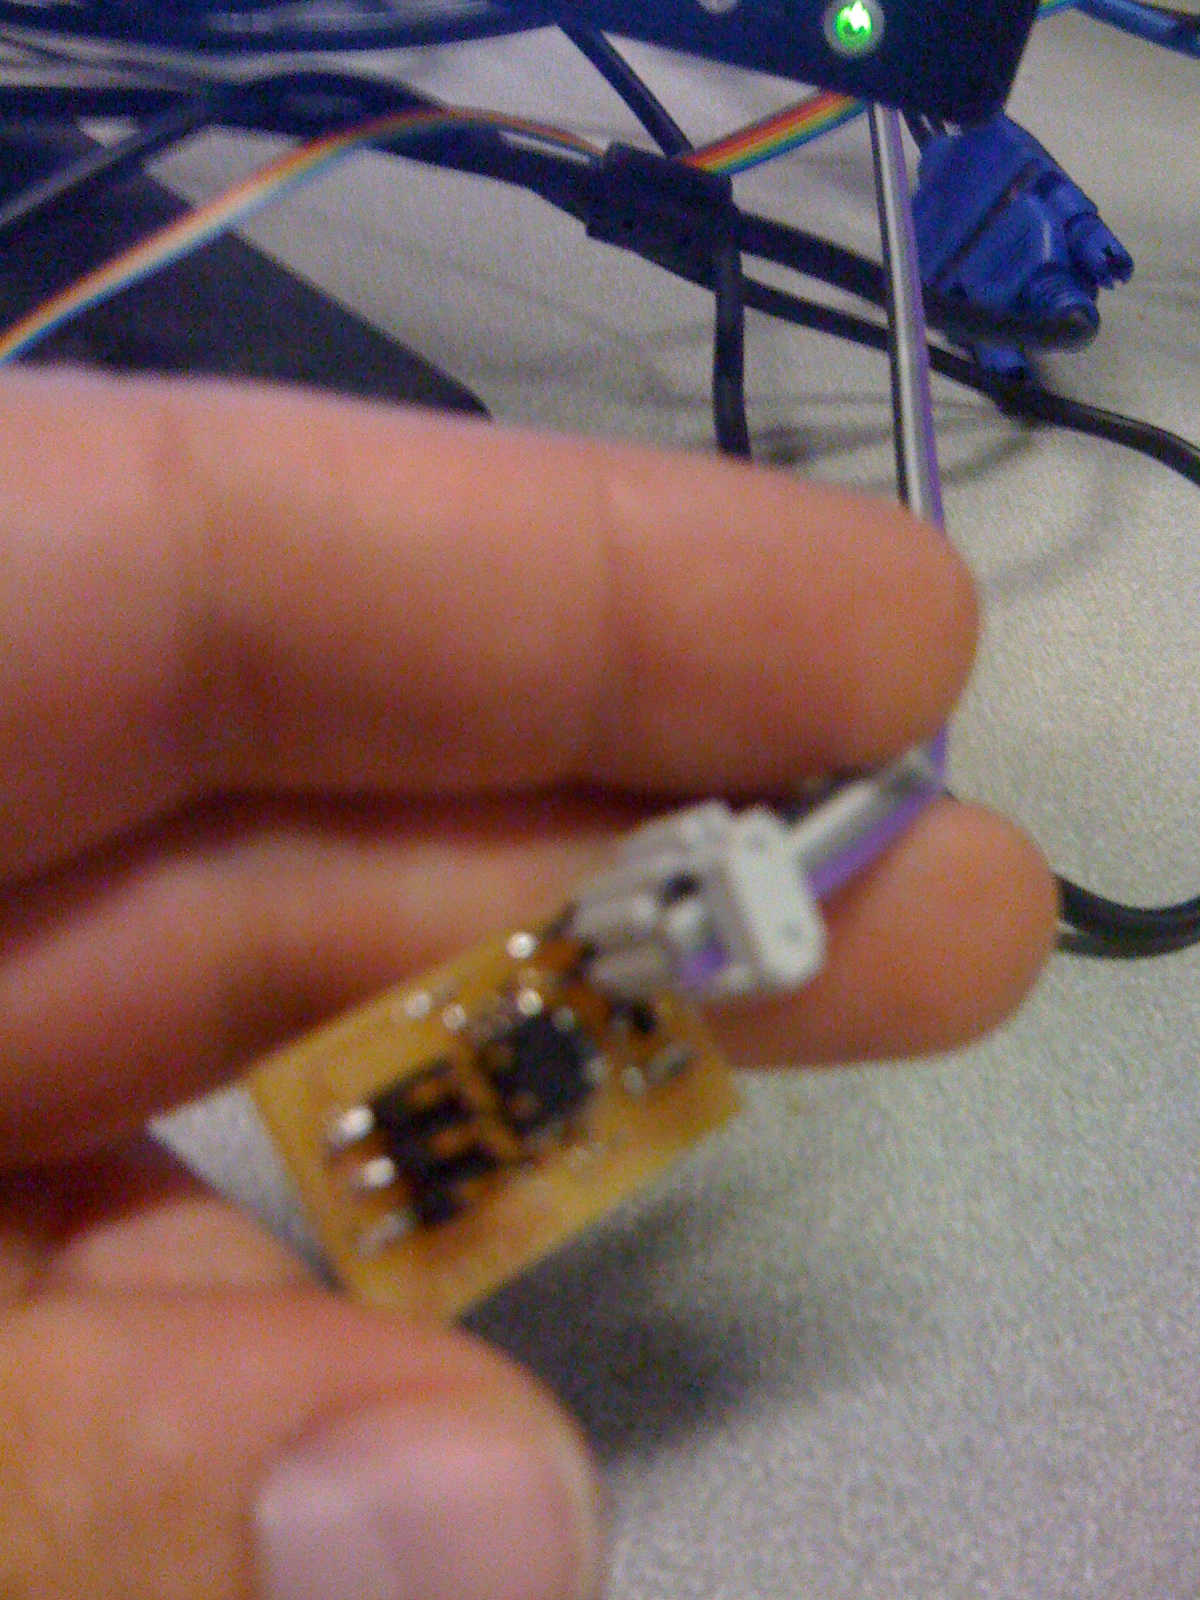
   3. Now came time to make the cables. I originally wanted to make a dasa board and use USB, but I ran into some bad luck. I milled my dasa board and went to work soldering, but I put in the wrong voltage component and then when I went to replace it, I used the glue gun to remove the solder and ended up destroying the whole board. This happened to me twice actually, once here and another time when I had to switch out the processor on the chip later in the process. Anyway, I never got the glue gun solder removal working and I never finished the Dasa, I just made the serial cables.
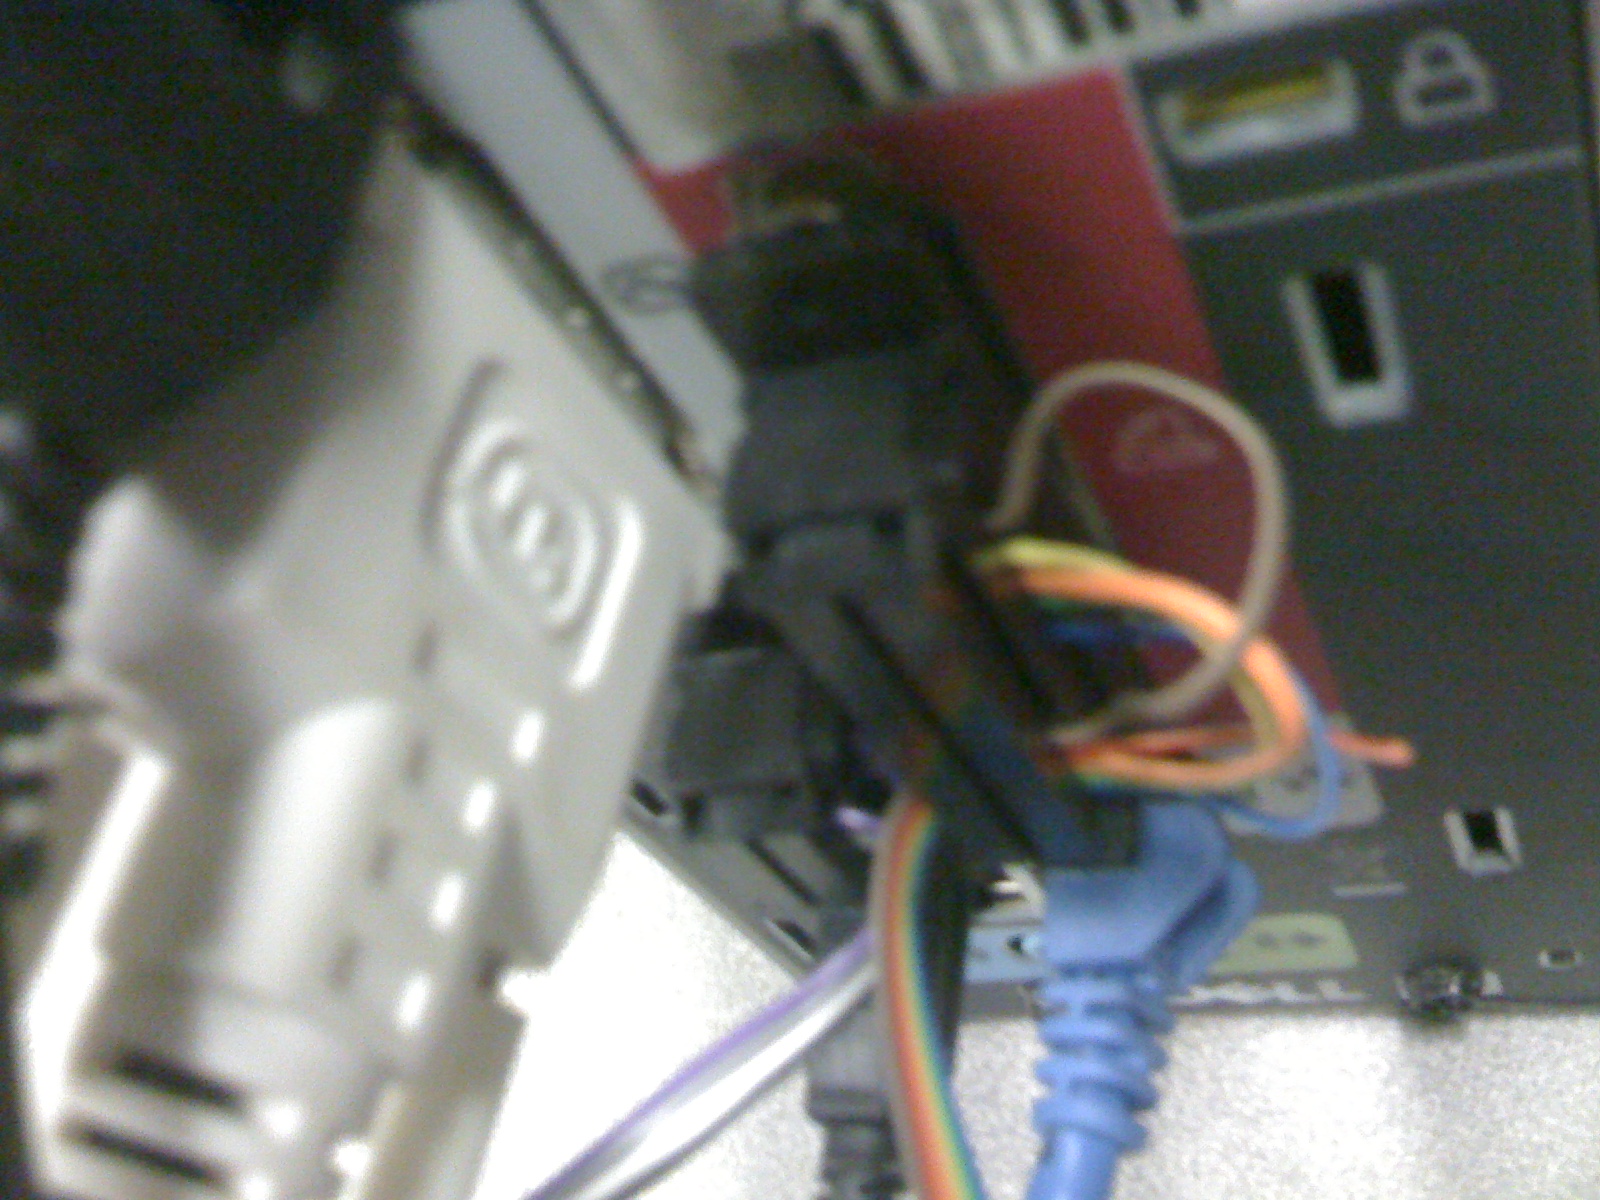
 4. Making the serial cables was mostly trial and error for me, I remade the cables 3x and finally they worked. I found that ignoring the colors and just matching up the numbers worked best for me. Getting the tiny wires into the little clips was really a chore and I wondered if there wasn't a tool we were missing. What would have saved a tremendous amount of time would have been a working set of cables and a chip, so that we could test different aspects of what we had built. A faulty cable caused me to fry my chip and the have to use the glue gun, which removed everything off my chip, which made me have to remake it. Lot's of time. If I had this to do over again, I would have aited until someone I knew had thier cables made and working and would have borrowed them to test.
  5. Programming was really easy once I figured out what the steps to doing it were. A really well organized tut on how to do it is here. Since I had this tut and I was feeling very IHTFP, I decided to mod the file to say "IHTFP Hello World! IHTFP".
fab@localhost:~/Desktop$ gavrasm hello.serial.45.asm
+------------------------------------------------------------+
| gavrasm gerd's AVR assembler Version 2.1 (C)2006 by DG4FAC |
+------------------------------------------------------------+
Compiling Source file: hello.serial.45.asm
-------
Pass:        1
Line: 14
Warning 009: Include defs not necessary, using internal values!
  File: hello.serial.45.asm, Line: 14
  Source line: .include "tn45def.inc"
111 lines done.

Pass 1 ok.
-------
Pass:        2
Line: 14
Warning 009: Include defs not necessary, using internal values!
  File: hello.serial.45.asm, Line: 14
  Source line: .include "tn45def.inc"
111 lines done.

Warning 001: 1 symbol(s) defined, but not used!


41 words code, 13 words constants, total=54 =  2.6%

2 warnings!
Compilation completed, no errors. Bye, bye ...
fab@localhost:~/Desktop$ avrdude -p t45 -c bsd -U flash:w:hello.serial.45.hex

avrdude: AVR device initialized and ready to accept instructions

Reading | ################################################## | 100% 0.00s

avrdude: Device signature = 0x1e9206
avrdude: NOTE: FLASH memory has been specified, an erase cycle will be performed
         To disable this feature, specify the -D option.
avrdude: erasing chip
avrdude: reading input file "hello.serial.45.hex"
avrdude: input file hello.serial.45.hex auto detected as Intel Hex
avrdude: writing flash (108 bytes):

Writing | ################################################## | 100% 0.04s

avrdude: 108 bytes of flash written
avrdude: verifying flash memory against hello.serial.45.hex:
avrdude: load data flash data from input file hello.serial.45.hex:
avrdude: input file hello.serial.45.hex auto detected as Intel Hex
avrdude: input file hello.serial.45.hex contains 108 bytes
avrdude: reading on-chip flash data:

Reading | ################################################## | 100% 0.03s

avrdude: verifying ...
avrdude: 108 bytes of flash verified

avrdude: safemode: Fuses OK

avrdude done.  Thank you.

fab@localhost:~/Desktop$


 (dec 10  hex a)
67496: I  (dec 73  hex 49)
67497: H  (dec 72  hex 48)
67498: T  (dec 84  hex 54)
67499: F  (dec 70  hex 46)
67500: P  (dec 80  hex 50)
67501:    (dec 32  hex 20)
67502: H  (dec 72  hex 48)
67503: e  (dec 101  hex 65)
67504: l  (dec 108  hex 6c)
67505: l  (dec 108  hex 6c)
67506: o  (dec 111  hex 6f)
67507:    (dec 32  hex 20)
67508: W  (dec 87  hex 57)
67509: o  (dec 111  hex 6f)
67510: r  (dec 114  hex 72)
67511: l  (dec 108  hex 6c)
67512: d  (dec 100  hex 64)
67513: !  (dec 33  hex 21)
67514:    (dec 32  hex 20)
67515: I  (dec 73  hex 49)
67516: H  (dec 72  hex 48)
67517: T  (dec 84  hex 54)
67518: F  (dec 70  hex 46)
67519: P  (dec 80  hex 50)
67520:
 (dec 10  hex a)
Attached is my moded source.
IHTPF hello.serial.45.asm
|
|
//Conclusion |
|
|
All in all this wasn't a hard assignment given the concepts and skills aquired. I wished the directions were clearer and that we had a working model to use when testing, but perhaps not having these things made me learn more. My next step is to mode the chip so I can use a USB cable to both program and power the AVG proc. This will be alot more useful than the serials.
|
| |