
Step 1: Build a scanner
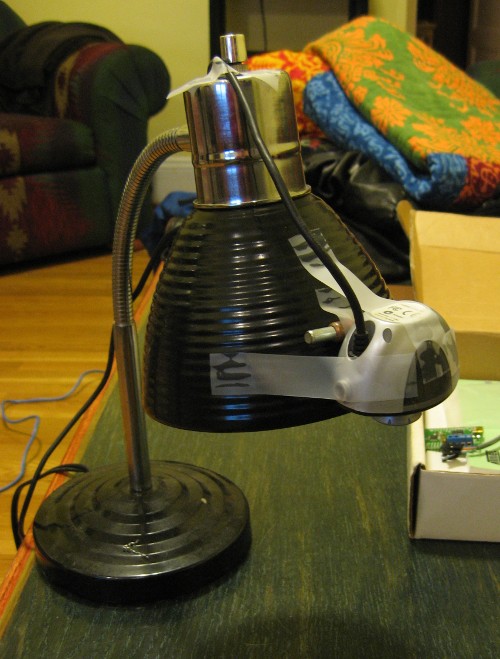
I really like the milk scanner concept, so I tried to build one myself.
My rendition is a very simple hack of a desk lamp, a webcam, a cleco,
and some tape.
Step 2: Scan
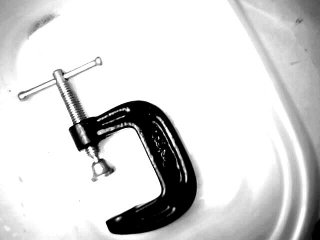
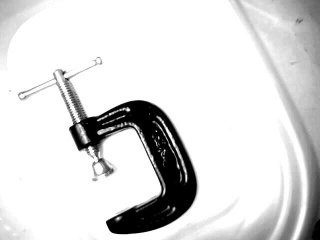
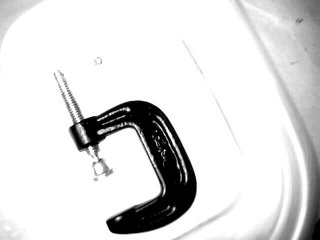
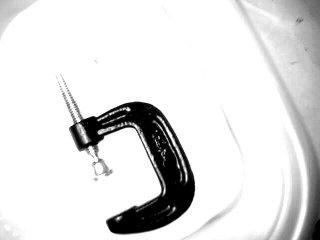
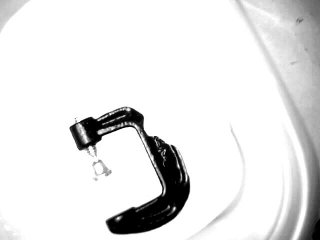
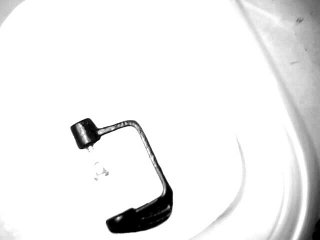
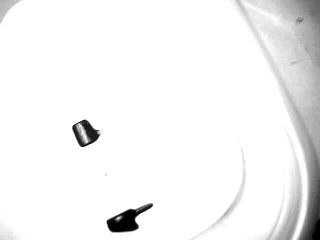
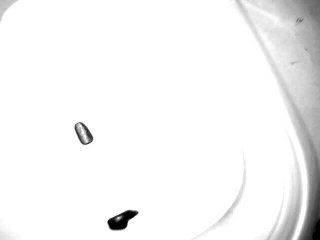
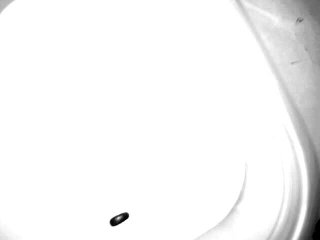
I picked a small c-clamp to scan and used milk as the scanning fluid.
Milk scanning is more difficult than it looks. I discovered that its
important to have uniform lighting and a very still object. I had
trouble meeting both of these conditions. Here is my best sequence.


Step 3: Scan again
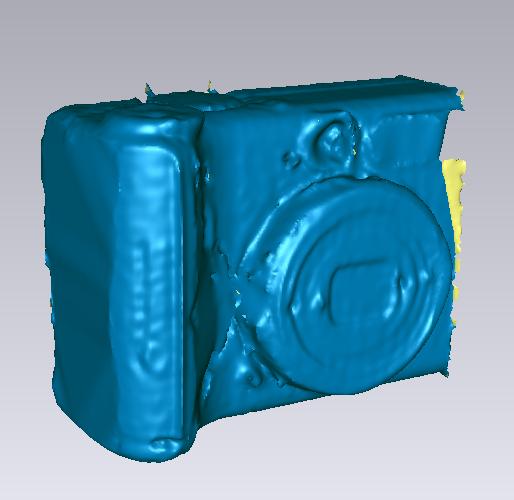
Having tried the simplest possible scanner, I wanted to play with
a "real" 3d scanner. I used the Minolta 3D camera to scan my trusty
PowerShot.
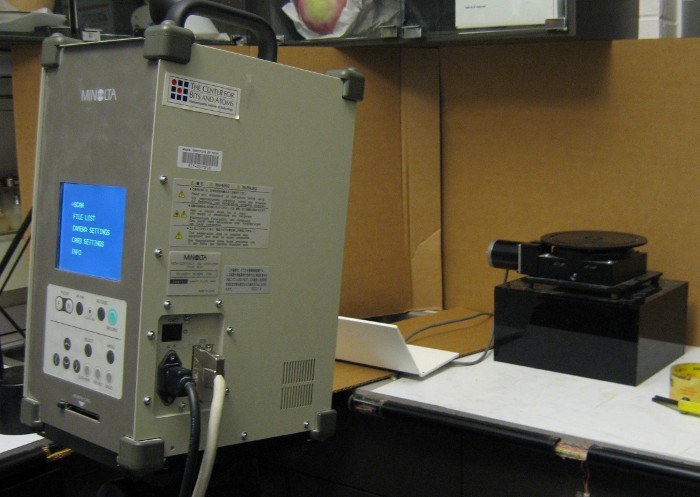
This process turned out to be much more difficult than I imagined.
It took several attempts adjusting the focus and laser power controls
to get a usable model. Even after the model was captured, there was
still significant cleanup to do.
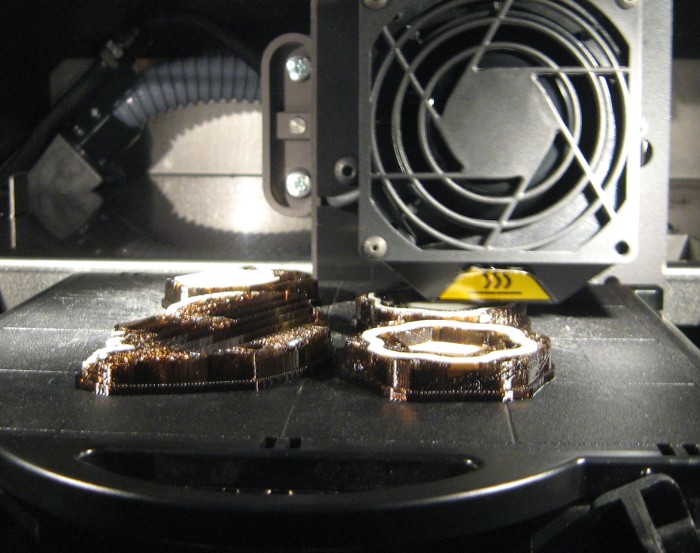
Step 4: Print
3-D printing is awesome. The machine is fascinating to watch,
the output of the support material algorithm is beautiful, and
the resulting part is incredible.
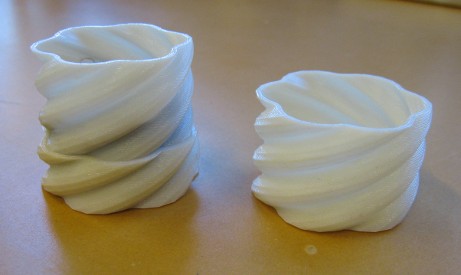
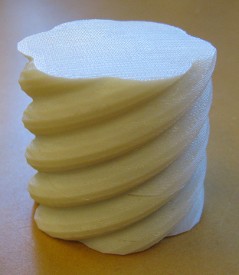
Instead of printing the C-clamp or my uglified camera, I found a
"screwable jewelry box" on a great 3D model website called Thingiverse.
Here's the link.
Some pictures of the printing and my box:
Over and out.