DIY record cutter
Concept
Inspired by all the recent changs at the MediaLab, I wanted to make an "oldie but goodie" statement. It's an homage to vintage media (vinyl records). I attempted to design an original machine that engraves audio (from an Ipod or any source) on to custom records
Electronics - Making your own Arduino (Daveduino)
I used cad.py all semester and wanted to learn Eagle so I gave it a shot for the final.
With microprogramming guru David Mellis' help I made my own Arduino using an ATMEGA88P chip.
First, I designed the board to include all the things I needed for my system to run.

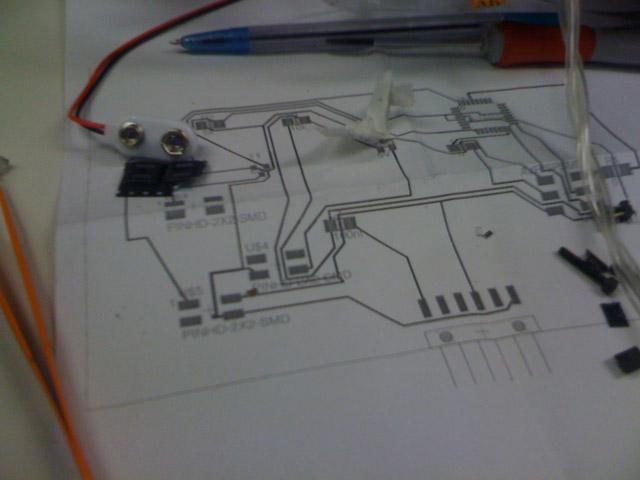
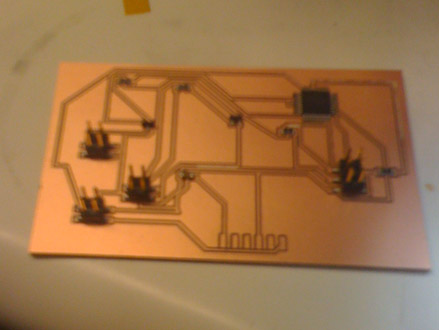
The schematic part was easy, routing was harder than I thought and although I did succeed in learning a ton my board looks funny to most experts. I think it kind of looks like a skull. It's still pretty cool I can just make this here in the lab and mill it out on the Modela the same day.
Here's the partlist
And here's a list of the parts and libraries I had to add to my Eagle libraries to be in sync with both FAB LAB stocked items and Arduino.
Here's the Eagle schematic version that I ended up presenting (version 6). I improved it and made version 8 but never got around to milling it. Contact me if you ever want to make this together. lifeform (at) m eye t dot e du.
Programming embedded (PID) motor controller in Arduino
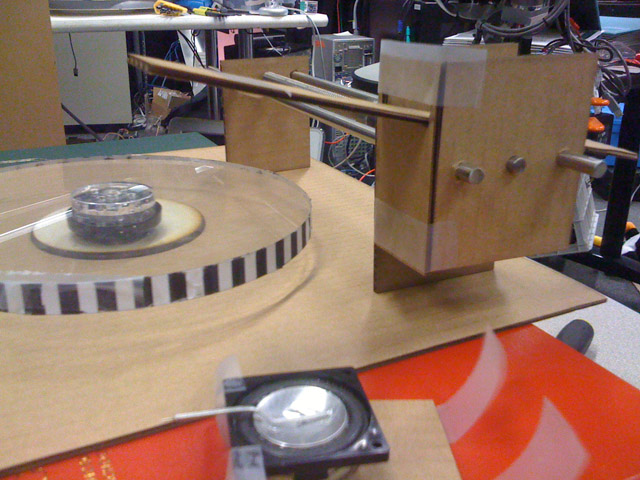
The basic idea behind my program was to read the pulse train from the IR LED and photoresistor which was pointed at the rotary encoder pattern I made and would indicate (after some math) what the current RPM of the record platter was. I would then feed this back in to an embedded PID motor controller that would adjust the speed accordingly. It's sort of similar to how cruise control works in a car. If the record engraver was exerting too much pressure on the platter thus slowing down the speed the system would adjust the PWM output from the ATMEGA88P to make sure the record was still spinning at 45 RPM.
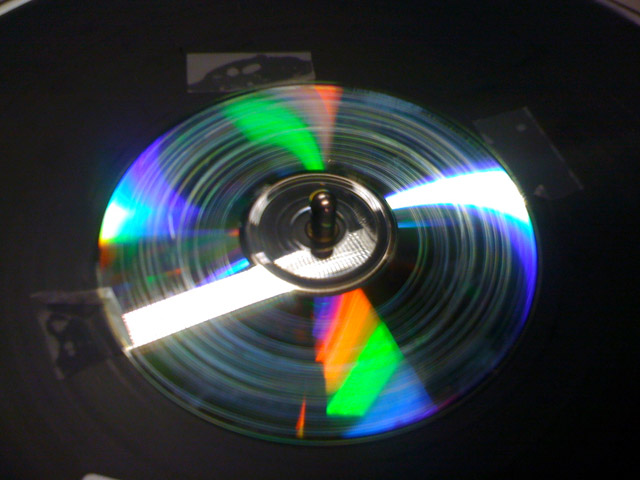
It's very important that the record engraver was consistently spinning at 45 RPM ensuring that engraved CDs or vinyl or whatever media (pancakes!)
you were making your record on would playback and sound 'normal' on a regular record player set to 45 rpm.
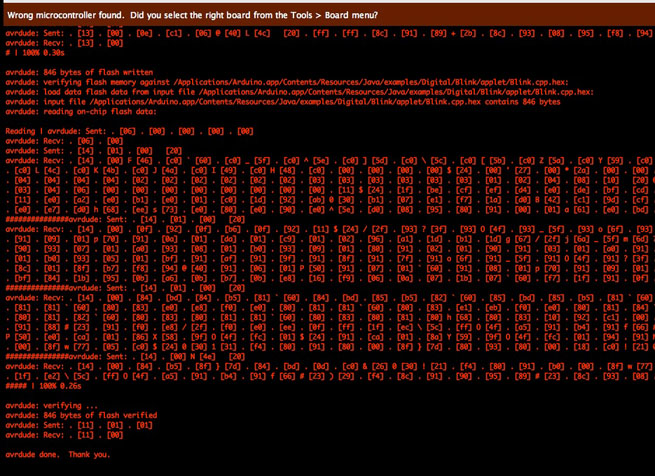
First I had to get Arduino017 IDE to recognize the ATMEGA88P chip which is not a chip you normally make a commercial Arduino with. Under the hood, Arduino relies on the classic avrdude. Avrdude has a list of chips it knows about. Guess what? Mine wasn't one of them! Mellis helped me figure out how to get under the hood and configure things.
Here's the documentation on what I did to get it working.
Daveduino programming with ATEMGA88P
Once that was all configured, I still got error codes but it worked. Here's an example of an error screen I ignored. I'm certain that by the time you read this Mellis and the Arduino team will have updated their useful and artist-friendly IDE.
Here's the work in progress code.
Arduino sketch for Arduino017
Mechanical - putting it together
This was by far the most challenging for me. Being an animation guy with little or no fabrication experience I learned a ton about joining things, Dos and Donts, things that might go wrong and why you don't want to operate drill presses on no sleep (ouch! my thumb). Overall I made some hilariously bad mistakes and revised my design several times once it was REAL and in my hands. I started by prototyping in cardboard.
My design involved a basic linear actuator using a hand-cranked leadscrew- later to be driven by a stepper motor in a future version.
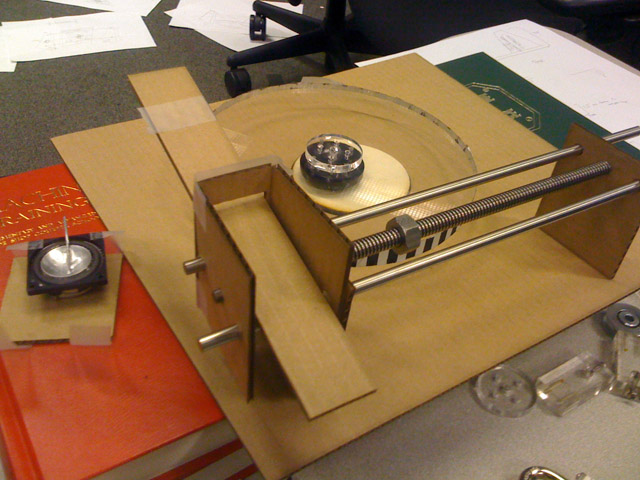
Coupling the motor shaft to a hub and separating it from the record player plinth or platform was something I had to think about and redesign a couple times. I made it modular so you could pop it out of the plinth. I also had a moment of panic when nothing worked. I debugged and traced it back to the unexpected and untimely death of a motor.
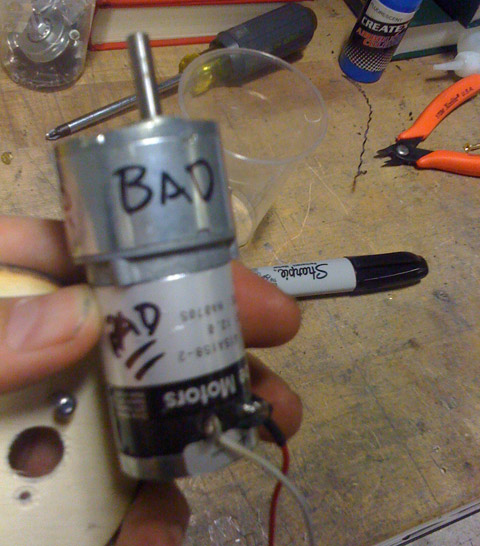
After replacing it I spent some time making things look pretty by cutting into Acrylic but realized I had a long way to go just to make the machine operational.
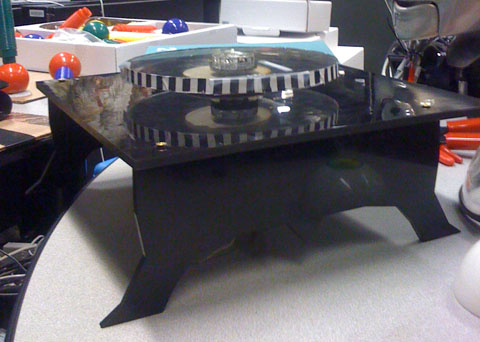
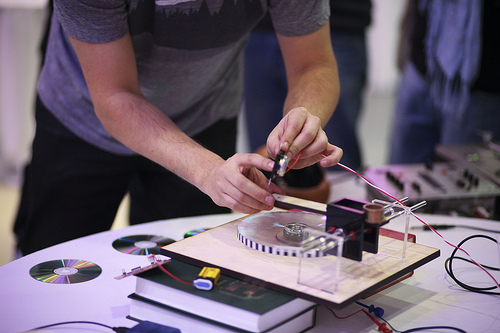
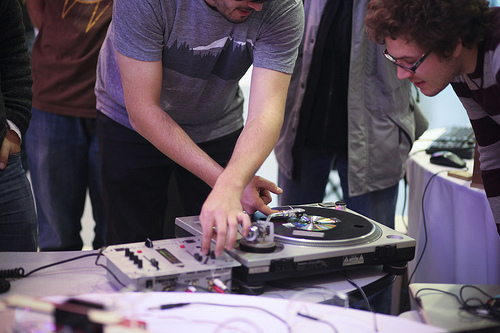
I created the stanchion and a counter-weight system. The record-cutting head was made with a sewing needle generously donated by the High-Low Tech group here at the Media Lab. I super-glued it to a 5W speaker which was connected to the headphone output of my DJ mixer. The sound was sufficient to make the speaker cone move horizontally and actuate the tiny needle/engraving head at the micron scale as the media (in my case CDs) spun around. I redesigned the machine three times but was able to get a couple engraved CDs with playable music (just barely) and also engraved a seven-inch 45rpm acetate record which I cut out to be the perfect size on the Roland vinyl cutter. Speaking of cutting, I had to use the 4" lens for the laser cutter to get through the 1/2" wood since the Shopbot was temporarily down. That was exciting since there were no instructions. Taking it a step at a time, I figured it out. 4" laser is pretty powerful and when focused properly looks like it is very high up off of the bed. That's normal.
The Slide box containing the stanchion or arm that holds the record cutter simply slides along two guide rails as the lead screw pushes it from the outer edge of the disc to be engraved to its center.
It's good to know that record cutters/lathes/engravers do NOT record or encode information vertically as you might expect. In fact, the information is encoded horizontally. This setup is for mono recordings. To create stereo recordings you need to use two engraving heads positioned at 45 degree angles joined in Y-junction to a needle tip. I have a bunch of notes on this. Contact me if you are interested.
Here are the files. I plan on improving this project so get in touch for the latest version of it.
7-inch platter
plinth
acetate plastic records cutting file for Vinyl Cutter to make 'blanks'
rotary encoder pattern
45 Adapter
As for Guru, I was self-appointed chocolate animation software guru. I checked in a couple times on Florence and am still looking forward to helping once the timing is right. I am also helping with being the User guru.
Thank you very much Prof.Gershenfeld and Mas863 for an amazing adventure in fabrication.
david robert
This final project was produced with:
Friends tips: Mellis, JB, Laurel, Ryan, Siggi, Dan, Kenton, Hannah, Mikey, pretty much all of Mas863 and the Interweb
Hardware: Vinylcutter, Lasercutter, Modela, Drill Press, Saws and various shop tools.
Software: Cad.py, Eagle, Arduino, Houdini, Corel Draw, Illustrator, Photoshop