Make Something Big! (Press-Fit Bookcase)
Our assignment for the week was to use the Omax waterjet and/or Shopbot to make something (relatively) big. I quickly remembered that my wife and I were still using old wooden crates for our books since we didn’t have a bookcase and decided it was time to remedy that issue.
Design
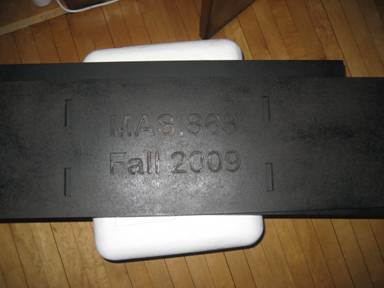
I designed the bookcase in AutoCAD, added text in Layout (because it has an awesome text feature for use with the waterjet and any mill), and then used the Shopbot software to set up all my tool paths before sending it to the machine. You can download all of those files by clicking the link below.
Approximate specifications:
0.5” MDO
36”wide x 44” tall
Press-fit
11 shelves
14 pieces of wood
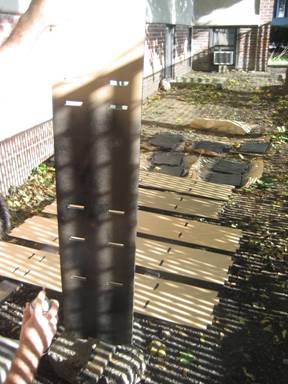
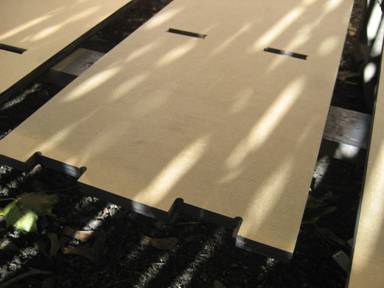
Cutting
While I have had extensive experience with the waterjet over the years, this was my first Shopbot experience. I found the software and overall flow of events rather intuitive and straight forward.
I used the 1/8” end mill for all of my slots and the bottom board inscription due to the level of precision required with the small sizes.


I then switched to the 1/4" end mill for all the exterior cuts so that I wouldn’t need to make so many passes.
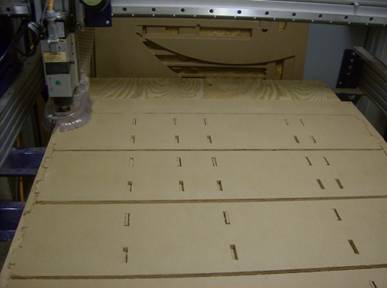
Overall, the cutting took me much longer than I expected (3 hours instead of 1 hour). I guess I was too spoiled by the quickness of the waterjet, specifically that it only needs to make one pass. Overall, everything came out well.
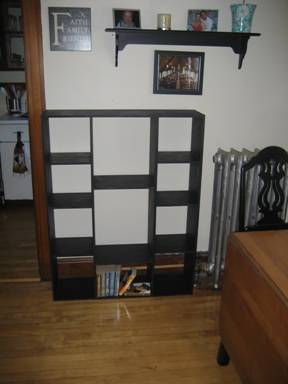
Painting
My wife and I then decided that we needed to paint the bookcase before assembly. It was extremely windy outside and spray paint is expensive in Cambridge! ($5/can)
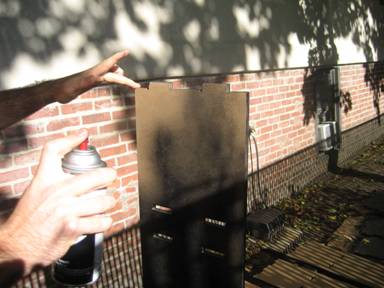
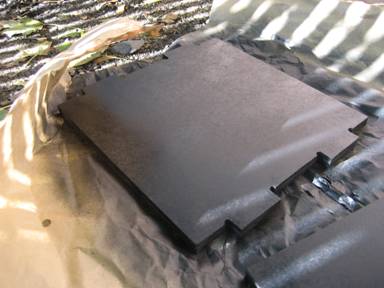
Three cans of spray paint later we were ready to assemble.
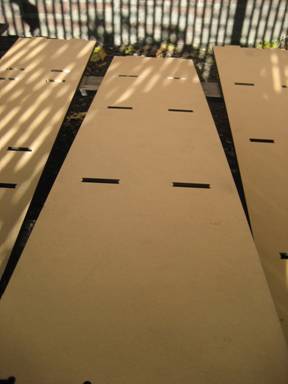
Post-processing
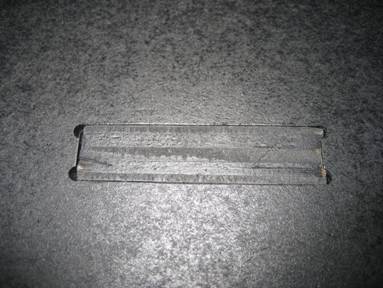
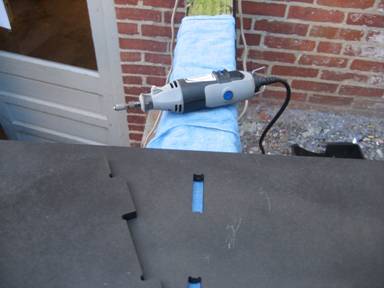
One unfortunate side effect of working with wood (and my insistence on a very tight press-fit) resulted in some of the slots needing to be slightly widened due to variations in board thickness. Our Dremel proved to come in very handy for this experience.
This is one of the slots that fit perfectly without any need for widening (it was the board I performed my initial measurements off of).
The set-up for the not so fortunate slots with the slightly larger boards…
Assembly
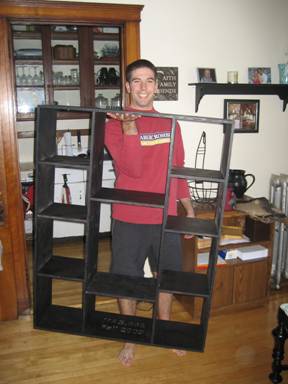
Now time for assembly! We used a rubber hammer to help with persuasion (I like tight press-fits, what can I say).
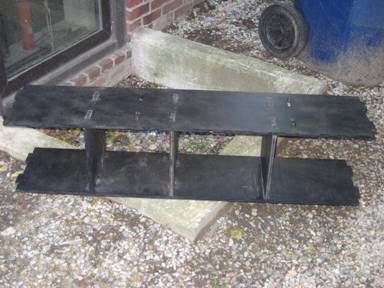
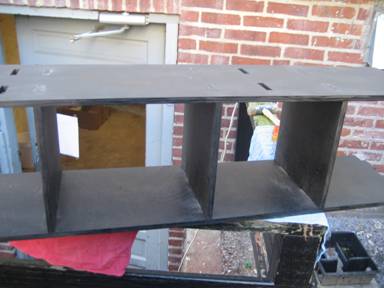
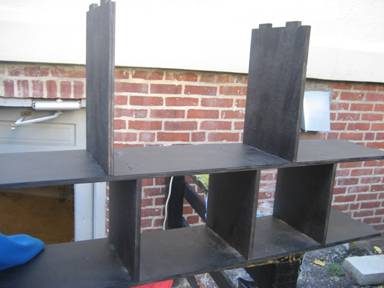
The final assembly proved to be much stronger than I expected for a press-fit structure. We are very happy with our new addition to our apartment!