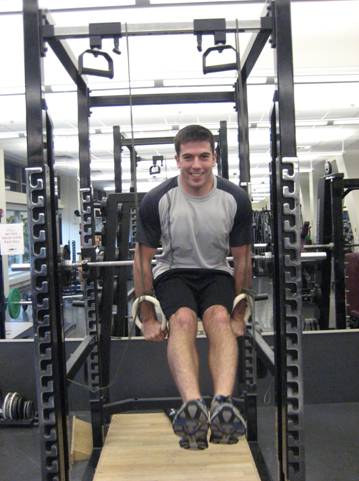
3D scan (end mill) and print (gymnastic rings)
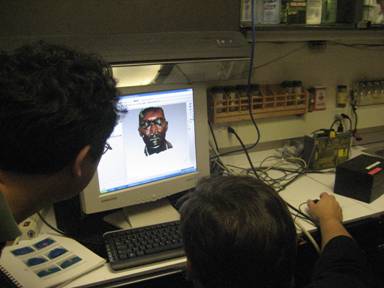
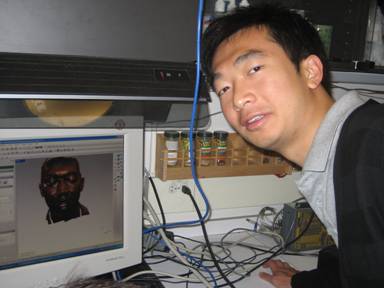
Our assignment was to scan something into the computer (atoms -> bits) and print something from a computer (bits -> atoms).
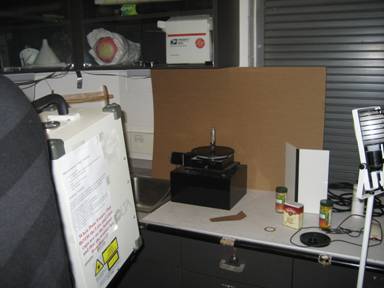
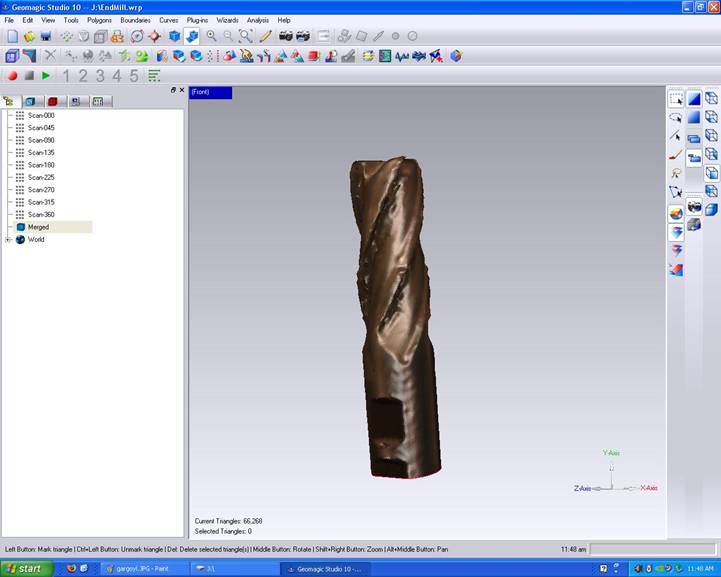
Scanning – end mill (EndMill.zip)
Erik was on the scanner before me, so I took a couple pictures of him working on scanning his face. Pretty cool stuff.
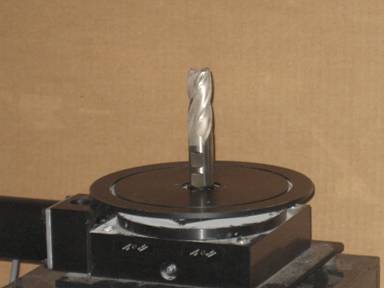
For my scan, I decided to scan an end mill. I was interested to see how well the scanner did at picking up the complex geometry between each flute.
Overall, I was very happy with how it turned out. As you can see, the image looks almost exactly like the original end mill. Good luck cutting with a 3D printed end mill though…
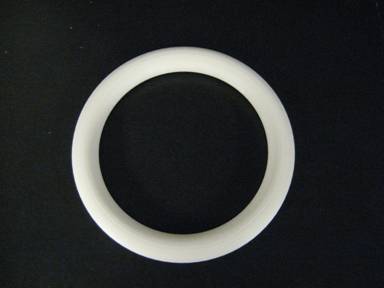
Printing – gymnastic rings (Ring.zip)
When I think about what people use 3D printers for, I usually think of novel, ornamental objects that couldn’t be made in any other way, or quick visual prototypes of parts that will ultimately be made in some other fashion. I was interested in printing something functional.
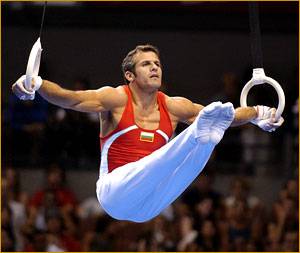
When I learned that the Dimension printer prints using ABS, I immediately knew I wanted to print gymnastics rings. Why, you might ask? Well, I follow the crossfit.com WODs, which use rings, and because rings are an awesome strength training tool.
And because portable rings like these cost about $70. So, I figured if I could make some rings for class, then I’d get my homework done and end up with something very useful that I want anyway.
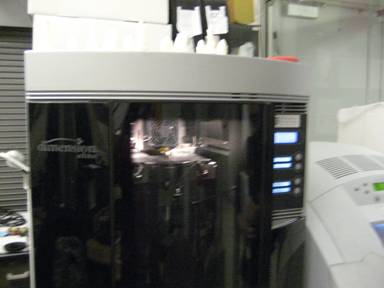
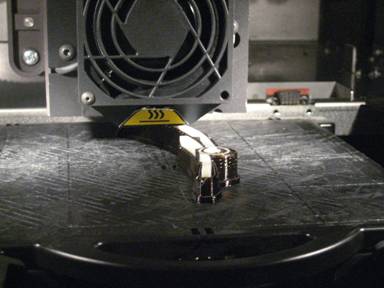
Here are a few pics of the Dimension printing (not my parts).
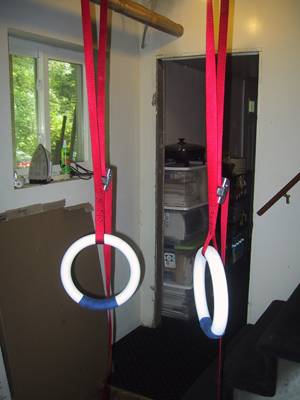
And here is the finished
product! I made the model in Solidworks
and saved it as a .stl before sending it to John and Tom. They took care of the rest.
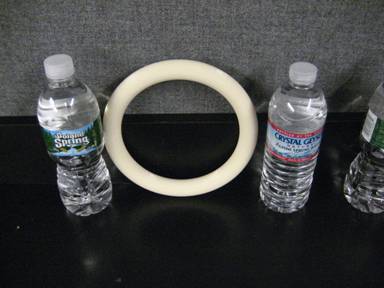
I used some parachute cord to tie them up and they work great.