I began by cutting the parts the sides and base out on the Shopbot. After getting the hang of the process and getting over my fear of breaking the thing, the Shopbot was a lot of fun to use. Setting the depth can be tricky since the bed is not totally flat-- the center needs a deeper cut than the edges. I was pleased by how quickly and smoothly it cut. I forgot, however that the bit couldn't cut inside 90 degree corners, which caused some problems down the road.
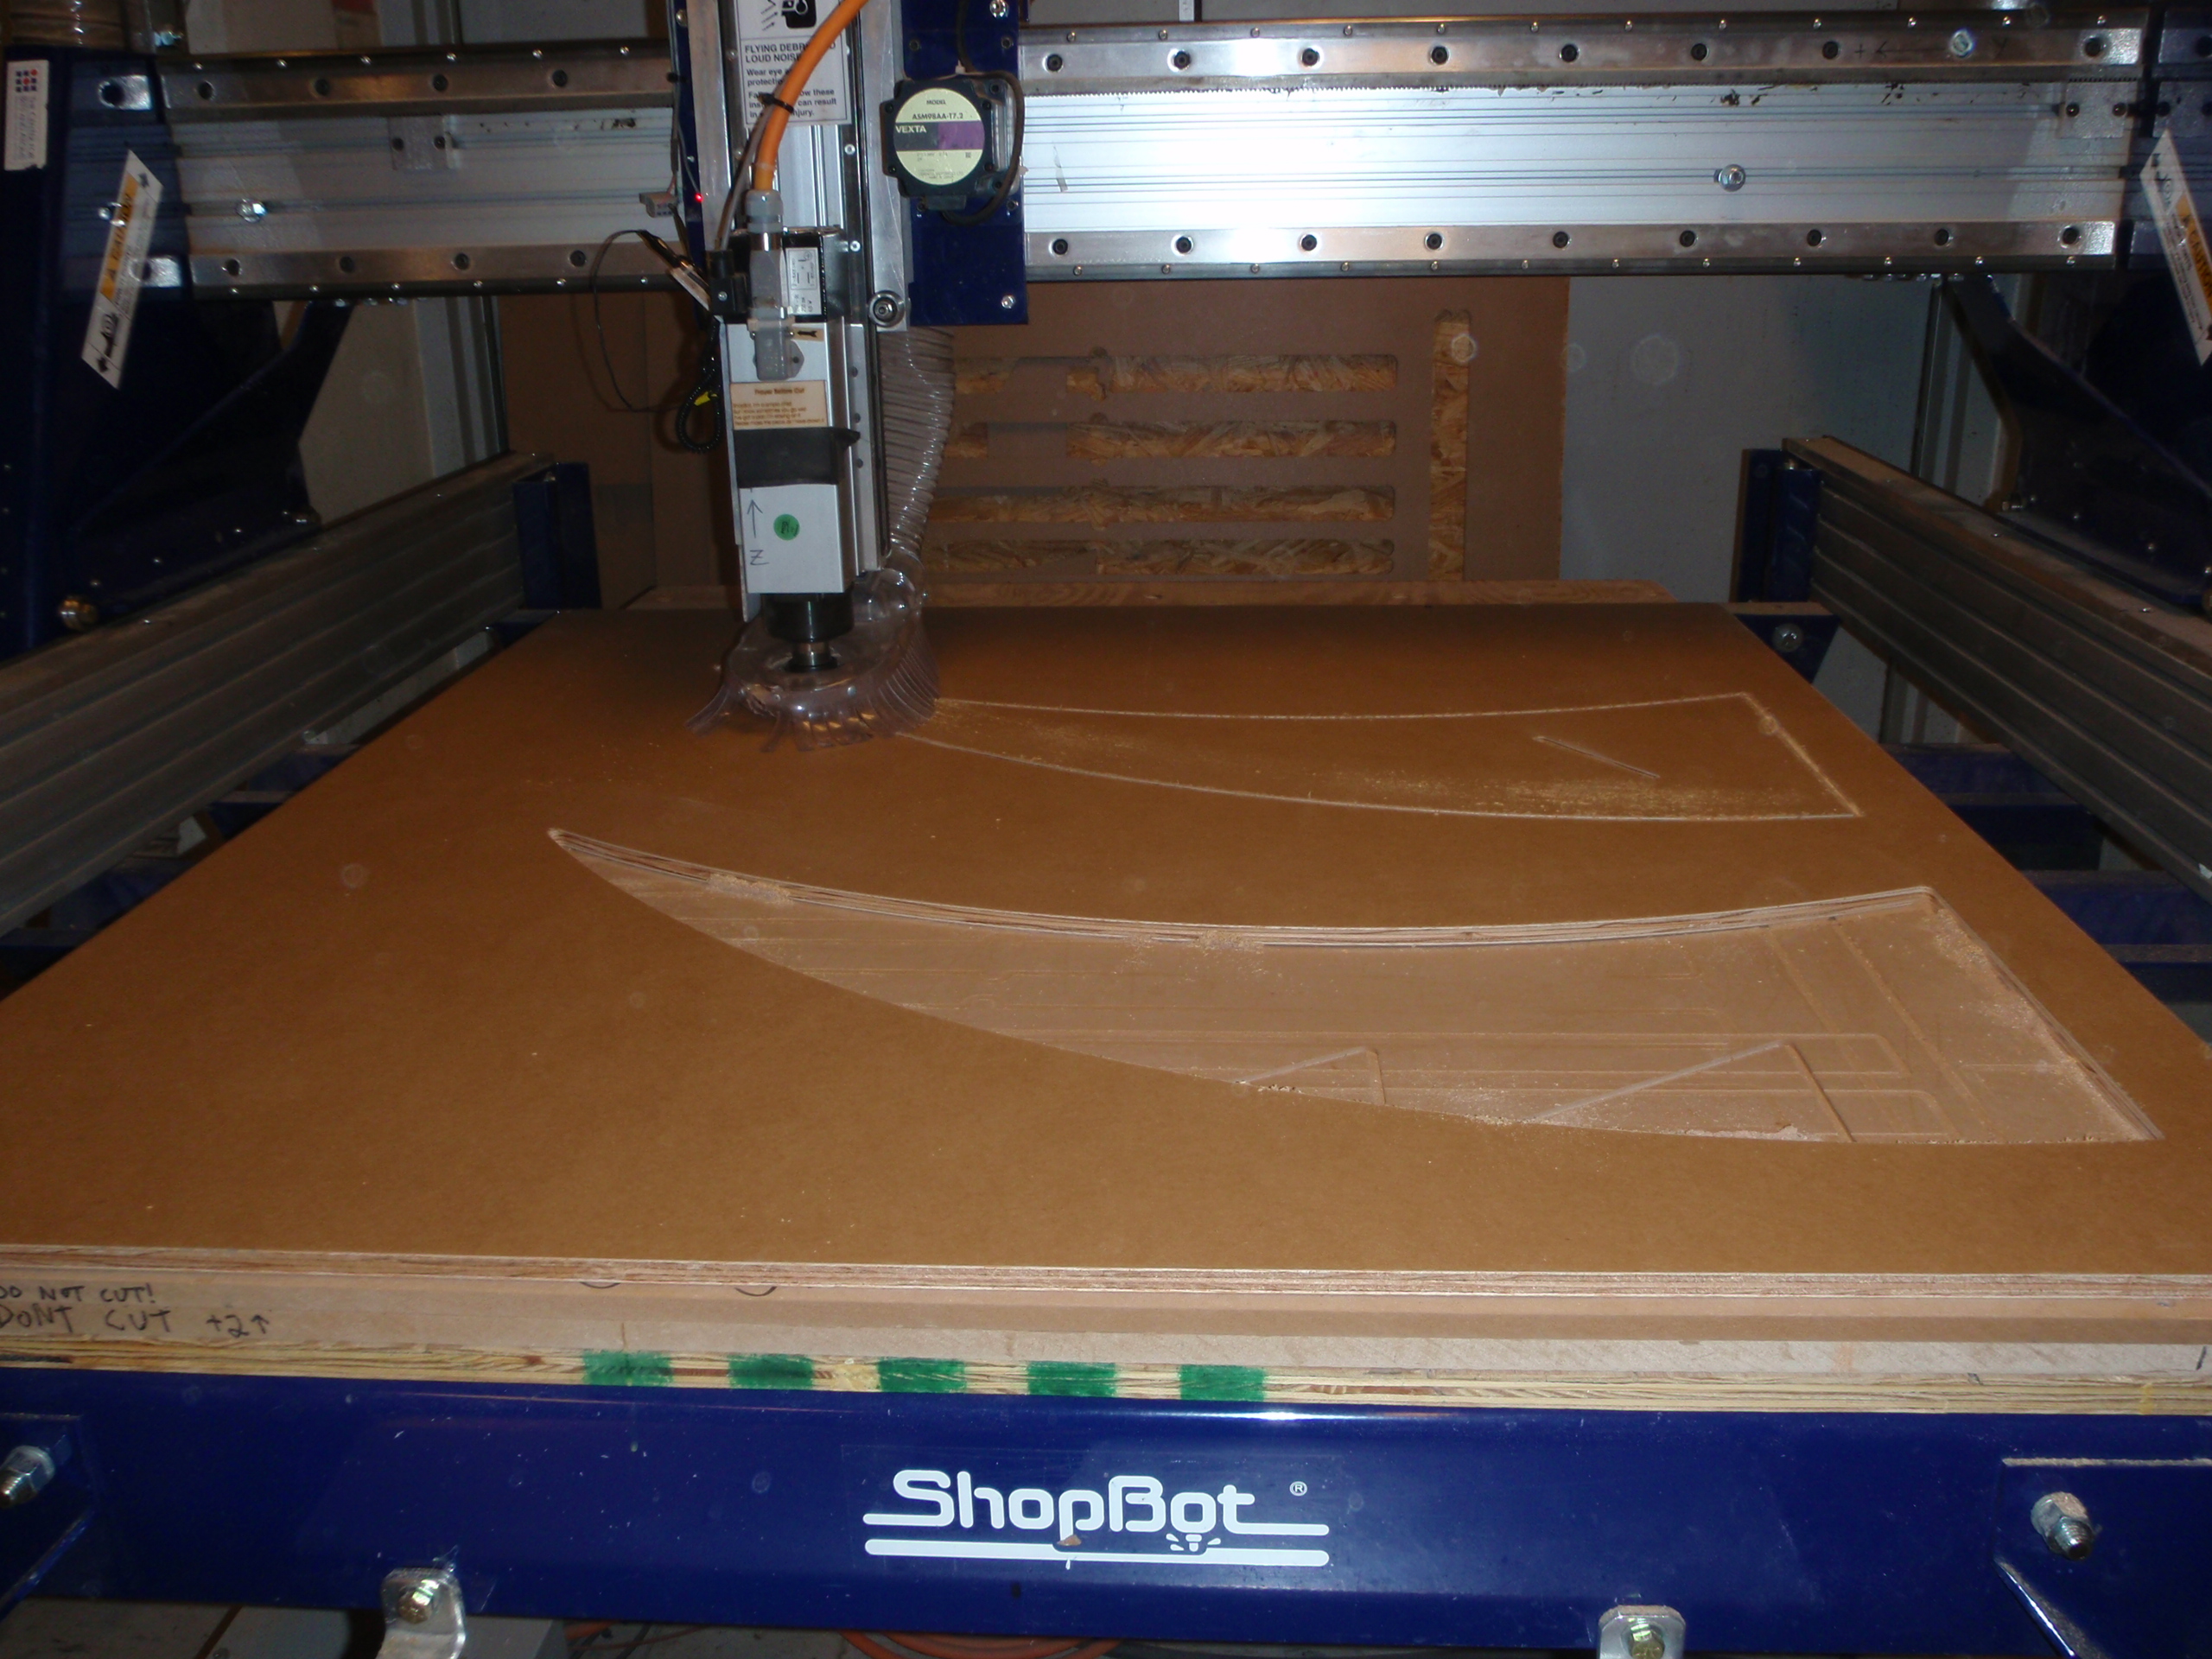
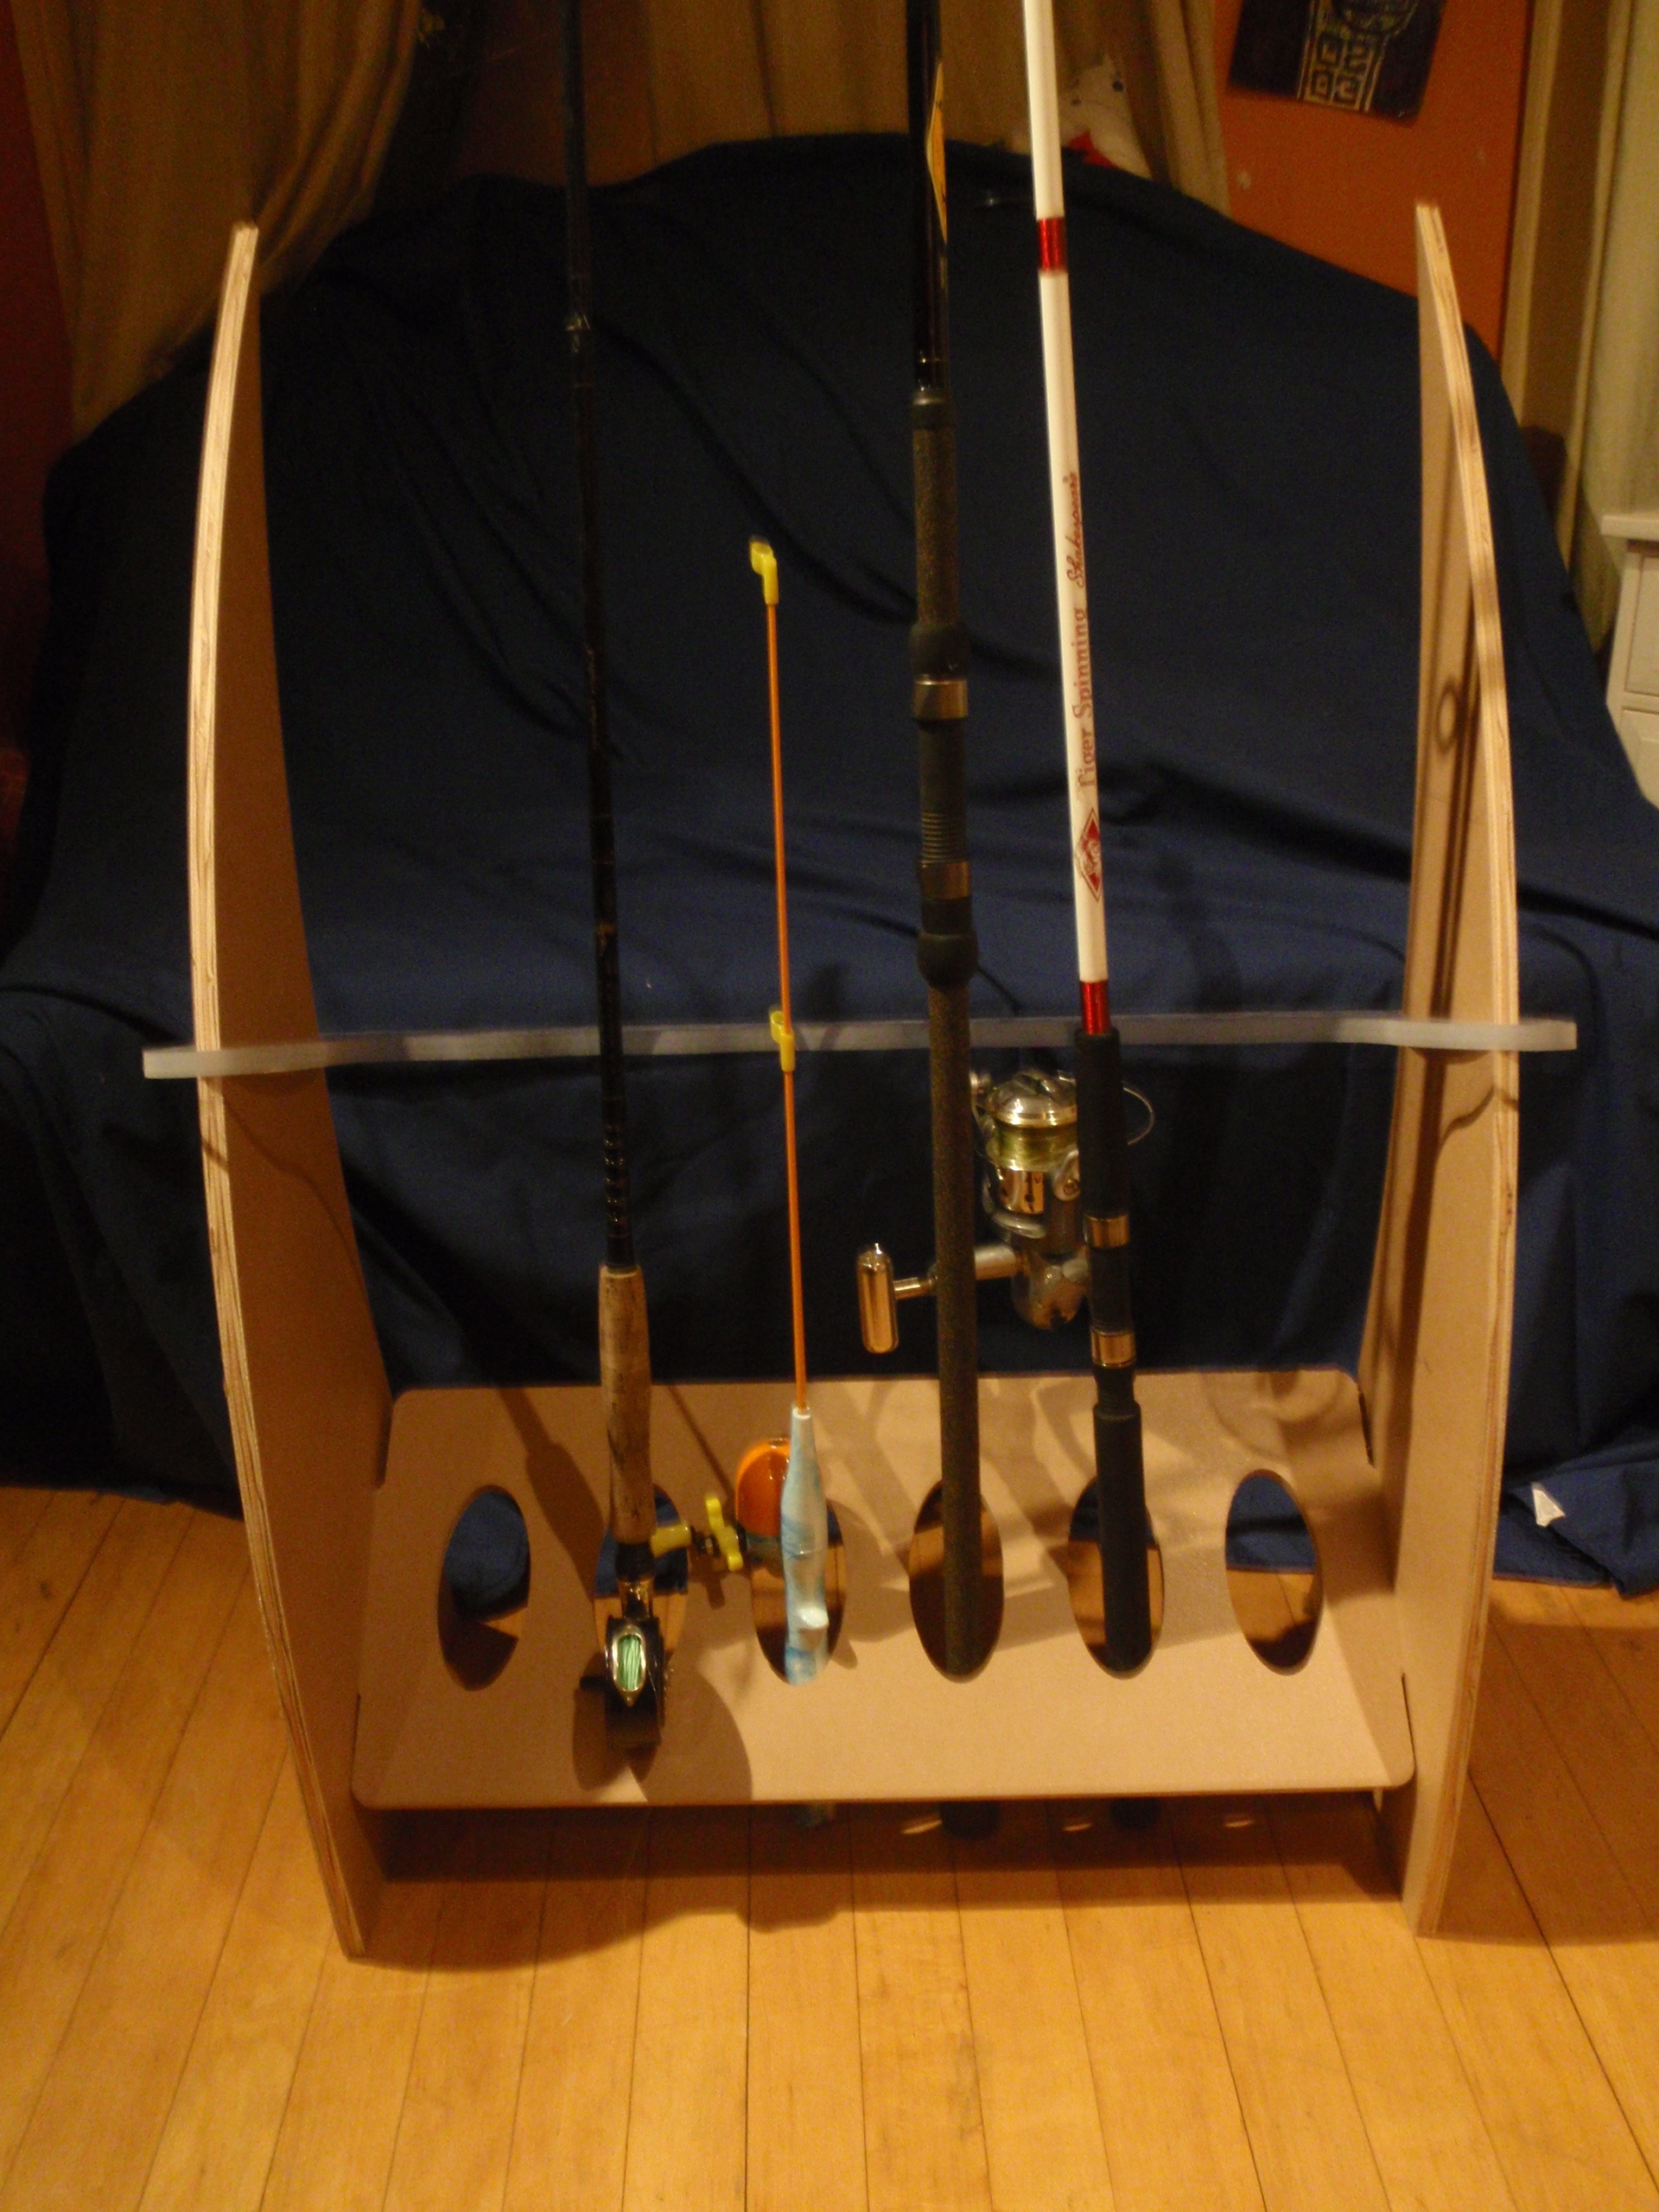
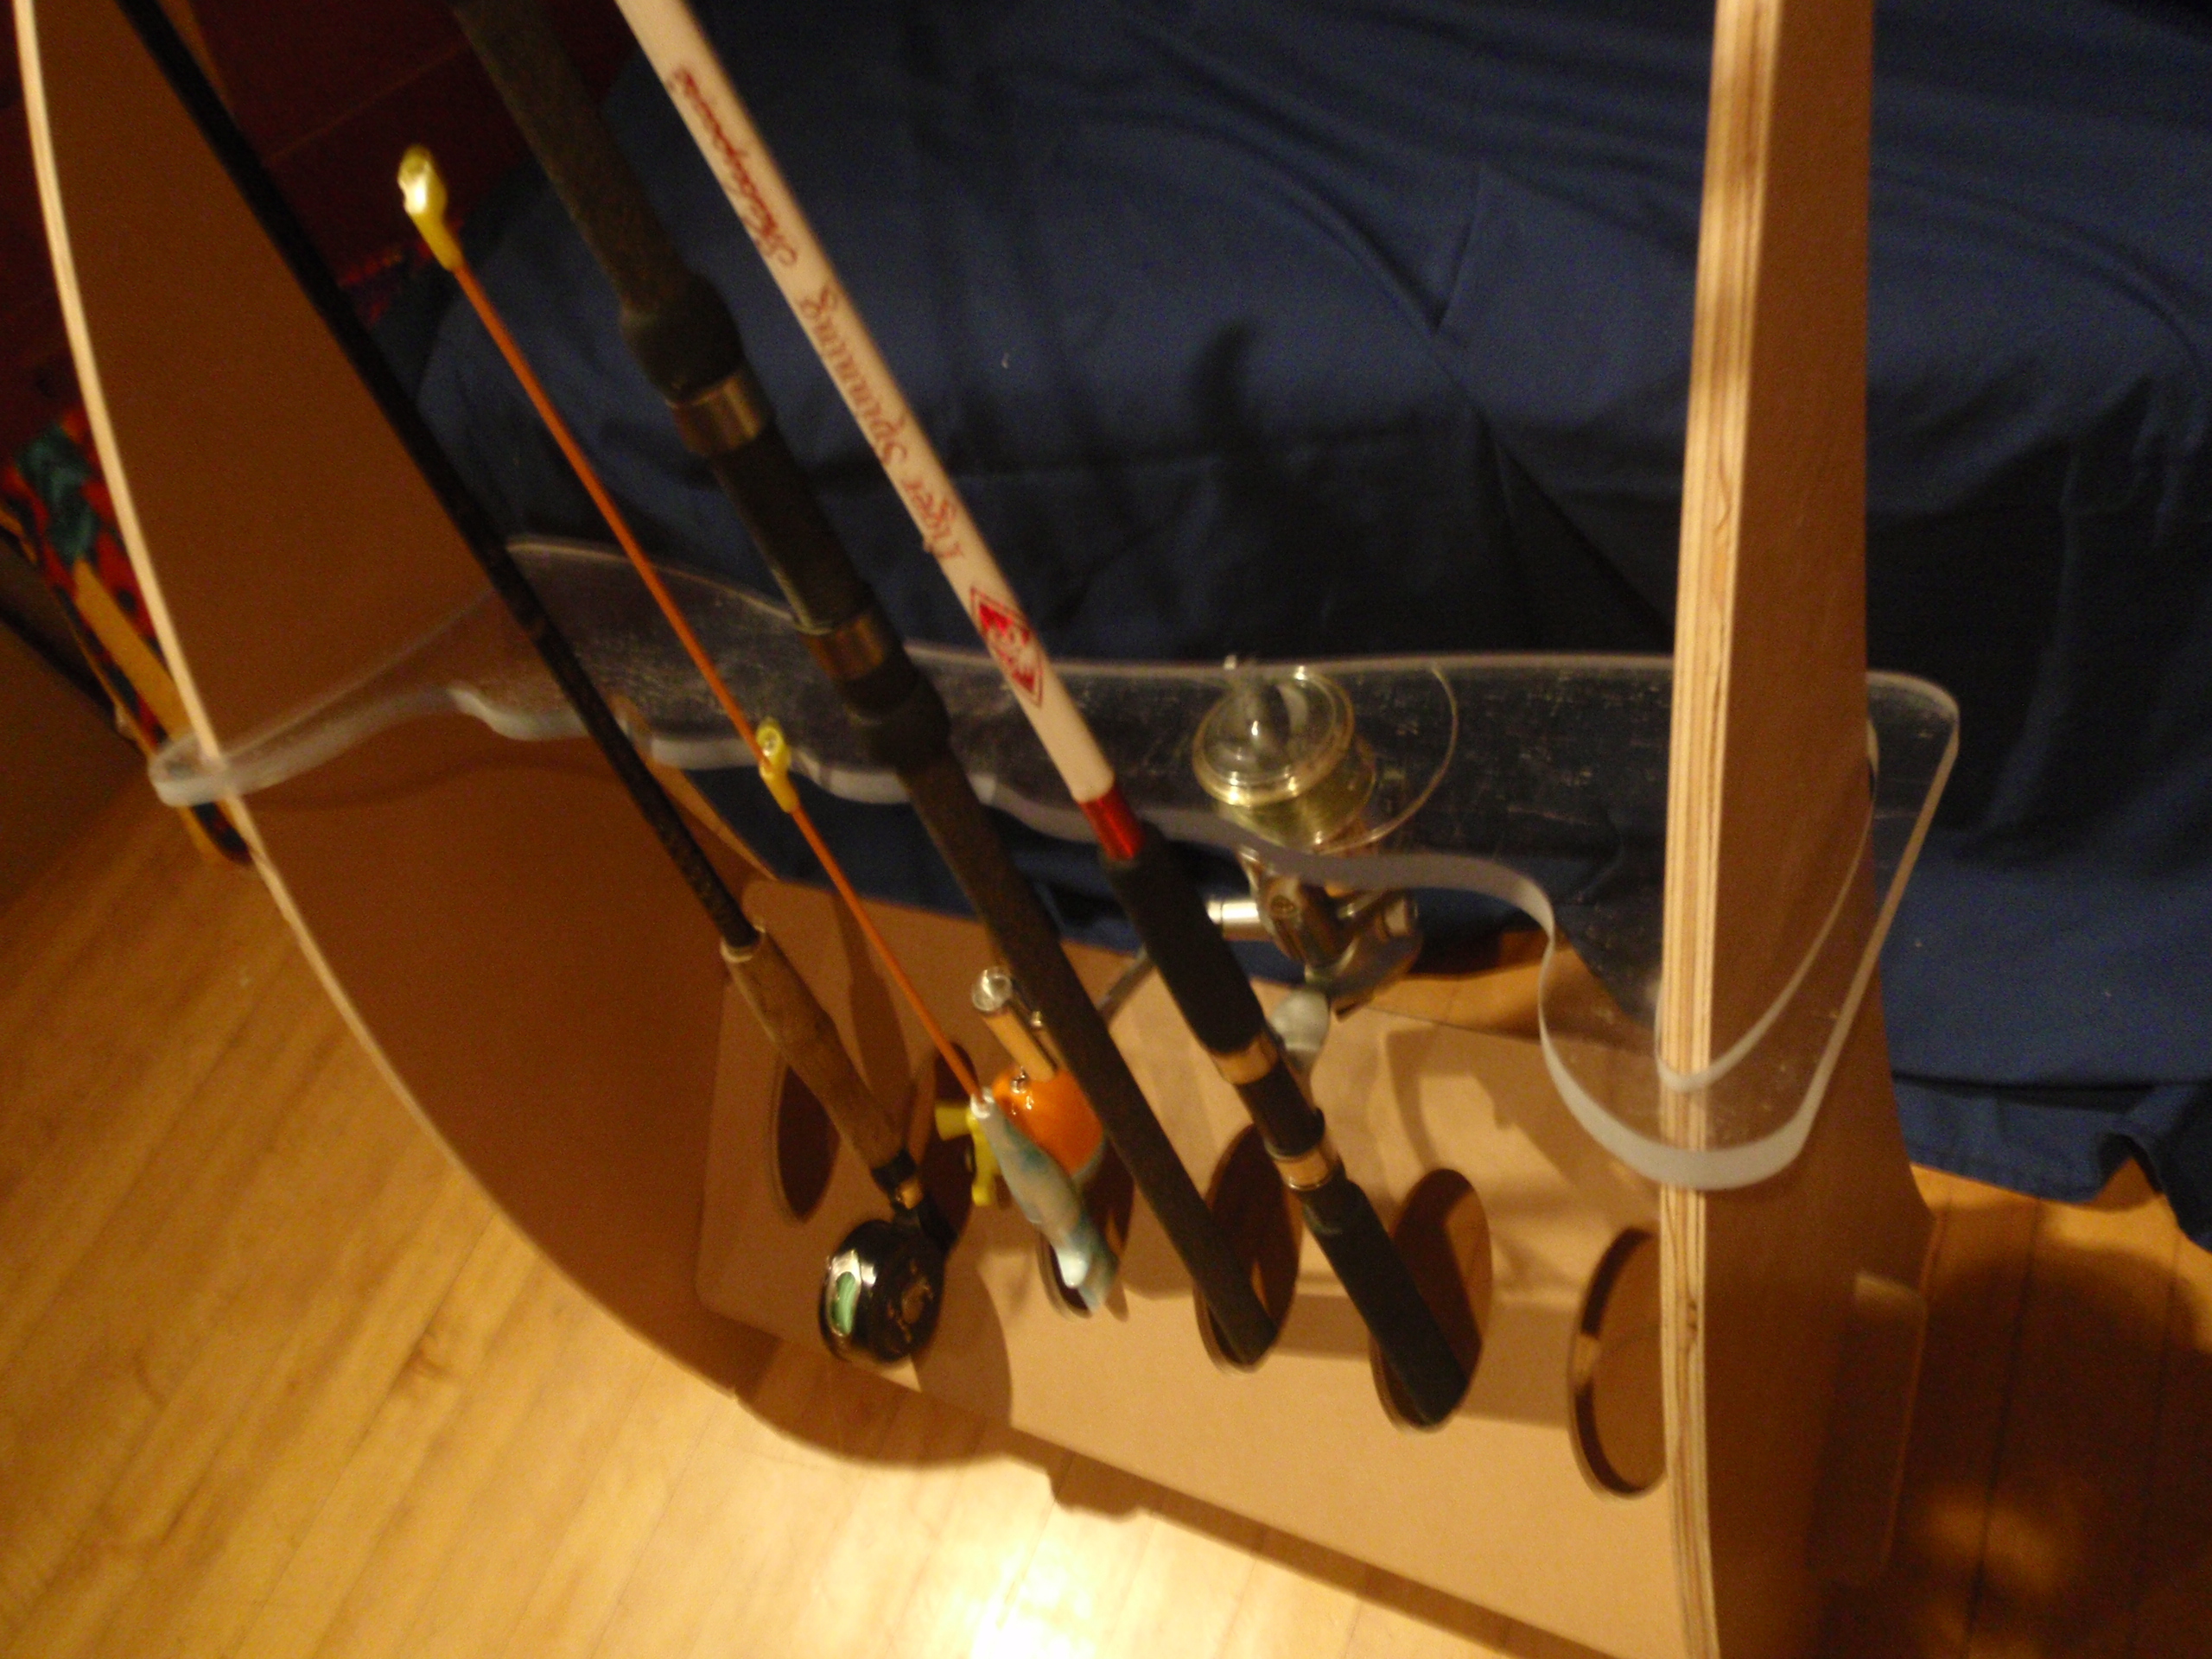
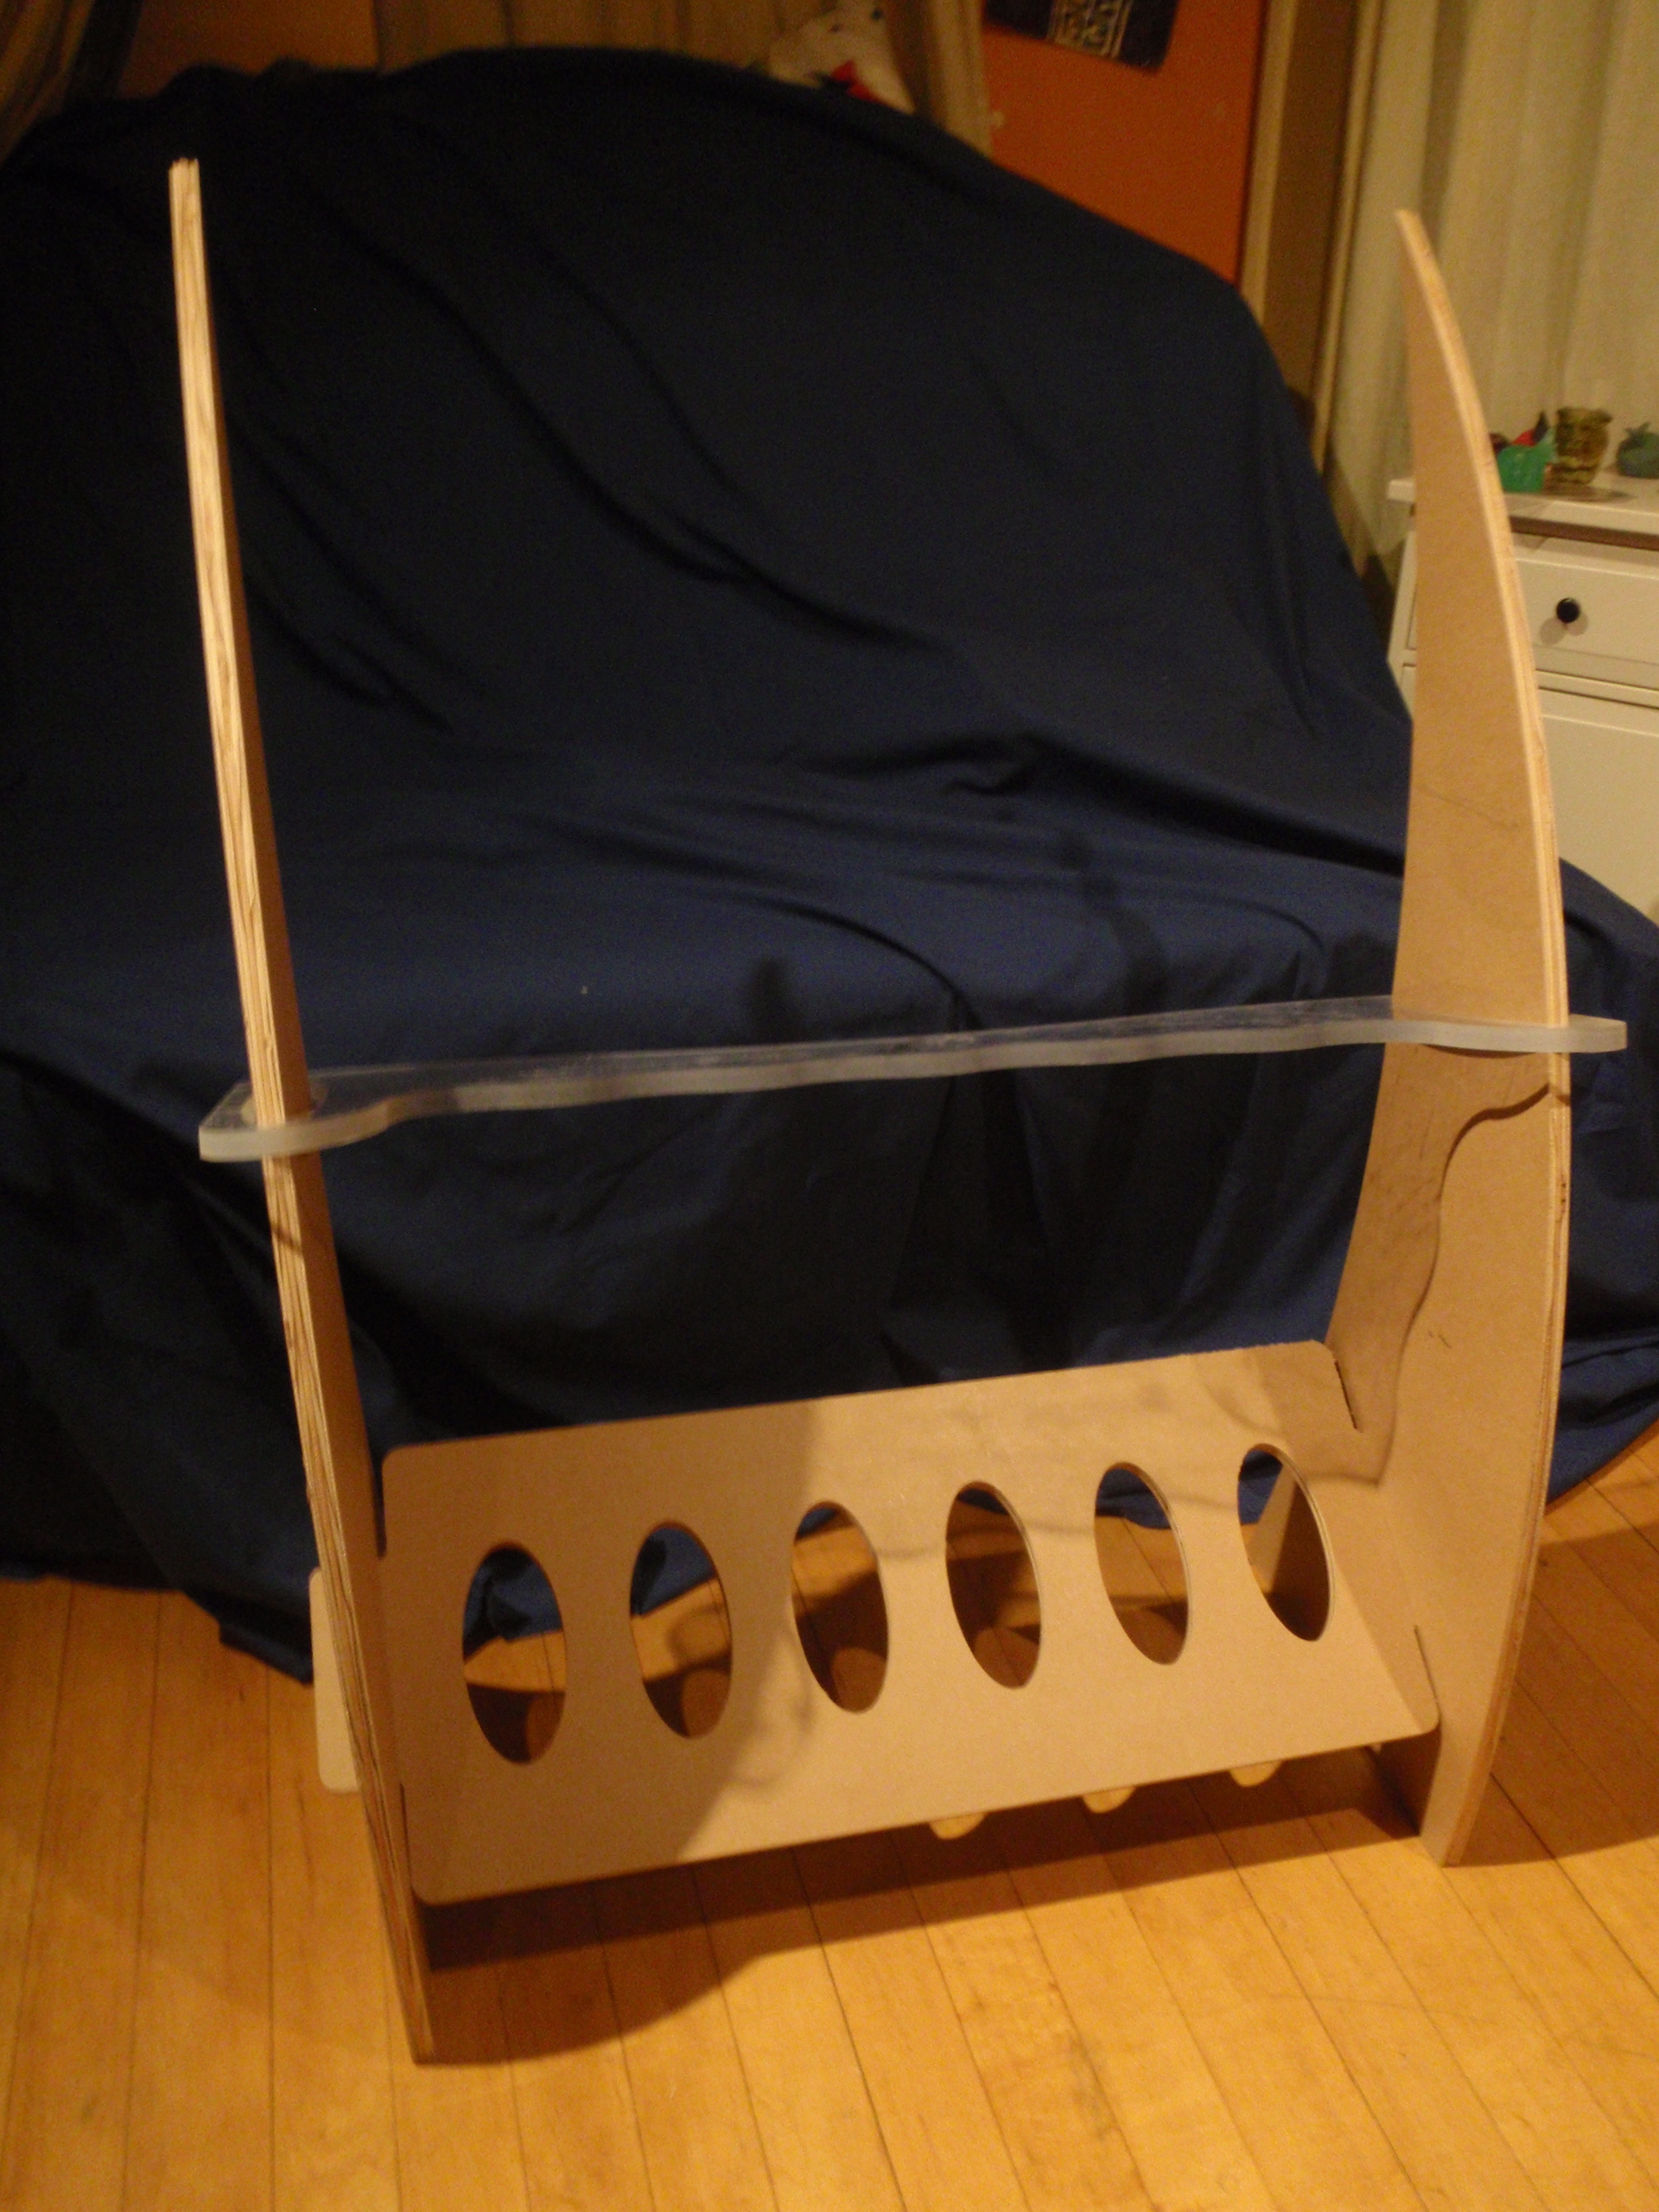
After cutting the sides and base, I tried to put them together, but because if the inside corner issue, the tabs I cut on the base were too big to fit in the slots milled out of the sides. With a little post-production work, it all fit together. I wanted to try the waterjet so I decided to make the top rest out of polycarbonate and to cut it in the waterjet. The waterjet is a lot easier to use than the shopbot in that there are a lot fewer steps and decisions to make. Less to mess up. All went well with the water jet and here are some pictures of the final product (unfortunately, not very good pictures...)

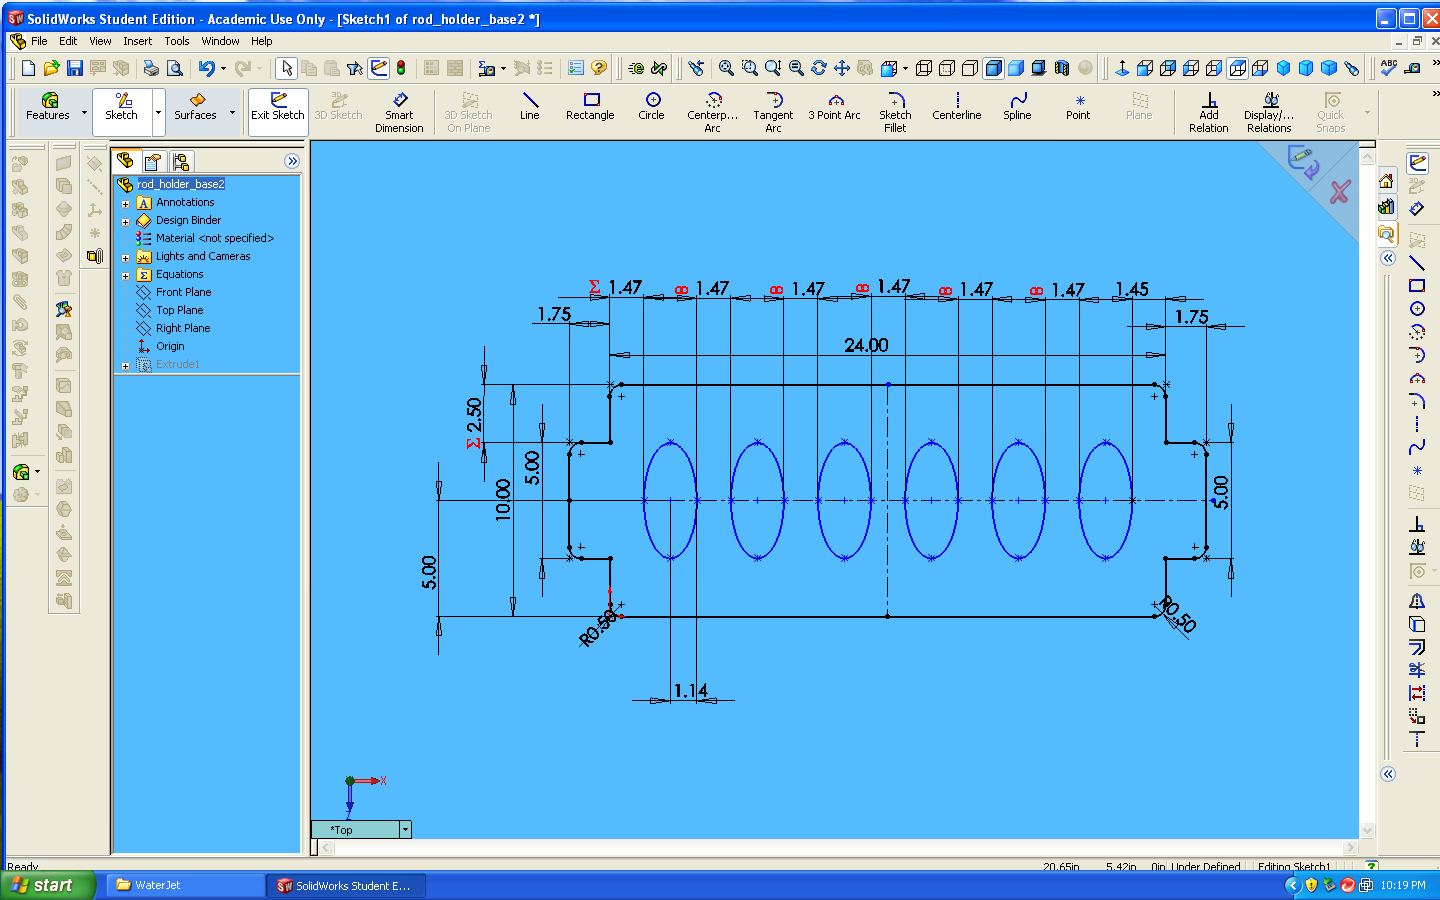
Here are the Solidworks files I used to make the parts.