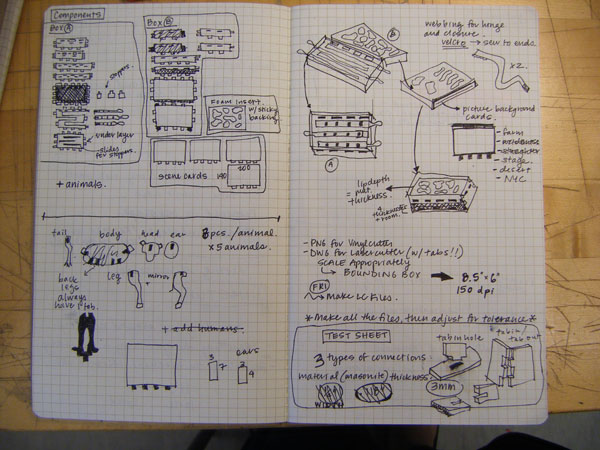
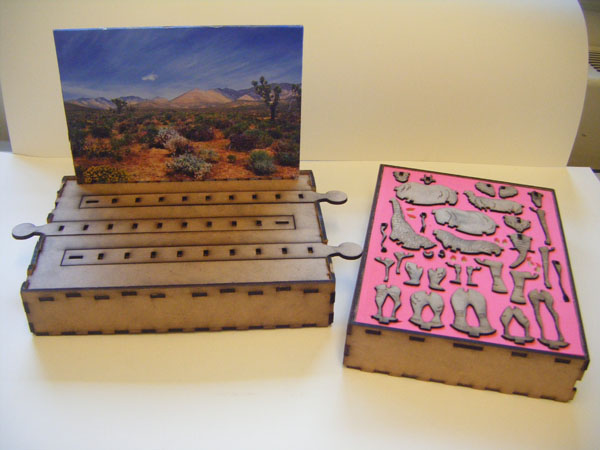
PRESS FIT ANIMAL PLANET
Sarah Hirschman
M.Arch. 2011
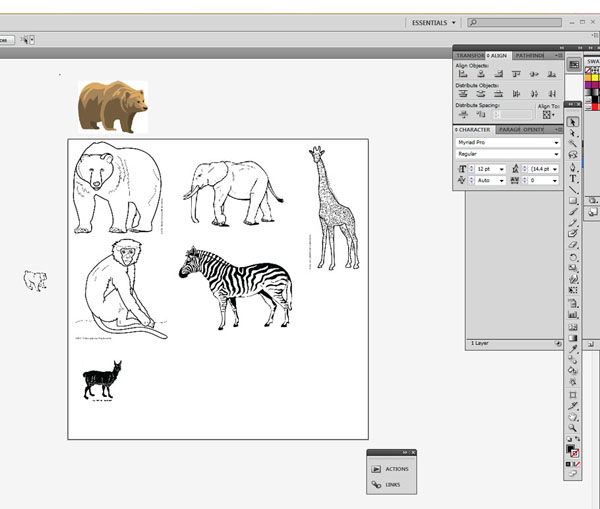
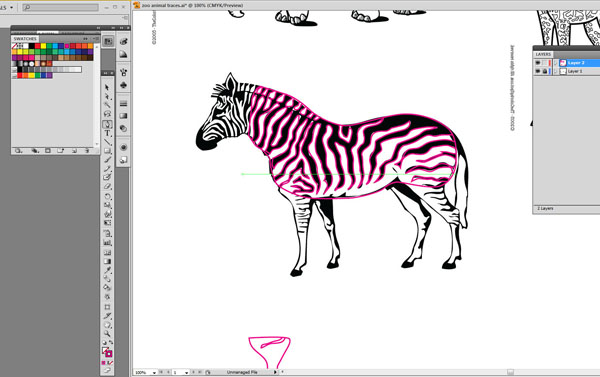
This meant that when I was finished tracing, I could "Live Paint" [a totally useful and highly used feature in Illustrator] the fields, removing any stroke, so that the design consisted solely of black and white field shapes.
You can download this .png file here.
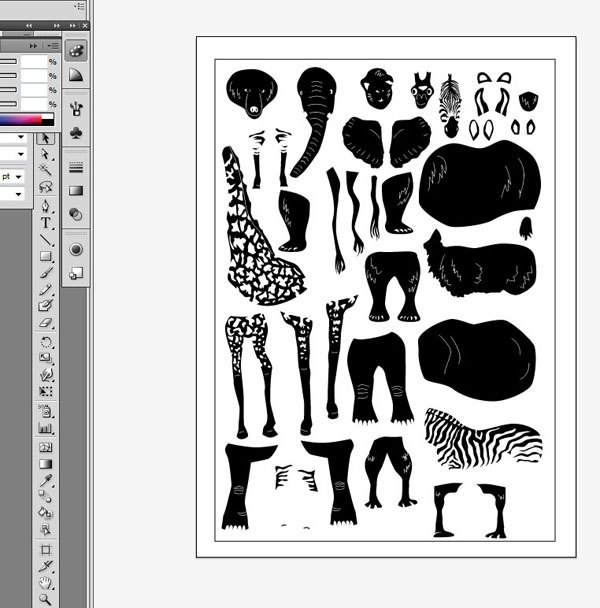
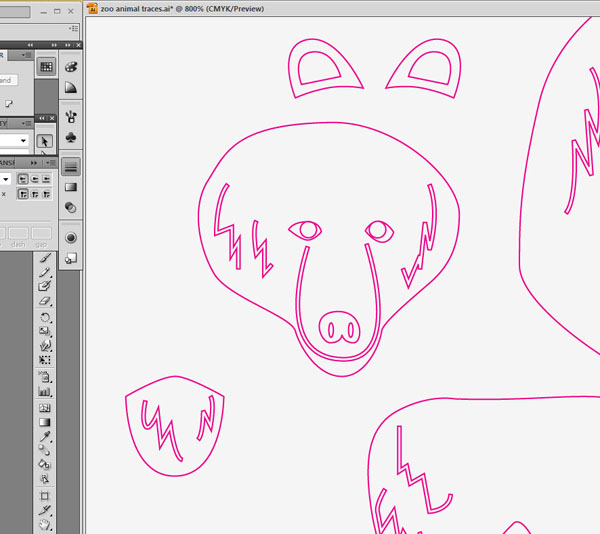
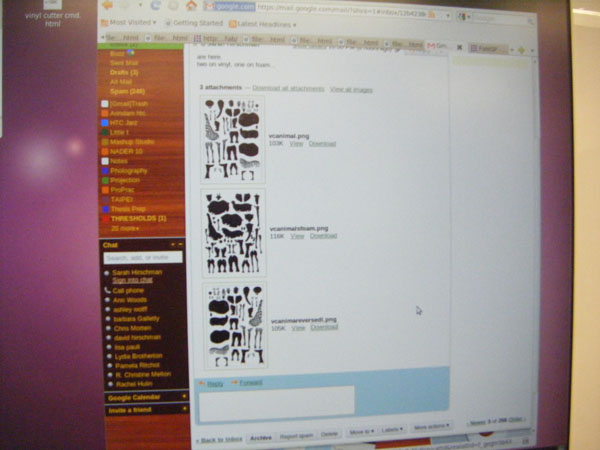
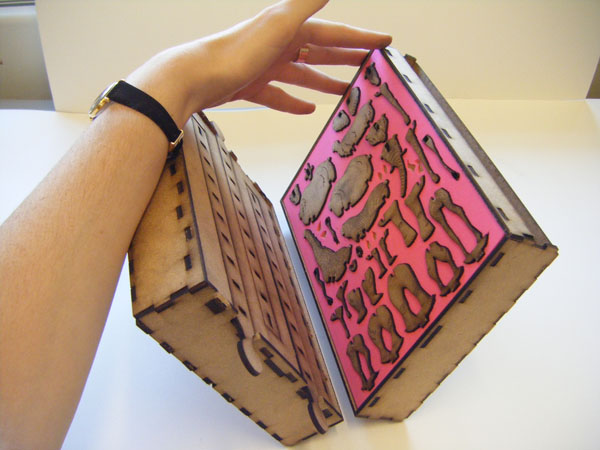
I then exported the AI file as a .png and emailed three versions of it to myself. One was just the basic outlines for the pink foam [see below], and the other two were the detail add-on appliques. Here you can see why that 'Live Paint' tool was really useful, since the Vinyl Cutter treats strokes as thought they were outlined, rather than hairline.
So we did a few scoring tests, finally deciding on a technique that involved one pass of light scoring, and three passes of heavier cutting.
The light first pass settings, using a .5mm blad depth, were 20gm force, and speed of 2.
The next three passes were with a blade depth of 1mm, a force of 60gm, and a speed of 2. This brought the blade right down to lightly scoring the vinyl backing material.
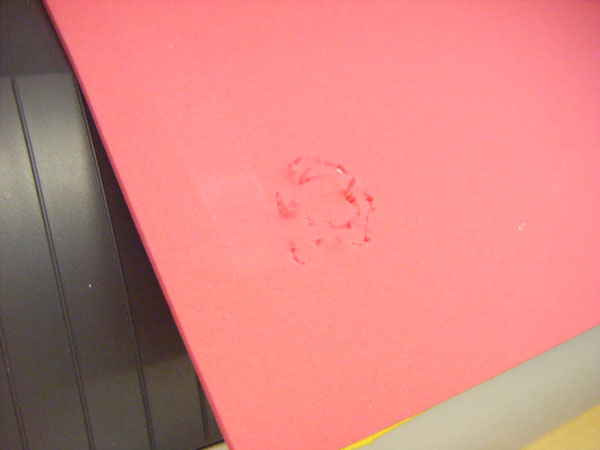
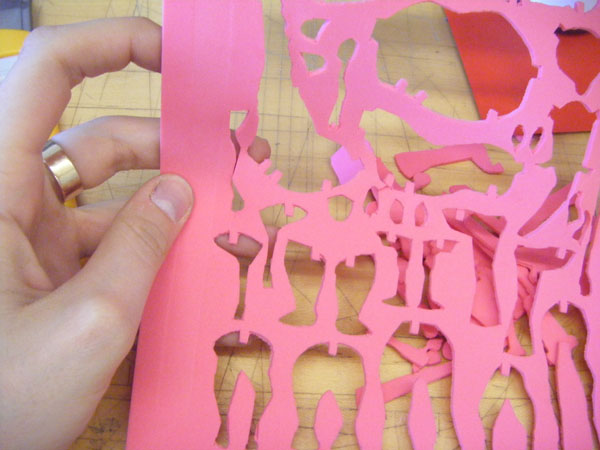
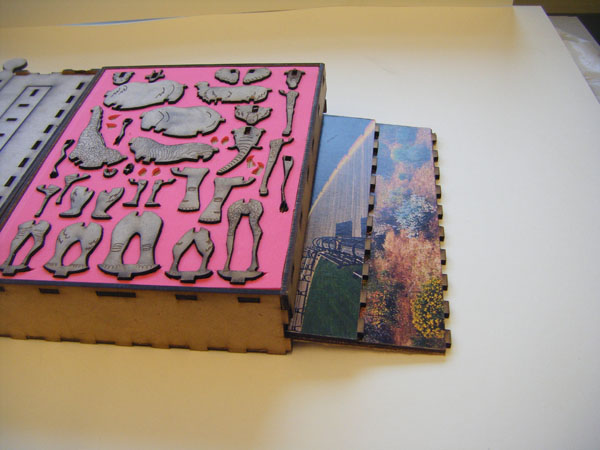
Many of these pieces had to be pulled out and cleaned up manually, however, since the geometry was quite tight and the pieces so small.
You can download the "just the outlines" file that I used for the vinyl cutter here.
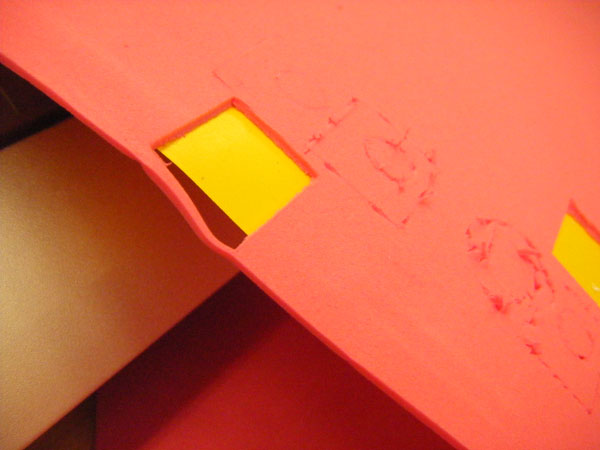
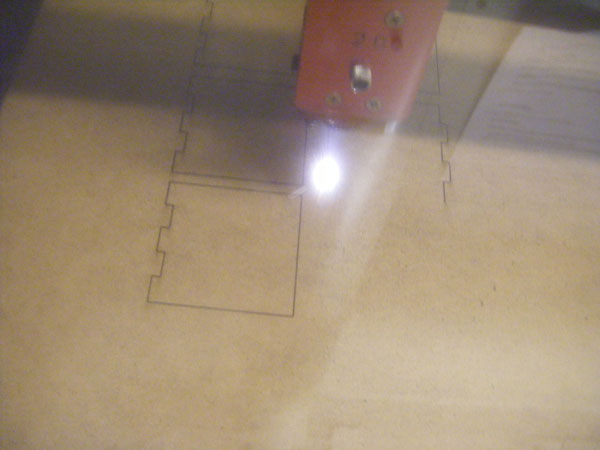
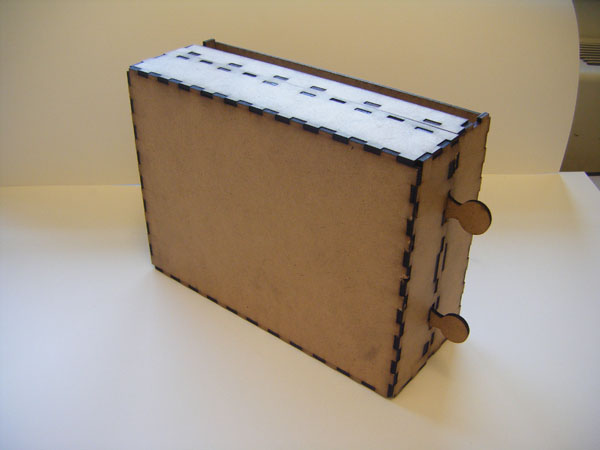
Next, it was time to test out tolerances for the press-fit connections on the lasercutter, using 3mm-thick masonite, which is basically a wood composite sheet material.
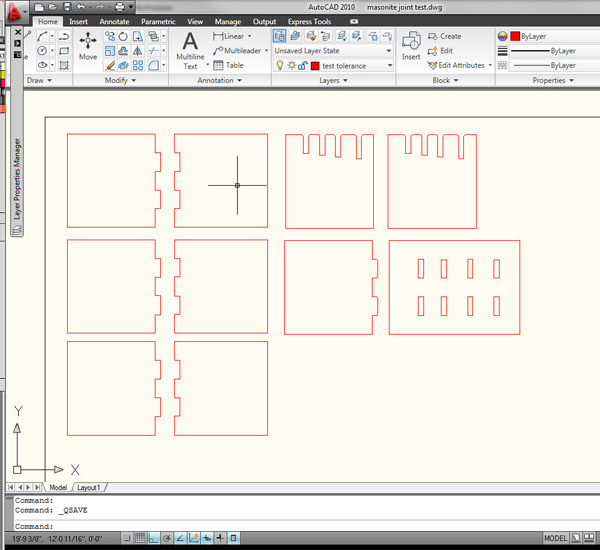
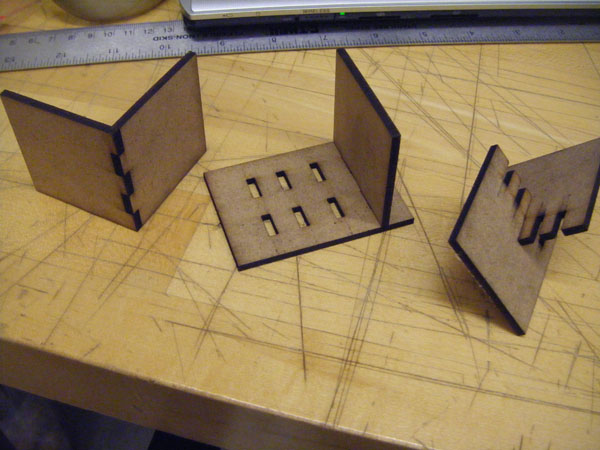
I identified three different types of connecitons in my designs - the hinge joint, the v-in-v joint, and the plug joint, so I tested all three of these in different configurations to see what worked best where.
You can download this test sheet in .dwg format here.
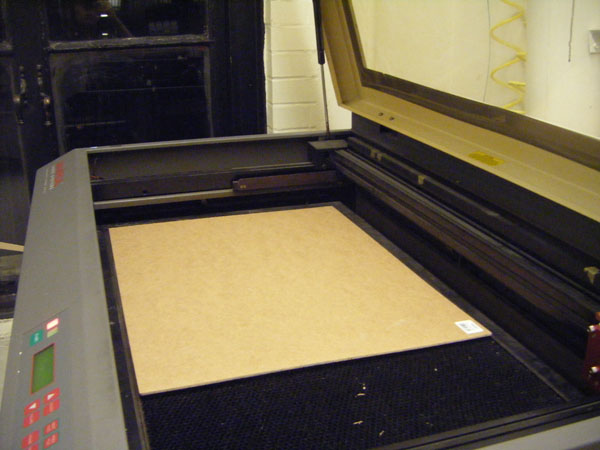
I used the suggested masonite settings of Laser Power: 85%, Speed: 7%.
Strangely, the machine read-out actually indicated that the speed was 9%, so I started to add a percent or two to my sent settings, so that the machine would read for what I was going for.
As it turns out, I needed about four passes of the lasercutter to make a clean cut through the masonite.
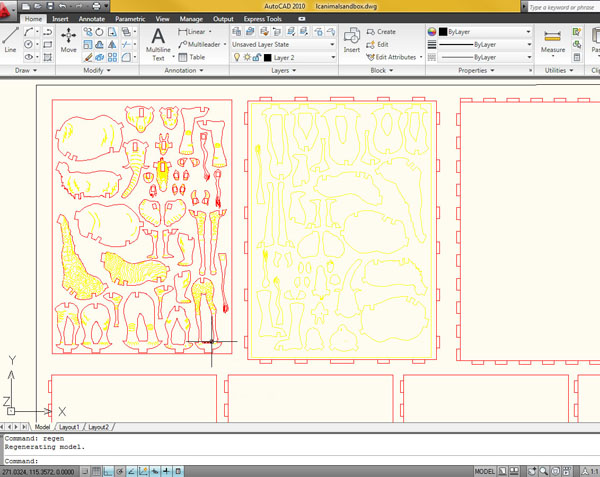
I went back through my cutsheets (prepared earlier from the AI file), and adjusted all the tabs. I find when adjusting for tab tolerances that it's easier to think about connections as involving one sort of piece, rather than two. For example, if I had a plug-in connection, I would adjust only the plug, rather than the tab that fit into it. This made it easier for me to keep track of what I was doing.
You can download these two cutsheets as a .dwg here. Please note that I was a tiny bit careless, and many of the insertion tabs were not trimmed after I adjusted their sizes, meaning that there are some corners with overlapping curves.
Also please note what I discuss below - if you're going to use these files, you might want to better account for some space for the slides in the short sides of the box.
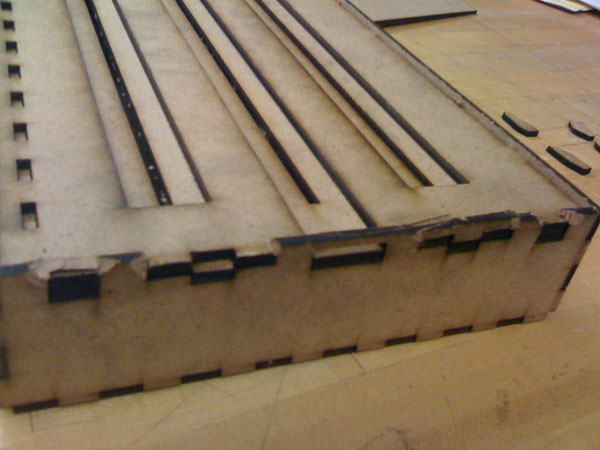

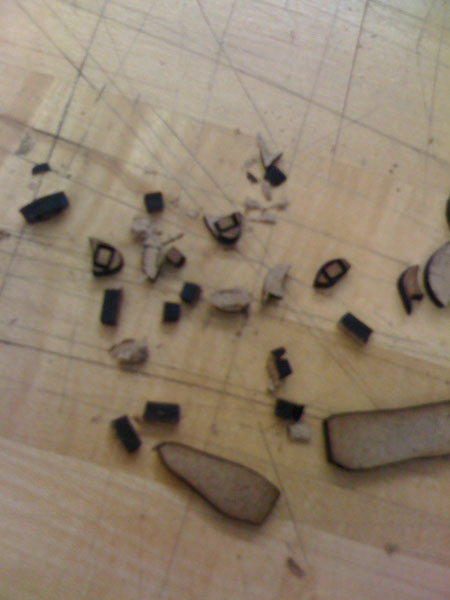
During laser cutting of the animals, I began to notice that after a couple of passes, small pieces in my design started to be getting much smaller very quickly.
I don't think these problems would have arisen if the box were just larger overall, perhaps 50% larger, but as it was, some pieces, such as tails and ears were physically about five or six millimeters wide. Many of them fell by the wayside.

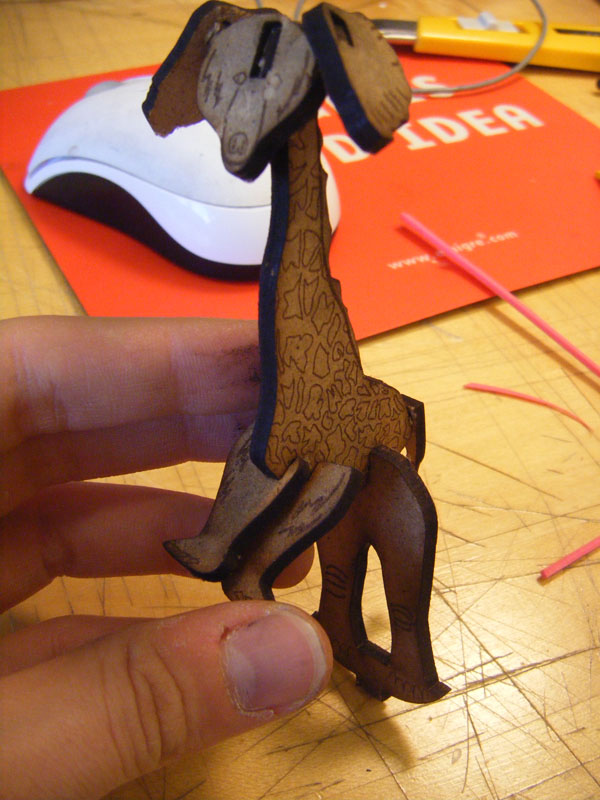
Here's a particularly attractive fellow made up of:
a bear's head,
elephant ears,
giraffe body,
bear front legs,
elephant hind legs,
and a llama tail.
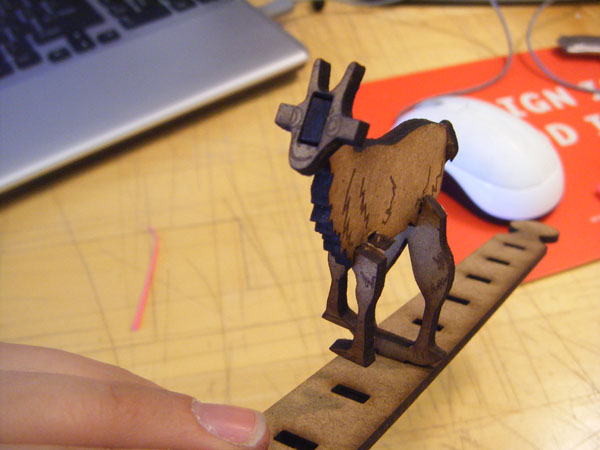
This little guy's got a
giraffe head,
no ears (what with my having incinerated them),
a llama body,
zebra front legs,
and llama hind legs.
I think he may also be wearing a giraffe tail.
Download summary:
I included a number of files on this page that you can download. In summary, they are:
1. .png file for vinyl cutter shapes
2. .png file for vinyl cutter appliques (a step I didn't do)