VINYL CUT LOVE
Sarah Hirschman
M.Arch. 2011
I'll cut to the chase with this project, since I have more material on the vinyl cutter going up on the guru page, and this design was one I'd done a few weeks earlier. Suffice it to say, I had a design all set in Illustrator, then I exported it as a .png file, emailed it to myself, and opened it up on the vinyl cutter computer.
Before I began this process, I wanted to make sure it was possible to silkscreen with a vinyl cut stencil - I found this Instructable that assured me that yes, this is not a fantasy.
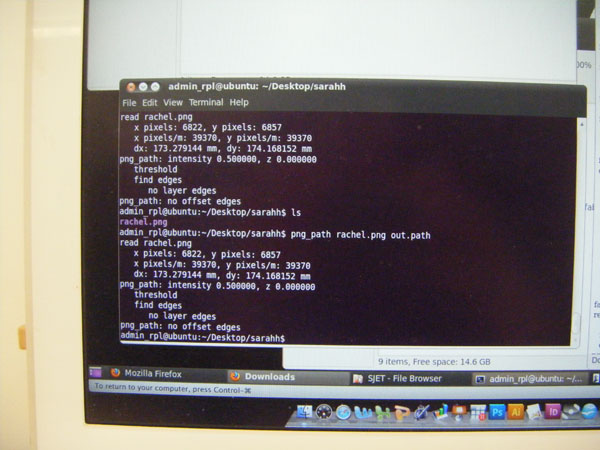
As you can see above, when I tried to run the vinyl cutting module, I got a reading that there were "no layer edges" and no "offset edges."
Nick suggested that perhaps this was because Illustrator exports different types of .png files than other programs. I then opened my file in Inkscape and re-exported it as a .png.
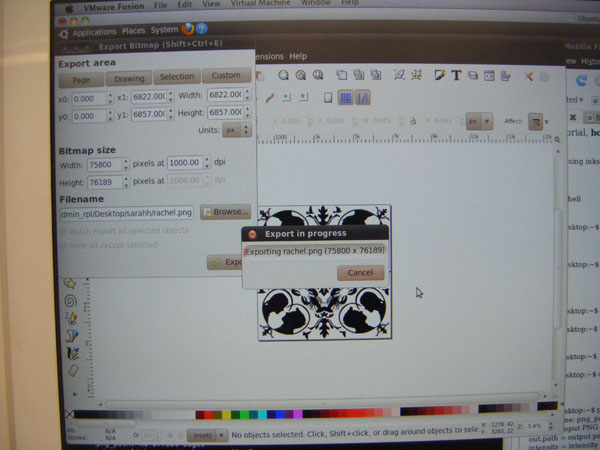
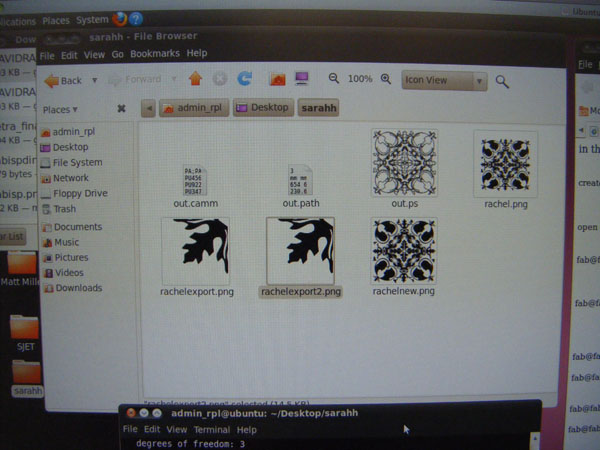
Here's a picture of my file in the computer - you can see the png exports are of a totally enlarged scale - I figured out that this had to do with what dpi I was trying to export at, and what dimensions the image had been when it first came into the program.
This message here that the "Roland-GX'24 is not ready" came as a surprise - I had just been cutting something! But, it turns out that by clicking into the Mac OS window, I had inadvertently disconnected the Ubuntu 'printer connection', which needed to be re-set to the Roland vinyl cutter.
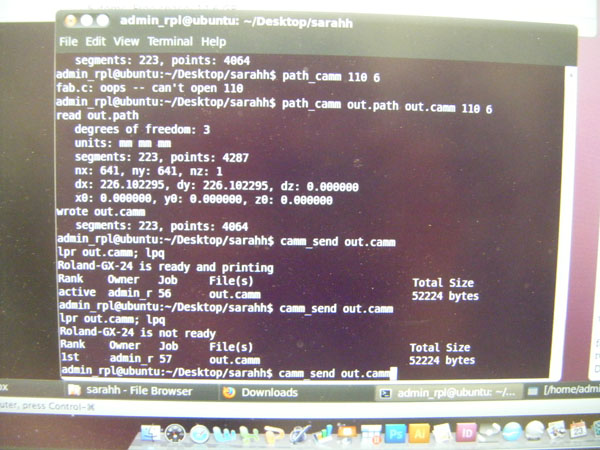
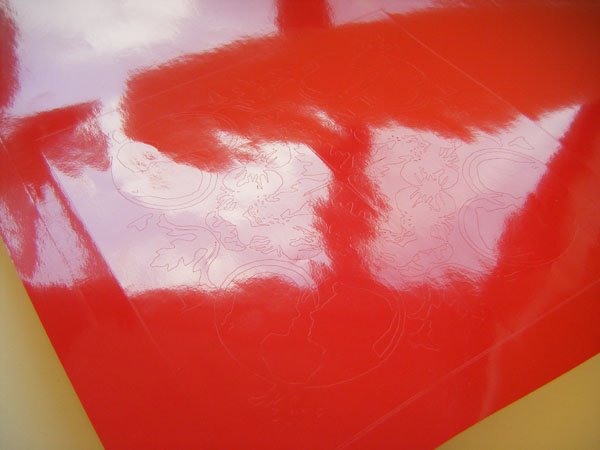
After some drama that finally involved turning the vinyl cutter off (because its memory was full of the hi-res complicated shapes I was cutting, as well as those of the guy who was cutting before me) and turning it back on, my design came out, though you can tell I finally set it at 72 dpi (it was taking an extreme amount of time to export at any higher resolution)
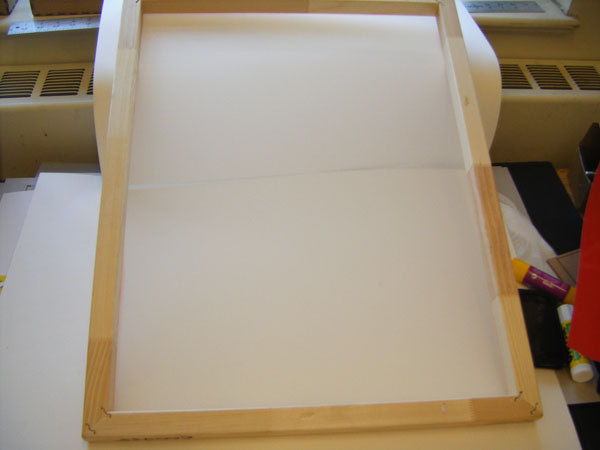
Then I took a pre-stretched silkscreen that one of my friends had, and tried to prepare it to include the vinyl pieces. I decided in this attempt not to use the photo emulsion/development method for silkscreening, and rather to just use the vinyl pieces as a stencil, since time was tight, and I was just sort of curious if this method would work.
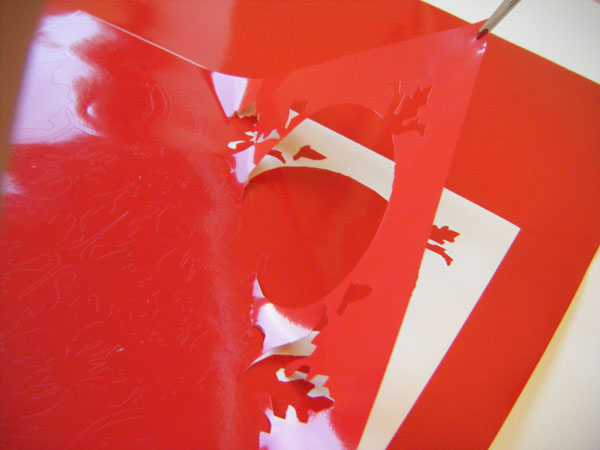
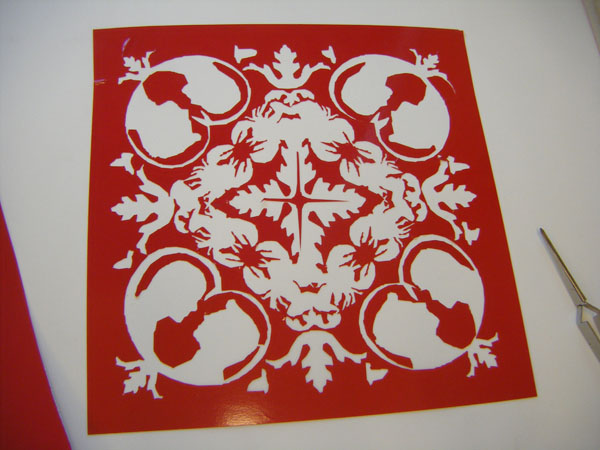
As you might imagine, weeding this stencil was not the most pleasant challenge. I really could have used a helper with this one, since as soon as I started lifting, the small pieces and narrow connections started either sticking to themselves or to other parts of the stencil. Boo.
Thankfully the lobsters came out all right in the center of my design. The heart-shapes (containing my brother and sister-in-law's profiles) in the corners did not fare as well, since they were very thin and prone to stretching and bending once they started sticking all over the place.
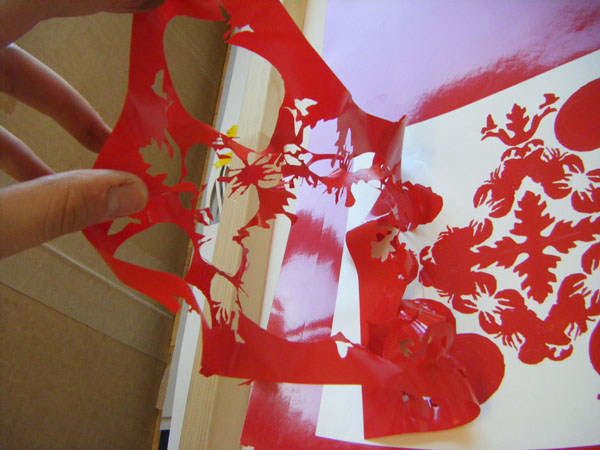
All in all, the stencil turned out just OK, not perfect, and certainly not ideal for running a hard squeegee over them repeatedly. Also, my brother's profile is delightfully wonky in a couple of the corners.
I'm not going to include a .png file of this design because it's something I worked quite a while on - it is part of a wedding present for my brother. He is a writer and his wife is a photographer, and together they are writing a coffee table book about lobsters, hence the lobsters in the motif. She's got a biceps tatoo with a flock of birds, from which I took the small birds floating around.
I think my next step will be to use what was left over from the stencil to make another one - it might be interesting to print them over top of each other and see the differences where I messed up with the placement of certain pieces, or just to see how different it looks when it's printed in reverse.

This project is not complete, as I'm waiting on an ok from the facilities manager at my studio for permission to rinse silkscreen ink and cleaner in a public sink. It may require special waste hazard management.