PCB Fab, Fab, and Re-Fab
Sarah Hirschman
M.Arch. 2011
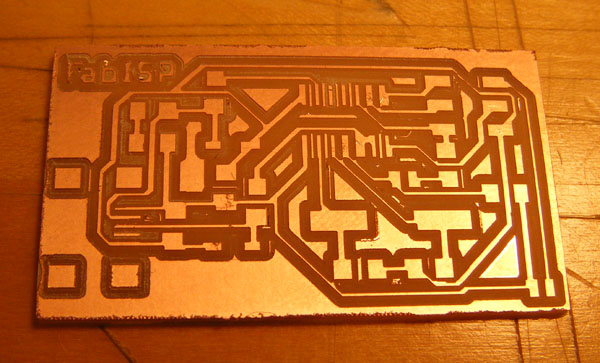
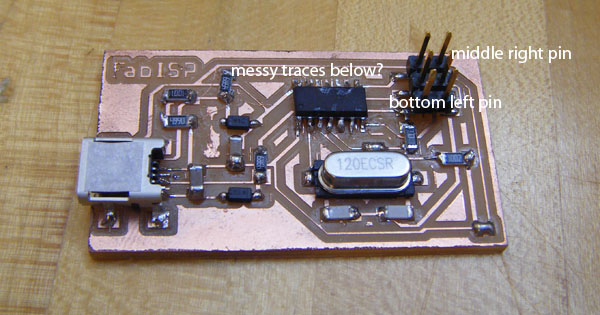
Shortly after the PCB milling demonstration, I began to mill my first board. There was a little lump of double-stick tape below my first board, which caused an uneven (not properly cut) first pass... here's another starting board. Note how there are tiny traces between some of the smaller patches - this would later prove to be a problem...
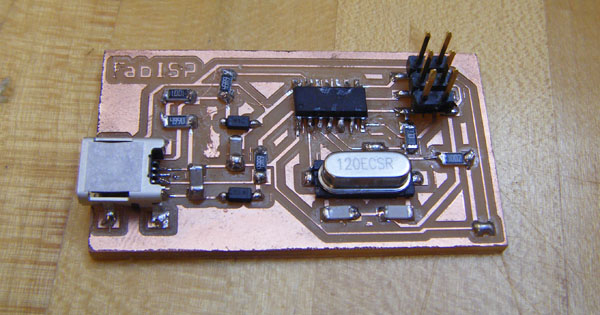
I started 'stuffing' the board piece by piece as a grouop of us discovered how to use Eagle to figure out what parts (of what strength) go where. It took me one three-hour session, then another two-hour session just to stuff this board properly. First time solderer!
What I found out while "debugging," was that somewhere along the lines, my traces were crossed, meaning that when I touched the multimeter to the bottom left and middle right pins of the six-pin, there was continuity (there shouldn't be!) and it beeped.
After looking through the schematic and the board layout files in Eagle, I isolated two spots where I thought the 'bug' might be - where the R$ resistor crosses a trace, or underneath the microcontroller. I un-soldered the resistor, only to find out that that was clearly not the problem.

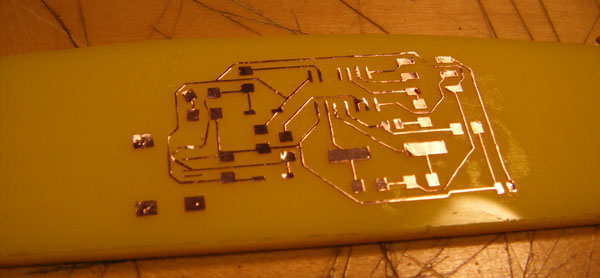
While waiting to use the Modela, I also had an opportunity to play around with the vinyl cutter to make a circuit. The first few passes (at 100 force, 20 speed), just shredded the material. Later I discovered that that on-Roland-machine force selection dial was set at the highest level. This might have been responsible for the shredding, so I started again with new tests, finally resting on force of 70 and speed 2.
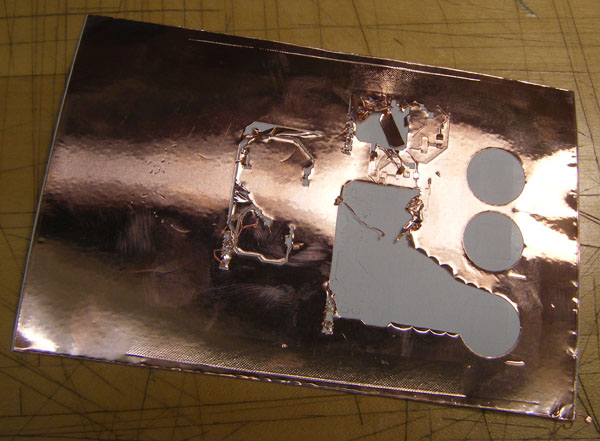
Things were still not perfect - check out how those letters are just flying away. Regardless, I cut out the board from the larger sheet of copper.
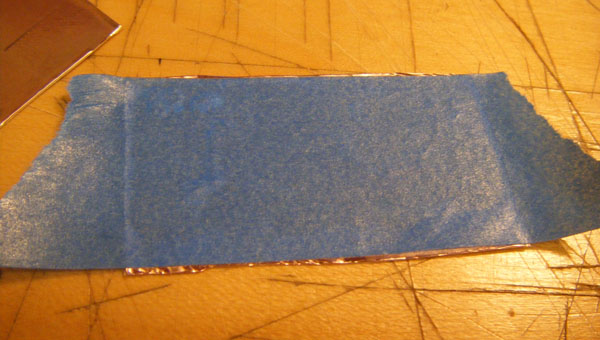
Then I covered the face of it with painter's masking tape.
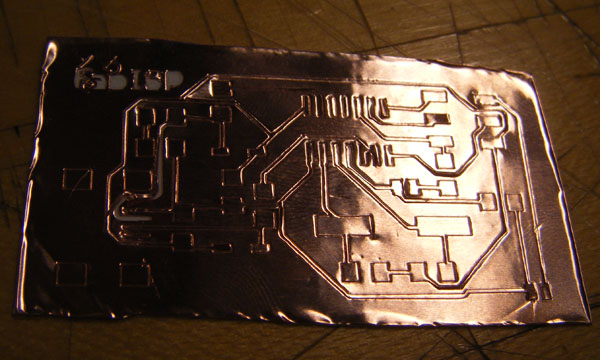
once light pressure was added to secure the circuit to a piece of yellow plexi I had on my desk, I began to peel away the masking tape layer, and eventually weeded the cicuit out.
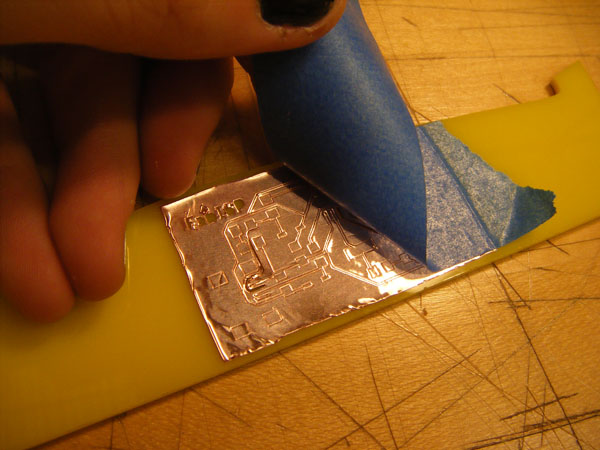
I think a better method might be to apply more pressure off the bat, then scape off the weeeded parts, because, as you can see, some of the traces were so thin that they bent, tore, or came unglued.
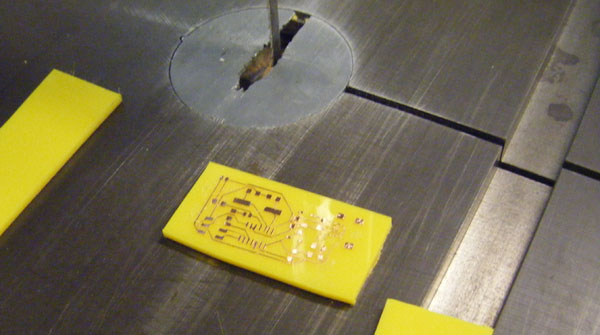
I cleaned up with board on the bandsaw - I wanted to amke sure it wasn't going to be larger than the milled boards by too much!
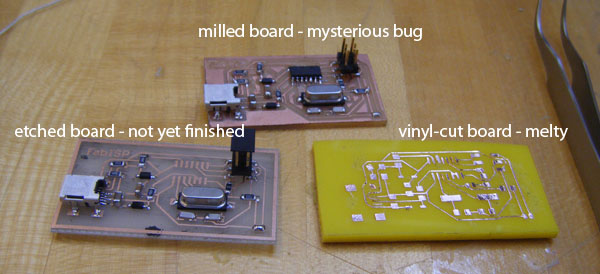
Because of the problem with the milled board and the microcontroller, I decided that it might just be easier to make a whole new board than to painstakingly debug the old one. Here's an image of an etched board from the tutorial we attended.
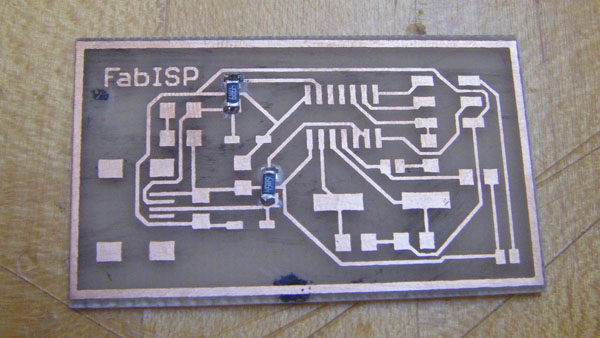
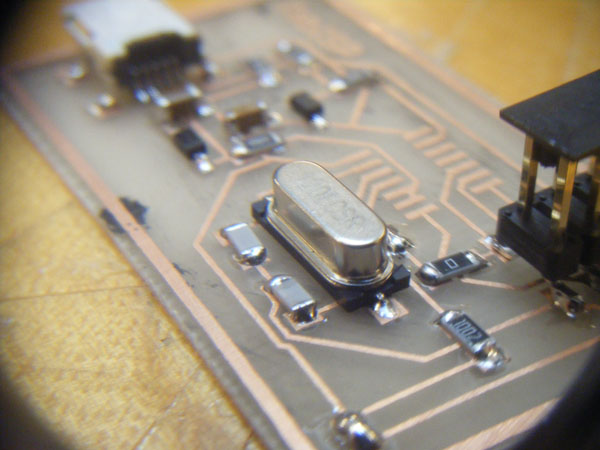
The first time I milled this circuit, it took hours and hours. The second time attempting that, it took me less than 45 minutes, so there's clear progress, at least in my speed and shinyness of soldering.
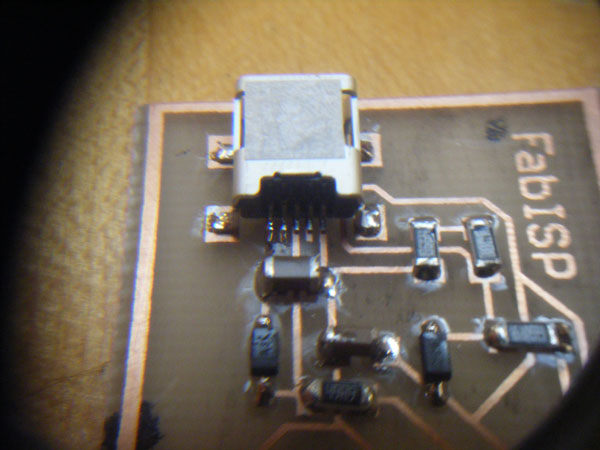
Putting the magnifying loop up to the lens of my camera proved that while my solder points aren't the msot admiarable, they're way better than they were on the first, milled, board.
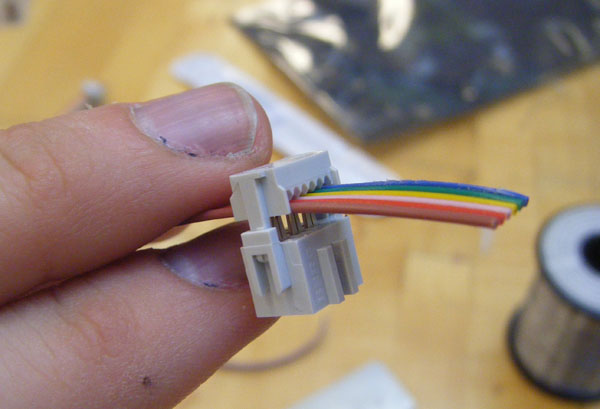
And finally, putting the finishing touches and cords on things, I enjoyed the hearty click of this connector piece which attaches cords to the six-pin piece on the board.