It's Lobsters All the Way Up
Sarah Hirschman
M.Arch. 2011
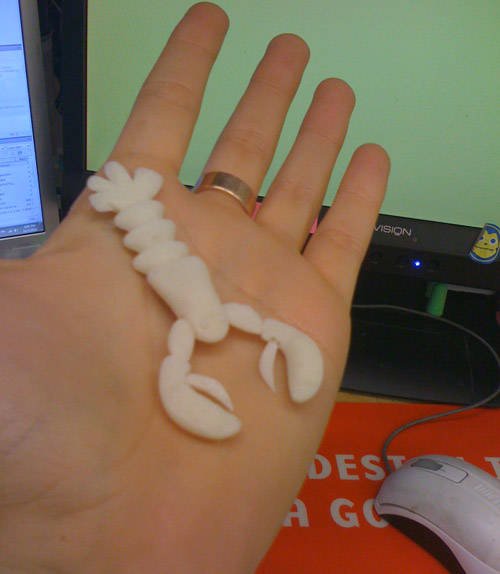
OK! After having the 3d-printed lobster I made sitting on my desk looking at me for two weeks, I decided he needed some friends, lots of friends.
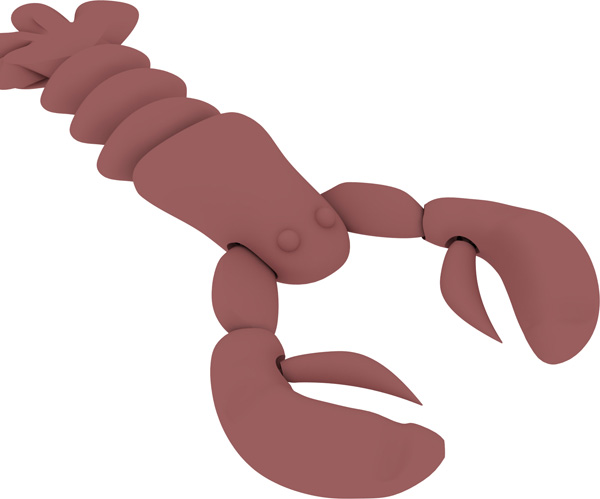
I modified the lobster model I made in Rhino for the scanning/printing project so that it no longer had workable joints and was a little bit puffier and plusher - you'll notice his tail's quite a bit shorter.
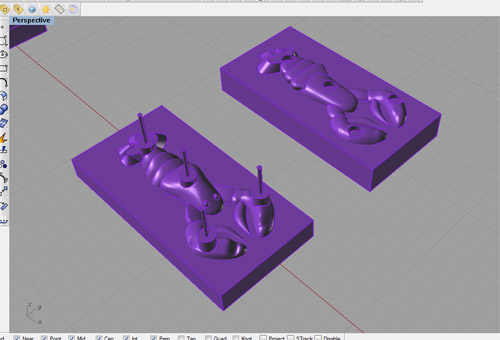
Then I made the model look like what I hoped to get out of the cast as an end product - the cylinders on his back are so that he can be a lobster LEGO, and those straws are sprues and air vents.
NOTE those little eyeballs and how I didn't vent those. Oops.
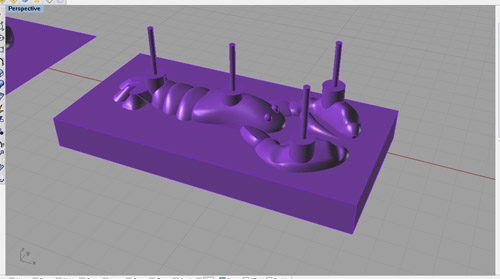
Then I split him in two pieces, around his widest parts, so that when I routed the molds, there wouldn't be any pesky undercutting problems.
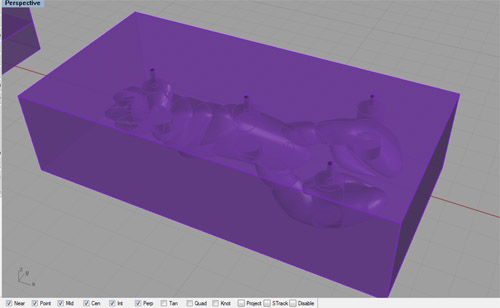
Then I basically booleaned my way to the negative of that - This image shows a "solid" block with a lobster-shaped void in the middle - exactly what I wanted in a mold.
Split apart into two pieces, the mold also took on some matching ridges that would fit into one another, so that the seal of rubber would be tight.
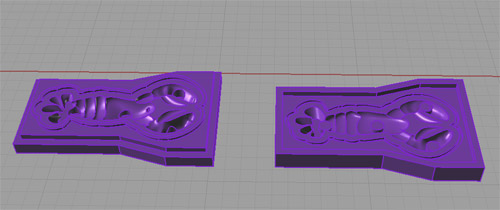
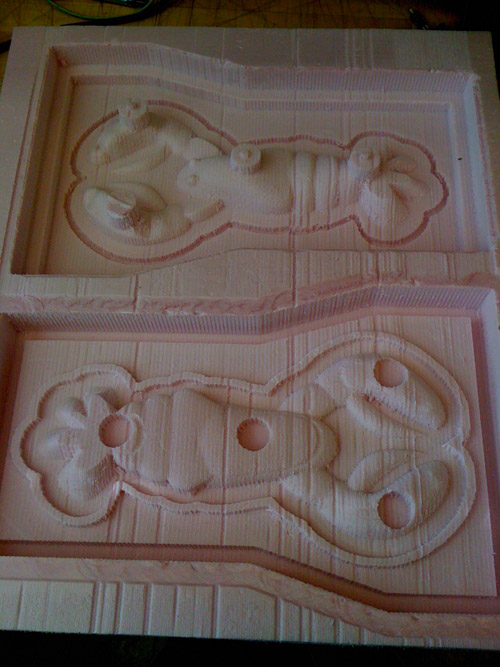
All fixed up and ready to CNC - I was planning on using 2" foam, so I made sure that my model parts were not greater than 1.5" deep.
The rough passes on the CNC were distubring (see that tail at the bottom!), but I knew that the finish passes would be better, so I kept on with it... The rough passes took two hours, and the finish pass took about an hour and a half. I used a 1/8" bit for the rough, and a 1/16" for the finish pass, with a 50% stepover, which while producing ridges, saved me about four hours.

See those stripes? Funny story!
The middle of my foam piece was a bit bowed, though James had helped me secure some pieces of wood around the edges to hold the foam down. Some double stick tape might have fixed this right up... In any event, I held down the middle of my foam almost the whole time, but those stripes are times when I either wasn't holding it down hard enough, or was vacuuming to keep the mess at bay. Ack!
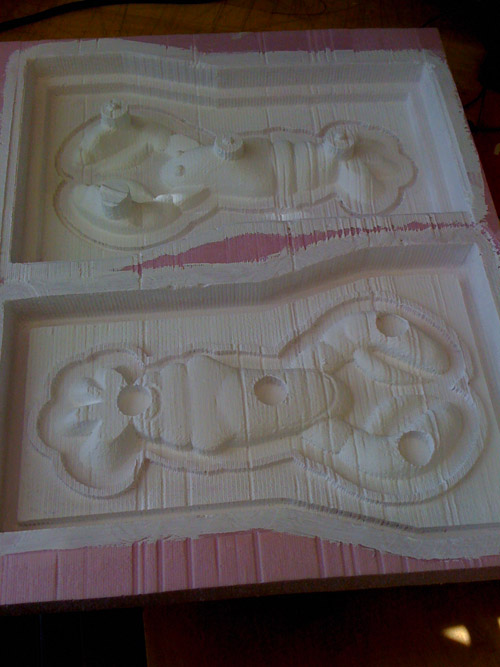
About eight coats of gesso, applied liberally especially to the lobster body helped with the ridges problem... I also applied a sealant after the gesso was dry (Smooth-On SuperSeal Sealing agent, available at Artists' Supply in Central Square), as well as a mold release (the Smooth-on can kind).
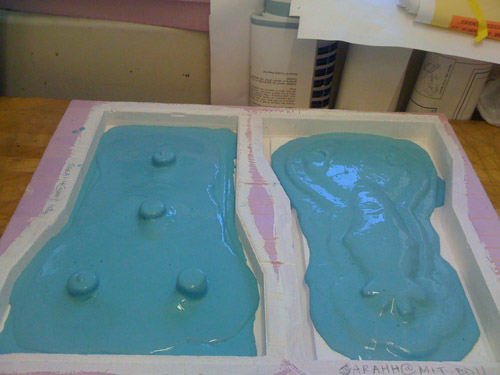
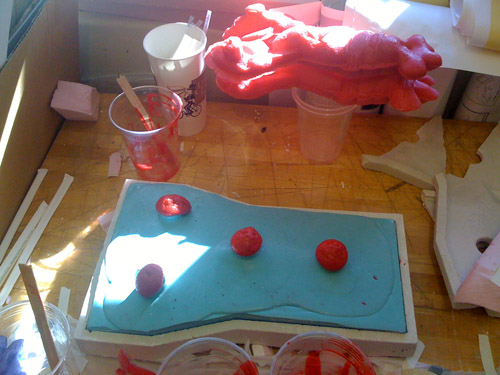
When I was pouring the rubber material in the shop, Martin pointed out that I didn't really need to use a huge amount to get the definition that I wanted - I could just coat the parts I wanted, and fill the rest in with plaster, saving a whole lot of material and $$.
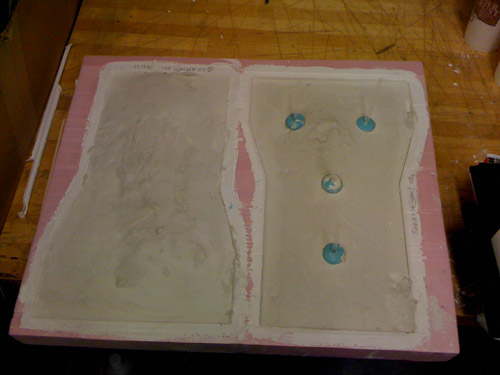
So I got some Plaster of Paris from Economy Hardware, also in Central Square, and poured it in. The one on the right was very very soupy because i was late for a lecture and wanted to get it done, so it took a long time to dry, and ended up cracking up when I tried to take it out. That was fortuitous, though, since that was the side on which the rubber pour was especilaly strong and thick.
I had a lot of material left from another project I'm working on for my thesis - I am using Smooth-On's Flex-Foam-It III, a highly expanding flexible foam compound, and red and purple dye to create water in my thesis models. SO, I had a lot of this stuff lying around, and it expands almost 18 times, so it doesn't take a lot to make a lot... so I made a lot.
Here you can see one of my first attempts at a clean pour - it was difficult to get the material thorugh the holes, and I experimented with pouring the liquid into the mold, then shutting the lid on it before it began to expand.
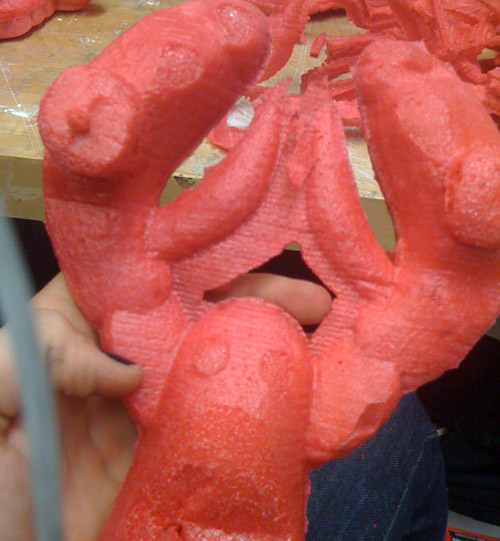
So - PROBLEM #1: (which is actually the same as problem #2) because I didn't paint the gesso in all over the model to the same degree, there were ridges on the "flat" contact portions of my mold, which meant that there was some seepage between the pieces of the mold, especially between this guy's poor thumbs!
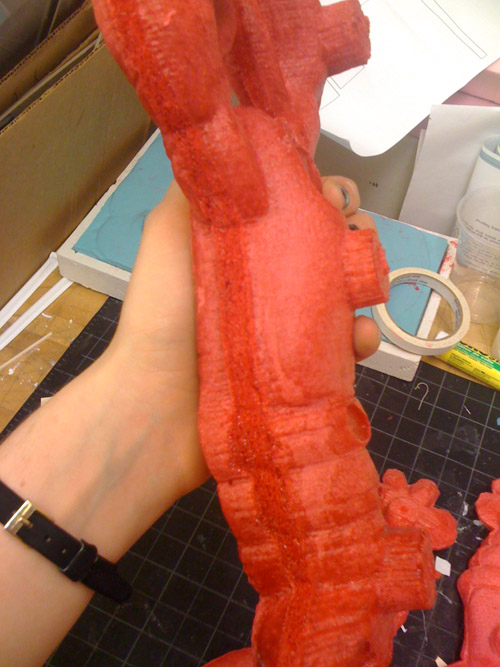
AND - while there was an inherent problem in the ridginess of the mold, there was also the problem of me trying to do two things at once, which is work on my thesis and cast at the same time. I didn't notice that once the vents got clogged with material coming out of them, the foam would ocntinue expanding, opening up the sides of the mold, and growing outwards through it.
I would recommend, if you choose to use expanding foam, to clamp your mold pieces together so that the foam only goes where it should.
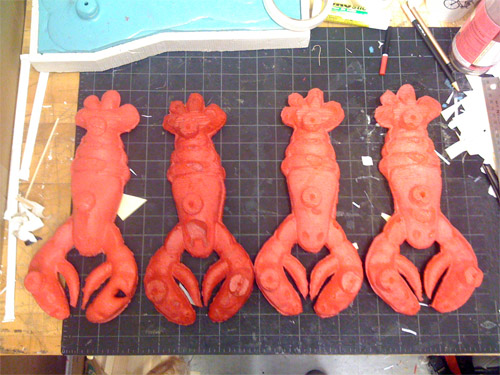
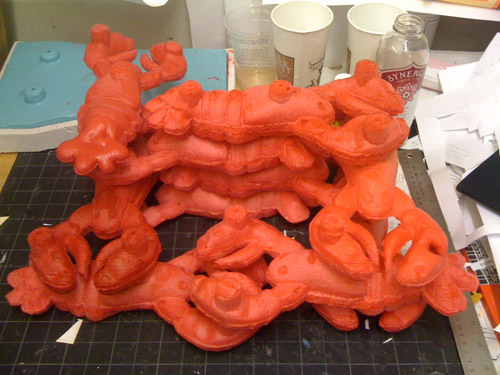
So... it's lobsters all the way up. And to the side, and to the other side.
My original concept was to make a toy that could be almost like a lego, and that you could build with. The claw sockets are spaced evenly with the back and tail sockets, so that these lobsters can dextrously make all turns and stack in a lot of ways.
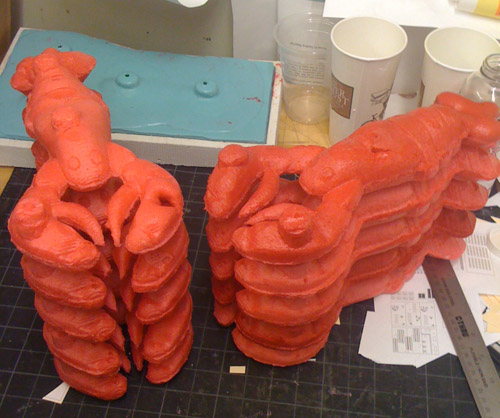
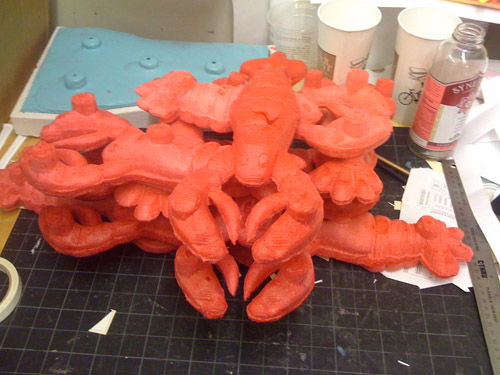
You can stack them like this...
Or you can stack them like this!
Lineup: There were numerous little problems along the way, but the most annoying one for me was that I didn't vent the eyes. You can still see them, where the air bubbles were trapped, but I wish they were popped out as designed.
Also, the material is, notoriously, not super easy to control, so there are some funny issues with texture and consistency that don't seem to be due to any specific one technique failure.
The color difference is entirely intentional, though, the dyes are really easy to use - you just mix them into the Part B of your two-part mix, and remember how many drops per pour.