3D Scan / 3D Print
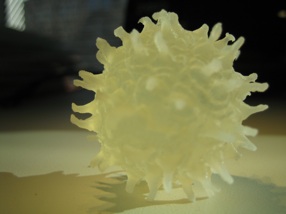
And so it begins - My 1st Miserable attempt at 3D Scanning
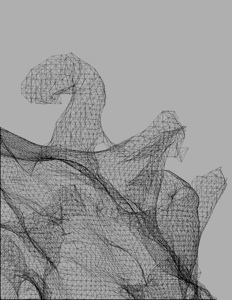
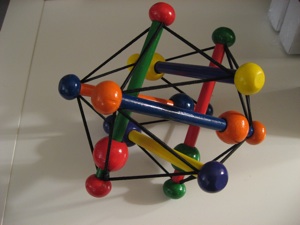
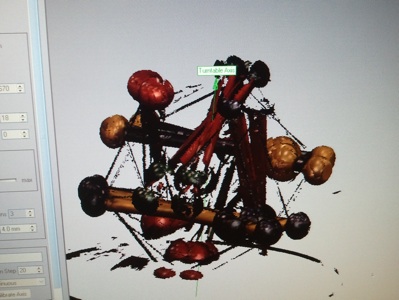
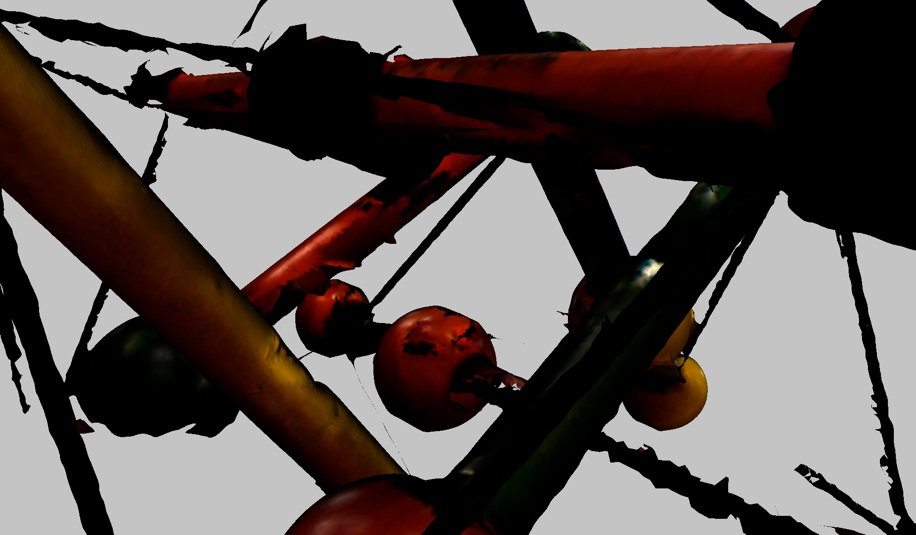
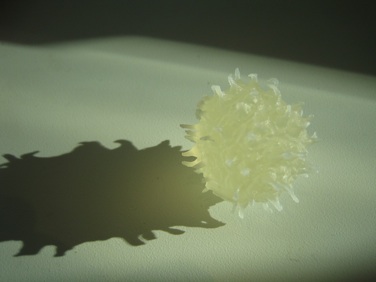
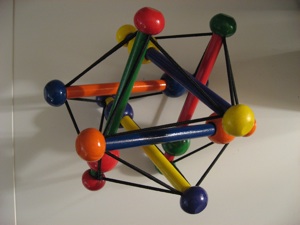
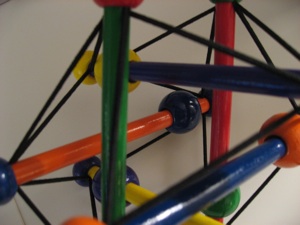
I tried to outsmart the scanner and tried to scan the toy below. I was interesting in seeing how the scanner would cope with multiple shades, depths and plains. Apparently, this was a greater challenge then I foresaw.
This week, I also constructed my own cat-scan. It can be found here


II tried to manually configure the laser power and the distance after the autofocus failed. I also used variable distance mode and configured the scanner to scan 3 scans in distance increments of 4.0 mm. I also set the turntable to rotation steps of 20 degrees. As can be seen from the results, the scan came out very noisy and with many holes. I tried to close all the holes, but there was to much missing from the structure. After 2 hours of work I decided to give up on this object.
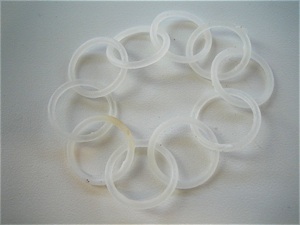
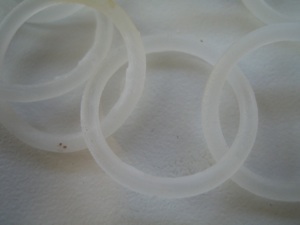
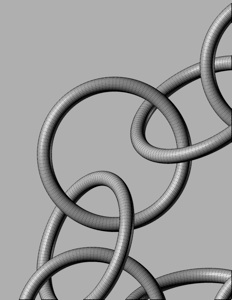


3D Printing - Chain Experiment
My goal was to see how the printer would print a non-static structure such as a chain. I modeled a chain in Rhino and then exported as an STL. As can be seen below, the results are very good. The cain is really delicate, but strong enough for using it in visual prototyping.
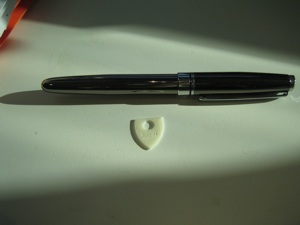
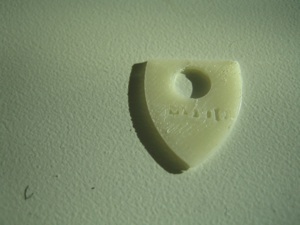
3D Printing - MAS863
The goal in this experiment was to test the resolution of the scanner. I created a small shield and engraved MAS863 on it. As can bee seen below, the shield came out beautifully, but the letters are not visible. Apparently this is to small.
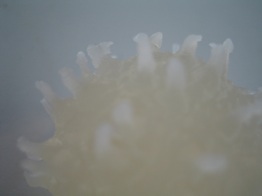
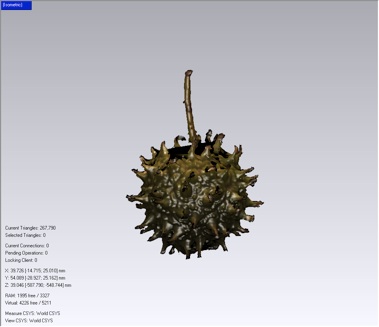
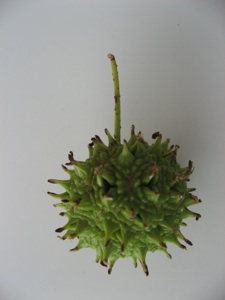
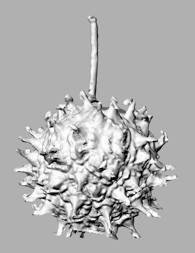
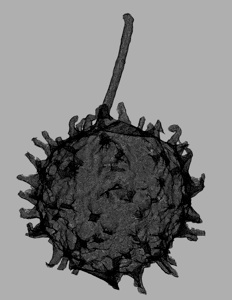
3D Scanning and Printing - Gum Tree Fruit
I found a gum tree fruit that looked like a very good candidate for scanning. It had very fine details and I was really interested in how the scanner would pick up the thorns and the texture. I used Geomagic Software and the Minolta scanner.I attached a Macro lens to the scanner and configured the distance and laser power manually. I scanned at steps of 60 degrees. After scanning, I had very few holes to fill in (~30) and the I export to STL went smoothly. Tom, received m y files and checked that they were processed correctly by the printing Software.