
.: week 2.vinyl cutter and laser cutter :.
Laser Cut Press-Fit Cardboard Kit
First, I measured the ECT 44 cardboard and found it was .15 inches thick. In order to ensure a snug fit, I cut out a host of shapes with a .145 inch slot and a very small 60 degree chamfer. I cut my first pieces on the CBA Universal laser cutter, and the fit was very secure. I decided to make some cardboard friends to test the structural soundness of my pieces:

|
|
|
Kardboard King |
Kardboard Krusher |
I used 70% power, 15% speed, and 100 PPI on the CBA Laser. The recommended power setting of 65% resulted in a few cuts that didn't completely perforate the rear sheet of the ECT 44.
Caffeine Molecule
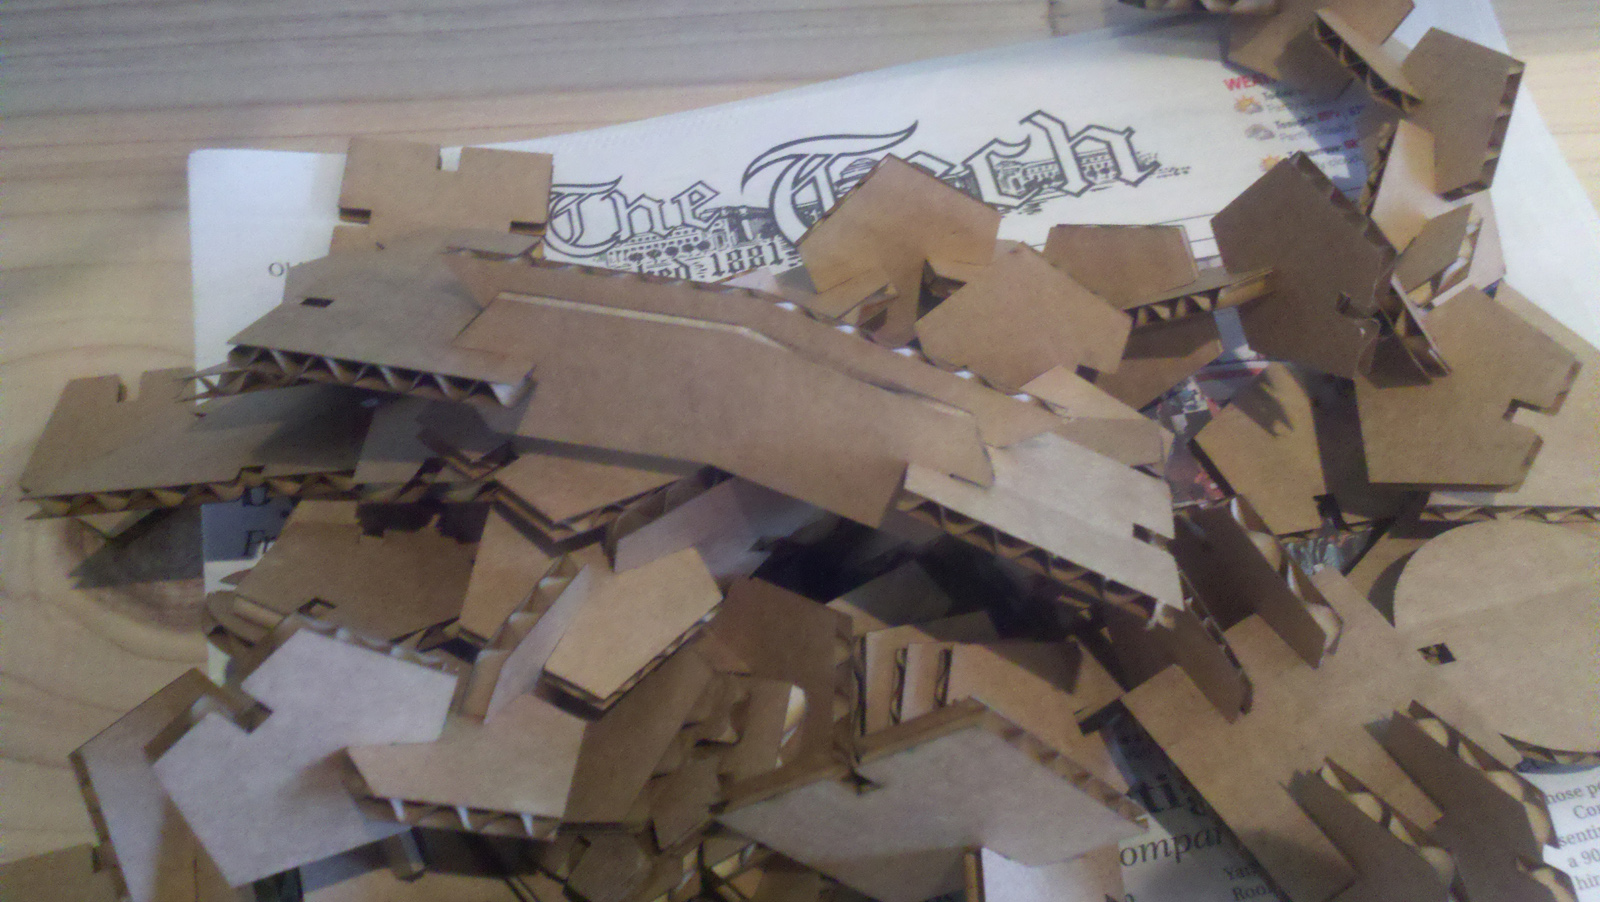
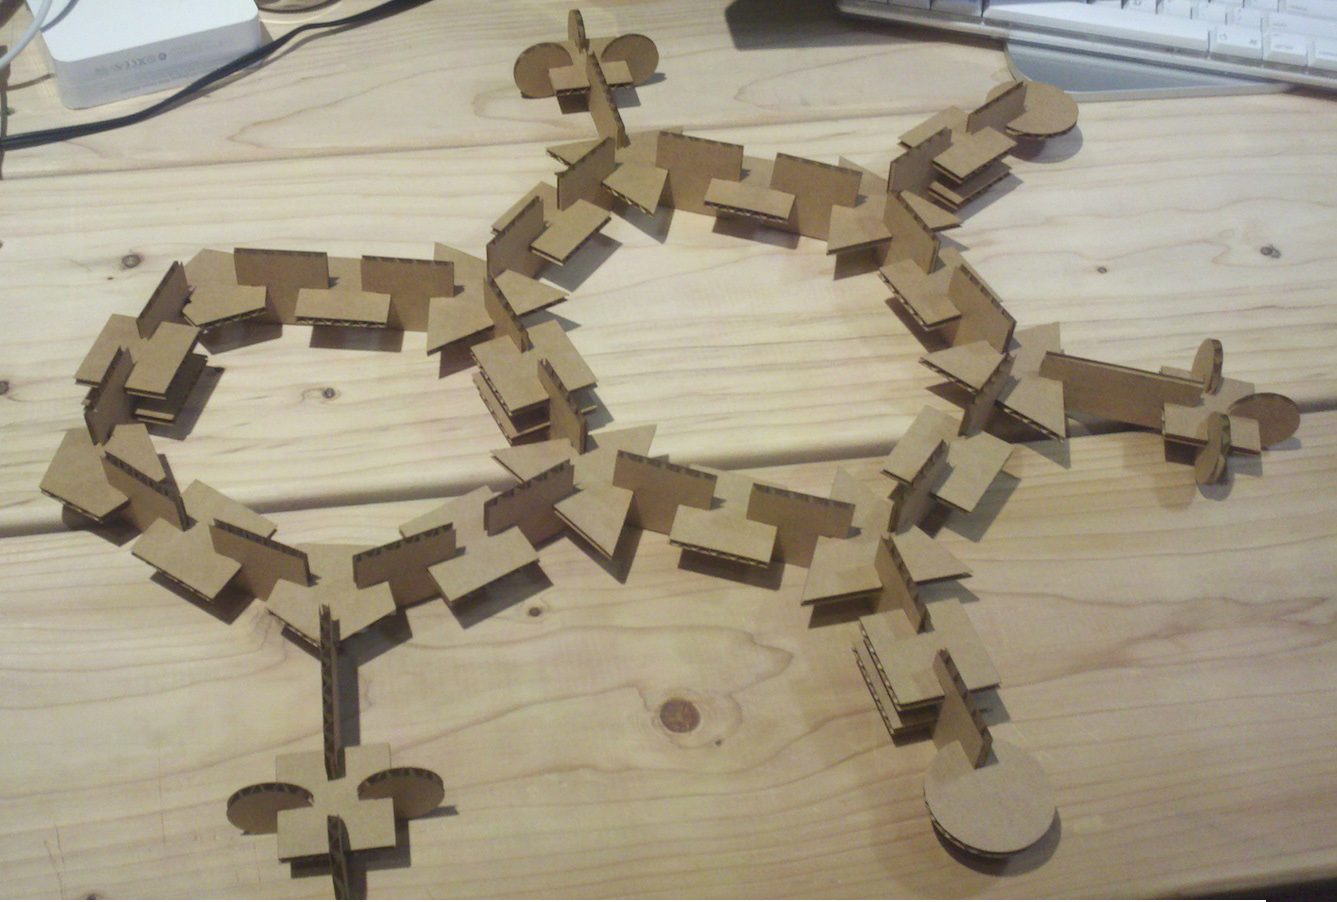
I decided to make a 3D press fit kit for constructing molecules. Specifically, I made a caffeine molecule, but I made enough cardboard "atoms" that other molecules could be "synthesized". I wanted the bond angles to be correct for different atoms (109.5 degrees for sp3 hybridizations, 120 for sp2, etc), and I wanted to enable the use of two cardboard connections for double bonds. Furthermore, I wanted to raster the abbreviations of all the atoms onto the relevant cardboard pieces. Here are all the pieces for a caffeine molecule on a 2D printout, along with the original illustrator and CAD files.
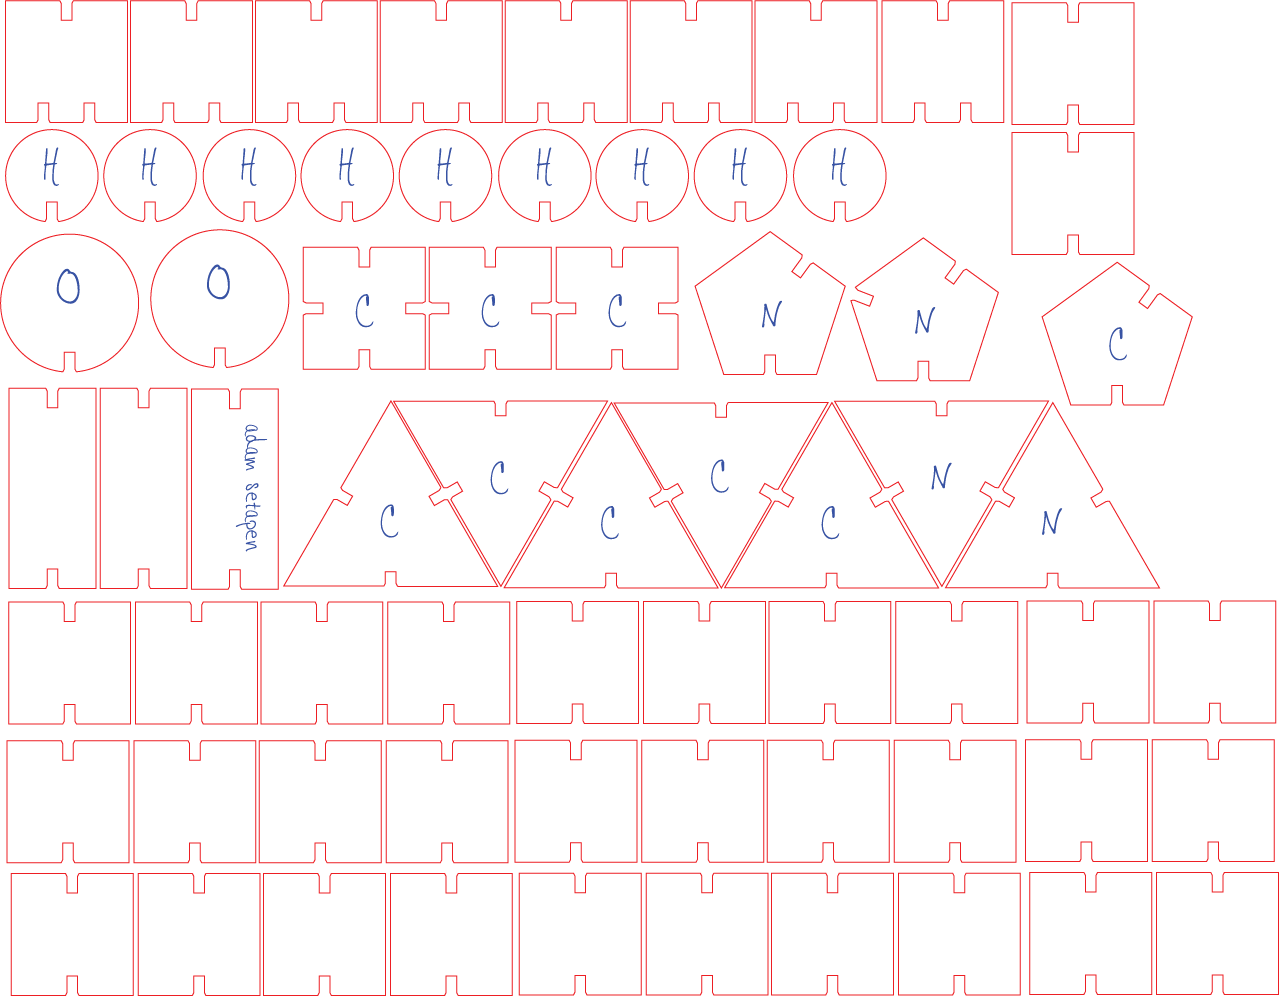
Illustrator File | CAD File
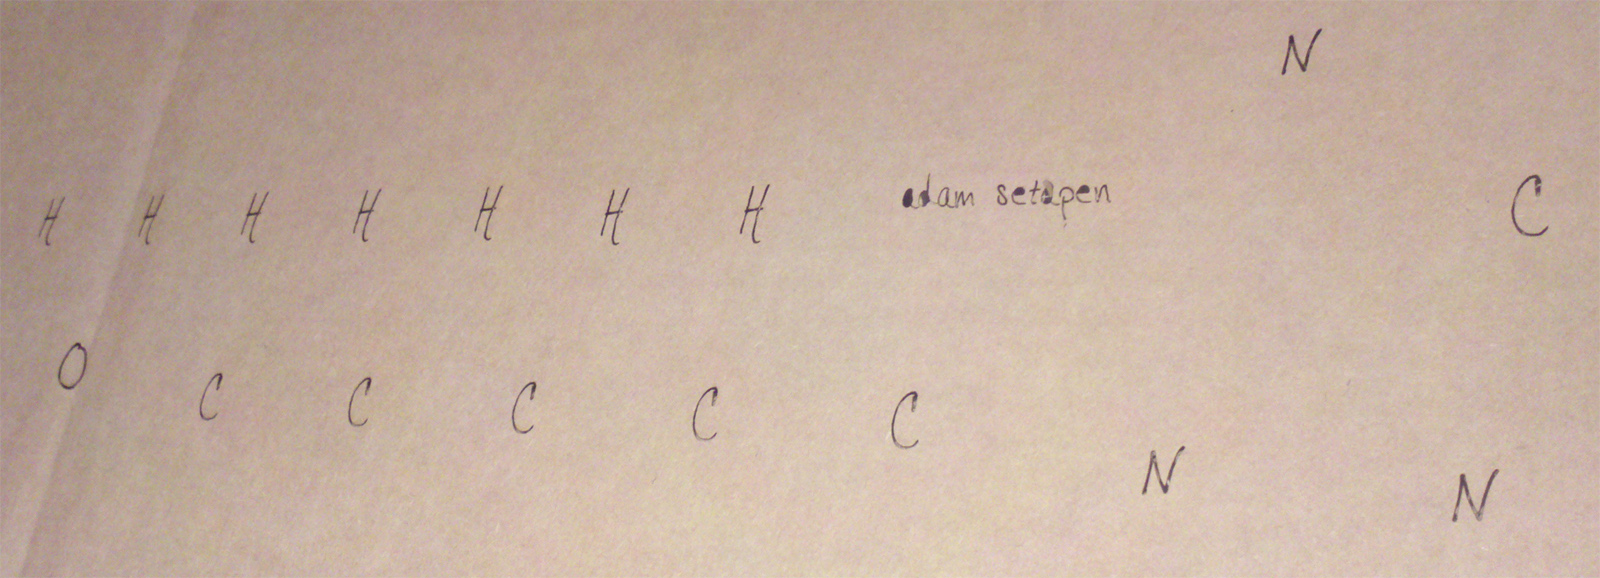
I showed up for my two-hour slot in the architecture lab, and struggled with the new version of AutoCAD for a bit - the illustrator files imported much more smoothly into Corel Draw. Finally I got things running, and I fiddled with settings to get a nice raster. I found that 15% power, 20% speed, and 250 PPI worked very well. Performing one raster was pretty quick - a single letter completed in less than 10 seconds. I had about 35 letters, so I figured that the entire raster process would take around 6 minutes. I was horrified to find out that the Universal laser cutters raster based on rows, one single line at a time. Instead of rastering one letter at a time, the head moves excessively back and forth. Long story short, the raster took about 45 minutes. My time was up at this point, and there was a problem with my colors in AutoCAD for vector cutting. I had already given the computer to the next user (so I lost my original layout in AutoCAD), so I just removed the rasters and quickly cut out the shapes for my molecule on a fresh sheet of ECT 44. Here's a picture of my nice rasters, even though I couldn't cut around them:
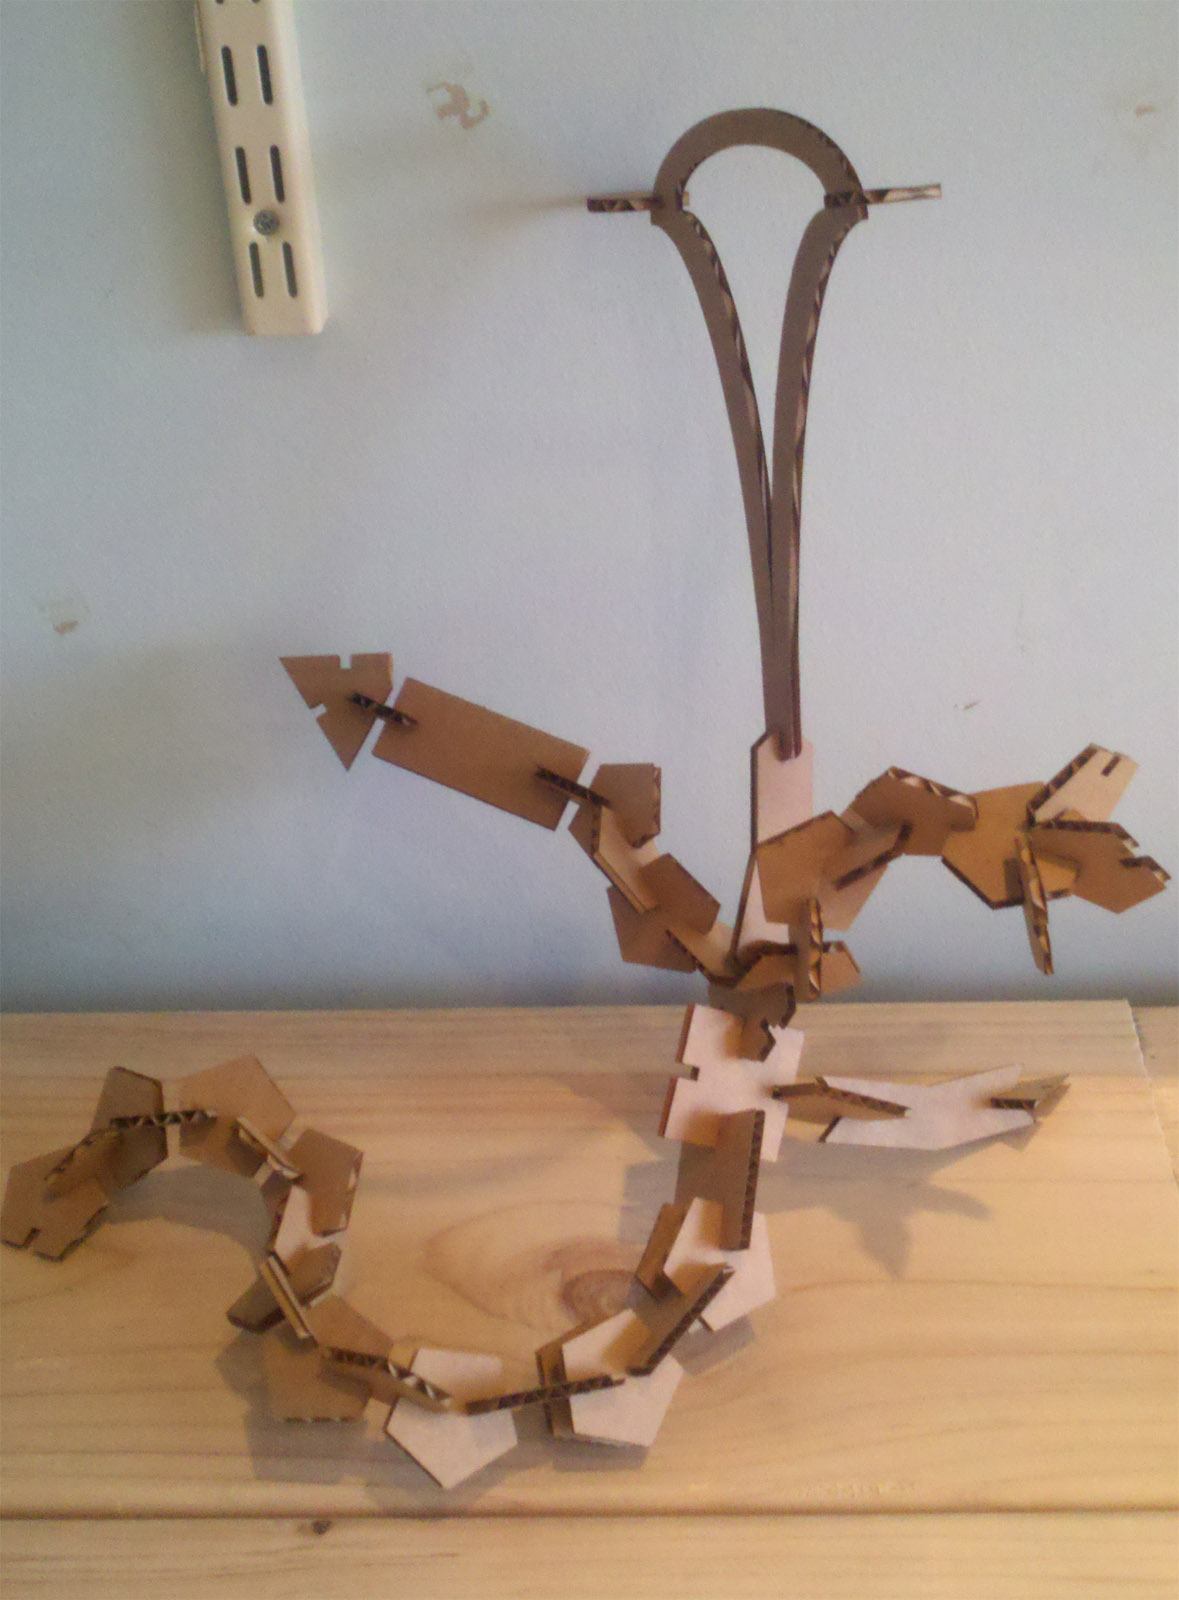
Finally, dejected because of my wasted time and effort on labeling my atoms, I went back to my office and started assembling my molecule. I was horrified to see that the fit was loose and clumsy, even though the dimensions of the slot/chamfer were identical to the ones I cut on the CBA laser. The lesson I learned is that you should ALWAYS RUN A QUICK TEST FOR FIT ON EACH UNIQUE LASER YOU USE. So here's my final molecule. It's pretty unstable (that's not a chemistry joke, it actually falls apart quite easily).
Office Sign
I designed a sign to hang on the door of my office with Natalie. I cut the sign out of 1/2 inch acrylic, and I mirrored the design before rastering in the graphics. This way, the front of the sign is nice and smooth, with a neat graphic etched into the back. We plan to backlight the sign with LEDs soon...
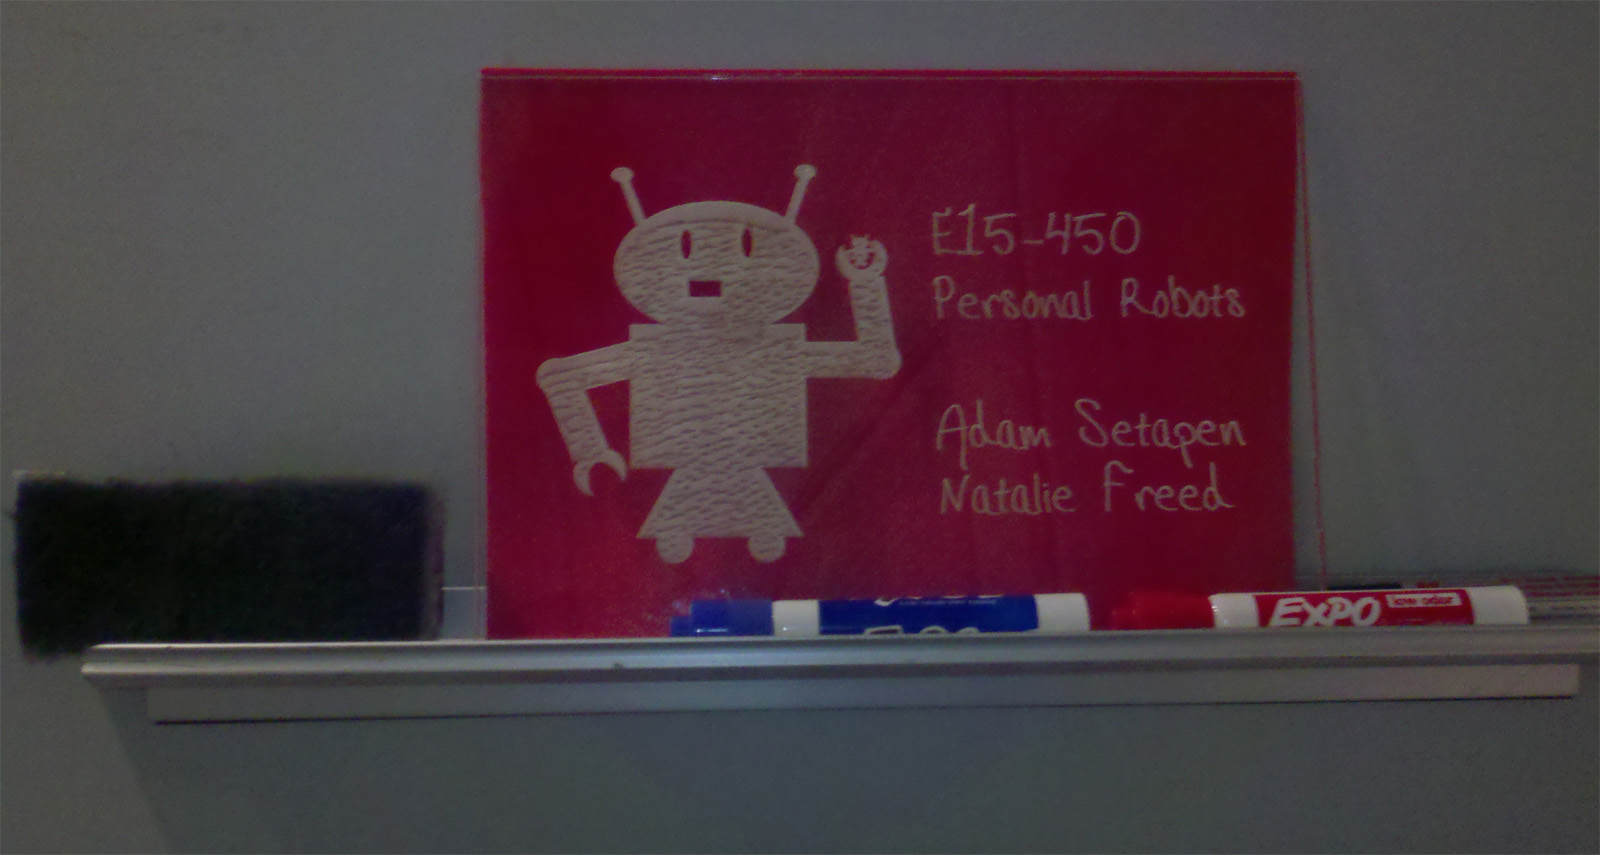
Illustrator File | CAD File
