Microcontroller programming
For
this week, the assignement was to modify the hello world board by adding a button and an LED to make them do something.
PCB design
After
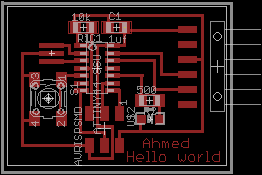
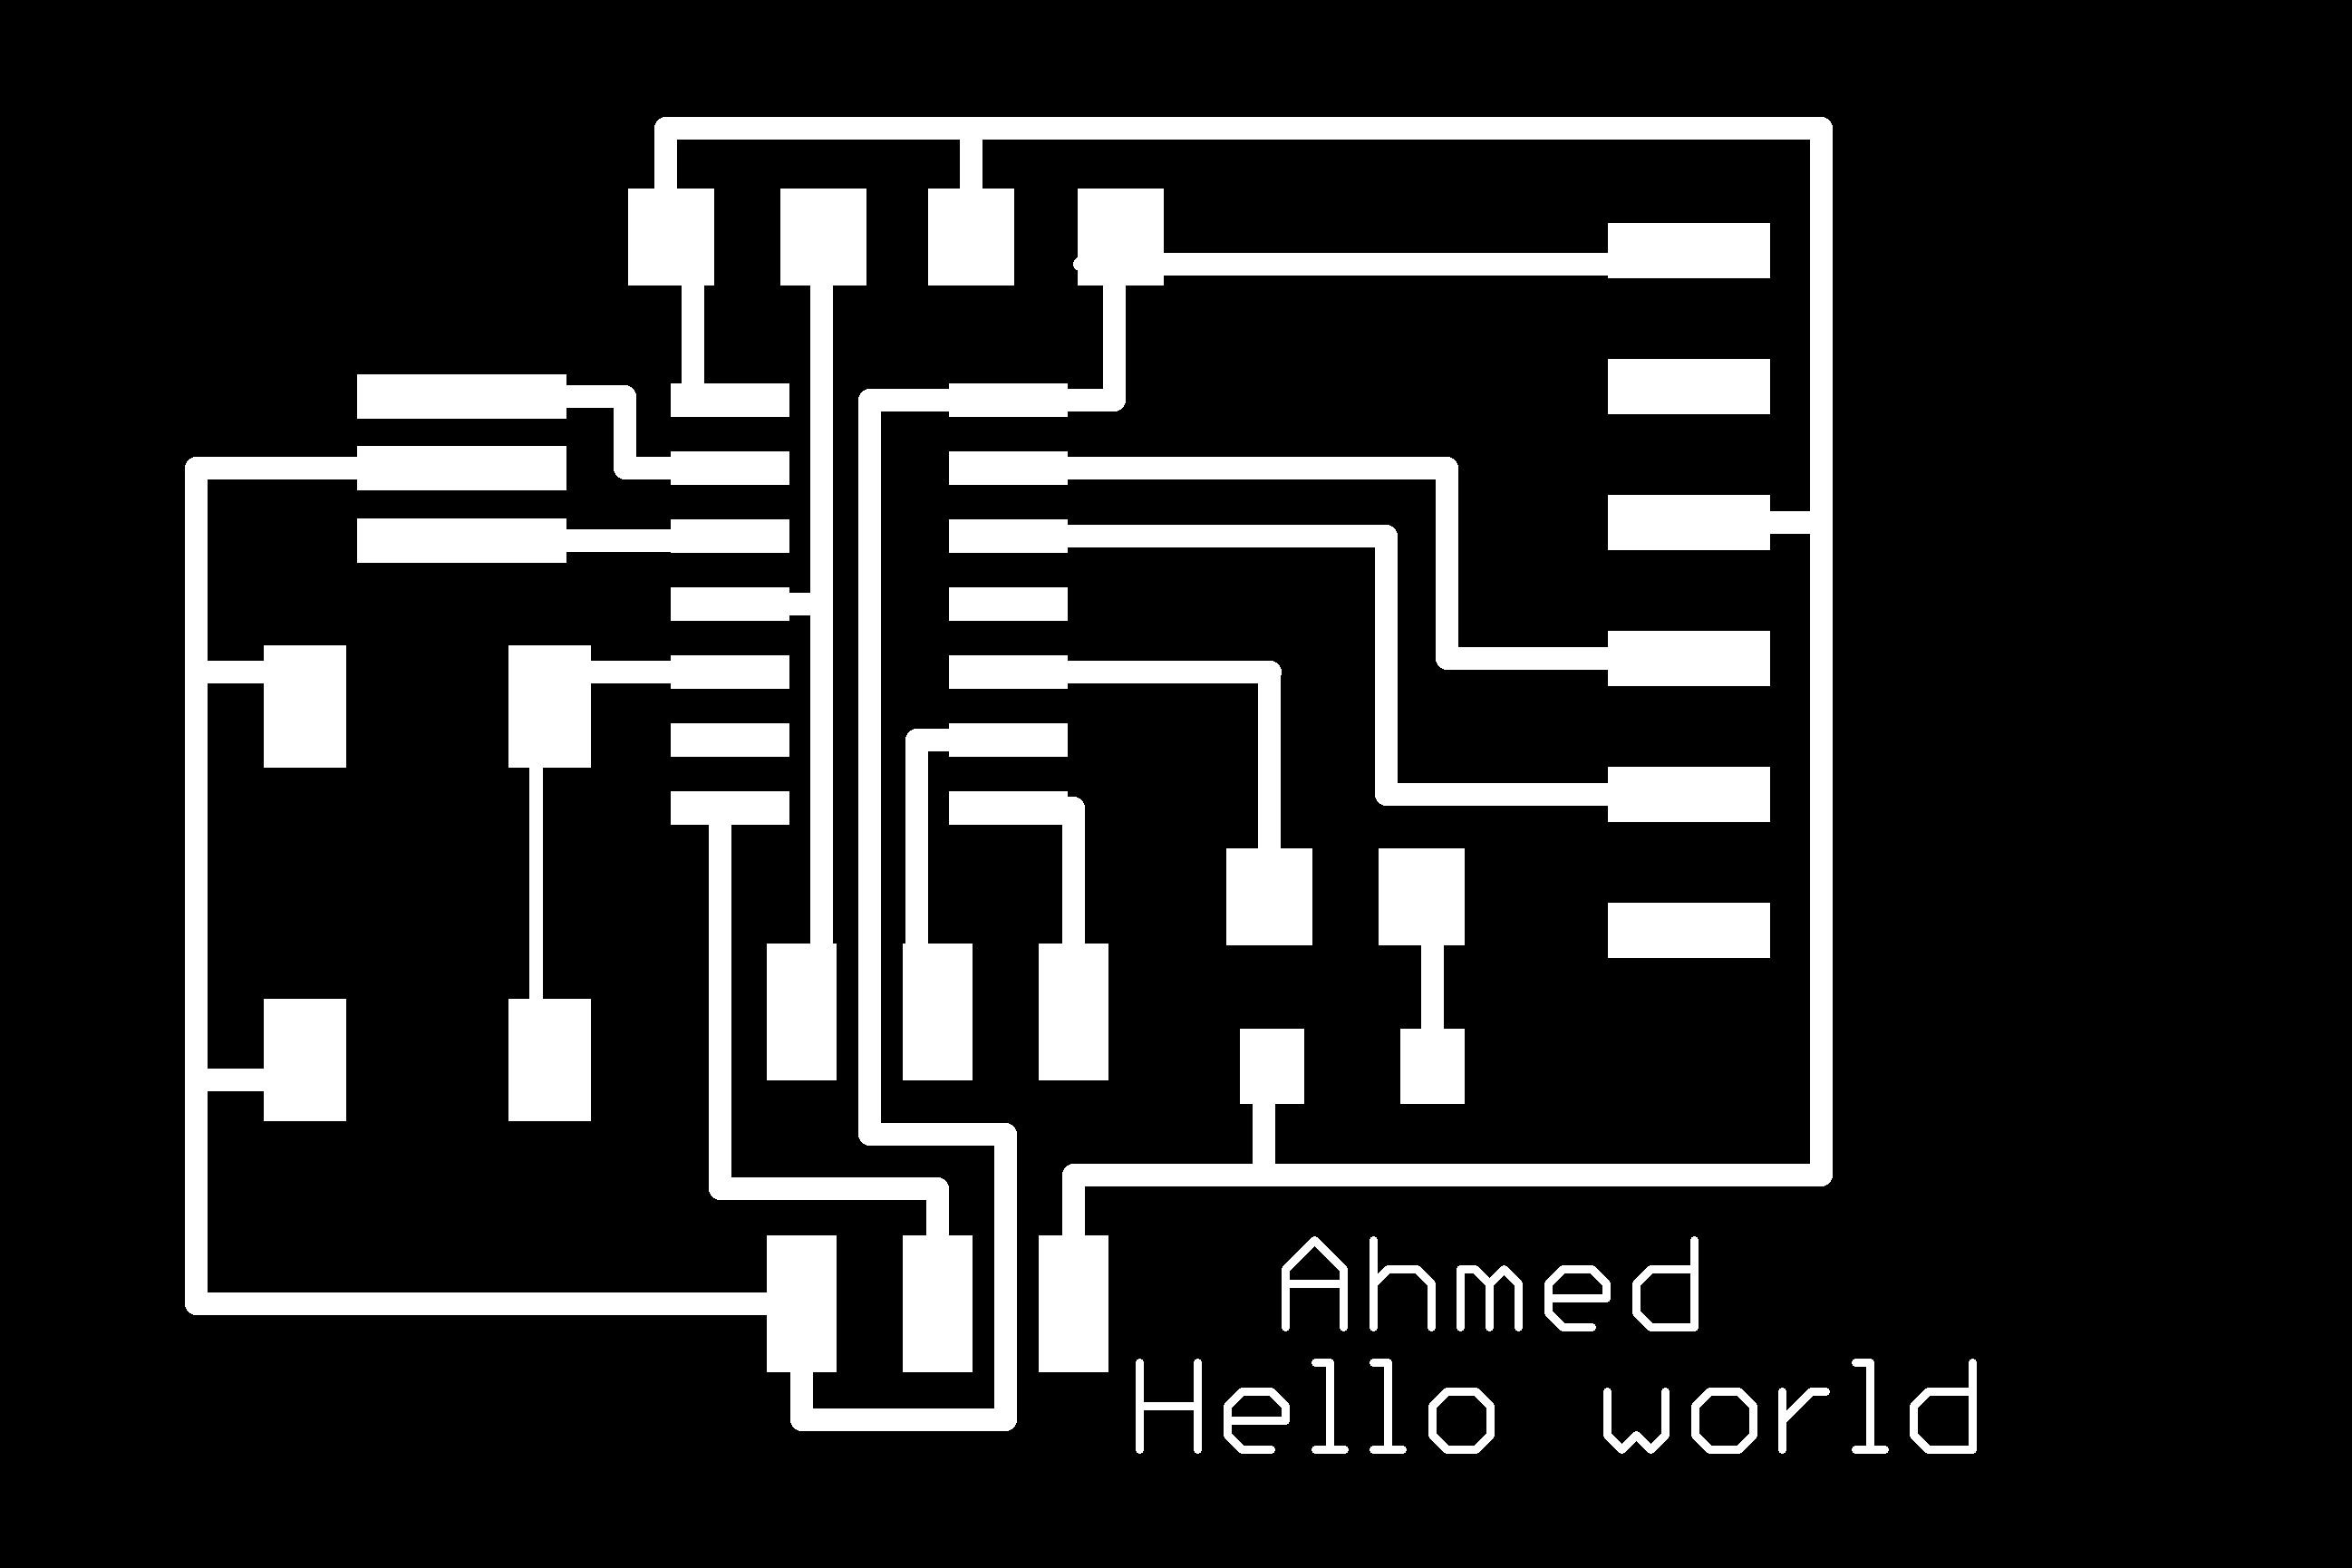
attending Rehmi's eagle and PCB design session, we went on and added
the button and the LED to the schematic Ed made. I chose to use the
internal pull-up resistor for the button and after alot of confusion,
settled on a 500 ohm resistor in series with the led. I then milled the
board on the modela in the cba shop (the one in the arch shop is acting
funny). I also want to point out that having seen the Mantis work, I
don't understand why we use the modela since the mantis is so much
faster and gives a better finish. In the interest of time, I used the
shear to cut the board out instead of milling it.
Programming
After
David's session, we learnt about inputs and outputs, high & low and
how to write in C to control the microprocessor. I then went on and
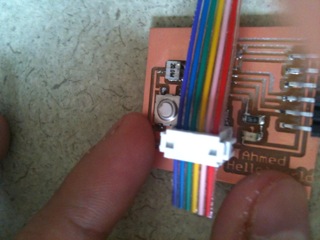
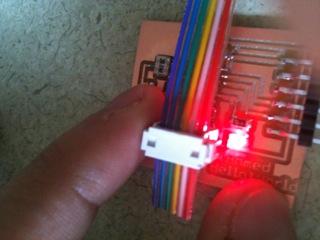
made a code that make my board do nothing if the button is not pushed
and blinks the LED if it is pushed. I then loaded it onto the hello
board using my FabISP and everything worked the first time round
(pretty impressive in my opinion given my luck for the last few weeks).
I
also tried to get serial communications to work but since we had very
little explanation, I couldn't even get Neil's code term.py to work,
probably because my computer and the ftdi port are not set at the same
speed. Hopefully, by the time we grt to inputs and outputs, I would
have figured that out.