Laser Cut Press Fit Kit
If you were going to build something using a laser... wouldn't it make sense to build something that SHOOTS lasers?
Building a Tie Fighter
The first thing I did for this assignment was find and measure a picture of a tie fighter. I used this one:

Here are the measurements for the important parts:
- Sphere middle to wing bottom: 8 units
- Sphere middle to wing top: 7.2 units
- Wing top width: 8.6 units
- Wing middle width: 13.4 units
- Sphere diameter: 4.5 units
- Height of wing axle at wing: 1 unit
- Height of wing axle at center: 2.5 units
- Width of wing axle from wing to sphere: 4.5 units
In addition to the ratios and general shape, it was also important to get the iconic "triangles" to appear on the wing. There were two ways I imagined doing this -- either trying to etch them using the laser cutter, or actually creating the triangles and somehow attaching them to a base. I opted for the latter, since it seemed like it would be more interesting (and the wing appears to be divided into three "slices" anyway).
Attempt 1: Initial design
Since I have Adobe Illustrator I decided to give it a whirl. I learned that hotkeys are incredibly helpful (they let you switch between tools without having to click on the tool icons, which saves a lot of time). The result of that first night was the following wing design:

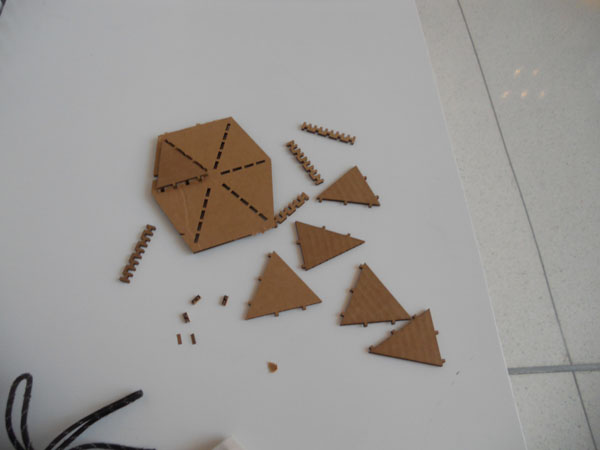
The idea is that you would be able to push the "H" strips through the center piece, which would result in teeth on both sides. Then the triangle pieces would slide into place.
Unfortunately I had no idea how well this would work in practice. I hadn't had time yet to do any measurements or test cuts, so I just made sure to keep everything in terms of a particular unit (I used 4 points) which I could then convert to the appropriate number of centimeters once I got to the lab
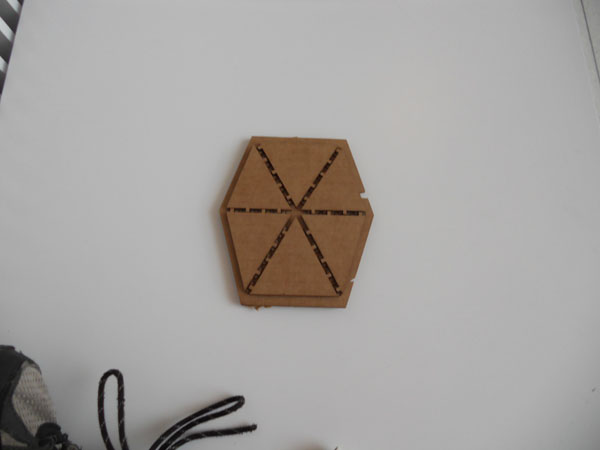
As it turned out, it worked decently. The strips fit into the center piece effectively. The only problem was that the teeth on the triangles were slightly too narrow so they didn't fit snugly
Since this was kind of a test run I didn't print the whole thing.
Attempt 2: Adding all the pieces
I got a lot of advice from folks after making the first attempt. One suggestion was to build the objects using solid shapes instead of paths, and then outline them on Corel using "hairlines." Unfortunately I wasn't sure how to do this for the triangles so I stuck to lines for anything involving strange angles.


This, too, was an experiment. I redid everything for the wings this time attempting to stick to actual measurements (the cardbord was .4 cm). I planned on having the center generated with a series of circles that are slid across the middle.
The result had potential... but a lot of measurements did not work out as I had planned at all! I think there was some translation error.
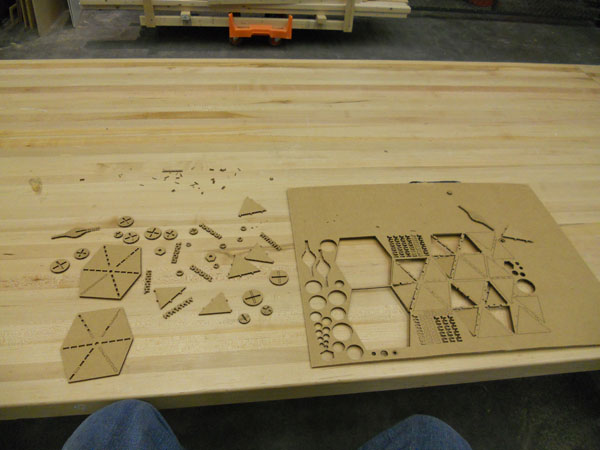
In particular, the teeth did NOT fit into the H-strip slots, even though the widths were identical in the document (ugh.) Also, the spots to holes for all cardboard (measured out to .38cm) ended up being too thin.
Attempt 3: Adjusting the Measurements
It is incredibly difficult to adjust the width of the teeth on the triangles since they are rotated at an angle, so instead of making those wider I decided to make new "H strips." The other adjustment to be made were the various cardboard slots on the circles and on the wing centers -- They need to be slightly wider.

This is (hopefully) the final version. Unfortunately I won't know for sure until tomorrow morning since I don't have access to the cutters over the weekend. Hopefully I can add pictures of a working fighter soon!