3

:: dogiChow ::

07 // 3D scanning and printing

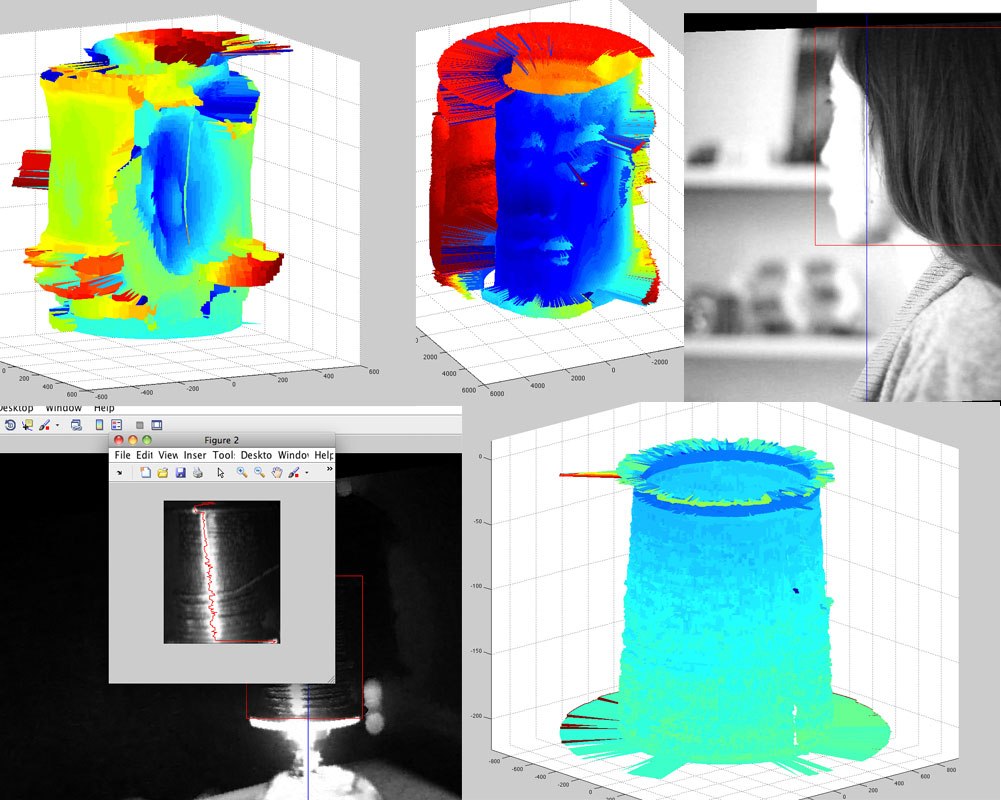
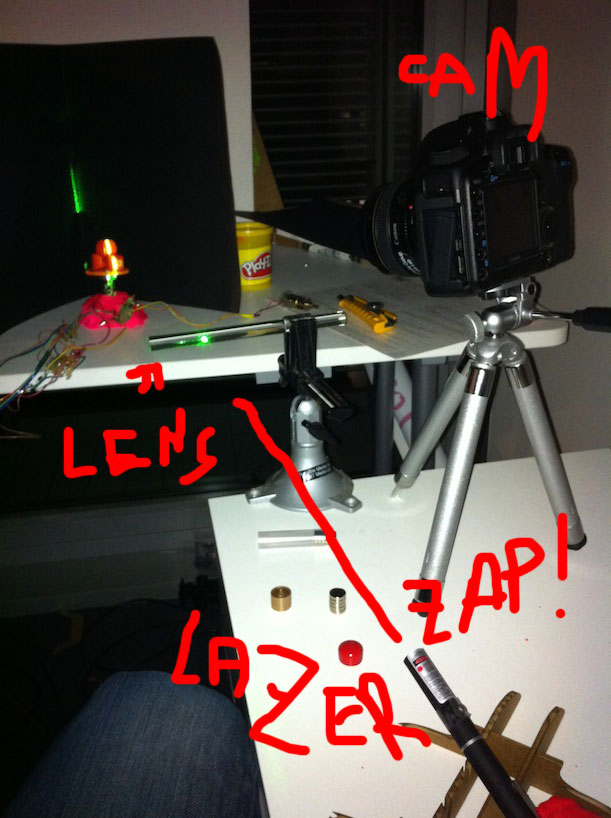
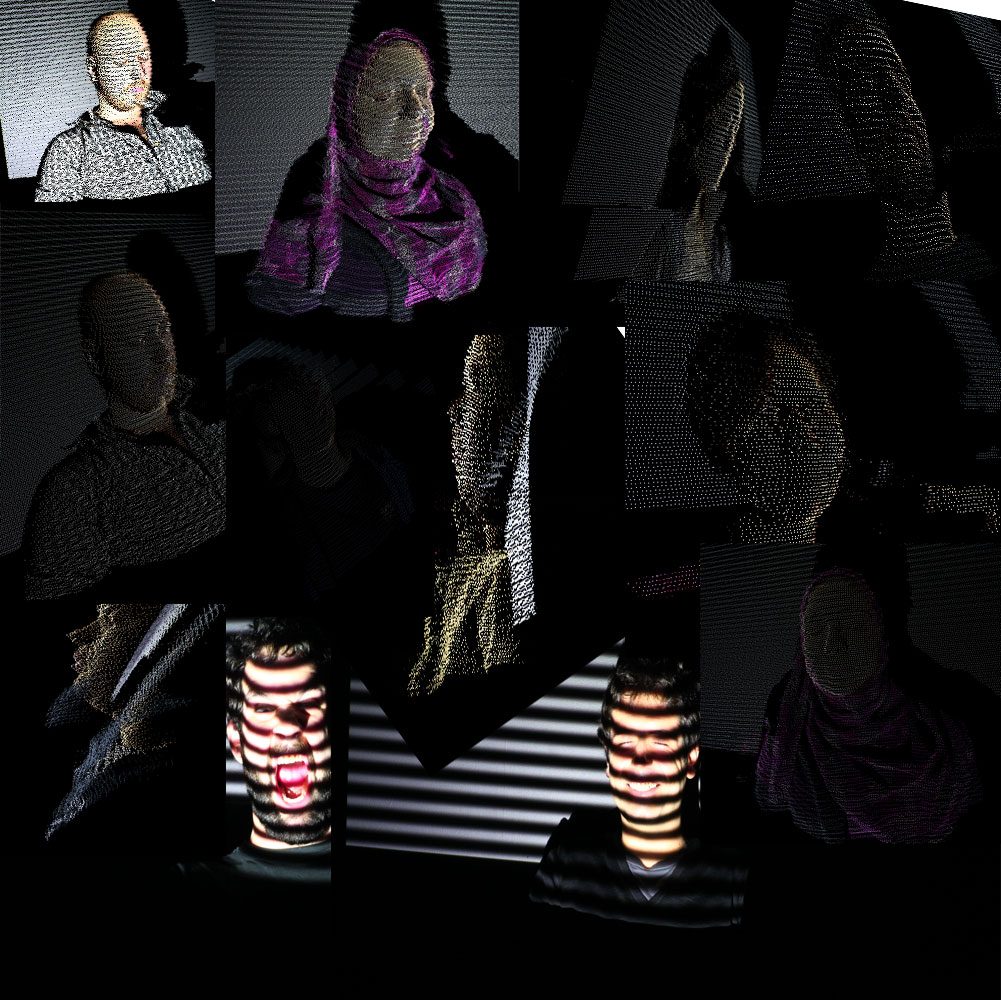
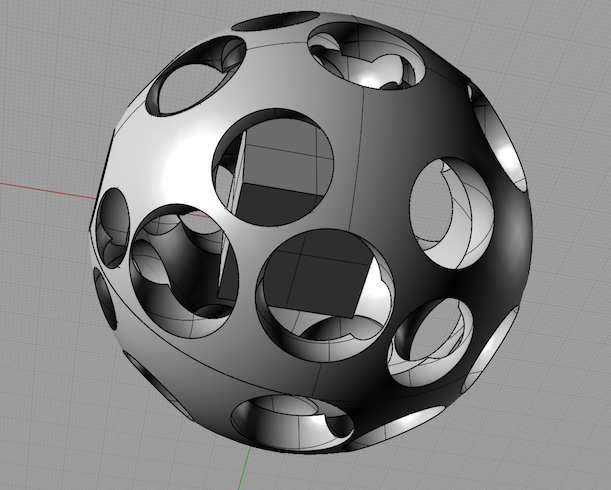
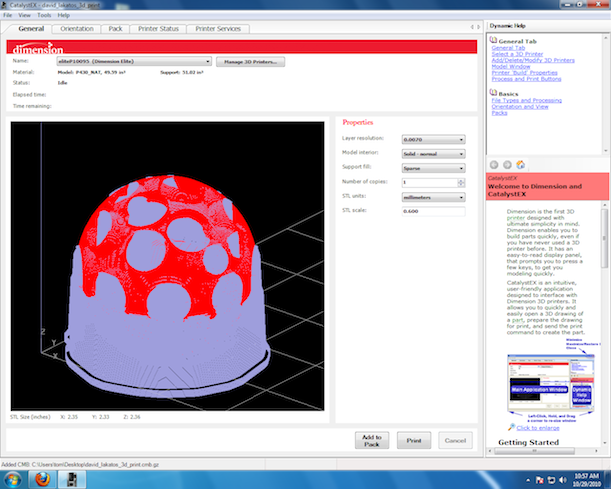
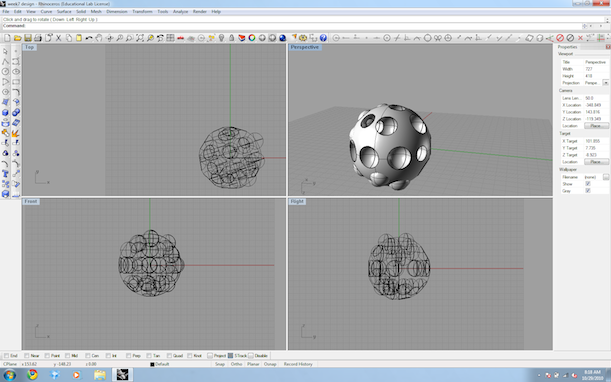
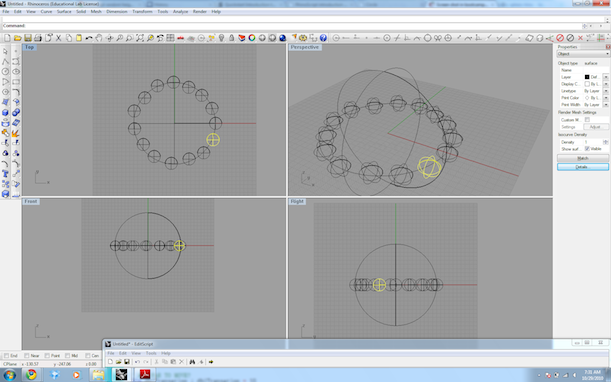
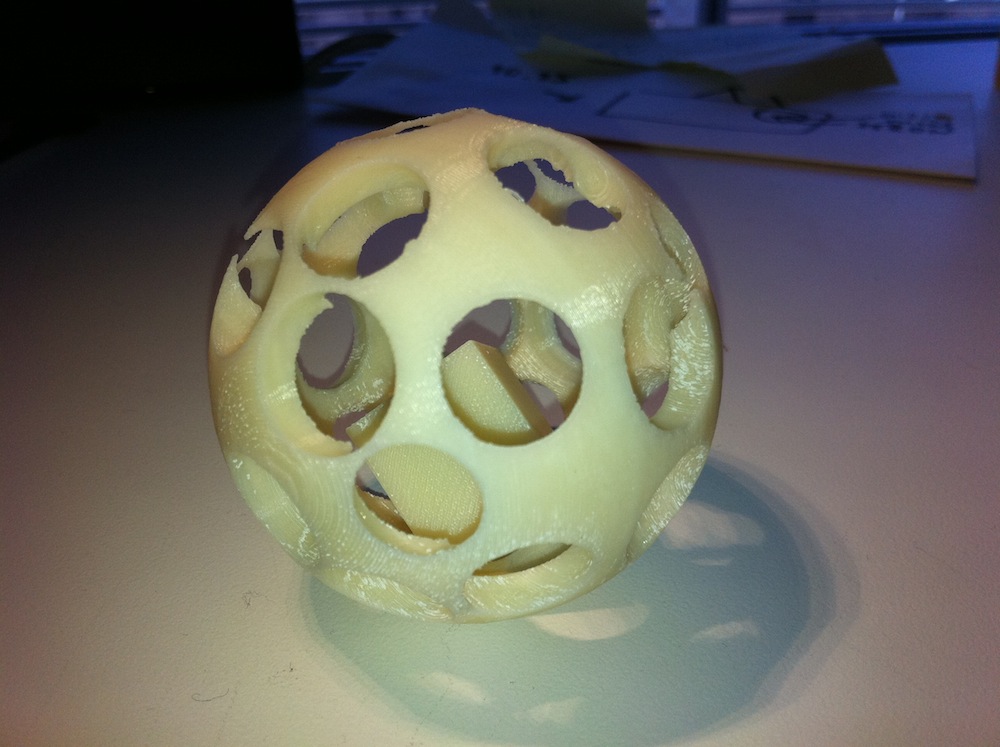
Throughout this week I dwelled into some techniques in 3D scanning and printing. In scanning I scanned with two methods: laser scanning and structured light. For printing I designed my own object.

The three methods I experimented this week are fundamentally different from each other, in terms of technology, cost and fabbability. Laser scanning and structured light are both fairly easy to set up, where as the Z camera is an expensive but very reliable alternative. All of the methods I used are 2.5D scanners - they only scan the surface of a material. In order to scan the whole object one has to build a rotating stage which is an I/O stage, where the position can be read and actuated at the same time.

1. DIY laser scan ::

this method is fairly straightforward. It doesn't yield a beautiful scan, but it's a good experiment. You will need to build a rotating stage. I have used a simple DC motor with some gears and a wheel of a robot as the stage itself. Second step takes care of the laser. I used a green laser pointer, the once you can get in Chinatown or just hack it out of a projector remote (some of them have great lasers in them). If you have a laser you will need an acrylic tube that will act as a lens for us to disperse our laser into a long line. Now align the laser and your camera into a line and take a video (in a very dark room!!) of exactly one turn of the object. Than run the following MATLAB script (by Kenneth Jensen) and hope for the best :) Shiny surfaces don't really work. There is a more detailed discussion about the method on Instructables.

.m file Cyrt Kenneth Jensen


2. Structured light ::

is my favorite method so far, it's simple very low cost and elegant. I have written a tutorial on the Processes page on this matter on the class website so please visit the Tools page to learn how to set up stuff.

## Tutorial ##

On Thursday I gave a short demo to people how to use this stuff here are some pics taken from there:


3D printing

For print I choose a simple design that fosters the powers of 3D printers: encaged objects. I designed in Rhino a hollow sphere, with a box inside of it. With Tom we exported it to the software of the Dimension 3D printer that sliced it and made a toolpath for the 3D printer. It took 3 minutes to scale it, send it to a batch with the other prints. Coolio. If anyone is interested here is my Rhino file.

www.flickr.com
Dögi's How to make almost anything? photoset Dögi's How to make almost anything? photoset