Week 7: 3D scanning and printing
This week we were introduced to various ways to scan in 3D as well as 3D print. For the scanning portion I tried various methods of scanning small, detailed objects as well as my face and hands.
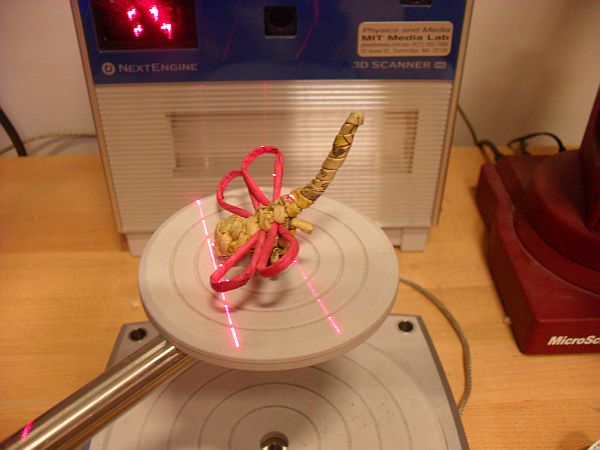
NextEngine scanner
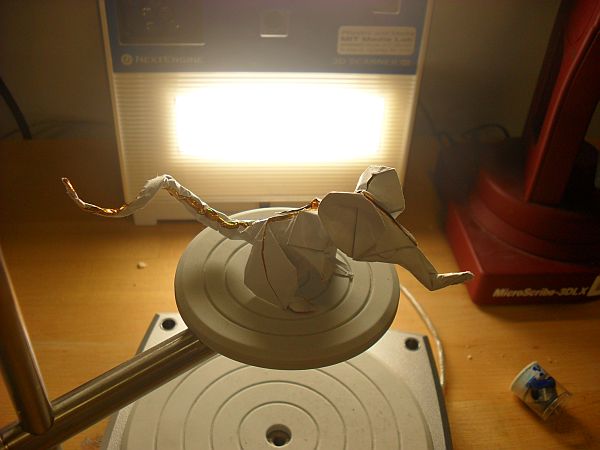
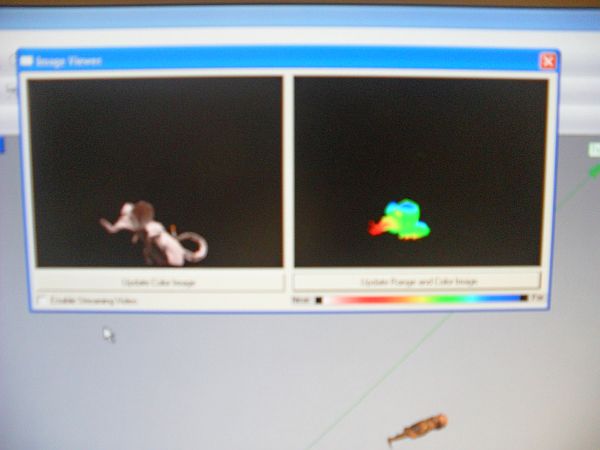
This scanner is the simplest to use out of the scanners I tried and scans botht he 3D form as well as the texture (color) of the object. Basically I just put the model onto the rotating disk, select a few options (such as how many view angles I would like to scan, detailed I want my scan to be and the general color of the object I'm scanning) and then press scan. The scanner then slowly scans each view and outputs the progress as the scans go. The process takes about 15 minutes for an average scan of 6 faces at medium resolution. My biggest peeve with this program is simply how often it crashes!
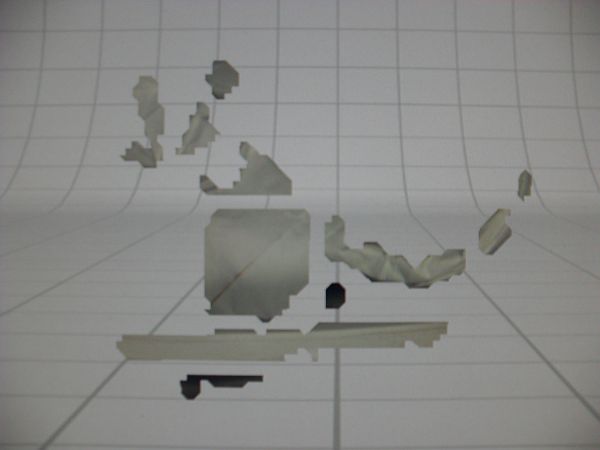
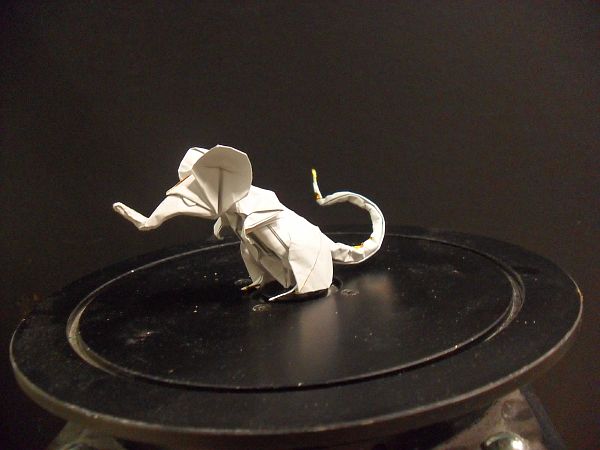
First I tried to scan a model of an origami mouse. However, perhaps due to the color of the mouse it ended up picking up only about 30% of the actual object. The resulting file was so bad that I was unable to do any cleaning or meshing with the file.
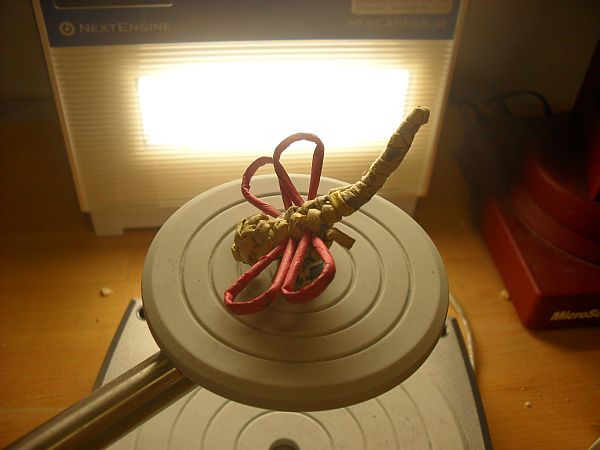
Next I tried scanning a brighter and less detailed object and had far better results. This time I was able to clean up the scan as well and produce a mesh and ultimately an STL file from the scan.
Minolta scanner
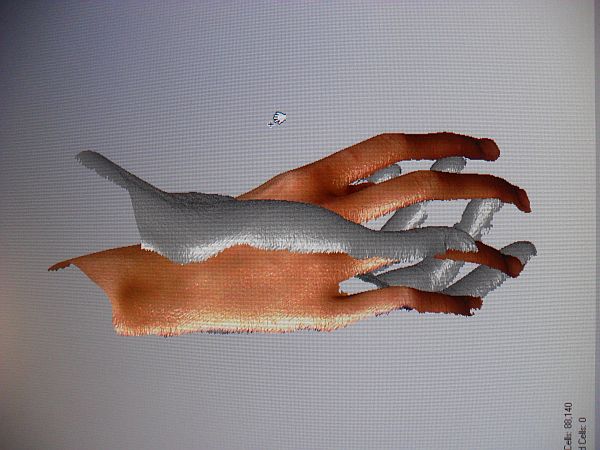
This scanner is most powerful in terms of precision and resolution, being able to automatically adjust for distance and color of the object scanned. It also functions by scanning multiple view of an object on a rotating place and stitching these views together. Images are directly imported into Geomagic software, which is a very powerful and intelligent software for cleaning and editing 3D scanned images. The biggest drawback to this machine(as well as most others) is that it has a hard time seeing black. Also, if the settings for distance and intensity are even slightly off, often the scanner will miss the object entirely. Finally, the only way to get a series of images that are easily merged is to use the rotating disk and to try to center the object as much as possible. This was a problem when I tried to scan all sides of my hand
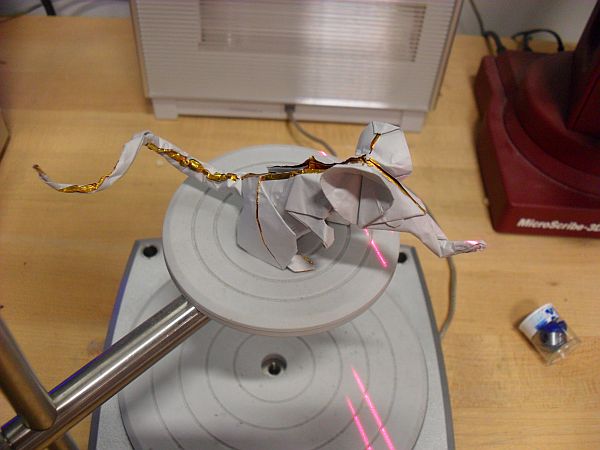
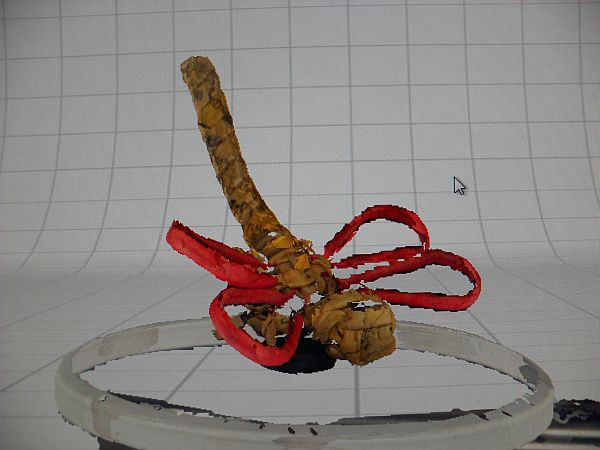
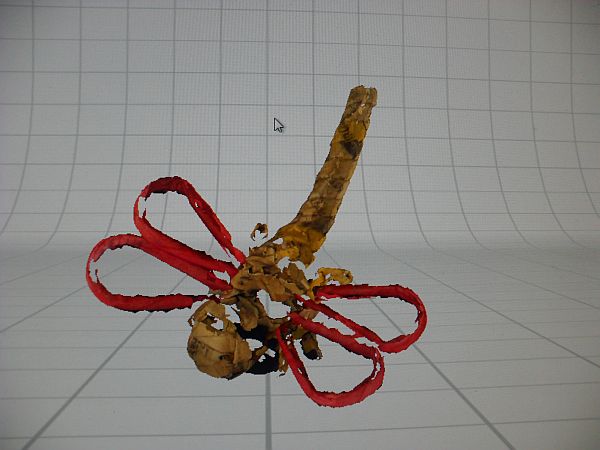
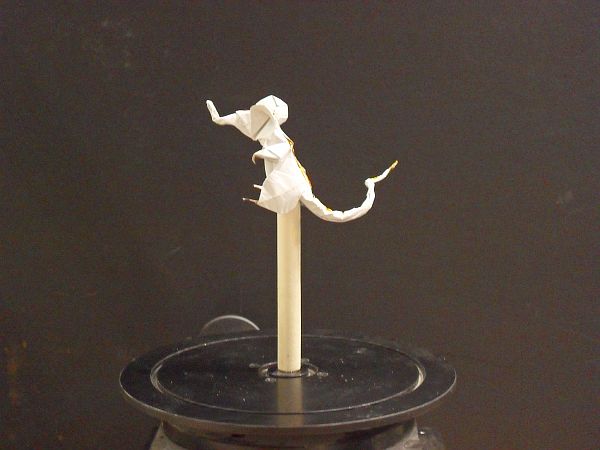
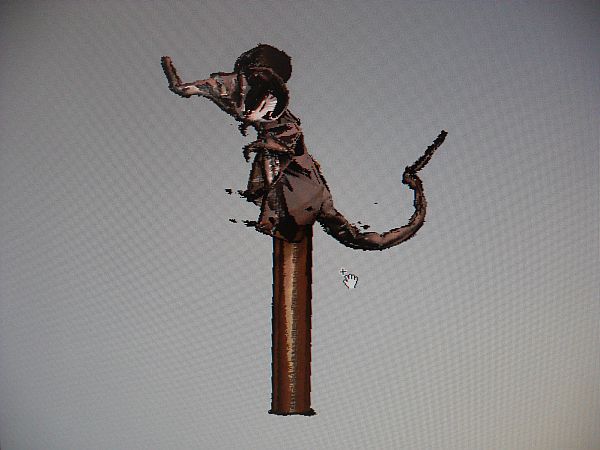
I first tried scanning the origami mouse again. Initially the scanner had trouble finding the correct settings, possibly due to a bad viewing angle (the scanner was picking up the rotating disk instead of the origami model?).
Then I restarted the machine and put the model onto a stick to change the viewing angle. This seemed to make the machine happier, so I got a pretty good scan.

For fun I tried scanning my hand. While each view scanned nicely with really wonderful detail, it was almost impossible to get two different scans to match and make a full model.
CT ccanner
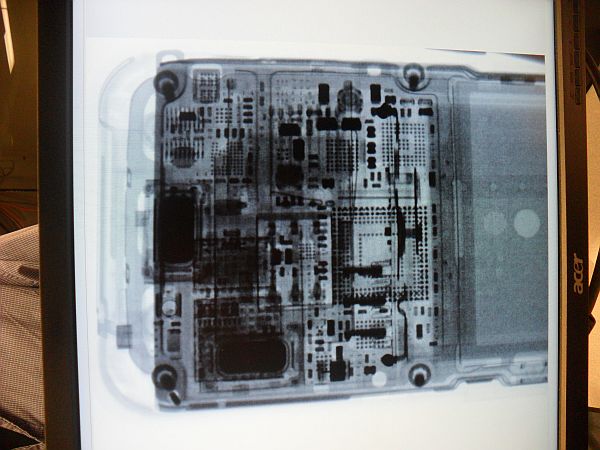
The CT scanner produces beautiful x-ray scans of objects down to very small scale. The scanner produces live video and generates a full 3D model of the object with varying color based on density. During the demo I scanned my cell phone and recorded a video of the vibration motor of the phone

Structured light scanning
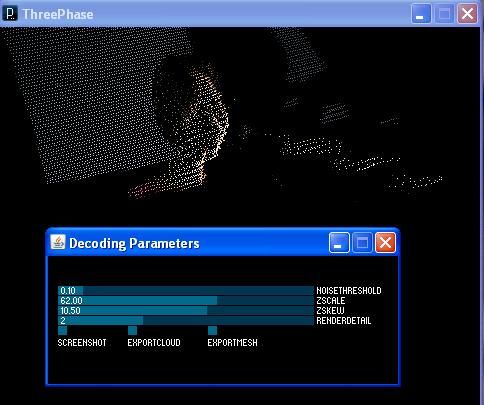
David Lakatos produced a great demo of how to use the structured light scanning technique for face scans using a camera, small projector and a simple Processing program. The projector shines three images onto the person and the camera takes three images. The program then calculates the geometry of the person scanned based on how the projected images are distorted and produces a point cloud. After the initial calculations, the user can manually adjust to get the most accurate form.
Back to index