Week 9: molding and casting
This week I machined a mold of a small erlenmeyer flask and stopper out of wax, and attempted to cast a rubbery bottle. I also made a mold for lego bricks out of legos and casted my own set of lego blocks. My ultimate goal is to embed electronics into the pieces to create an electronic lego set.
Erlenmeyer flask
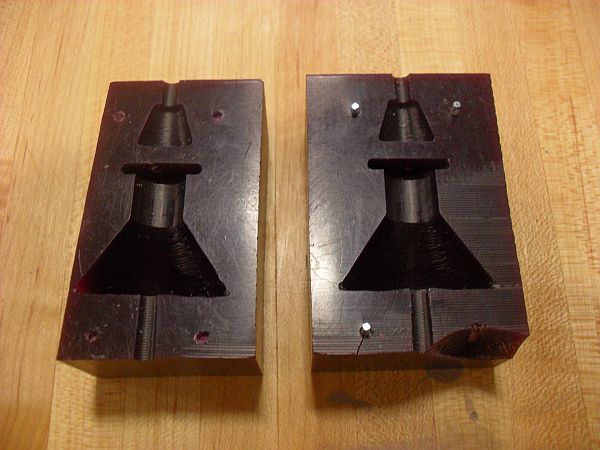
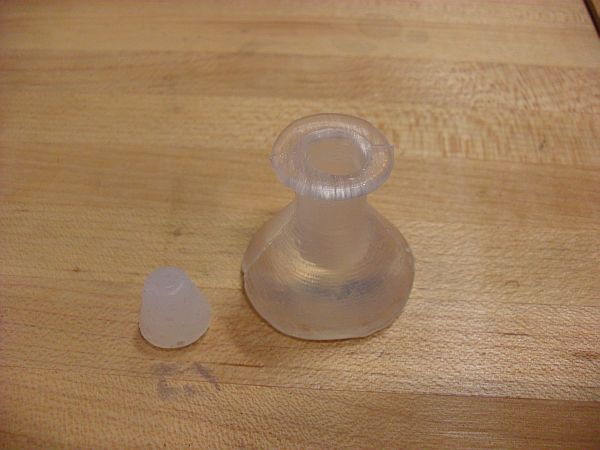
I designed my two-part mold (the negative of final product) using OpenSCAD OpenSCAD was particularly useful for making molds, since it is extremely easy to do booleans. However, I made the mistake of including a small undercut at the bottom of the flask (in yellow) which caused some problems in machining later on.
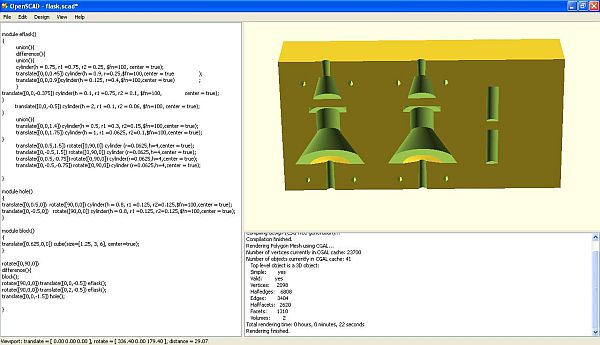
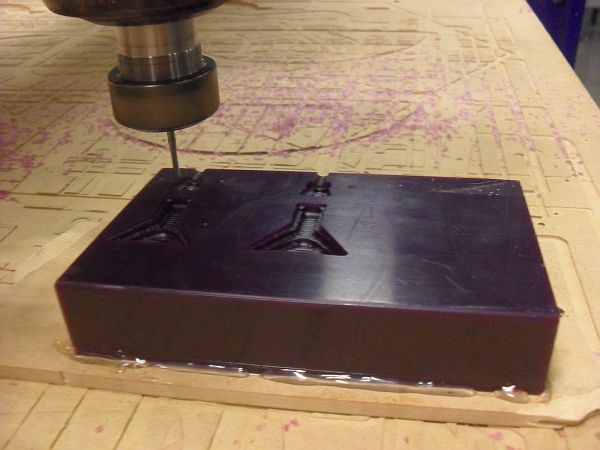
Machining was done on the shopbot. Since the machinable wax is relatively soft, the bit idn't break from the undercut, but it did leave some messy marks which I later sanded away. .For registration, I made small holes on one half of the mold and nailed small nails on the other half, which fit into these holes.
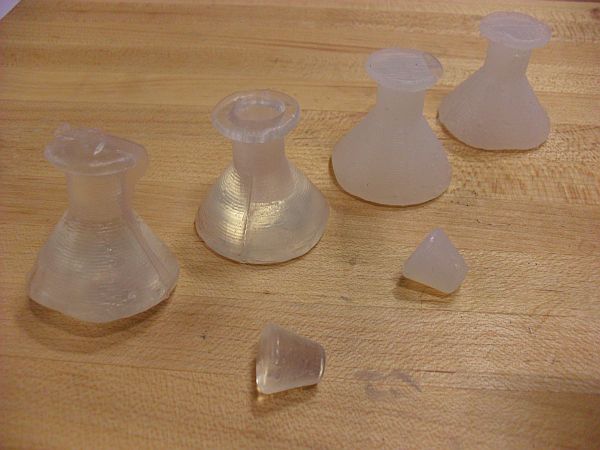
I attempted to cast a hollow bottle by using quick set materials (dragonskin fast set and smooth-cast 325) which take from 15 minutes to an hour to cure, but ended up with objects with walls that were too thin in some places (and broke) and too thick in other places. Eventually I just cast solid forms, and machined a hole in the plastic using a drill press.
Homemade Legos
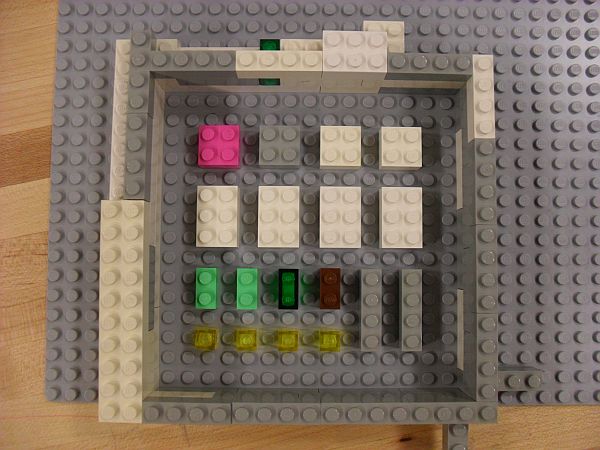
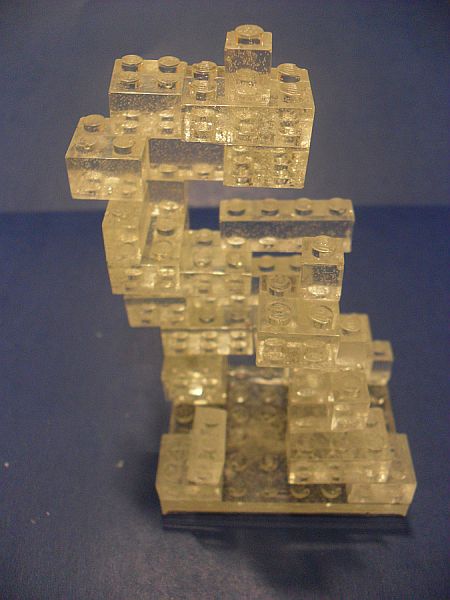
The main benegfit of casting and molding, to me, is being able to quickly reproduce objects, so for the second part of this week I decided to cast my own Legos. Evetually, I wanted to embed electronics into these legos.
I started out by building a mold completely out of legos and making a rubber mold using fast set dragonskin. The material popped cleanly out after about an hour of curing.

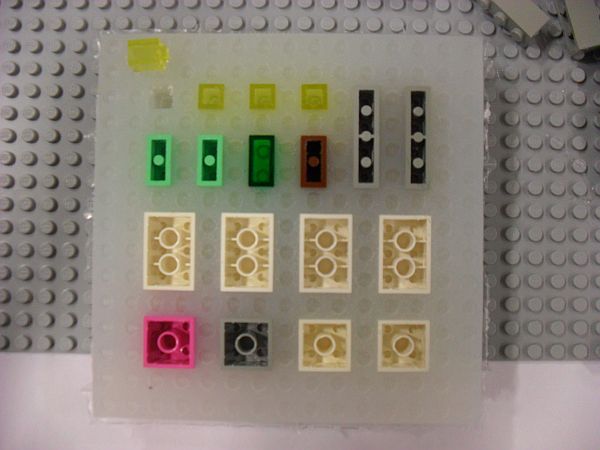
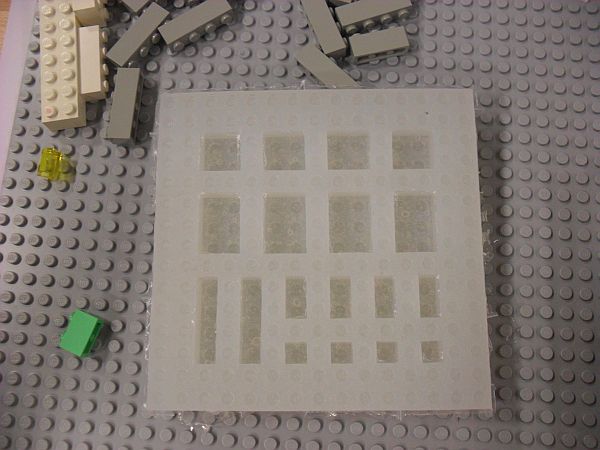
Then I cast using the smooth cast 325 and placed legos on the top opening of the mold to create the holds on the bottom of the legos. In my first run I didn't have time to do so, so the bottoms of that batch don't have any holes.
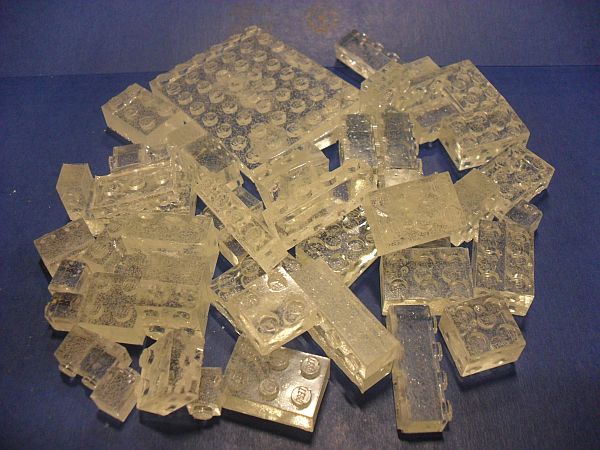
The newly cast legos fit pretty well, though not as tight as original legos, which have a different form for the holes (not just notches which match the buttons, like on my cast set).
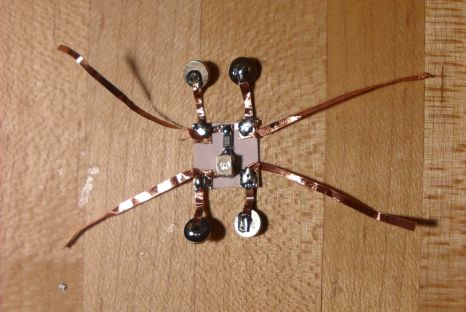
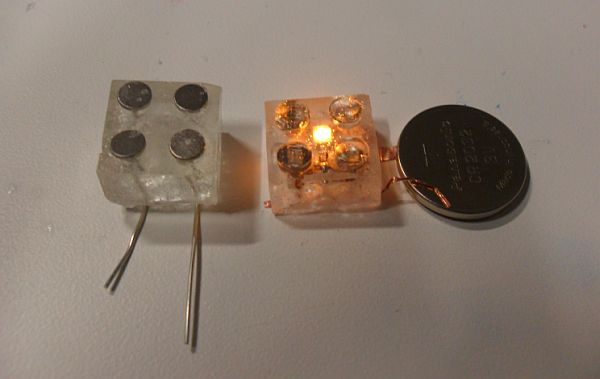
For initial electronics prototyping, I made a small circuit (LED and resistor) that fits in a 2x2 brick. I had magnets that are the same size and shape as the buttons on the Lego, so I tried to use those as top connectors. And for the bottom connector I just used a strip of copper tape or wire (which I intended to bend into springs). I managed to embed these parts into a cast lego, but the results were pretty messy and not usable as bricks yet!
Back to index