Matt Blackshaw
Week 3: PCB Design, Fabrication, and Assembly
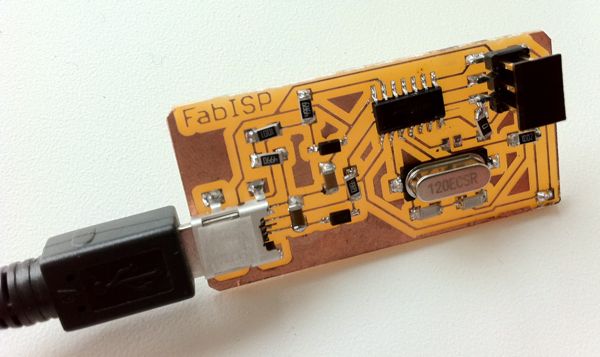
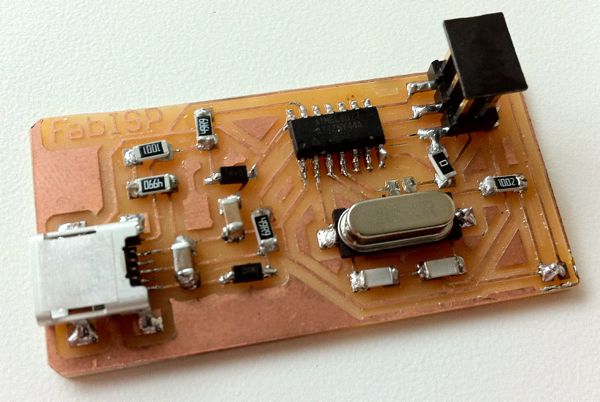
FabISP
PCB Design
We were provided with the PNG file used to mill the boards. The PCB image uses black and white so png_path can generate bounding paths which tell both the Roland Modela and Mantis milling machines which material to remove.

Milling
David Carr lead our section on milling in the CBA Fab Lab. We started using the Roland Modela but found that it often left copper traces. He also taught us to use his Mantis milling machine (super cool), which could mill much faster and was easier to setup.
Soldering
Nadya Peek lead our section on soldering in the Architecture Fab Lab. Having soldered before it didn't take long to stuff my milled PCB board. The hardest part was soldering the ATtiny44 micro controller - I found it easiest to solder the pads of two opposing corners, heat the solder, drop the micro controller in place and finally solder the remaining connections.
Programming
Nadya helped me program my FabISP using her own. Thankfully my board programmed successfully on the first attempt. I then setup the avrdude software on my Mac so I could program other boards (it's easily installable through the Homebrew package manager on Mac OS X by typing brew install avrdude into a terminal).
It works!
To make sure the board was working properly I connected it to my computer using a USB cable and checked the OS X kernel logs to see if a new USB device was detected (you can do this by typing tail -f /var/log/kernel.log into a terminal).