Matt Blackshaw
Week 4: WaterJet Cutter and Milling
Digital fabrication of a manual creation
The idea
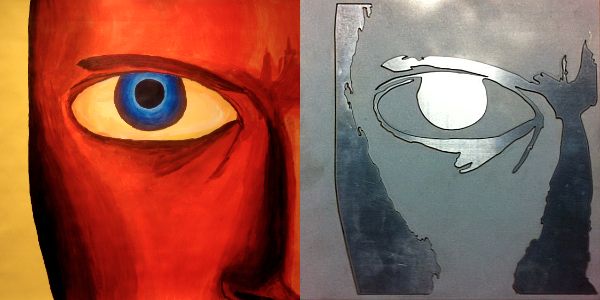
Painting is one of the oldest, most intuitive and well understood forms of expression. Computer aided design is one of newest, least intuitive and misunderstood forms of expression. This week I explored making the process of design for digital fabrication more intuitive by using painted art as input. I took one of my paintings from college, digitized it, and then used the waterjet cutter to fabricate an interpretation of the original piece.
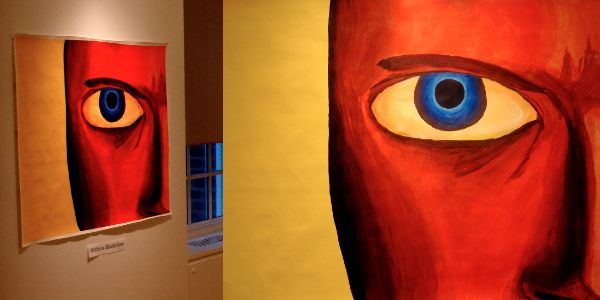
The painting
I snapped a couple of images of the original painting to get them onto the computer.
Digitization
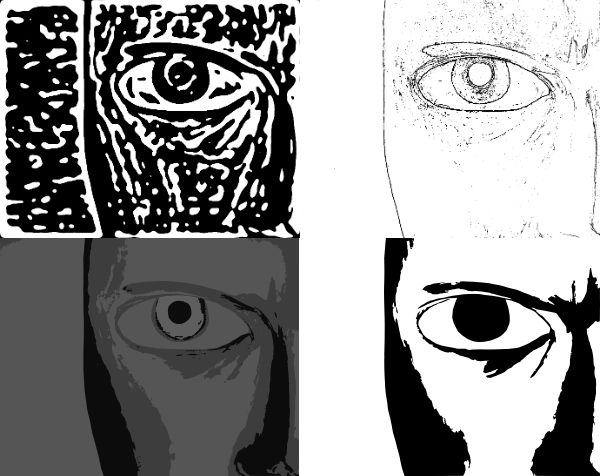
Using Inkscape and Acorn I explored different edge detection algorithms which turn photographic data into vectors which the cutting and milling machines understand. These algorithms be accessed in Inkscape through the Object > Trace Bitmap menu. I eventually settled on the Color Quantization algorithm using 2 colors (shown in the bottom right).
Testing on the laser cutter
To ensure the image could hold together physically (there were many small strands and tight corners) I tested the vector image on the laser cutter. John pointed out that many of the tight corners around the eyebrows were too thin and tight to be cut with the waterjet (the laser has a cut radius of 15 thousandths of an inch, while the waterjet is 30 thousandths of an inch), so I used Inkscape's simplify path function (Ctrl + L) and manually made things larger.
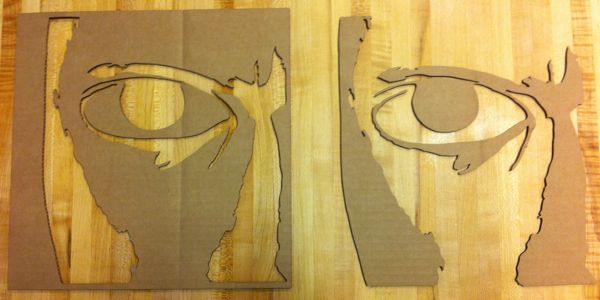

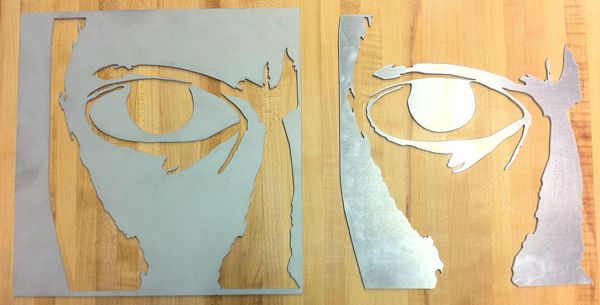
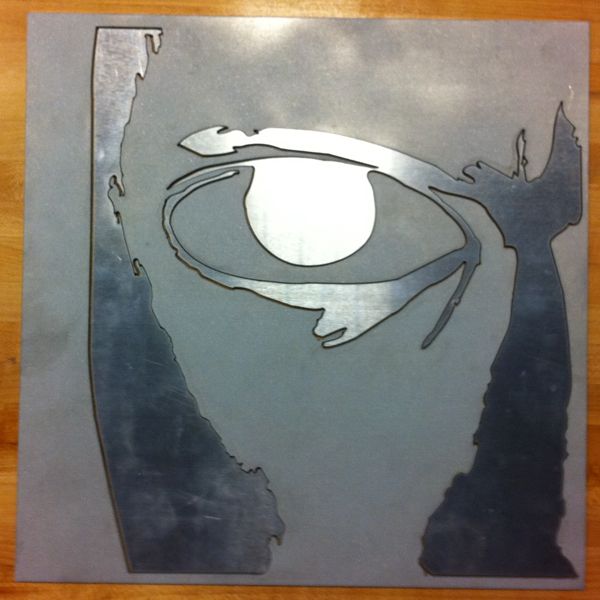
Cutting on the WaterJet
Once John had given the vector file the OK he helped me cut the image on the WaterJet. It took about 10mins to complete. To create some contrast in the final product (and hide the scratches in the aluminum) I used the sandblaster to give create a frosted texture.