Matt Blackshaw
Week 6: Microcontroller Programming
Pong
The idea
A two button game controller for an online multiplayer pong game.
FabISP revisited
As Neil had predicted the not-so-smooth-and-shiny connections on my old FabISP had stopped working, so to polish up on my milling and soldering skills I remade the FabISP board. Fortunately everything worked first time!
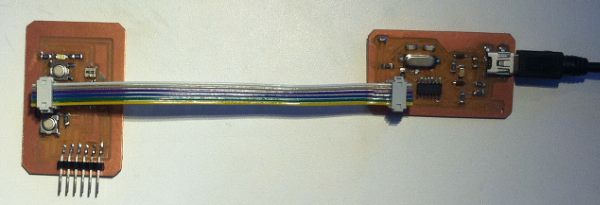
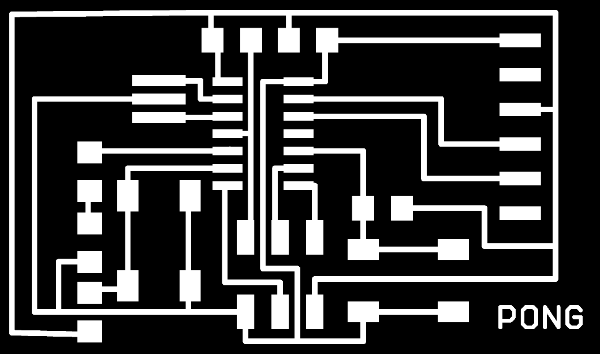
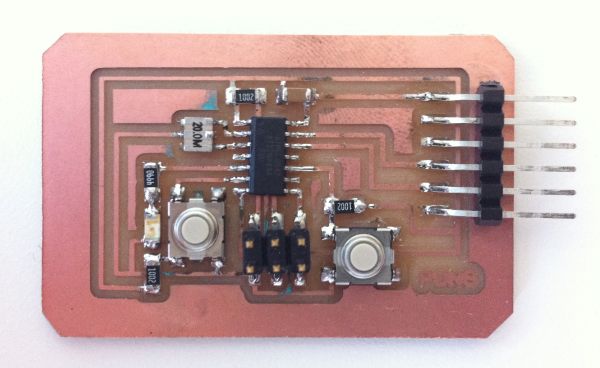
Pong PCB
Using Eagle I edited the board schematic provided by Ed Baafi adding two switches and an LED. Because I missed the sections the week before (I was away in Munich) it took a fair amount of tinkering to get everything properly connected. I then milled the board on the Modela and again, fortunately, everything came out perfectly the first time!
Finding all the parts proved to be a little challenging, but after a couple of trips about campus, I had everything I needed. The parts all fit correctly on the board except for the microcontroller which I happened to solder on backwards... Brian from Responsive Environments helped me remove it using their hot air gun. Once it was resoldered, it was time for programming.
Pong Programming
To make the board connect to a website I needed button pushes to be output through the 6 pin FTDI serial connection. I edited the hello.echo program that Neil demoed in class and edited it to output a numbered event on each button press. I programmed the LED to always be on, to indicate that the board has power. I used my FabISP to program the board.
I then created a web service using NodeJS which read and broadcast the output of the serial port over a WebSocket. The game itself was based on code by Andrew Bruce and is available on GitHub. The full code for the microcontroller and the HTML/JavaScript for the pong game is available below.
Pong source code (Zip)