Molding & Casting
PDMS lenses
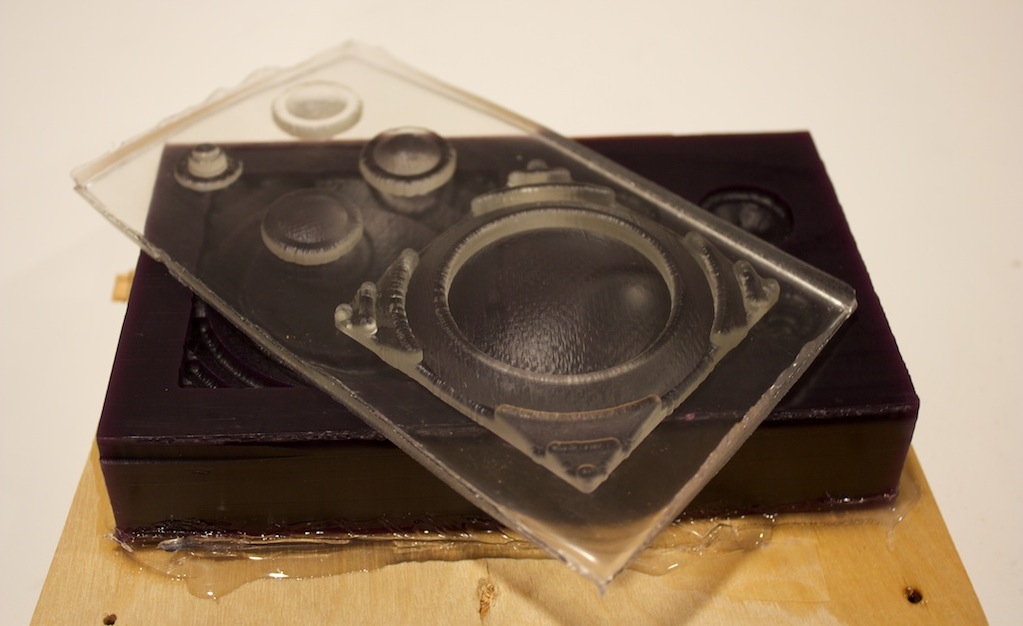
This week for the Molding and Casting module, I chose to make a few optical elements. I cast, out of PDMS, 25, 50 and 100mm lenses and a large ~300mm fresnel lens.
This work builds on previous fabbable lenses, but, the lenses I produced are flexible and fairly high quality.
Design
Background
The design was driven in a large part by the constraints the materials imposed. I only had a small amount of machinable wax, was constrained to a one (or two) part mold, and seriously crunched for time.
I chose to cast a series of plano convex lenses from PDMS, a fairly well understood, clear silicone material. In particular, I tried to cast functional equivelents to the rather expensive lenses currently employed by the NETRA project. In addition, I designed and cast a large fresnel lens, and two other focal length lenses (25 and 100mm)
From the Sylgard 184 product information sheet, I dound the refractive index to be 1.43. The design called for a 50mm focal length 15mm diameter lens. Using the following formula
R = f(n-1)
I found the radius of a 50mm plano-convex PDMS lens to be 21.5mm. A 100mm focal length PC lens has a radius of twice that, 43mm. And, a 25mm focal length lens has a radius of half that, 10.75mm. In addition to the lens surface, I designed the lenses to have a 1/8 inch mounting flange.
Inventor Modeling
Though it feels like a bit of a kluge, designing molds in Autodesk Inventor is rather straigtforward. The app note Derived Parts in Autodesk Inventor is very helpful.
To design a mold, first model your part. Then, model the rough outline of the mold. Create an assembly with the rough mold and the part. Constrain the part to the mold in the place you'd like it.
Create a new part and click "derived component". Insert the assembly and choose to subtract the part from the mold. Export this part as a STL file, import to Partworks 3D and cut on the shopbot.
Mold Fabrication
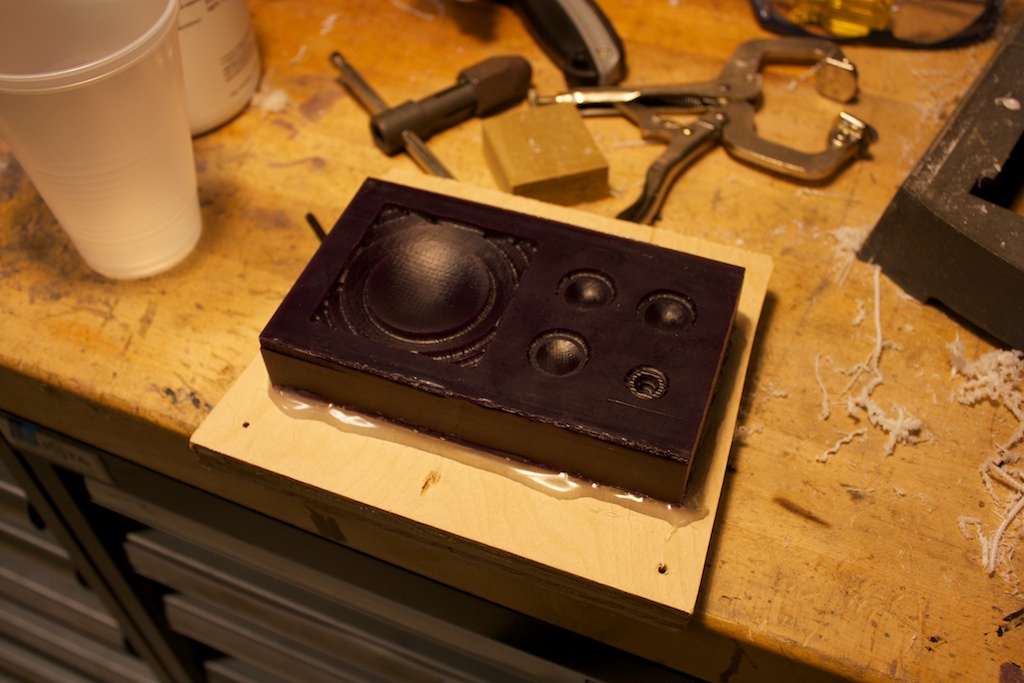
Mold
I cut the mold on the shopbot. I need to spend some time examining the toolpathing options in Partworks 3D because IT TOOK FOREVER. The estimate was 15 mins, actually it took 2 hours.
Pouring PDMS
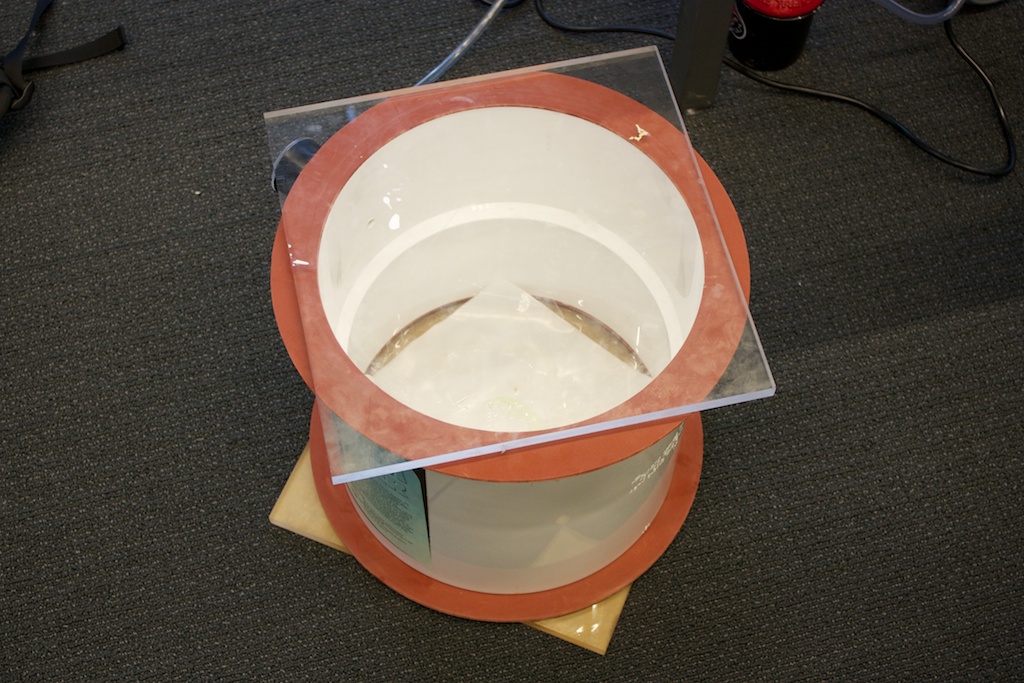
Vac
I mixed the resin and hardener in a 10:1 ratio as reccomended by Dow. I let the resin sit for around 20 mins to eliminate a few of the bubbles. Vaccing it down eliminated all the remaining bubbles.
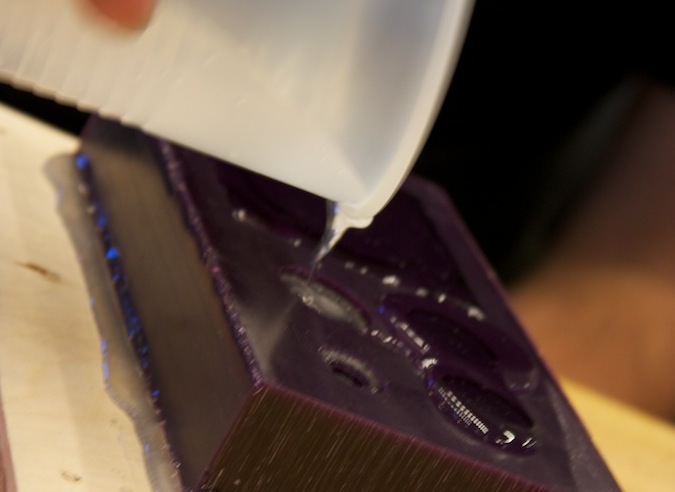
Pouring
Unlike the OMOO, PDMS is best poured quickly, in a large gloop. Pouring slowly introduces many bubbles.
oven
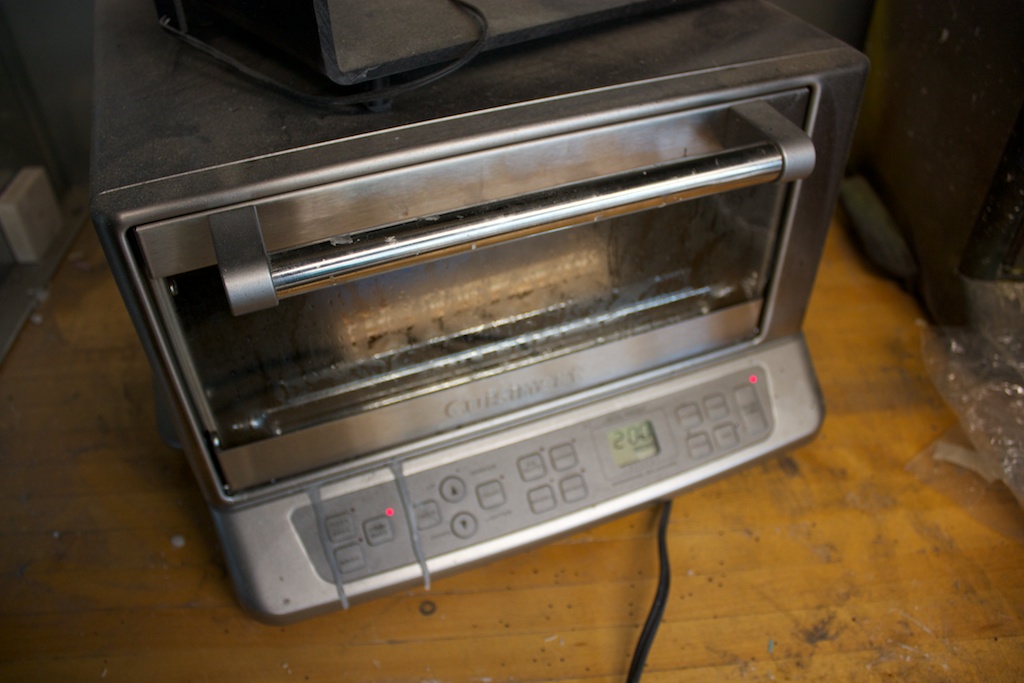
I let it cure at room temp for around 40 hours, it was still uncured. Placed in 200F oven for 40 mins, and it was completely cured.
Results
PDMS lenses
The surface finish on the mold is rather poor, but with more work, could yield very good lenses.