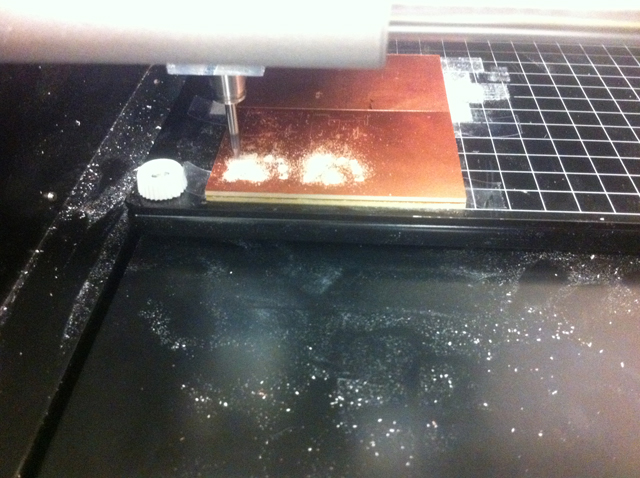
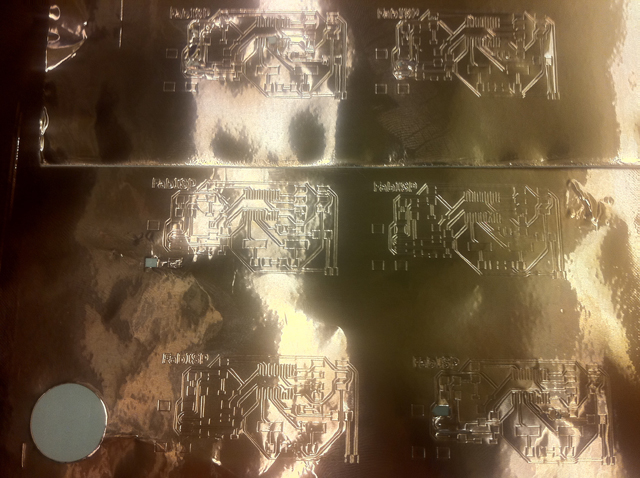
During this week's adventure, our goal was to make a PCB - a 'micro-controller used (I think) to program other micro-controllers. What is a micro controller? The specifics of that are TBD. In fabricating the PCB, we began by milling the circuit board on the Roland Modela: a 2-axis milling machine manufactured by the same company that makes synthesizers - they developed the Modela to use in their production work-flow
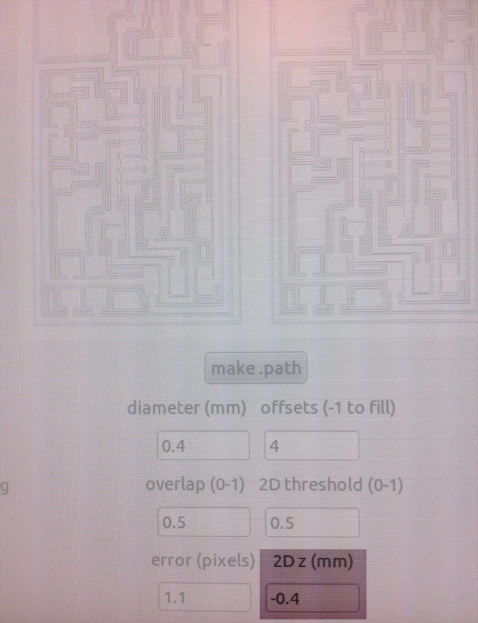
The only difficulty I had when using the Modela, was that the depth setting was double the default for 1/64" milling. I ended running about 4 paths; slowly increasing depth each time, before finally arriving at 0.4mm! The extra passes didn't cause any serious problems, but the finished board did require a lot of cleaning with steel wool
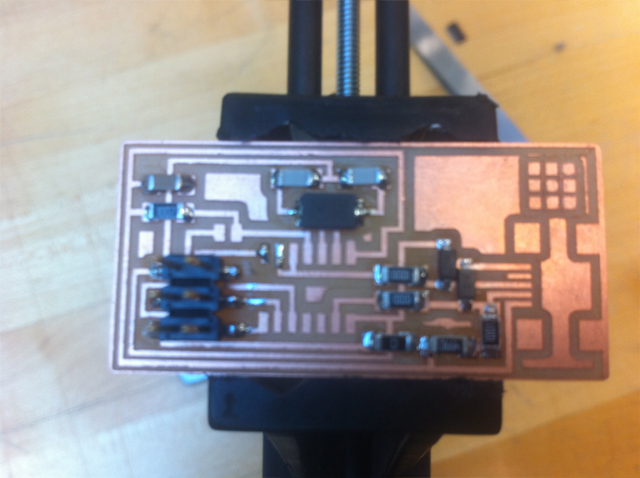
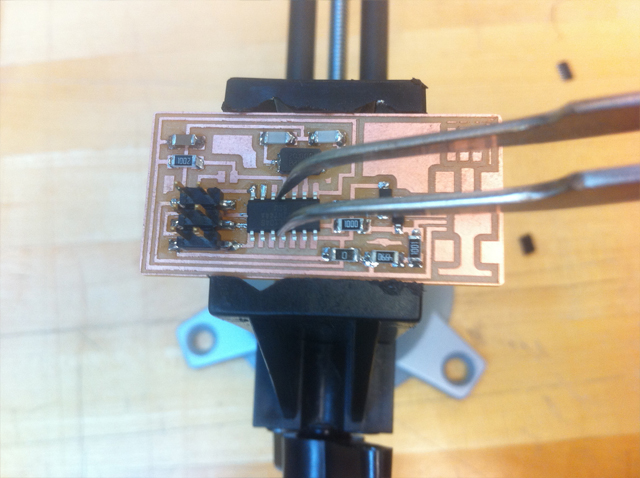
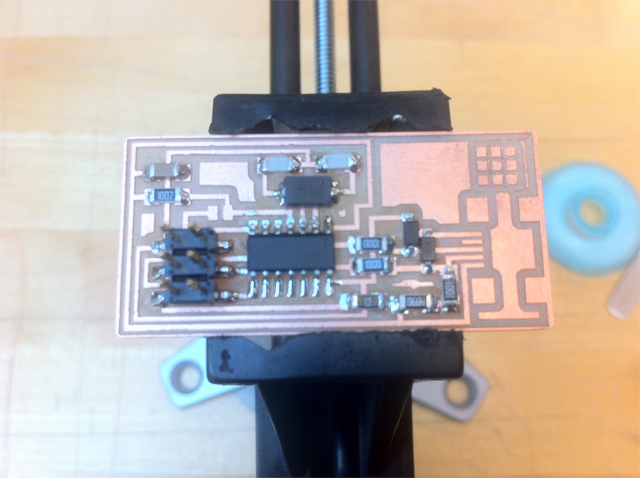
With the milling completed I began to surface solder the components onto the board. I have some experience soldering larger components - Arduino shields - but I found that my hands were not steady enough to use the same technique. Even using the magnifying lense, did not prevent my wildly vibrating fingers from knocking pieces across the room and onto the floor. What I ended up doing was placing small 'dots'of solder onto the board and then using tweezers to hold the components in place, while I re-flowed the solder to hold them in place. I would then follow up by adding enough solder to make make a nice conductive joint
Adding a small dot in the corner of the ATTINY chip's pads'
Carefully holding the chip steady while I re-flow the solder
With the chip held firmly in place,I would 'glob'solder onto the contacts, and the follow up with the copper braid, which would clean up the excess and make for a nice connection
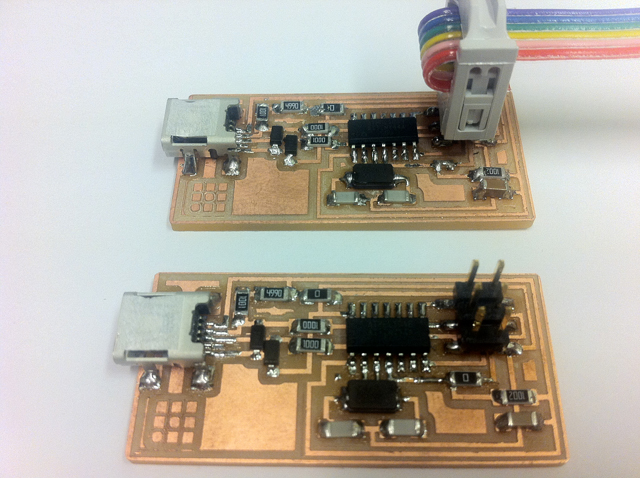
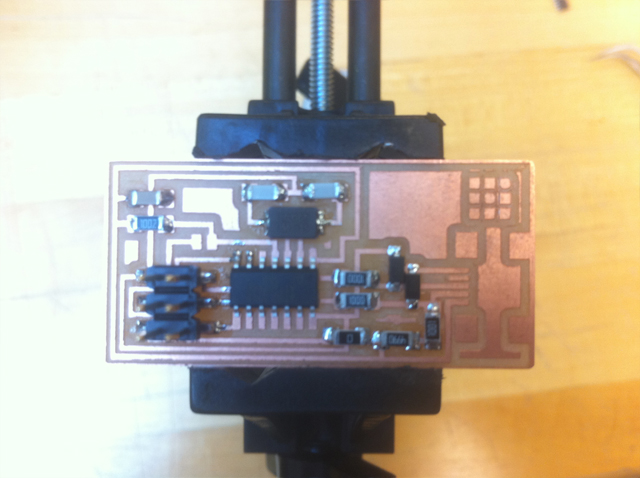
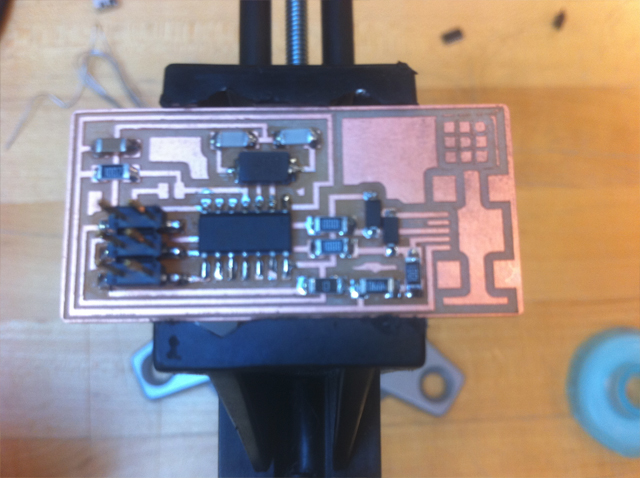
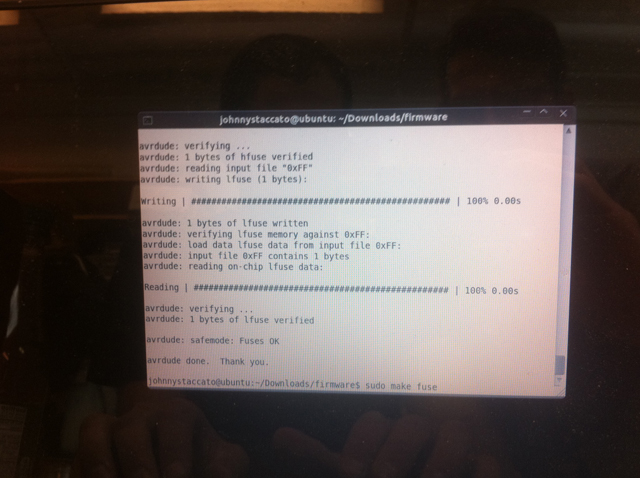
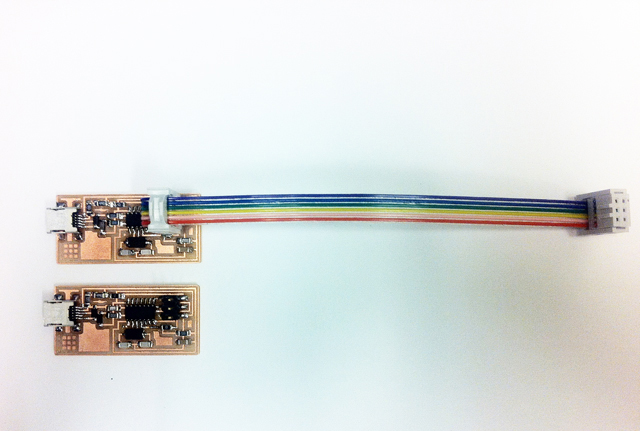
Runs like a charm right out of the gate - which may seem like a blessing, but I'm sure de-bugging held valuable lessons that I'm not aware of. I decided to make a second PCB, but had the same 'luck'in that it worked immediately
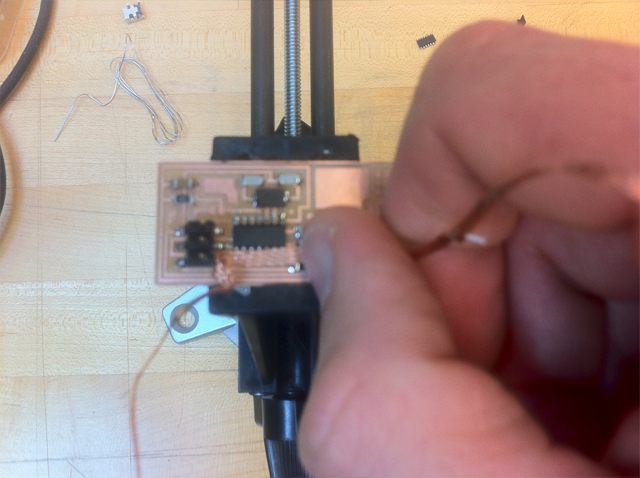
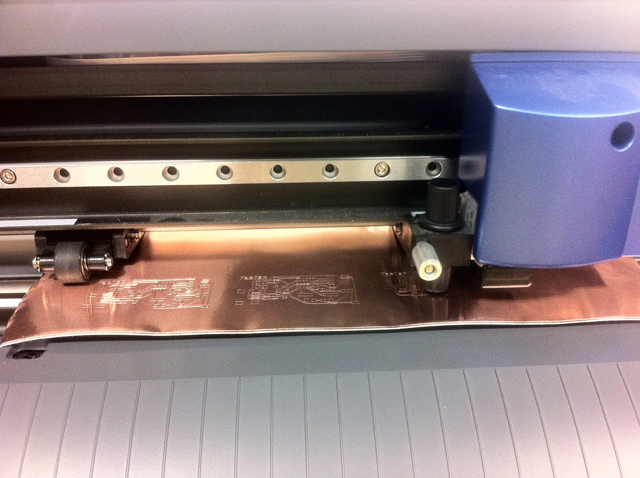
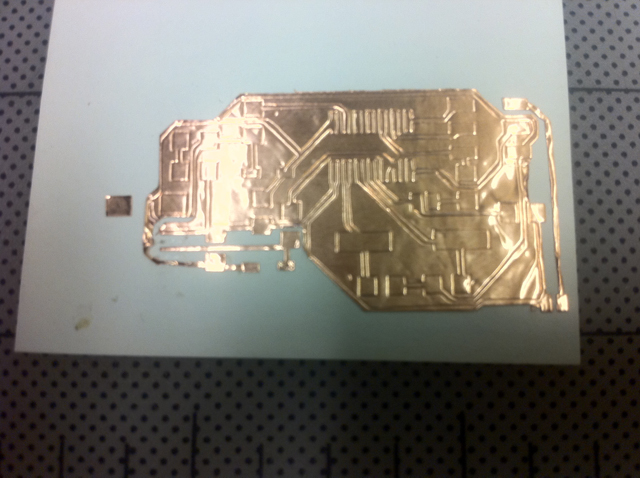
Flexible CircuitI then tried to recreate the same level of success with the Roland Vinyl Cutter
I initially ran a number of passes in ascending order of pressure and velocity, starting from 76/2.7 and ending with 82/2.0
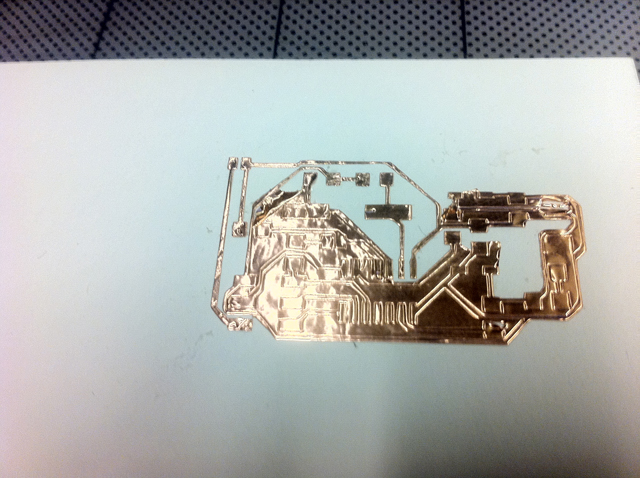
The success I had with the original PCB was not repeated when I attempted the flexible circuits
Which slowly; painfully slowly; brought me into the 7th circle of weeding hell, as circuit after circuit would often lose critical pieces because I literally could not see what I was doing! The copper is both beautiful and blinding. I'm going to try using polarized glasses to cut down on the shine during my next attempt...attempt(s).
Ending on a High Note!!!