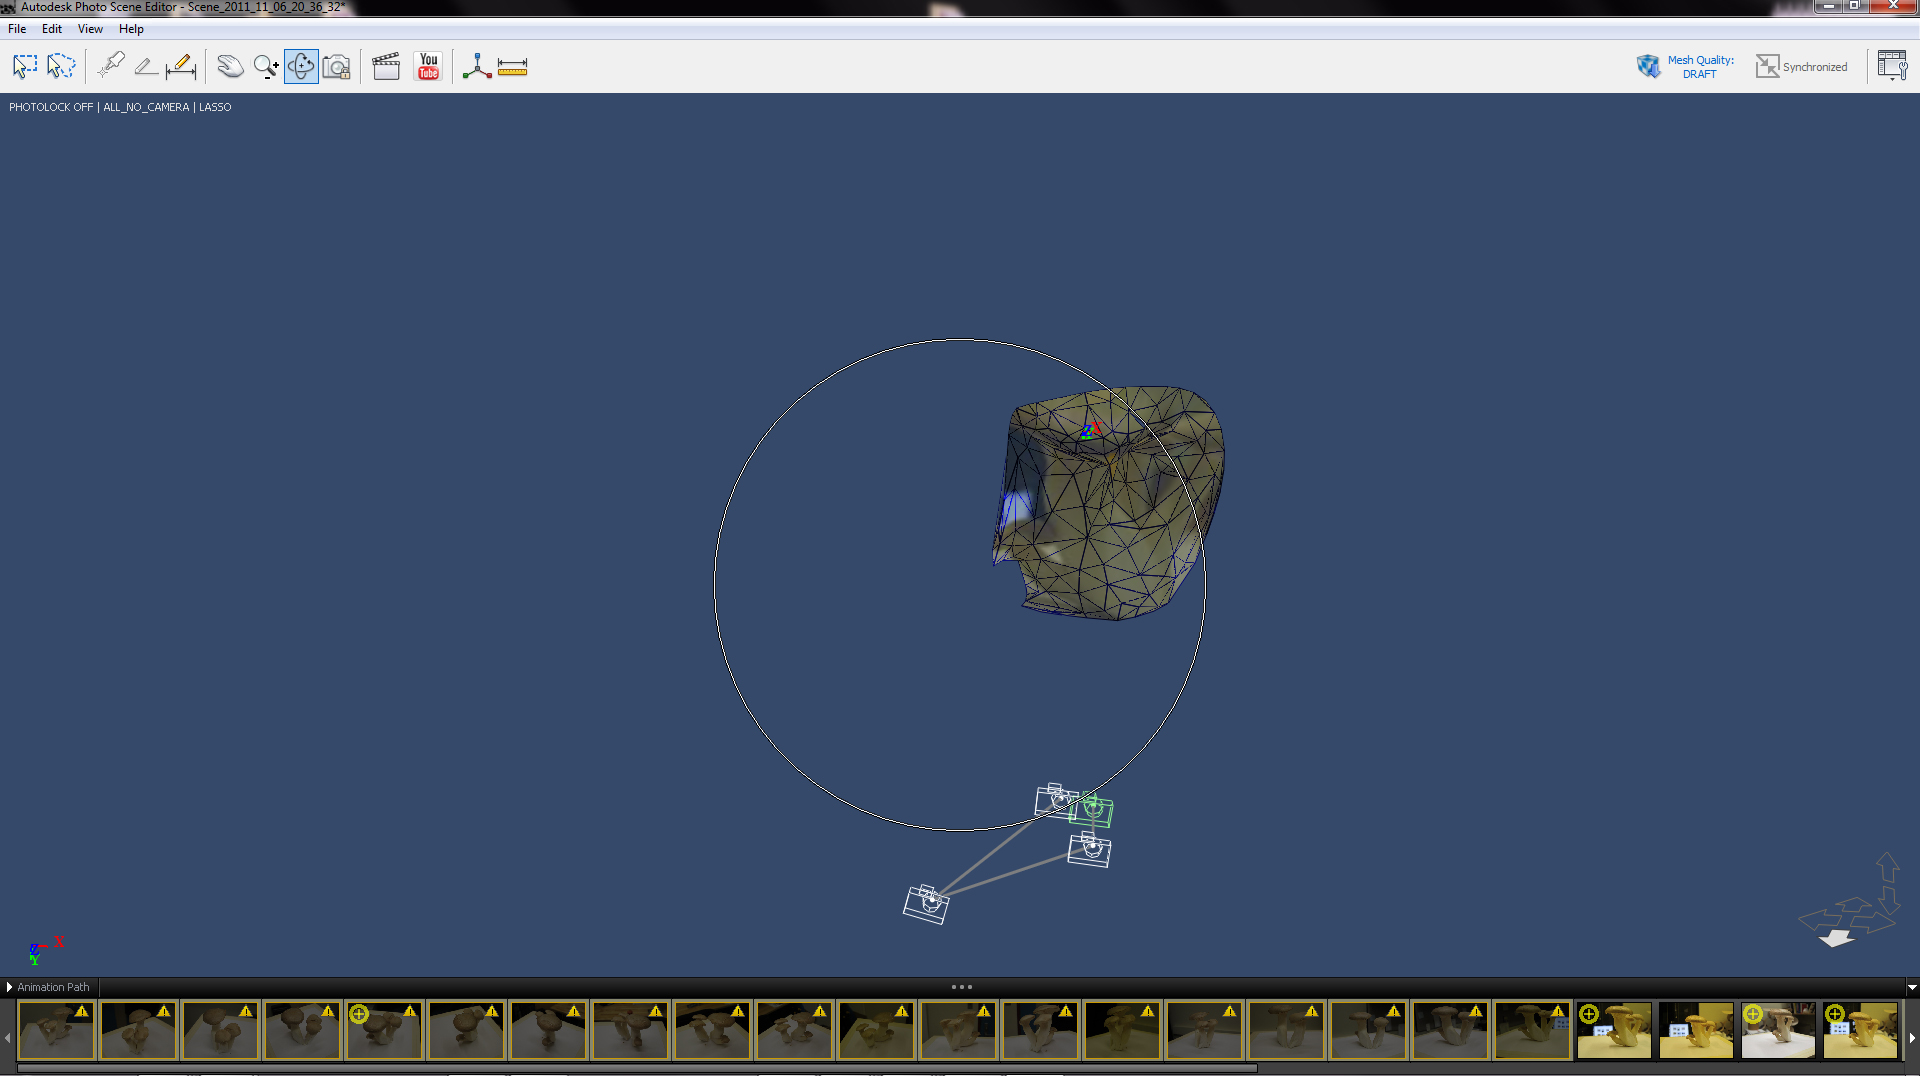
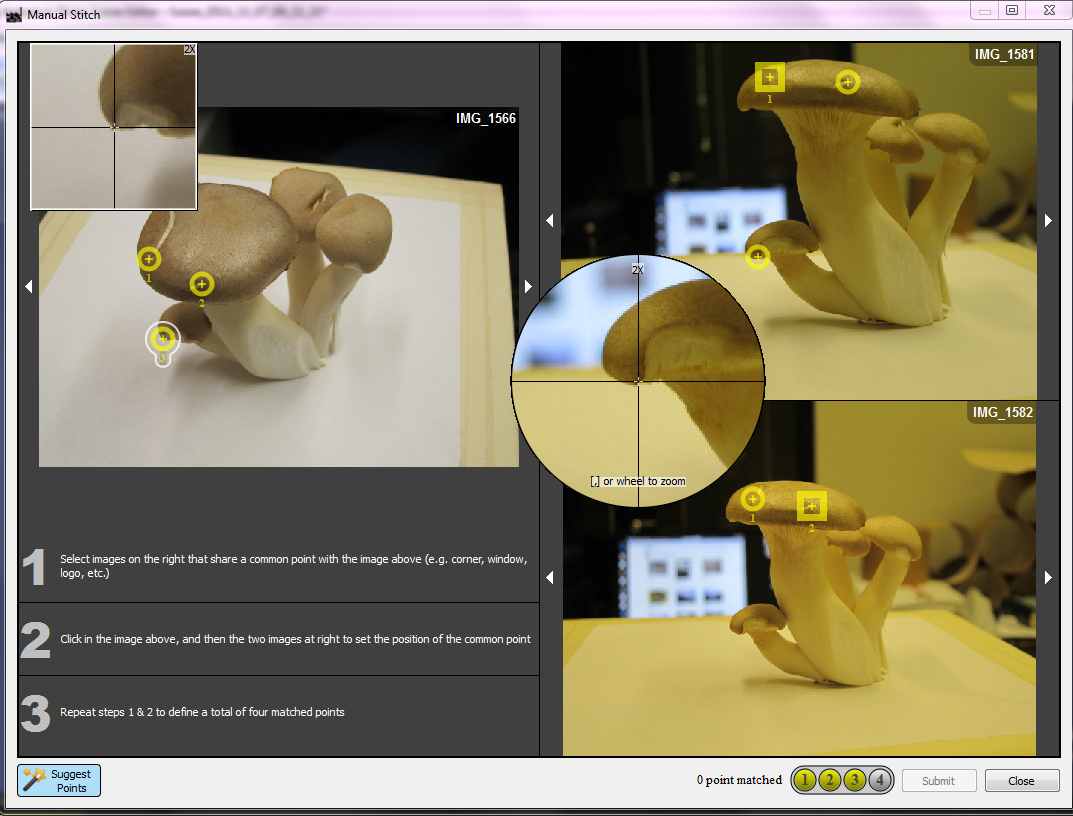
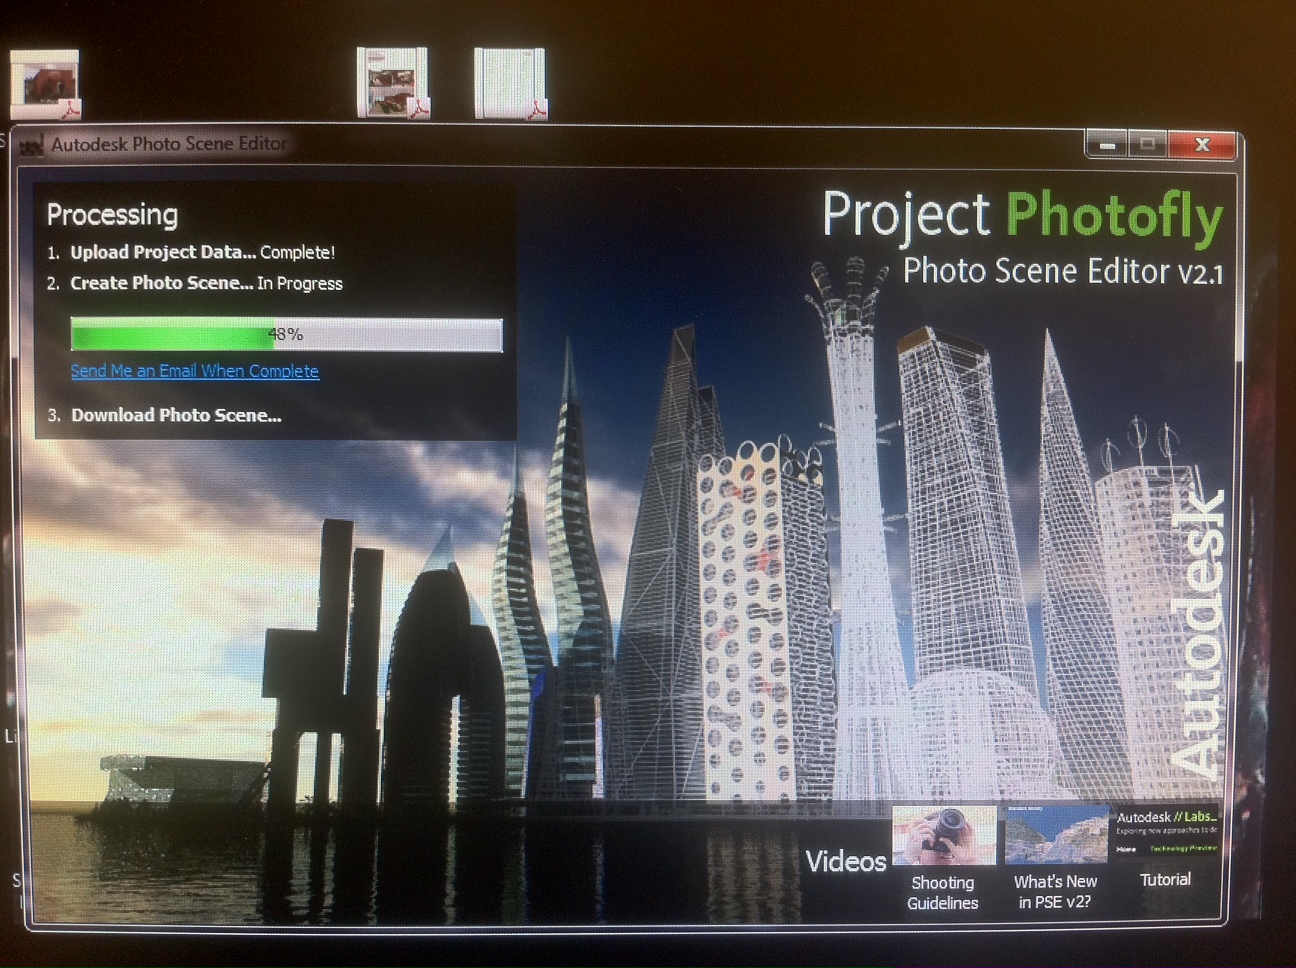
I began the scanning exercise by using Autodesk Photofly - an online program that "stitches" images together to create a 3D composite. One of the key differences between photofly and other 3D stitchers is that it utilizes an online "cloud"of computers to perform the calculations, which should theoretically allow for a speedier and progressively error free workflow.
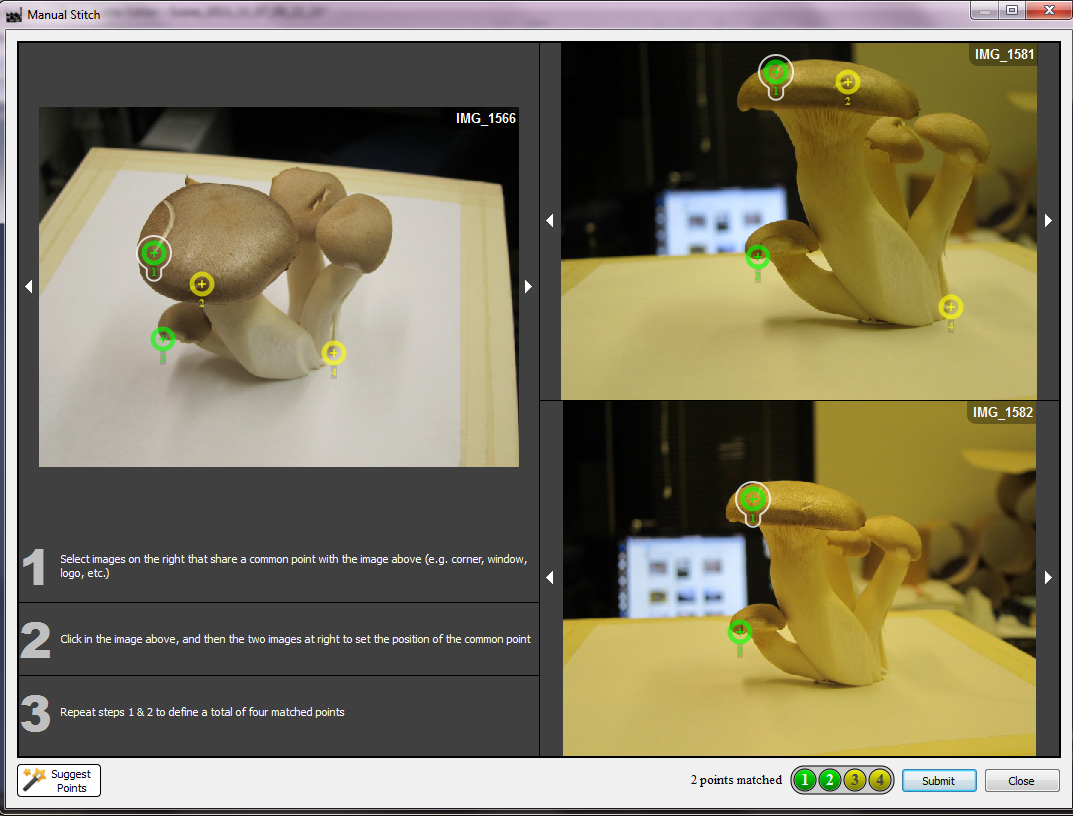
Be prepared to wait! It goes without saying, that the chosen subject should be relatively simple, privileging forms with more clearly discrenable geometries.
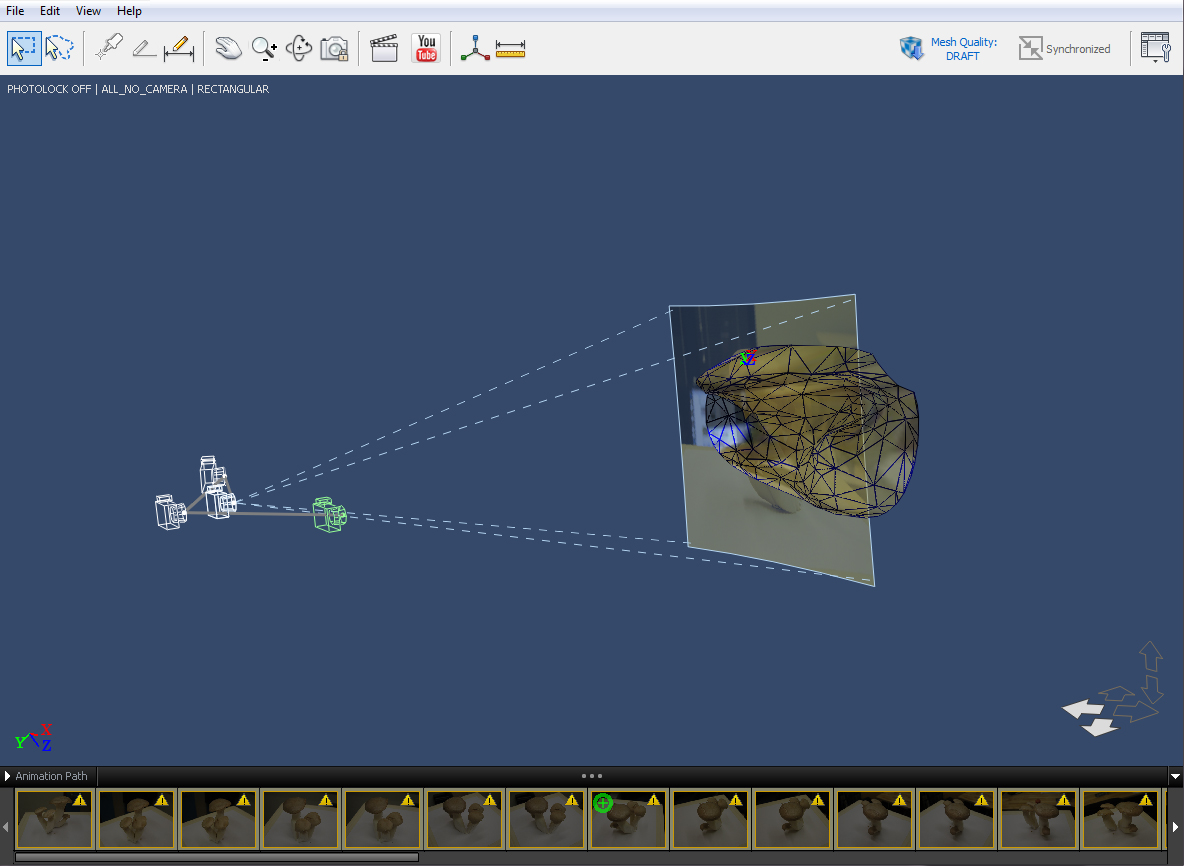
ConclusionAlthough the using PhotoFly takes much longer than using the Minolta or other industrial scanner, it does offer access and availability to a potentially powerful computing cloud that with some patience, could produce very accurate 3D models.
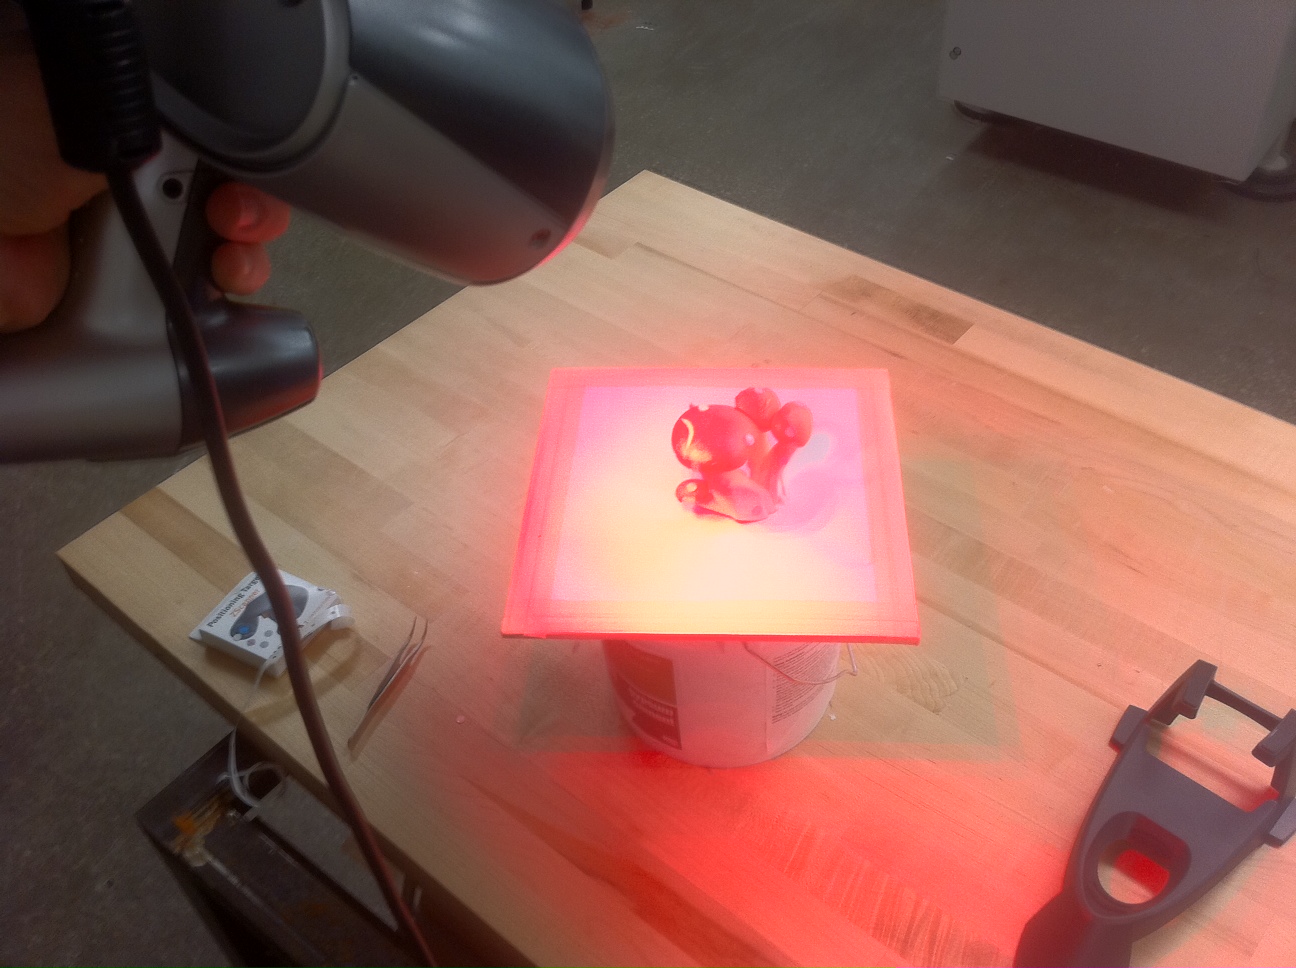
zScanI used the same grouping of mushrooms when scanning with the zScan and tried both; applying the reflective dots and using the reference "ground"
The object group (mushrooms) was just too small for the diameter of dot we were using in the FabLab. I'm sure that smaller dots would have led to better results.
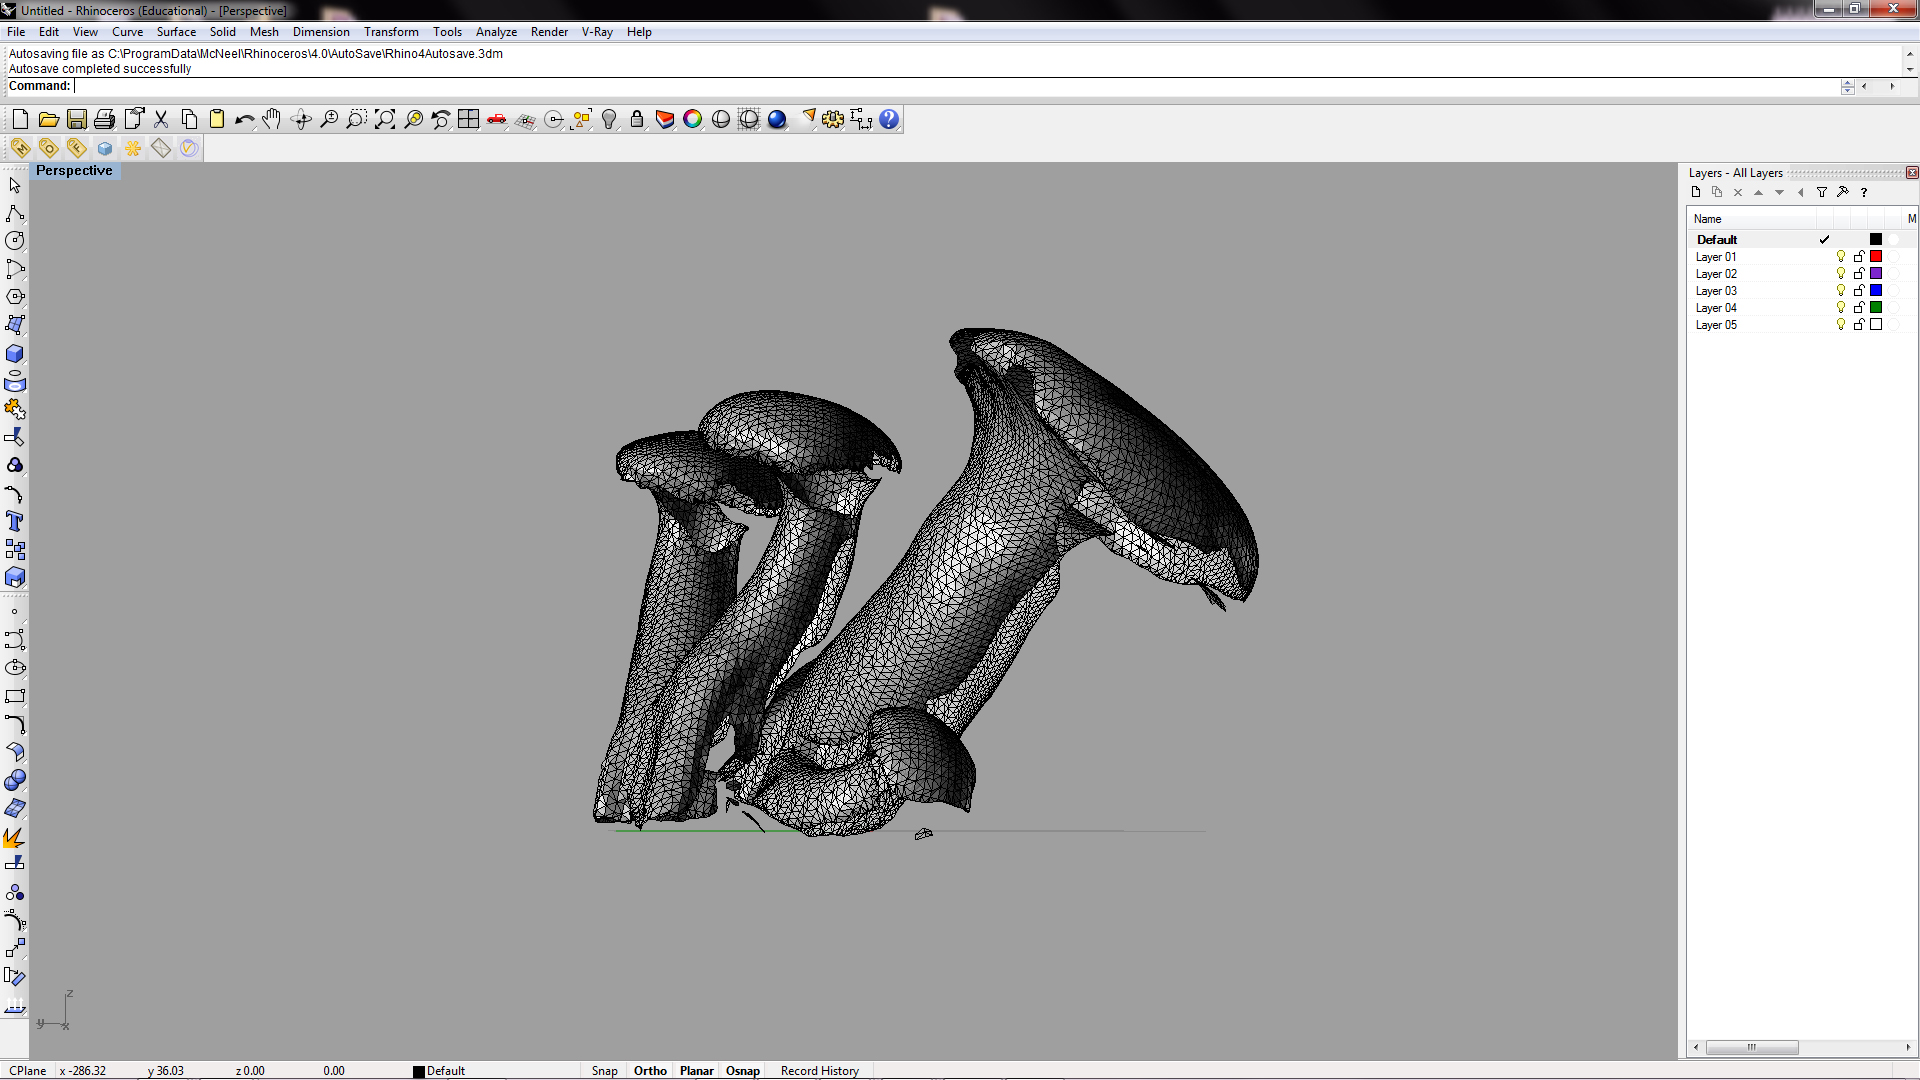
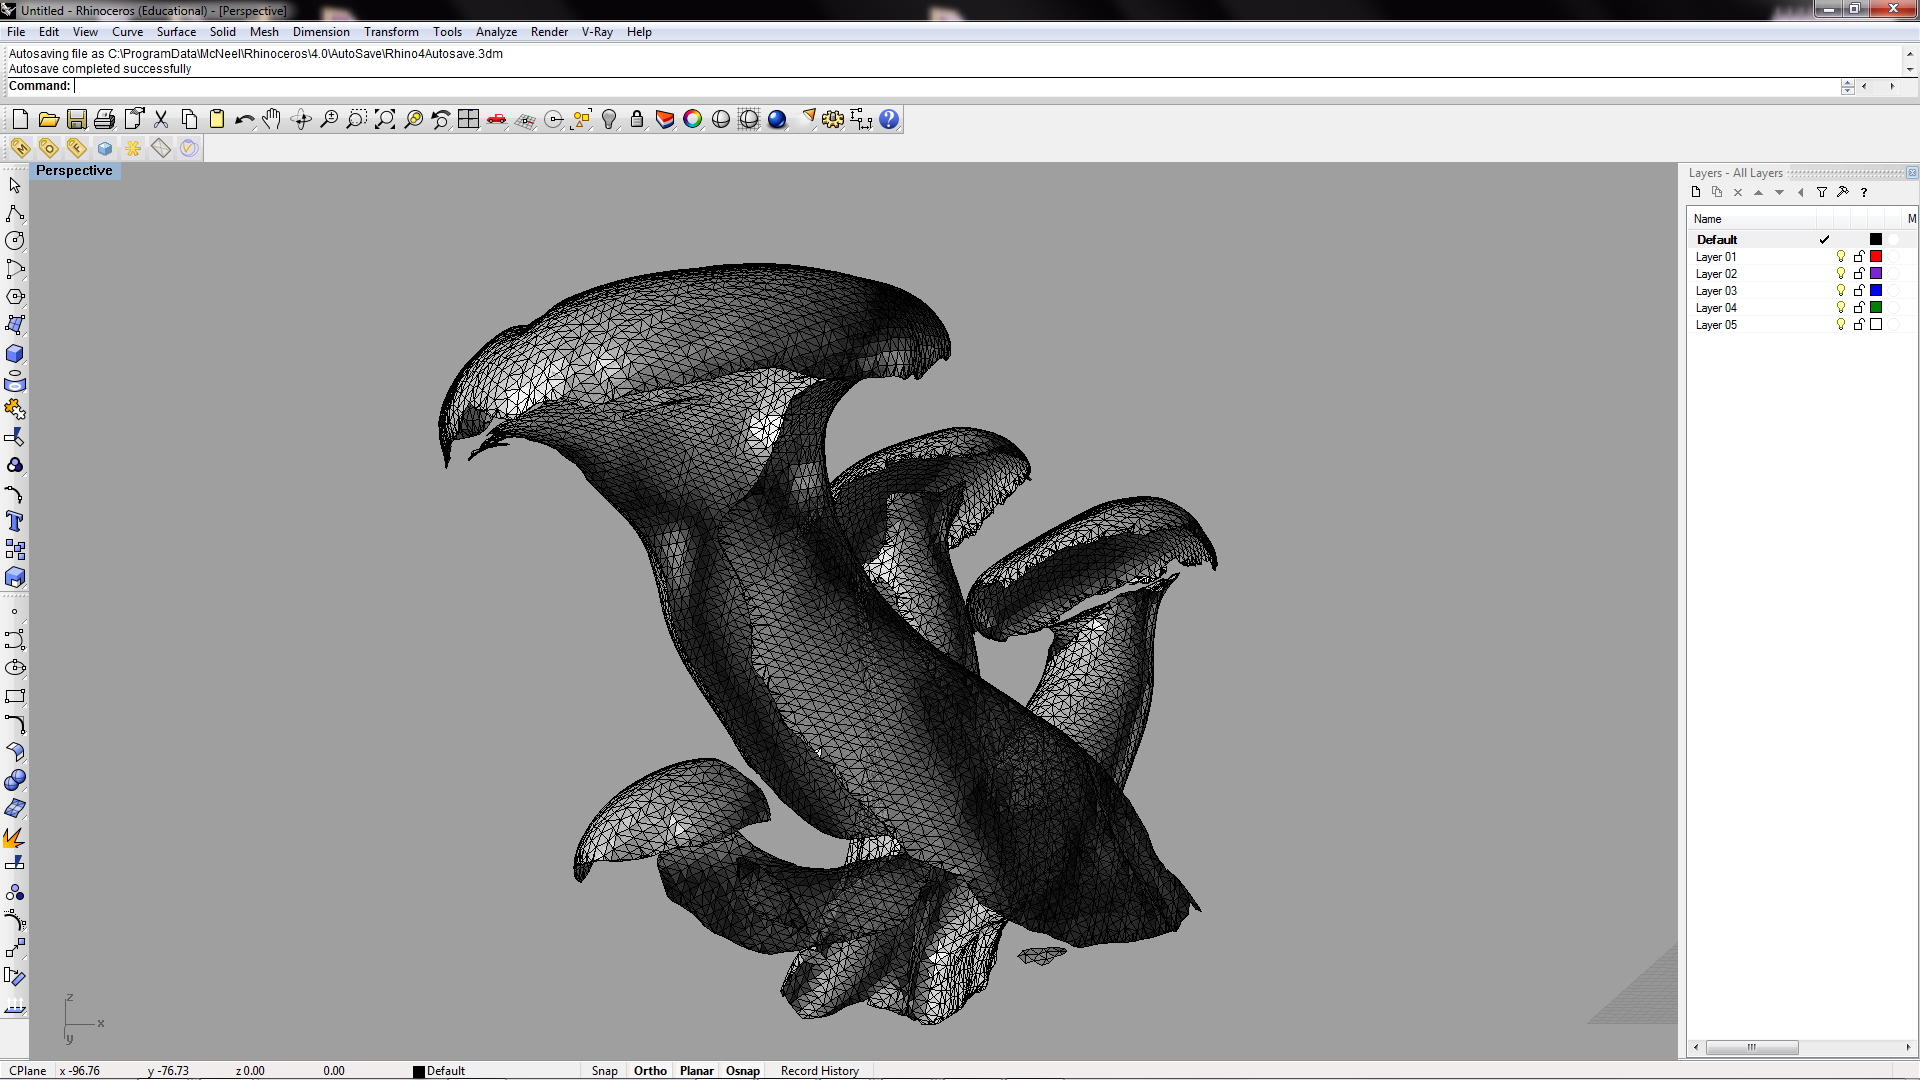
I then switched to using the reference background point-grid. This yielded "OK" results.
There were several blind-spots however.
Printing
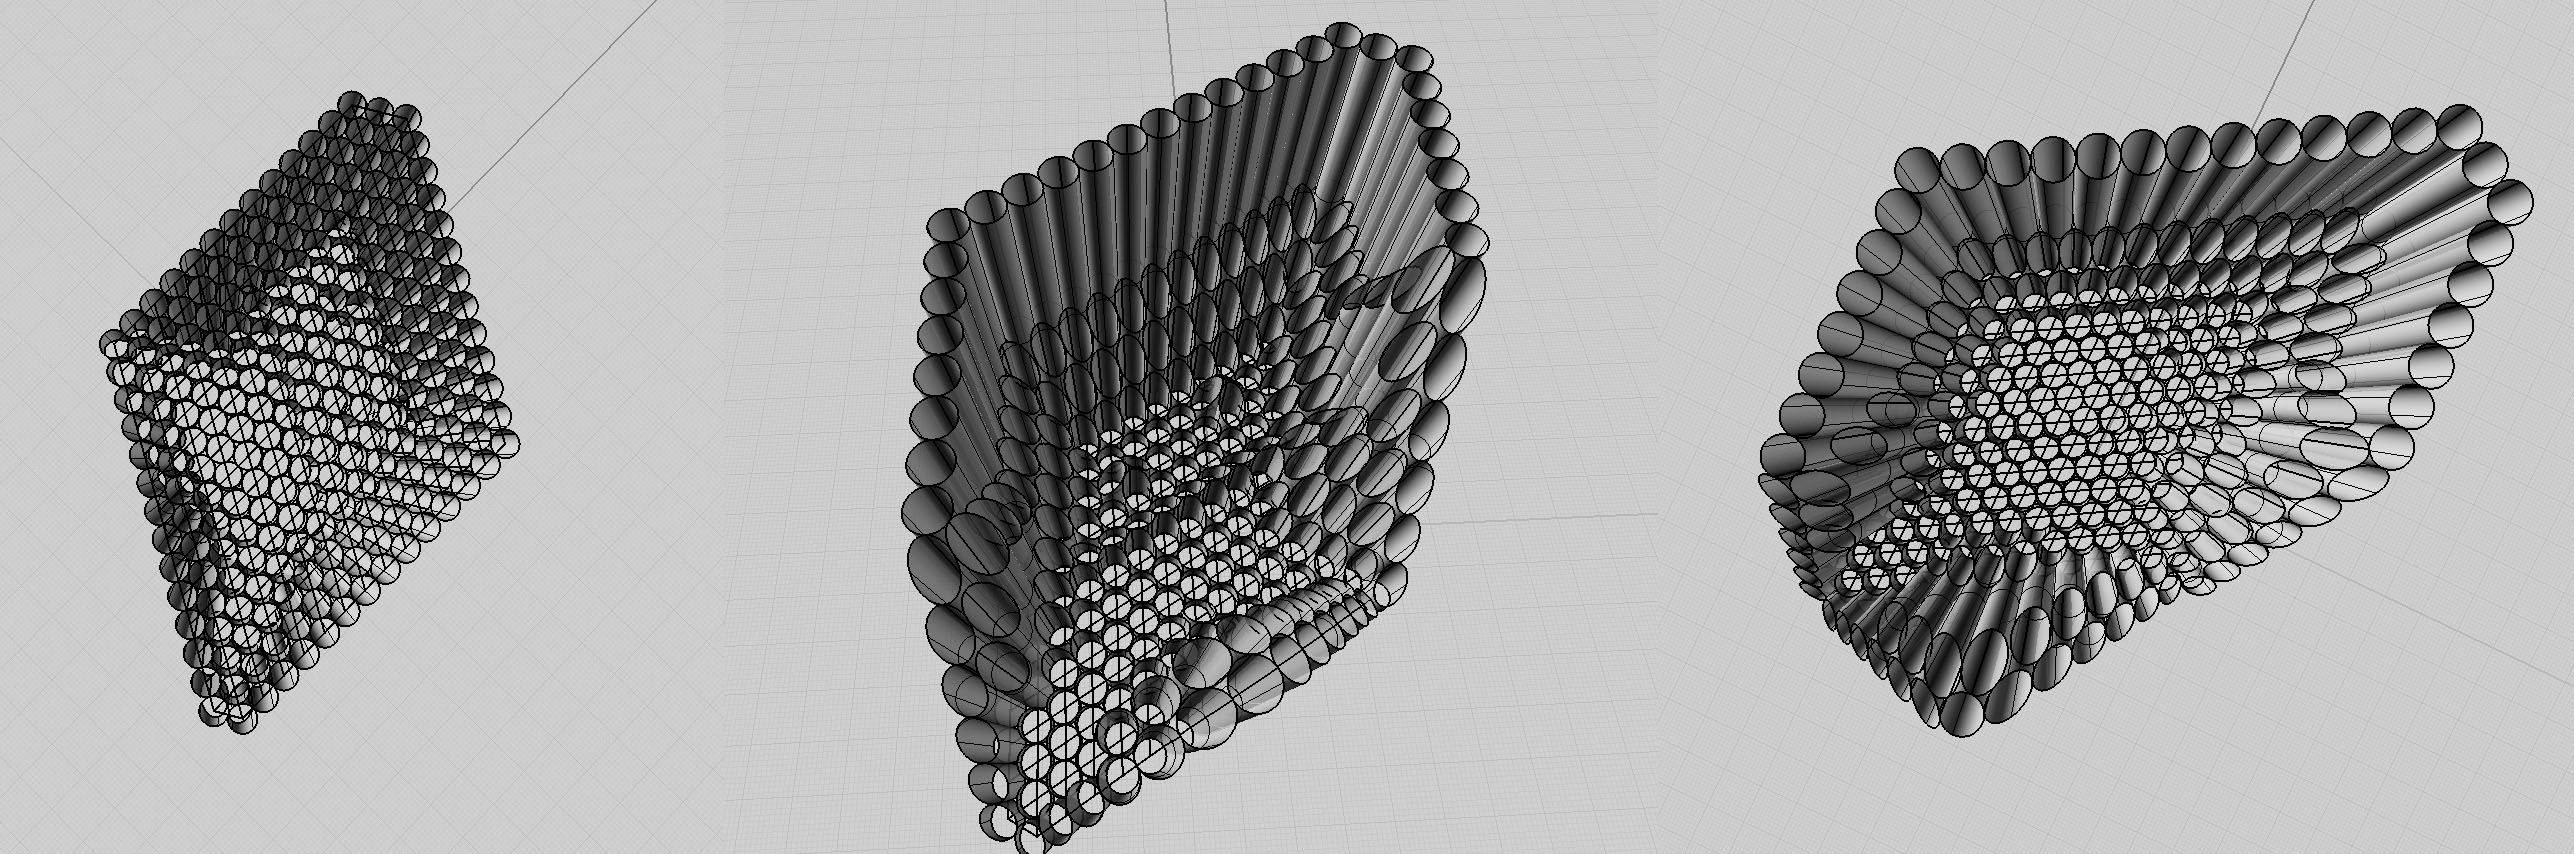
I never had a chance to build a scale model of my Sukkah project, which because of its thin walls and geometry, did not lend itself to zCorp style printing. Therefore I opted to use the ABS printer, which would allow for the least amount of mass and greatest amount of transparency - the Sukkah was made out of wood veneer afterall.
At the time of writing this, the print has not yet arrived.