Notes on Waterjet, Shopbot, Designs for Xylophone and Rocking Horse

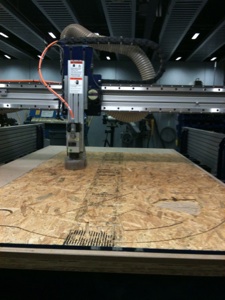
There’s a really wonderful tutorial on using the shopbot here. I’ll just be talking about the tricks that I learned from my shopbot experience.
-
1.In Partworks2D, The <Join Vectors> command is your friend, especially when you import your .dxf files from SolidWorks or Rhino.
-
2.Don’t forget to turn on the dust collector before you start cutting! (Don’t forget to turn on the spindle, either).
-
3.The origin (0,0) is on the lower right hand corner. The x-axis is the long way (that goes away from you if you’re sitting at the shopbot computer)
-
4.Always check the end mill before you start cutting. The shopbot gets a lot of use, so you can never assume the end mill you want is the one currently in the shopbot. On that note, the way to tell the difference between an end mill and a drill bit (they can be found in the same bin), is that the end mill has a pointed end, and the drill bit is flat.
-
2.Rocking Horse
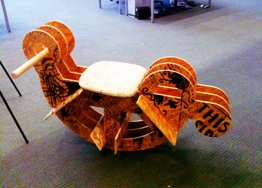
Things I would do differently next time:
-
-Balance the front and back so they’re about equal in weight. As it is, the rocking horse is biased towards the back instead of centered
-
-Design the seat so it’s a flat piece. Sitting on the edges of a 1/4” plywood sheets hurts.
-
-It’s good to have braces on the bottom to prevent the bottom pieces from flaying out.
-
-Add a laptop/book rest in the front.
-
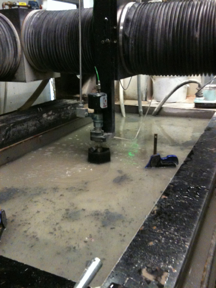
3.WaterJet Cutter
Again, super useful tutorial here.
My own insights:
-
1.Watch the garnet tube! It likes to get caught on the clamp ends and separate from the head. This is bad. Pause the machine immediately if the tube comes out. Really pay attention to the water jet cutter when it works to make sure the tube doesn’t get caught. You may have to move it around.
-
2.Make the material depth a little bit thicker than it actually is, to make sure it cuts all the way through.
-
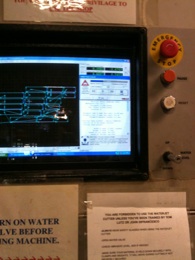
3.Water level is controlled via the metal analog switch on the right of the monitor. See picture below:
-
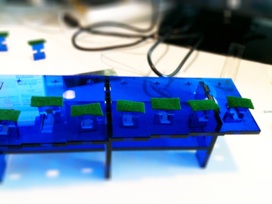
4.Xylophone
Things I would do differently next time:
-
-Make the supporting tabs wider, right now the keys like to fall off the supporting tabs when they’re hit with too much force.
-
-Leave more space in between the keys. It doesn’t sound so good when two keys touch each other.
-
-Punch holes at both ends of the keys so they’d stay in place when the key is hit.
1. Shopbot