NETWORKING AND COMMUNICATIONS:
Building the Hello.Bus Boards:

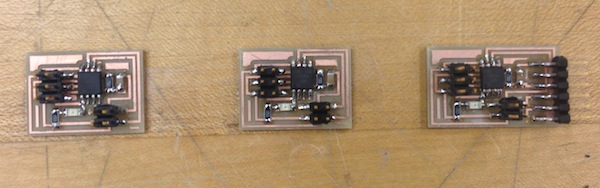
By now, milling and soldering the boards and their components has become quite easy. And I had no problems doing this. I simply used the fab module and the provided pngs to cut the traces followed by the boundary pngs.
Programming the Board:
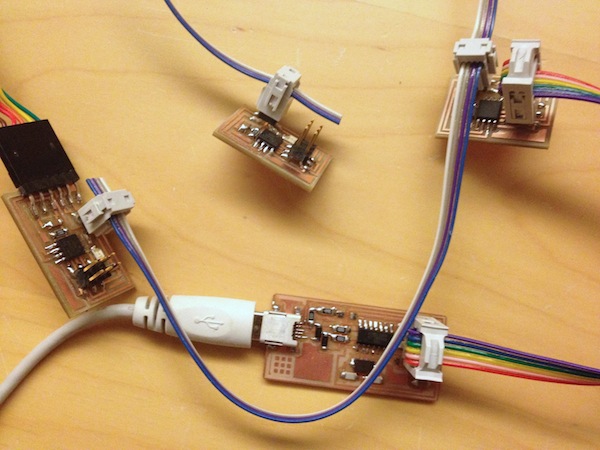
This did not go as planned considerin how it was not my plan to nearly blow up my computer. I plugged in my bridge board into my computer via FTDI to program it, it seemed to be fine. Then after about 30 seconds my computer started to smoke! It was coming from the usb port the bridge board was plugged into. I figured it must've been a connection problem on the board, so I went through and re-did any questionable connections, but it didn't work--the board and the usb port would heat up like crazy. I tried replacing the microcontroller but still no luck. I'm still not sure what the problem was and unfortunately, I wasn't able to remake my board to try again.
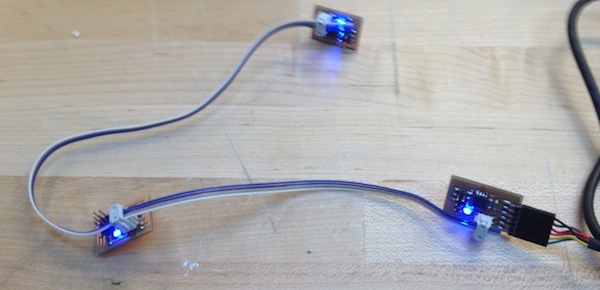
Luckily I was able to see Vernelle and Albert program their boards and I learned how to do it. And from what I learned, it is key, when programing each board to change the node ID in the C code to 0 for the bridge, 1 for the first node and 2 for the second node.
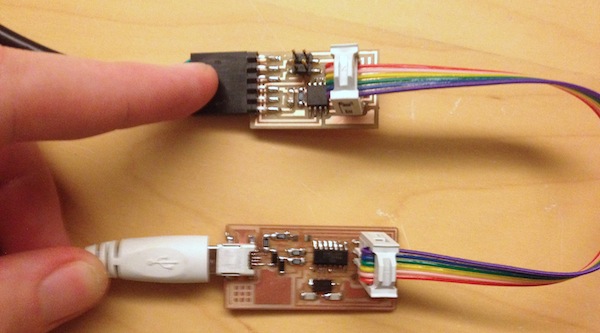
Then after talking with Shahar, I finally figured it out... I was reading the convention for the orientation of the microcontroller incorrectly (rookie mistake). So I reversed the microcontrollers and got it programmed and working no problem.
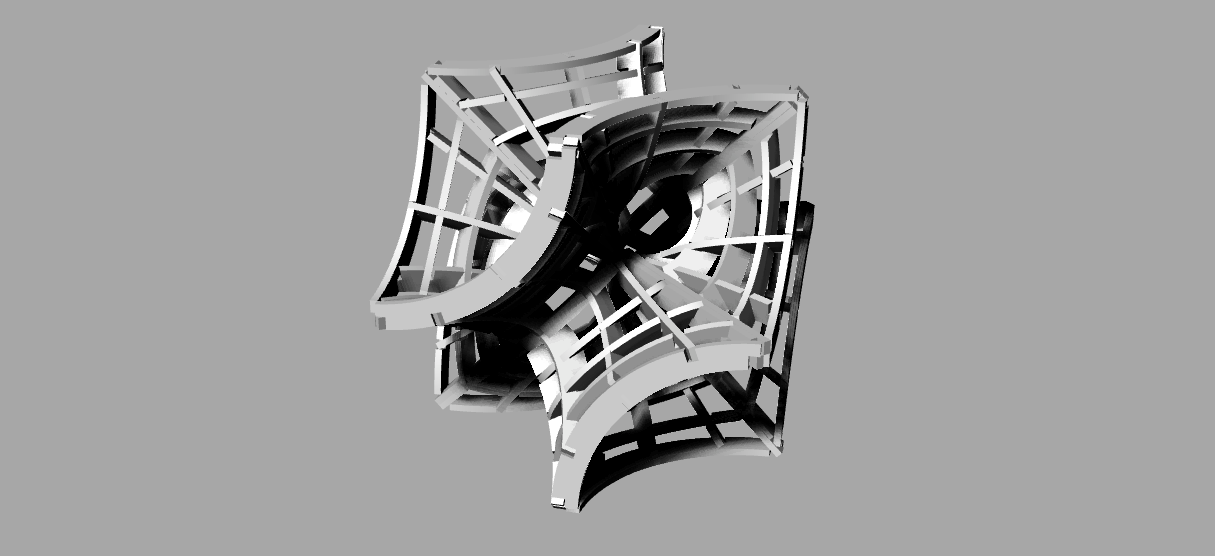
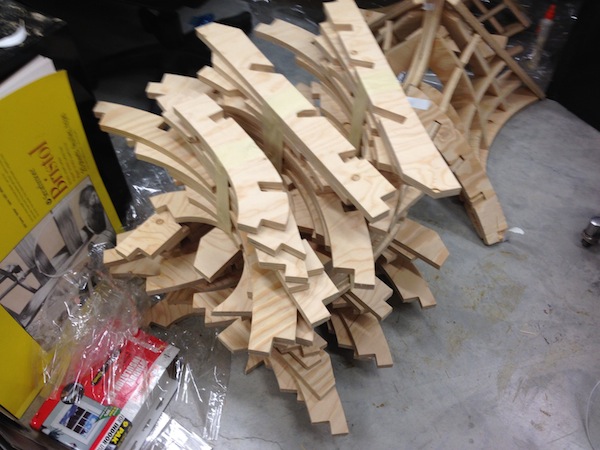
While my attempt at networking was not very successful, I was able to make good progress on my final project. I finalized the form, and cut all the pieces. I started to assemble them and it seems that they are connecting as planned.