PCB FABRICATION
Milling the Board
- I started by pressed view button to allow me to use double stick tape to secure
the board
- Then I pressed view again to allow me to change the bit
Problem: My first problem occurred here. When I was trying the change the bit
the set screw seemed to be missing. As it turned out, there was only one,
which was on the far side of the bit, out of sight. I simply had to turn the
bit to get access to it. It was a silly issue but it cost me 7 minutes (in failed
attempts, looking up instructions, and asking for help).
- After that I opened the Fab Module and selected the option for the Modela.
- I pressed view again and sent the Modela to the x,y zero (5,5) to allow me to set the
z zero by moving the bit down.
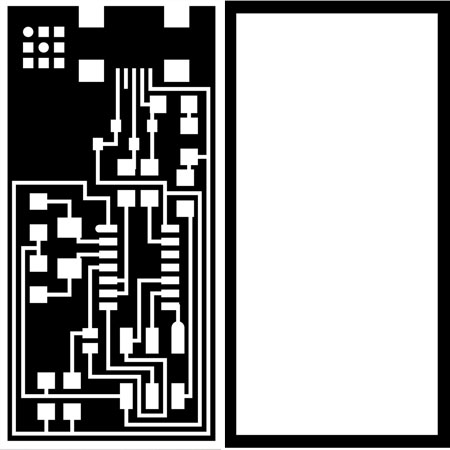
- Then I selected the png option to cut two board traces and made the cut lines. I set
the z to -0.3 (by advice of the person that came before me).
Problem: The first time I set all of the options and sent the job. The cuts were
too shallow and didn't look correct. I realized that I the setting of the module
on 'default' instead of 'milling traces.' And so I had to kill the job (by turning
the machine off, then on, the holding up and down buttons, then entering a script
into terminal).
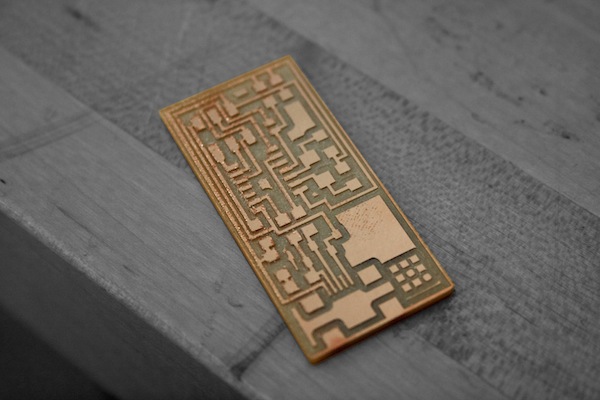
- Finally, after an hour or so, I had milled two boards. Here's one, which seems slightly
defective, maybe due to cutting too deep:
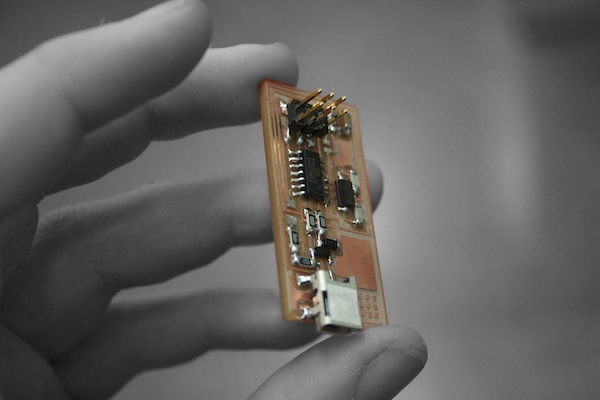
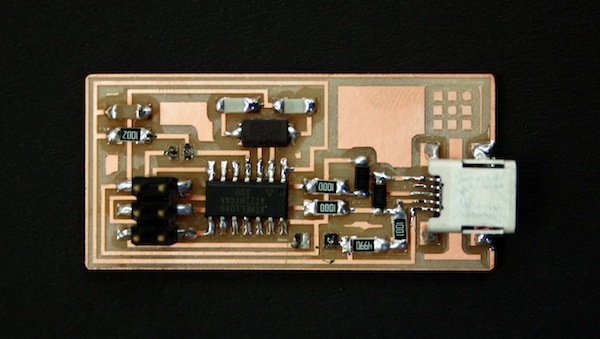
Stuffing the Board
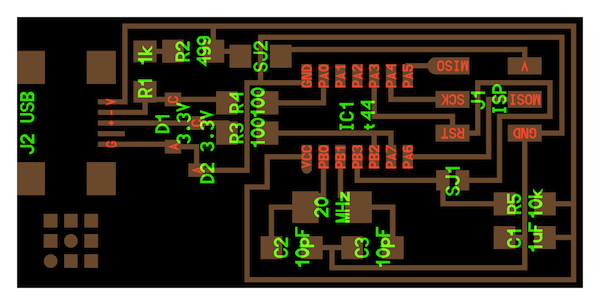
- For me, a person unfamiliar with soldering, these small components are slightly
frightening. But after the tutorial, I found it quite easy.
- I started with the smallest components (such as the resistors) and worked my way up
to the larger ones.
Problem: After soldering all of the components and trying to program it unsuccessfully,
I realized I soldered the wrong microcontroller (Tiny 84 instead of Tiny 44) onto
by board. In order to quickly take it off, Moritz used the heat gun to heat all of
the solder of the board and the microcontroller was able to be pucked off. The heat
gun was used again to heat the leftover solder and I simply placed the correct
microcontroller on the board.
- Then I connected the board to the computer and ran the script to program the board.