ELECTRONICS PRODUCTION: BLINKING LED
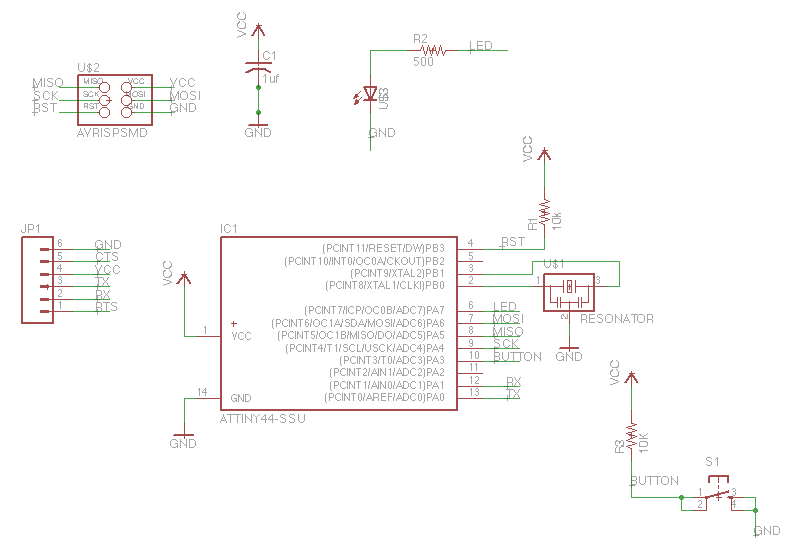
Designing the Board:
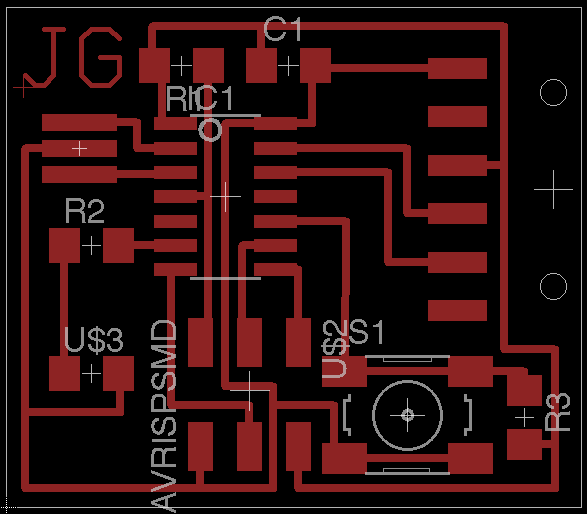
Thanks to Adam, learning the basics of eagle was somewhat easy. It works similar to a CAD program in that you type commands to do things. It has two viewing modes, schematic and board. The schematic view is for adding components and making the connections between them. The board view is the visual representation of the physical board I had designed in schematic. And so, once I downloaded the file Adam provided, which included the important ng and fab libraries, I added the resistor+LED and resistor+button to the schematic. I made all of the correct connections and then viewed the board design. The components automatically appear in the board view if place din the schematic design. I then arranged them onto the space for the board, added connections, and exported as png.
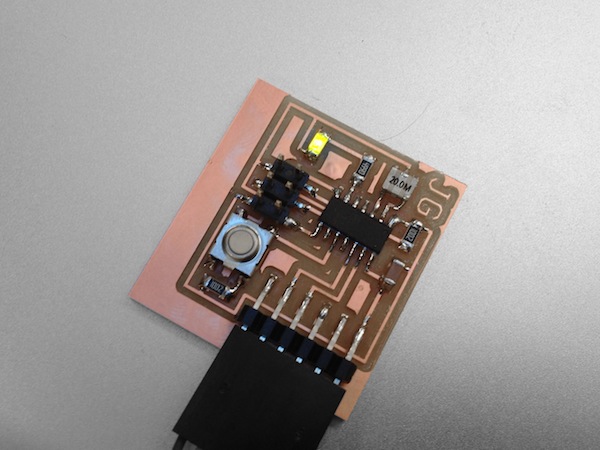
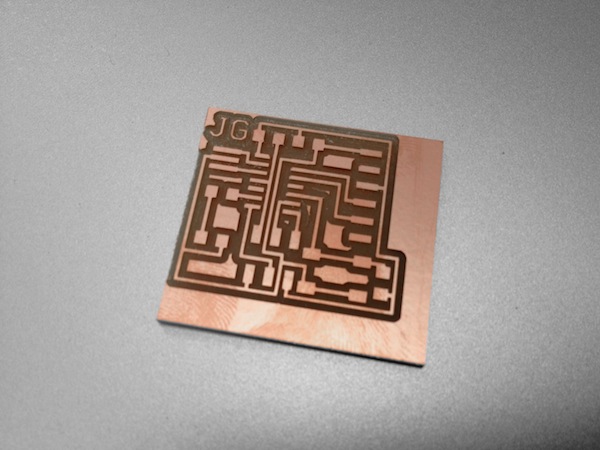
Building the Board:
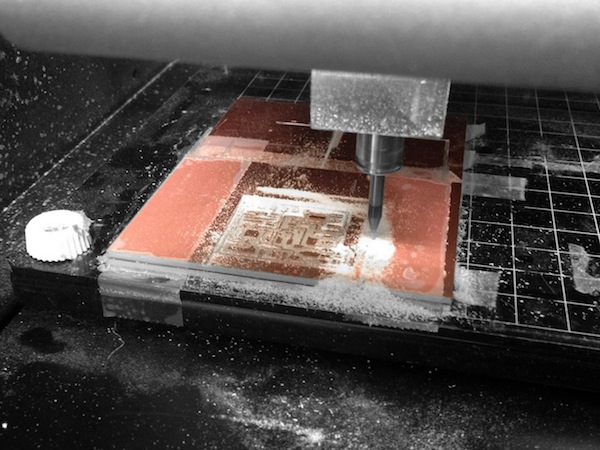
This was fairly straightforward since I had experience from building the first circuit board except for one slight problem. When trying to cut out the board, I found the exported png from eagle had margins that were too small and as a result, the boar was not entirely cut out. I simply edited the png to make sure the fab module would cut all of the lines. Also, according to some other students, the fab module was changed slightly which required us to do more work in changing the settings for cutting the board out. I actually couldn't figure out why but it seemed as though the png was slightly scaled, giving me some extra material on the side, but it was not detrimental.
Programming the Board:
Thanks so much to Moritz (once again!) for walking me through this, as it was very foreign to me. Here are the steps we took to get the light flashing:
1. Download XCode for Mac
2. Download CrossPack for Mac (these two steps were necessary for getting the compiler installed)
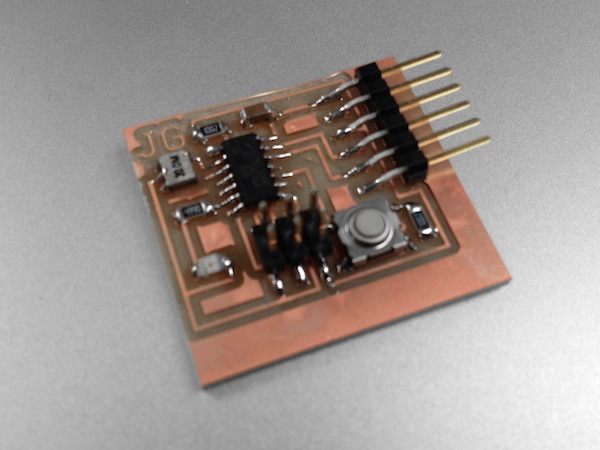
3. Connect the FABISP and LED Board to each other and to the computer via USB.
4. Download the blink.c file and blink.c.make file from the fab website.
5. In terminal change the directory to same one the blink files are located.
6. In terminal, type: make -f NAMEOFFILE.c.make
7. In terminal, type: make -f NAMEOFFILE.c.make program-usbtiny-fuses (only do the first time programming the board)
8. In terminal, type: make -f NAMEOFFILE.c.make program-usbtiny
9. And then the light should be blinking.
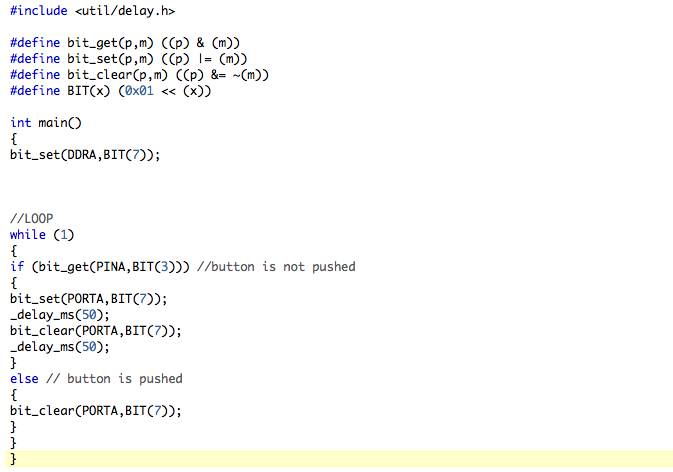
The code Moritz showed me how to write to get the button working was as follows:
[just to prove it did, in fact, blink]