MAS 863: How to Make (Almost) Anything
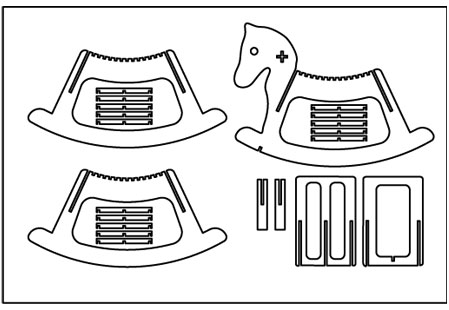
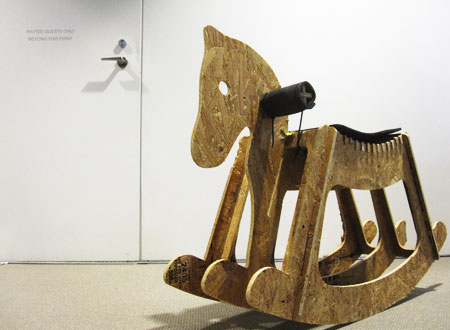
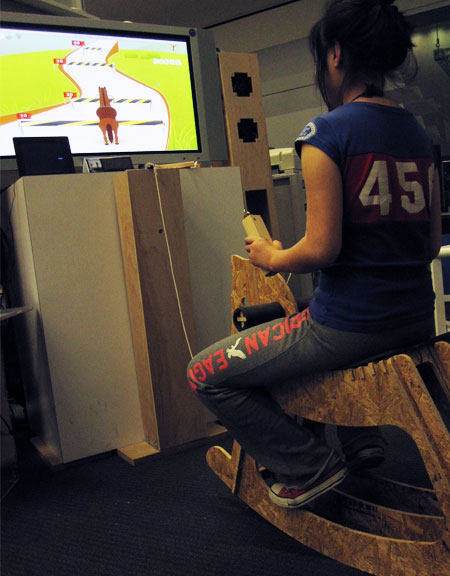
The press fit rolling horse was designed for my ropeRevolution games, as an add-ons.
Screw down any single pieces, the smaller part (tip) needs more screw. Use the STOP to screw in the middle of work.
Fillet the sharp edge for easy cutting.
Properly set the cutting depth. I was using 0.51 inch for 0.45inch material. To make sure the one before last cut won't cut through, but the last cut will cut through.
Reset Z from time to time, because the large board might not be flat.
Tighten the end mill.
Tutorial from CBA shop:
http://shop.cba.mit.edu/site/pedagogy/fab/shopbot/ShopbotTutorial.html
Partwork Part:
"creat new file"
Unit: Inch;
Size: Set to be the same as your cutting board;
Origin: Z zero dot should be on top
Turn off "user origin offset"
"edit files"
under "Edit Vector", there are buch of arrows, for selecting, moving, scaling or rotating;
"Fillet" can be setted, T-bone Fillet is the most common one.
"tool path" on the right side of the screen
under "material", define the thickness
When creating Profile tool path, under "End Mill", define the diameter, step over can be 75% for round corner, smaller for sharp corner; spindle speed can be between 10000 to 12000; Feed rate can be between 100 to 150; Plunge rate can be 60; Select Outside offset; finally click caculation to visulize the cutting;
"save tool path"
Go back, select the disk logo, to save the tool path, to the file format of "Shopbot(arcs)(inch)(w/speed)(*.sbp)".
Setting Up Shopbot with Shopbot 2D:
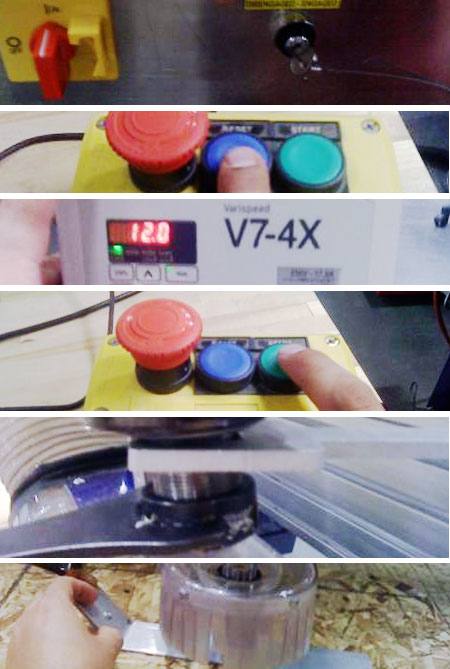
using two wrenches to change the endMill.
You might need to manually adjust the spindle speed on the side of the machine;
You might need to hit reset when start the Shopbot 2D software as well.
Press "k" to view the axises panel, arrows to control x, y direction; Go to "Zero", "set x, y to zero origin" to define the x, y origin.
Put medal plate under the endmill, go to "cut", "set z through zero plate", to set the z zero;
Ready to cut; Turn on the key and machine through a red button on the side of the machine;
Turn on the Vaccume; Import the part, press "Start"
Images:
1>machine on button
2>Reset Button for Shopbot 2D software
3>Manually changing the spindle speed
4>Start button, we need it at the beginning of starting, and anytime of restarting
5>The wrenches for endmills
6> the Z zero plate
Download:
Rhino file
dxf file for Shopbot