-Connect the scanner to the computer and a power source, and then turn on the computer.
-Open the ZScan software
-Sensor Configuration: This step will have to be repeated for every object. Click "auto adjust" on the screen. Hold down the scanner button and move it to the right distance away from the object (lights on the scanner itself will tell you if you are too close or far away.) You want to be within the brackets on the bottom bar and as high as possible on the left bar in the ZScan sensor configuration screen. Let go of the scanner button to set. Hold again to re-set and try again if necessary.
-Calibration: For this step, you'll want to scan the calibration panel (the wooden panel that comes with the scanner) without the object on top. Move the scanner up and down over the calibration panel until the software counts to 10.
-Scan Positioning Features: Before scanning the object, you need to scan the positioning features. If you are placing positioning features on the object itself, than you would scan the object, otherwise scan the positioning dots on surface you will place your object on. Make sure you are in the "scan positioning features" setting, then click "record scan," and then hold down the scanner button and move it around the surface. You will see the positioning features appear on the computer screen. Click "stop scan" to confirm.
-Scan Surface: To scan the object, place it on the positioning features, navigate to "scan surface" in the ZScan software and click "record." Slowly rotate the foam board rather than the object itself if the object does not have positioning features on it.
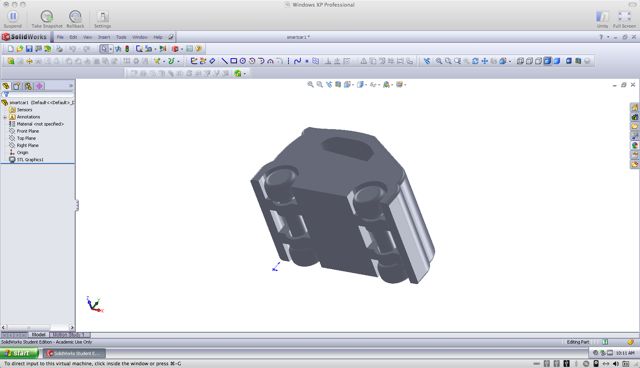
-Clean Up the Image: Under "surface" go to "fit volume" and click "apply." This reduces the bounding box of the scan and helps increase scan resolution as well as speed up the scan. You can also increase or decrease the resolution of the scan (default is medium resolution). Higher resolution is good for capturing surface texture, but if you only want the general shape, low resolution is a better choice. You can scan the object again to increase the scan quality.
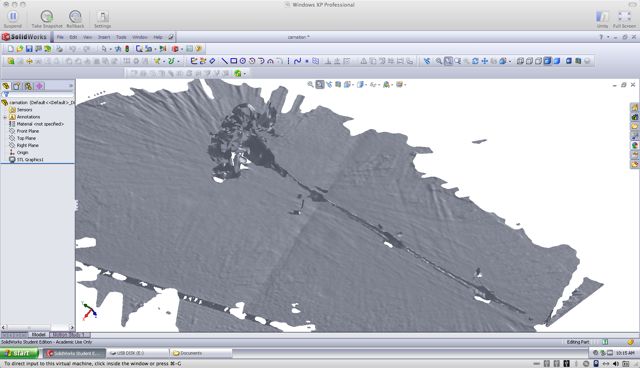
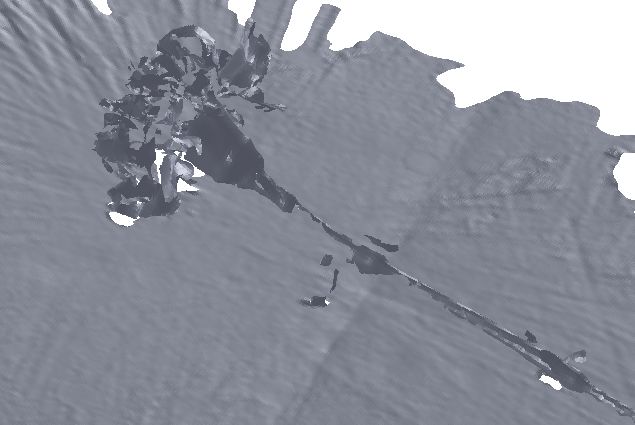
-Export as .stl: Go to File -> Save Facets and save as an .stl. You'll need to edit the scan using a mesh editing software before sending it to a 3D printer.