 Inspiration Credit: britannica.com
Inspiration Credit: britannica.com
At first I was going to make a standard, open-ended construction kit, but after testing out some simple shapes on the laser cutter in order to get used to the software, hardware, cutting settings, and part tolerances I decided to switch gears to something a little more interesting.
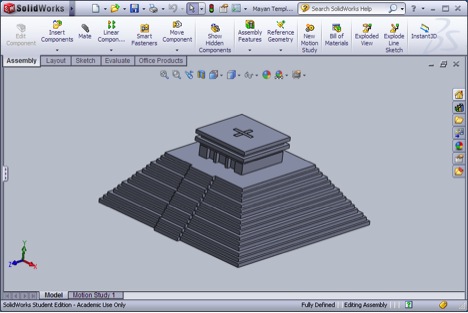
Using SolidWorks, I modeled each part within the assembly view to make sure that the dimensions of each individual layer would work for the structure as a whole. I also tested the size of the three connectors within this virtual model to confirm that the press-fit would work.
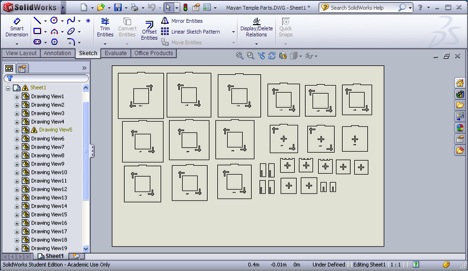
In order to fabricate the parts using the laser cutter in the Architecture Rapid Prototyping Lab I needed to export them in a .dwg file. In SolidWorks, first I set up a custom sized drawing the dimensions of the laser cutter bed. Then I inserted the views of each part, making sure to verify that the scale was maintained at 1:1. Since the parts looked so similar, I decided to add part #s (using annotation text) to help keep track of them and ease assembly.
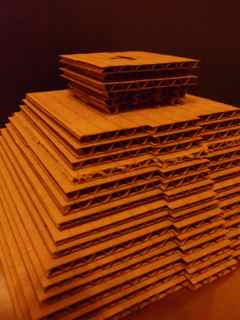
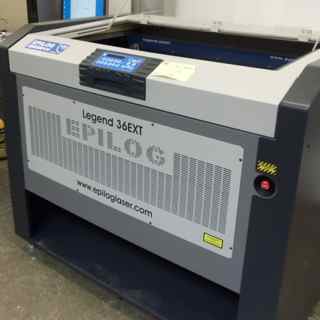
The laser cutter is very straightforward to use but you can waste a lot of time if you miss small details while preparing the file to be exported to the cutter. I had used SolidWorks, ProE, and CADKEY before but never AutoCAD so it took some time getting used to the commands. I also learned that it is very important to make sure that the units for each part and drawing are set to inches rather than milimeters. I decided to use corrugated cardboard for this project because it's cheap, forgiving, and because the corrugation gave the edges an interesting effect that worked with the ancient ruins inspiration. I ended up using a speed of 90, power of 20, and frequency of 300. Once all the parameters were correct, actually cutting the parts went smoothly and the annotations on the parts looked great.
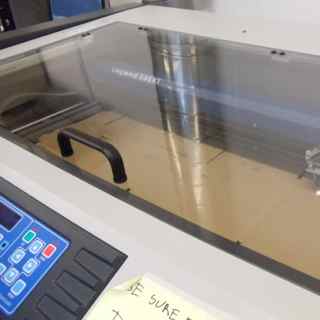

With the time I spent figuring out the software, there was still one part that hadn't been cut when my time on the machine ran out. To show the completed structure, I cut the relatively simple shape out with an exacto knife, but there is definitely a difference in the sharpness of the parts and the slightly browned edges gave an interesting artistic touch. I can see the laser cutter being an extremely useful tool for a variety of projects.