For this assignment, I decided to make a bookcase for my lab. Since I was going to be away for both weekends and knew I wouldn't have a lot of time with the Shopbot, I decided to build a relatively simple structure and play around with aesthetic design to explore some more features in SolidWorks and learn how to use the Shopbot.
After modeling the structure of the bookcase as a SolidWorks assembly, I inserted the pictures onto one of the faces of the back panel, by navigating to Tools -> Sketch Tools -> Sketch Picture. You can activate the Autotrace feature, which will add another page of options in the Sketch Picture property manager, by going to Tools -> Add-ins and checking "AutoTrace." I had to go back and edit the computer's autotrace to produce the straight lines I wanted for the skyline, but I think it would be an extremely useful time-saving tool for images requiring a lot of complex splines.
Once I had the sketch, I was able to use it throughout the assembly, adding a pocket for the reflection of the skyline. When working with complex sketches involving multiple splines or autotrace, you may run into an error of "overlapping contours" or "open contours," preventing you from extruding the sketch, which can be time-consuming and frustrating to de-bug. One trick I learned for quickly isolating the problem area was to select all of the entities and click "Offset Entities" which magnified any unconnected segments, making them easier to spot.
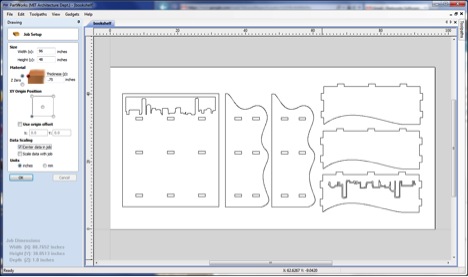
After modeling the pieces of the bookcase to model what it would look like and how they would fit together, I created a SolidWorks drawing the dimensions of the MDF sheet, or 48" x 96". I decided to use MDF instead of OSB because I wanted a material that would better for the finer details of the skyline feature. After inserting all of the pieces into the drawing and arranging them to assure that they would all fit and leave a sufficient border, I exported the drawing as a .dxf file.
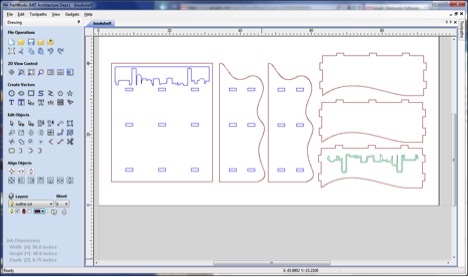
I then imported my .dxf drawing into PartWorks to calculate the toolpaths. I added T-bones to the corners to allow for a press-fit joint. Then I assigned the contours to three different layers by first creating each layer, giving it a name and a color, and then selecting the contours, right clicking and choosing "Move to Layer." When calculating the toolpaths for splines, PartWorks may think it is an open contour so you need to select the contour and click "Join Open Vectors" in the drawing toolbar. If you decide later you want to change the sketch, such as I did to create a larger pocket, node editing allows you to delete sections. All you need to do is delete the lines on either end of the span you don't want, then you can delete the entire remaining group of splines at once.
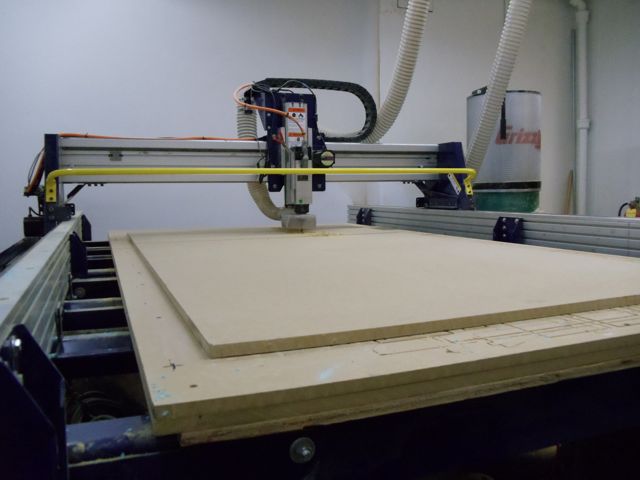
I reserved the ShopBot for a two hour time slot and used up all of the time. Cutting out this relatively simple pattern took about 1hr 20 min.
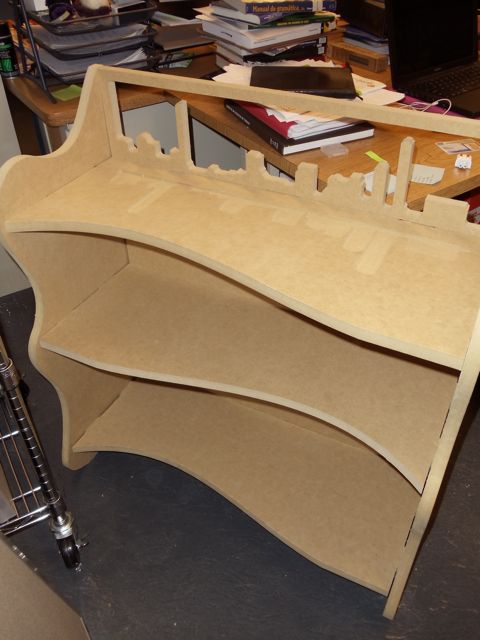
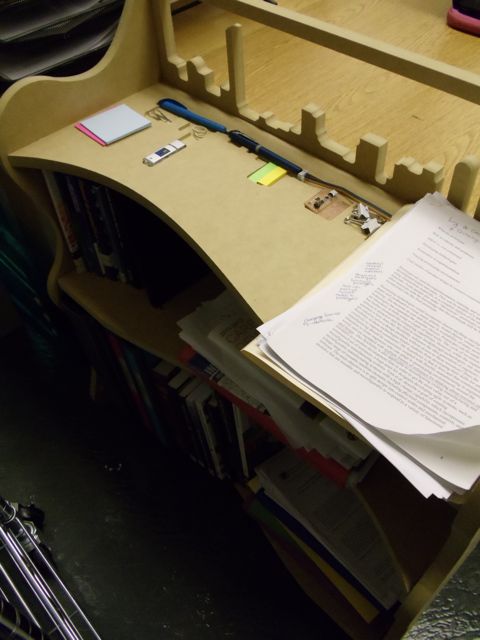
After sanding the edges, I assembled the final bookcase. While originally intended to just be a decorative element, the machined pocket representing the reflection of the Boston skyline turned out to be a great way to organize smaller objects.