Week 3
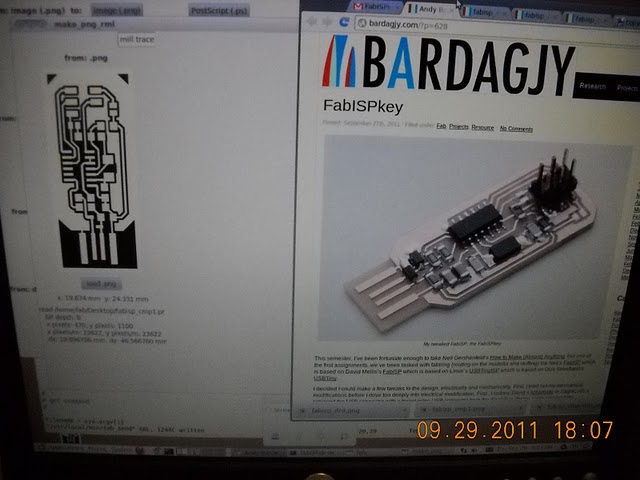
This week's assignment was to mill ISP programmers using these desktop Roland Modela 3d mills: http://fab.cba.mit.edu/content/projects/fabisp/
So someone made an even tinier one that doesn't need a USB connector (fits right into the slot): http://bardagjy.com/?p=628
Then someone riffed off of that and made one that has a break-off part for bootloading the chip:
http://fab.cba.mit.edu/classes/MAS.863/people/valentin.heun/2.htm
I ended up making the original Andy circuit.
Because someone else was using the 1st mill already, I connected the 2nd mill to the 2nd computer via the serial port, instead of the USB port (the first mill had a serial to usb cable that was connected to the computer’s USB port). To run fab module then, Nadya told me, I had to change the fab settings file to output to port /dev/ttyS0 instead of to /dev/ttyUSB0. In addition, the Fspot (?) photo previewer’s “rotate” and “save as” commands created .png files that the fab module didn’t like (upon “load image” it proceeds to the “make path” panel, but there is no image previewed). Sure enough, when I used GIMP to do the same thing, the fab module ran happily.
After that, it was smooth sailing.
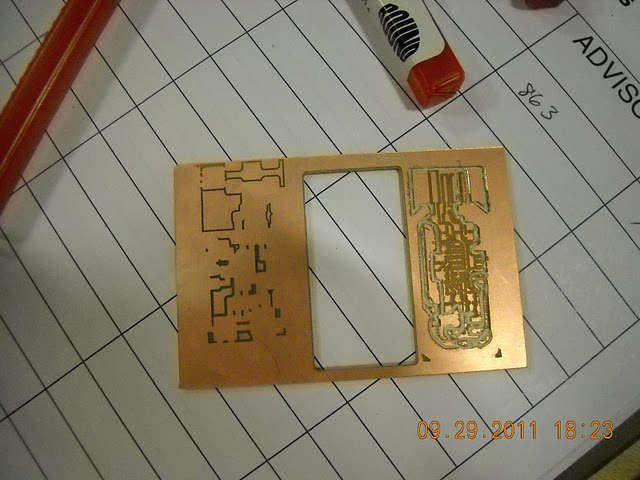
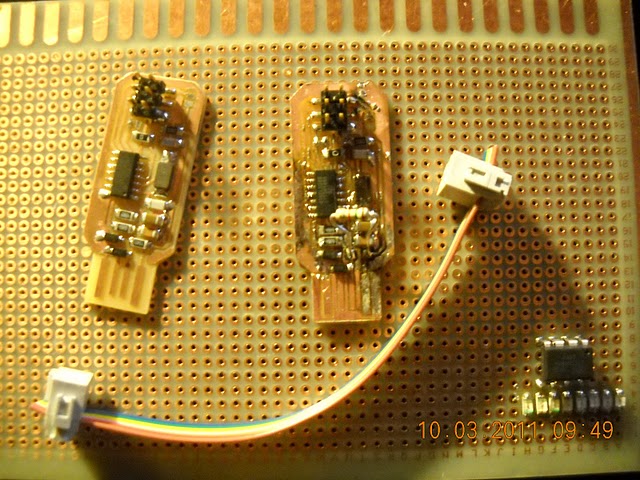
Or not. (mine is the one on the right). The very first time, I broke a brand-new bit 1/64’’ bit. I think I was worried about overtightening and didn’t tighten the set screw enough, so that it broke 75% of the way through.
Due to that, I was super-cautious, and merely admired the light etching (shiny!) that my first try after borked-bit created. I thought it would get around to milling it, since it milled the bottom half of the board fine. I only used 1 offset to reduce milling time.
I even adjusted to x = -0.15 mm. (vs x = -0.10 mm).

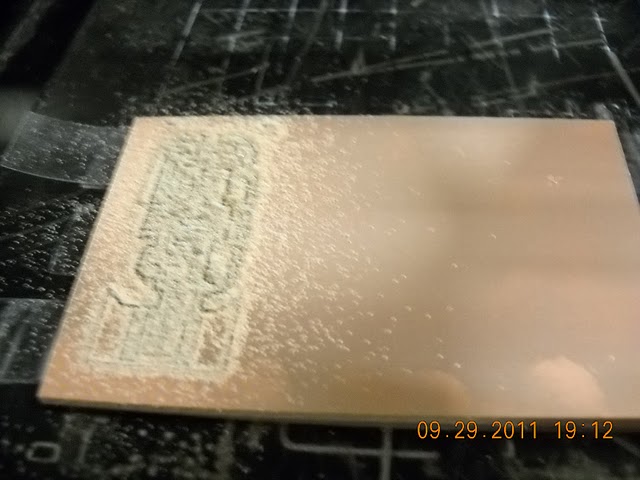
Eventually I realized that the stupid milling machine table itself wasn’t flat, and that’s why everyone else was using two boards stacked on top of each other -- the PCBs were flatter than the milling table. After I did this, everything worked pretty well (I cleaned up one or two traces with a razor).
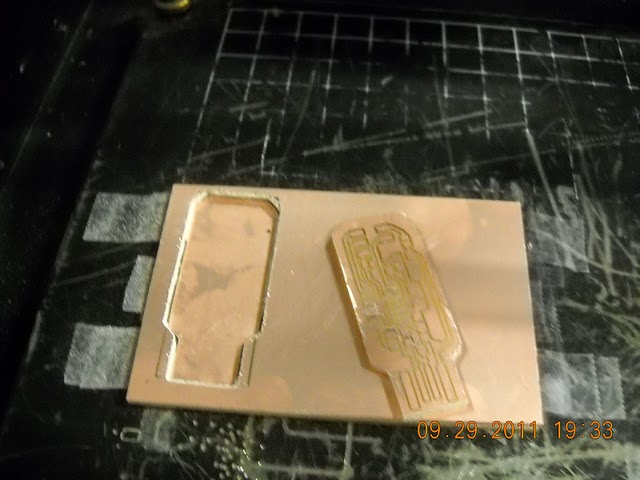
Then I cut out the profile. This was nerve-wracking for me as I kept waiting for the bit to break.
And below we can see my SMD soldering skills -- aka my burning-FR1-PCB skills -- in display, in comparison to Andy’s neat board. I had to reference the PDF schematic to realize that the parts list for this board are different from the main FabISP board, as well. Things that happened: I stuck my diodes on shifted up a pin, and in desoldering them ripped off a leg and had to wait until office hours to get another 3.3V SMD Zener diode. Eheh. At one point I also realized my microcontroller was shifted a pin off from everything, and heat-gunned it off. I resorted to using a 1.5k normal resistor because I couldn’t find any SMD ones and I was told 1k wasn’t a reasonable substitute (and failed to make a cute series 1k + 499 SMD resistor fit on my board). I also couldn’t figure out how to do a “ground pour” when I was milling.
I also made a cable, which turns out to be two 2x3 connectors clamped down on a strip of ribbon cable using the vise.
At this point, I tried to install avr-gcc and avr-libc on my newly-acquired archlinux netbook, having been loaned an extra ISP ready for programming.
~$ sudo pacman -Ss avr-gcc
Fail. Not wanting to deal with make and finding packages and such online, and late for my motors reading group (yay URGE!), I opted to call it a night and get around to installing ubuntu on my netbook and/or getting my ubuntu desktop back up and running. Yes, I’m a softie and can’t handle archlinux. On the plus side, my netbook has a SD card reader (instead of not-trustworthy-one-that-ate-my-card-last-week), and I stole my cellphone camera, so I have pics!
In the bottom right of the perfboard, I started implementing http://tomscircuits.blogspot.com/2009/04/micro-pov.html a persistence of vision circuit (using tiny85 instead of tiny25, because we had them at MITERS and they have the same pinouts), but stopped after puzzling over how to program things for a while, and not having a linux computer setup.
Oh right, I also had no issues following these instructions to set up mercurial
http://fab.cba.mit.edu/classes/MAS.863/archivesetup.html
aside from typing in the location of the private key. (I had to type the full location “/home/username/.ssh” -- it wasn’t happy with “~” shortcuts). It did take something like an hour or more to pull file changes, though. I kept thinking something was wrong and aborting, but I guess I just had a lot of changes to pull.