MAS.863 Week 8: 3D Scanning and Printing
Nancy Ouyang
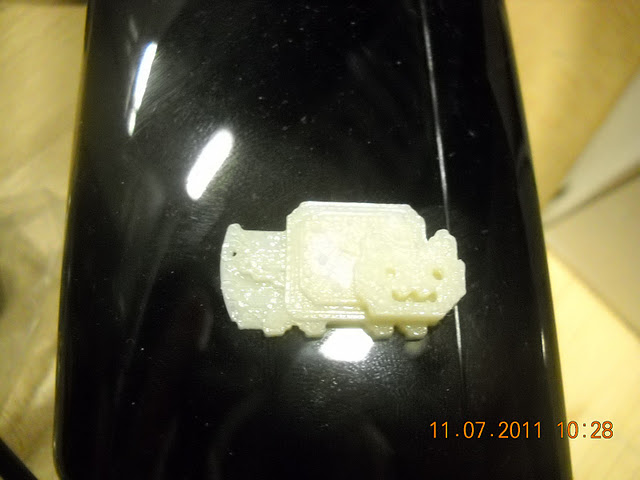
This week went forward fairly straightforwardly. I printed a very small nyancat into an earring:
(the only thing I changed in solidworks is I added a Features > Scale to get it to be be about ~1’’ in length)
The hole just barely turned out. This was on “low res” which is 10mm filament intsead of 7mm, apparently. I like how the you can see the filament squiggles in the tale.
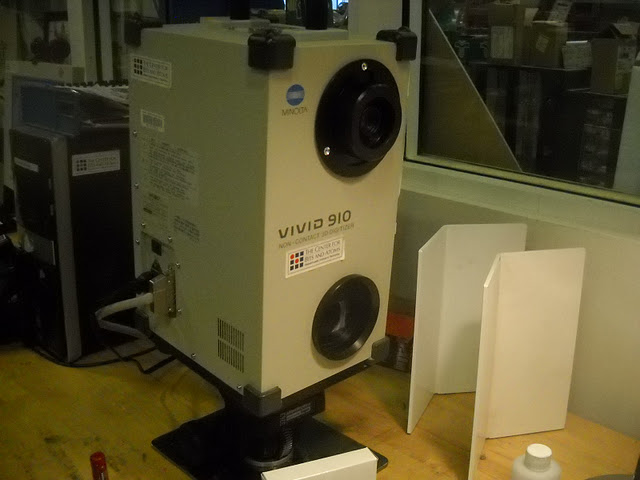
We also had to make a scanned model.
Geomagic > Plugins > Minolta scanner
I wanted to try get an Erlenmeyer flask or battery scanned:
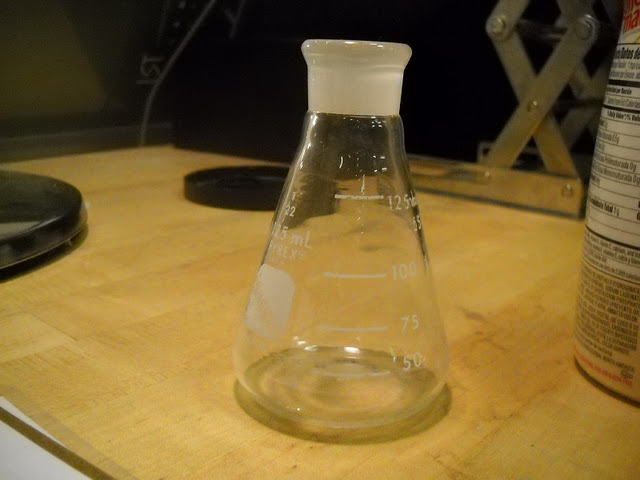
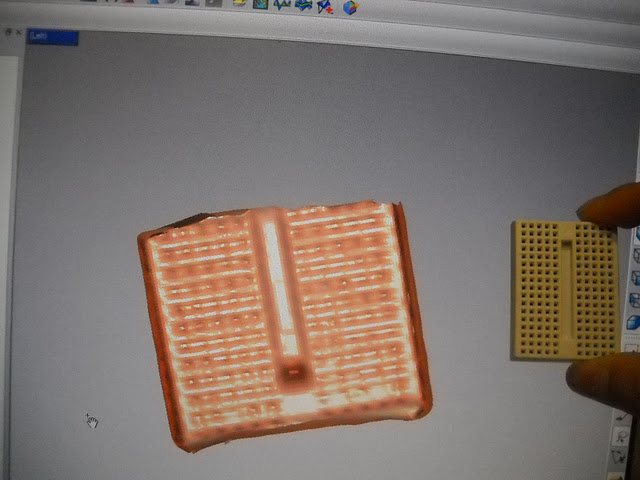
But after trying out the battery which wasn’t very happy because of it’s dark coloring, I knew that the clear surface wouldn’t do well. I ended up doing a small breadboard.
Autofocus was not doing well, so John helped me fix the settings at the last minute:
Autofocus: distance, 787. Laser power, 21.
Then, in geomagic, I used many different features to try to get a decent model.
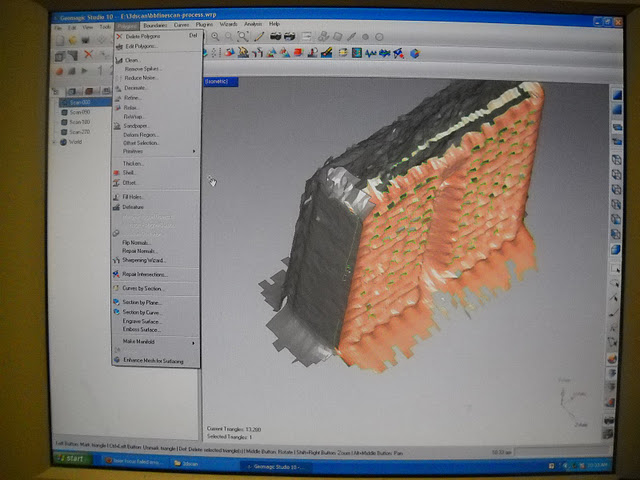
Tools > Offset > Exact position to move all the 4 scans closer together.
Polygon > Fill Holes > (create bridges and then fill as needed)
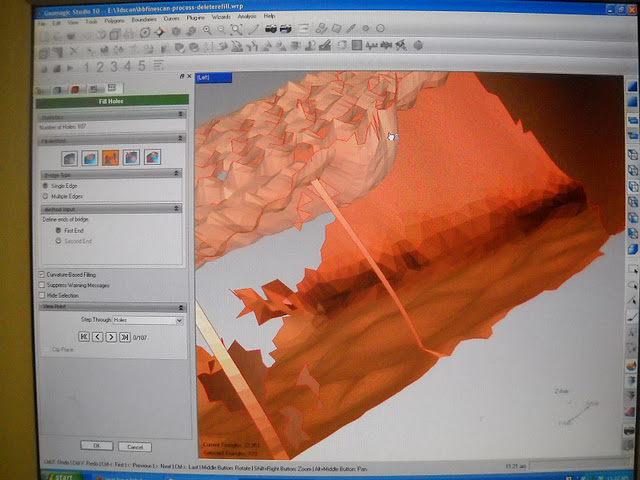
Select > [Delete key] to clean up the model.
I was so focused on fixing up the model in Geomagic that I didn’t even notice that the model seemed to have been cut off at the top.
We also learned about using the Kinect to scan things.
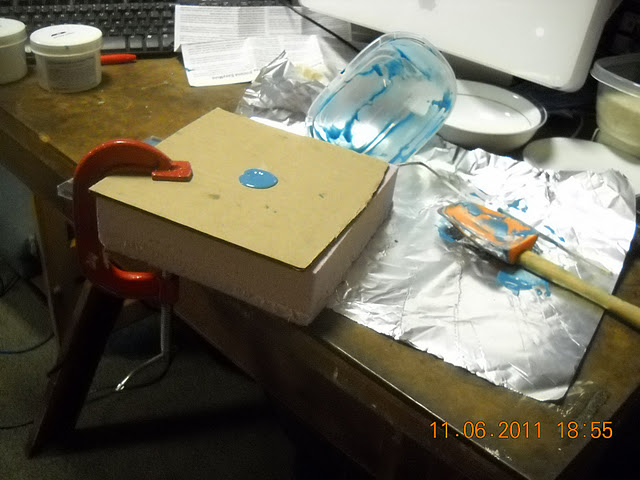
Otherwise this week, I bought some food-safe silicone off of amazon for $17 / 1 lb.
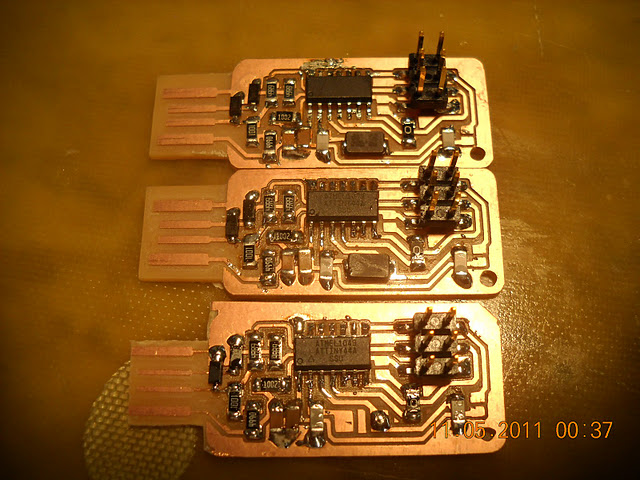
And practiced some more surface mount soldering:
And some lasercutting:

oh hai reddit.