3D Scanning and Printing
3D Scanning and Printing [4D-capture time?]

3D Scanning and Printing
1. After opening Geomagic, make sure to click on the Minolta Plugin so that the software can recognize the scanner we are using.
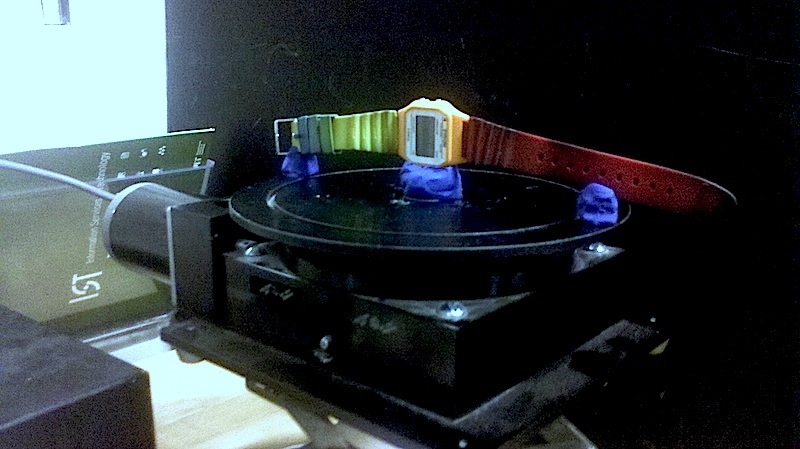
2. Once you've started the software, the first thing to do is to place the plastic divider on the rotating stage before placing the object to be scanned, in order to configure the scanning plane. Then place your object and make sure to fix it firmly so that it doesn't move as it's being rotated.
3. Once this is complete, click on show live image video. What you will be able to observe is a light intensity over a profile of the object, and you want to make sure this profile is in the color range located in the middle of the spectrum. In other words, oranges and yellow will include a lot more detail, and anything in blue the scanner will hardly pick up.
4. After updating color intensity, play with the autofocus command by changing the distance and generating a color intensity map to see if you're getting a better intensity by either focusing closer or further away from the object. To get the watch to show up in a suitable range, I placed it at 939mm, but this number is on a case by case basis. Everything from the color of the object to details are all parameters.
5. Once you are ready to scan, you can choose a rotation scan mode of 0, 45,90, 180 along with a one shot or multipleshot scan.
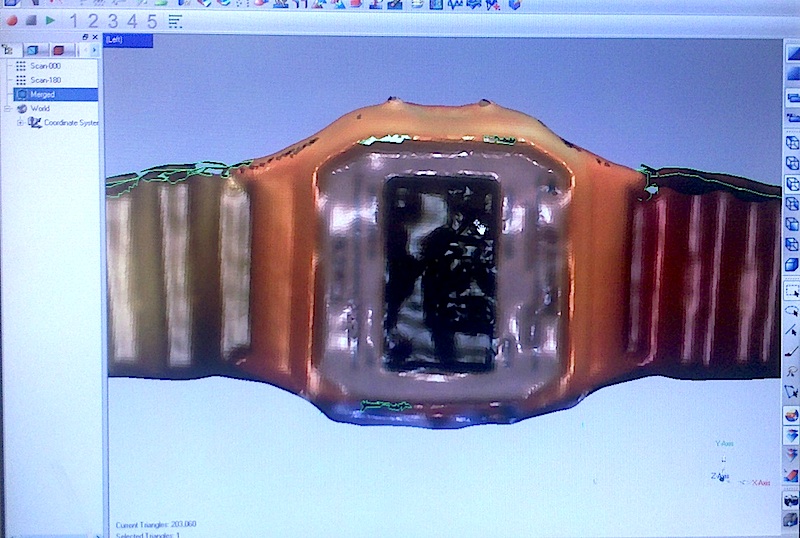
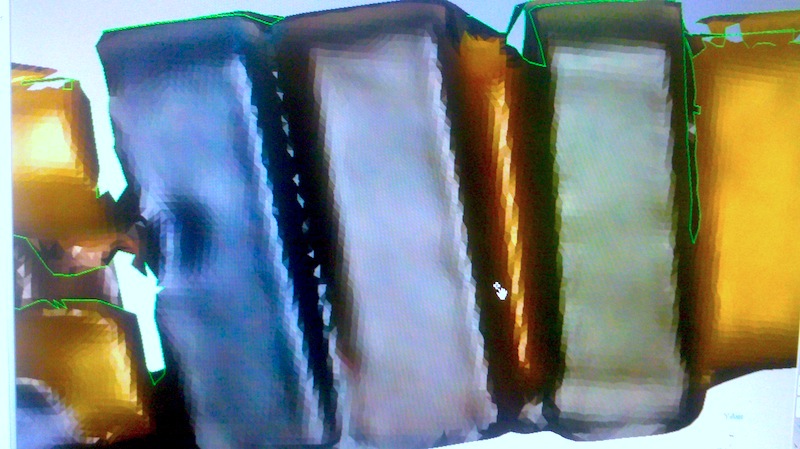
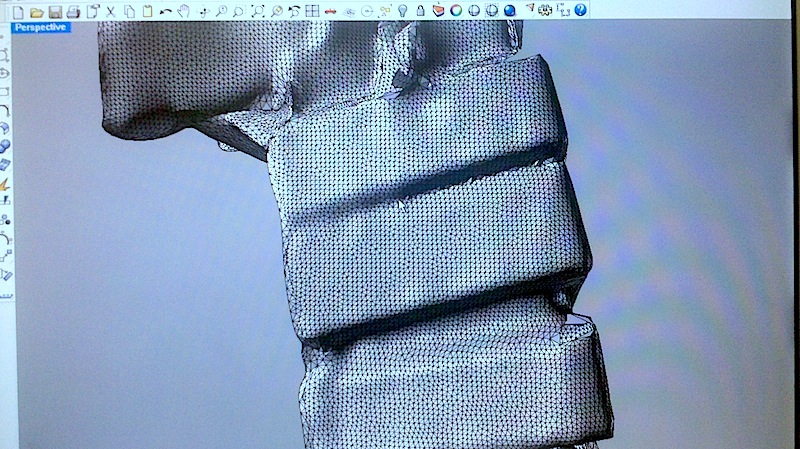
6. Now that you have the object scanned, it's time to cleanup.Use the rectangle lasso and select various areas of the model to get rid of extraneous points. In my case, the watch was fixed by modeling clay, so the watch AND clay were scanned together since they are both in the angle of view. I deleted as many points as I could, and then saved the file. SAVE SAVE SAVE. Any changes you make afterwards may affect the model and you may not be able to revert to your initial, so SAVE.
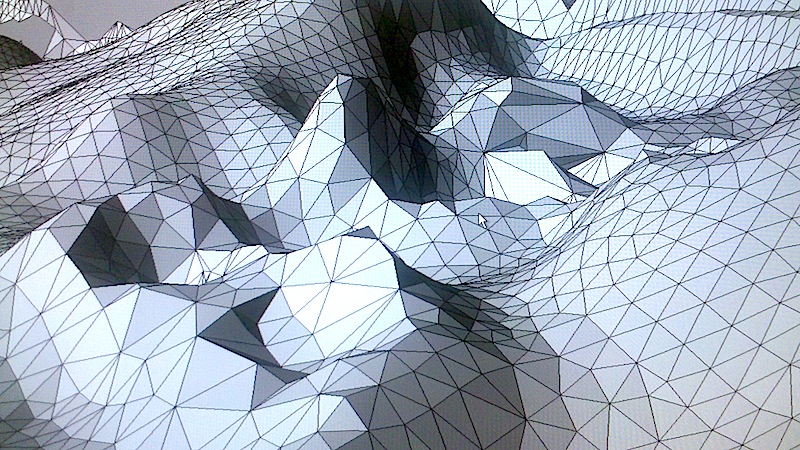
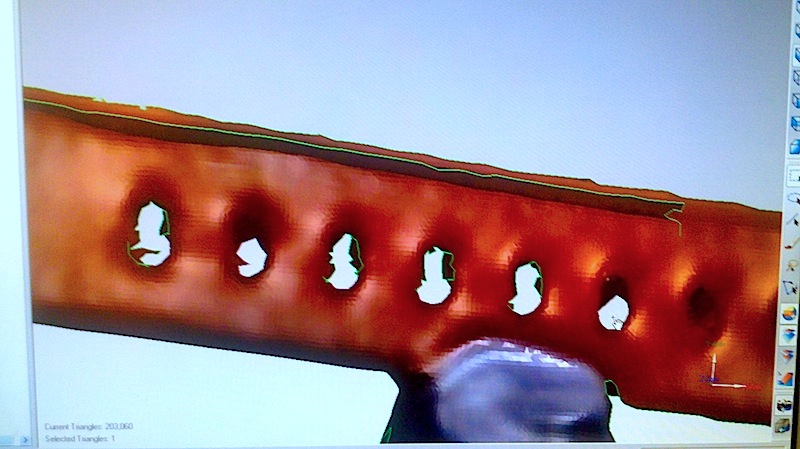
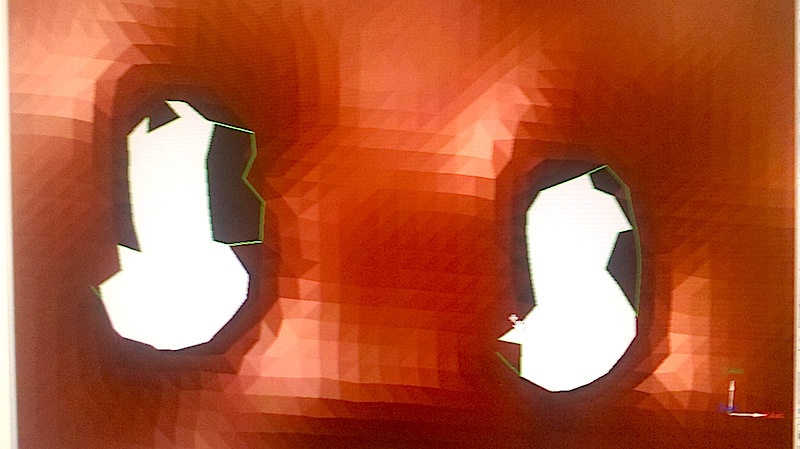
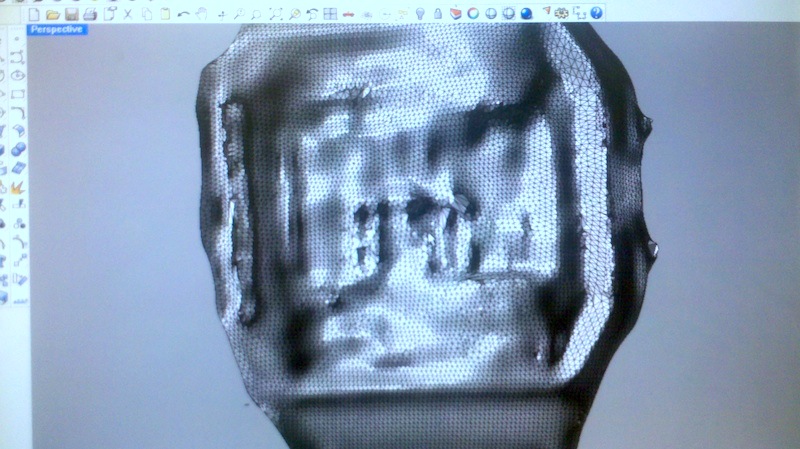
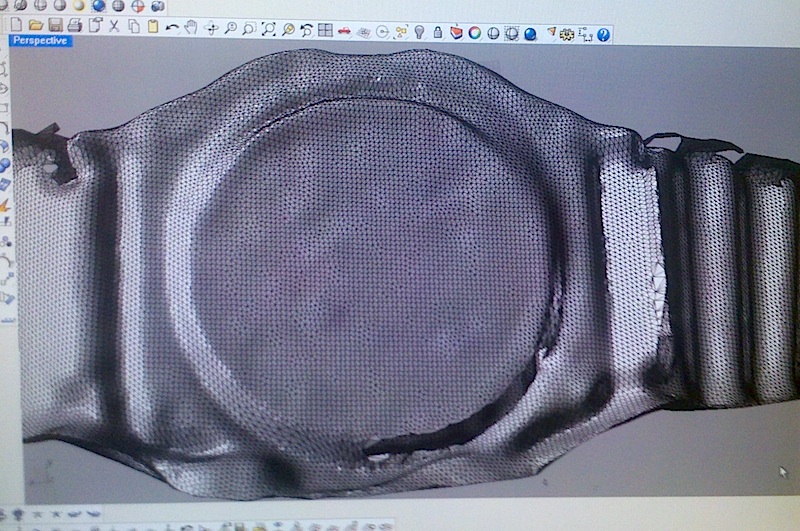
7. Your model will 100% of the time, have holes it. Under the polygon menu, click on fill holes. It won't always work but in my case I had a large hole for the watch viewed in plan, obviously because the watch was only rotated on the xy plane. The patched top part worked, but not so pretty(see photos).
8. You can also decrease the number of triangles in your model by using the Decimate command and typing in a percentage to keep...so I typed 75% of the original which decreased my file to 143 mb. That's still HUGE. Decimate to about 50% and you notice that resolution wise, your model will still look decent, compared to the original. Again, this is a case by case basis.
9. On the left hand column of the GUI, you will see separate file icons, where each contains the various angles you scanned, either as single or multiple shots. You can choose to merge all these files by simply right clicking on the file and clicking on 'Merge'(I did this after step 5, as soon as I was satisfied with my scans.
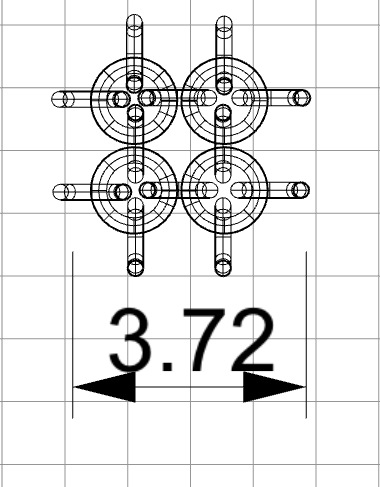
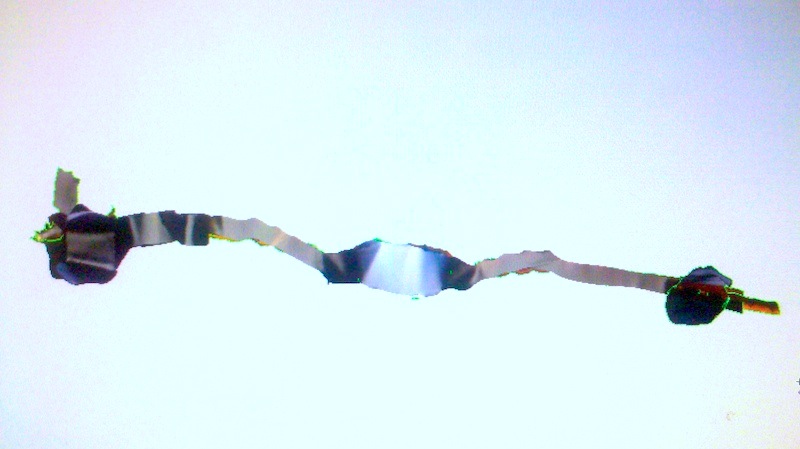
10. File>Save As> and save as any file type listed...I exported as an stl and opened it up in Rhino(see first image).