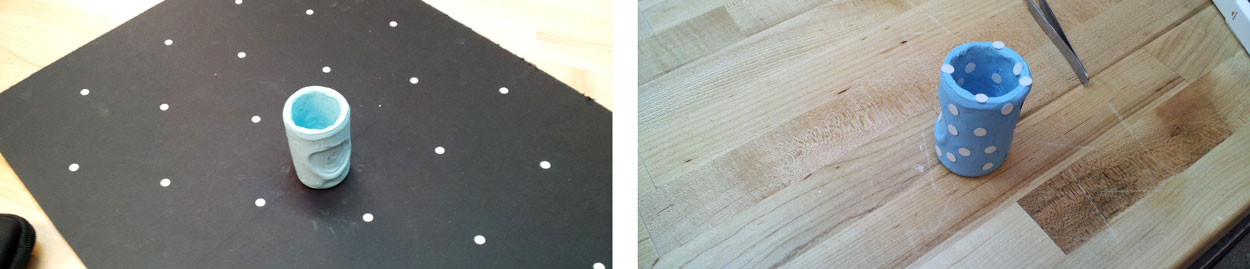
The 3D scanning on the plate was pretty strait forward. The only recommendation that I can give is to hold the scanner in both hands and to go over the object really really slow.
Eventually the software crashed, maybe because I increased the scanning resolution to high.
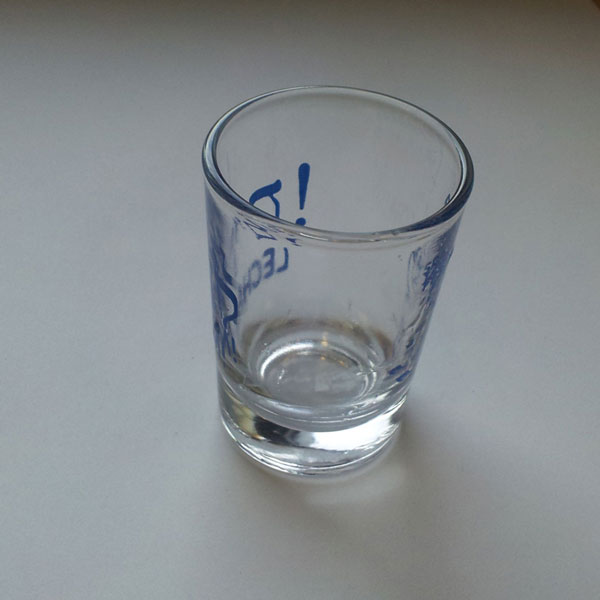
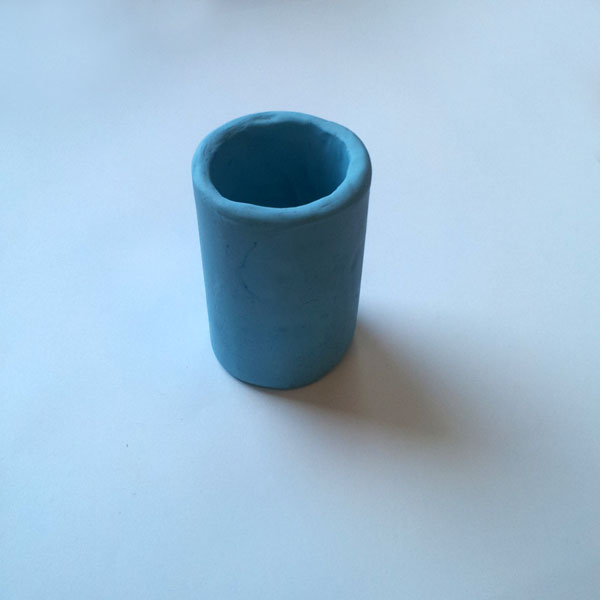
On the other hand the attempt to scan the glass as a free object didn’t go very well at all. The scanner didn’t recognize all the definition points, and wasn’t able to scan ant all the surface.
I imported the STL file to Autodesk MAYA. It took me 5 minutes to clean up the file.
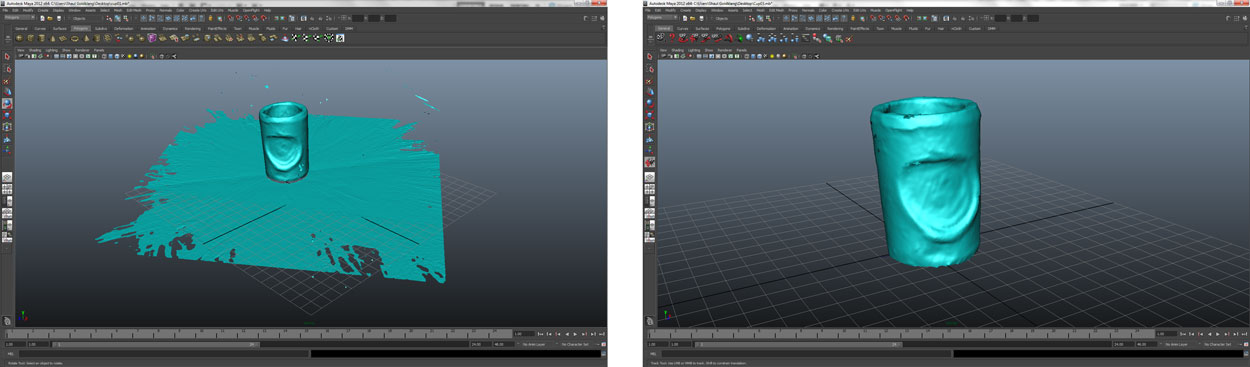
Patching the holes with MAYA took a little more time.
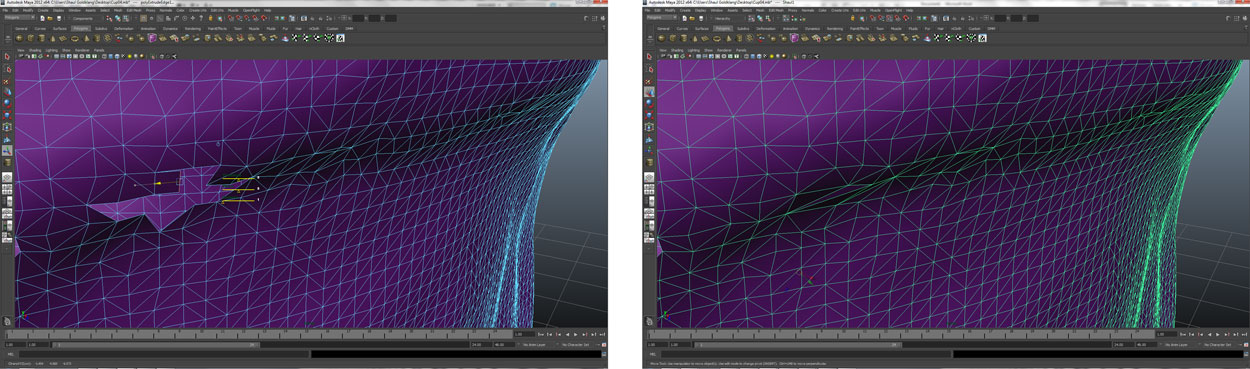
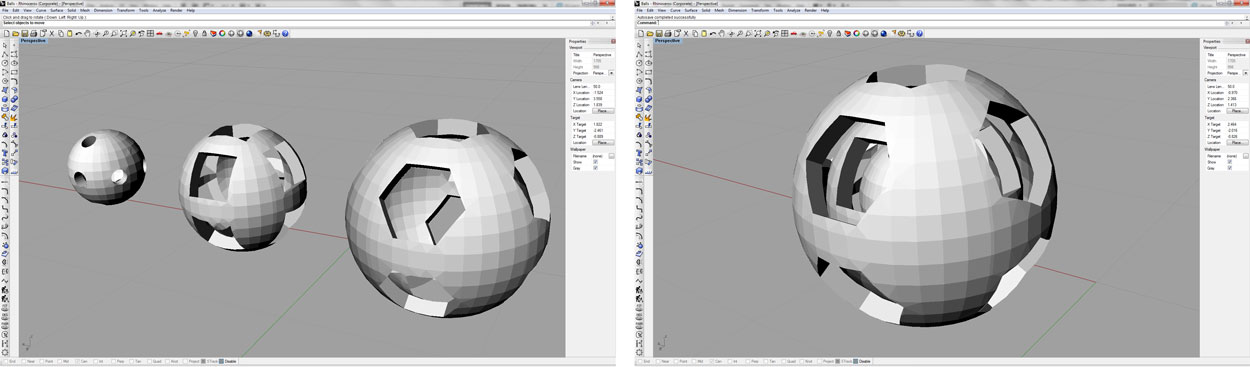
The result for the scanning came out full with bumps and not as smooth as I wanted. So, I modeled basic glass in MAYA,
but I couldn’t combine the geometries with Boolean manipulations and I didn’t want to take the risk and send to print a model which its geometries are not attached.

The assignment required to print an object that can’t be fabricated with the use of molds and etc.
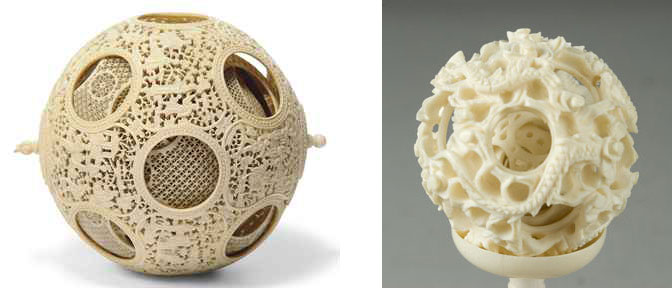
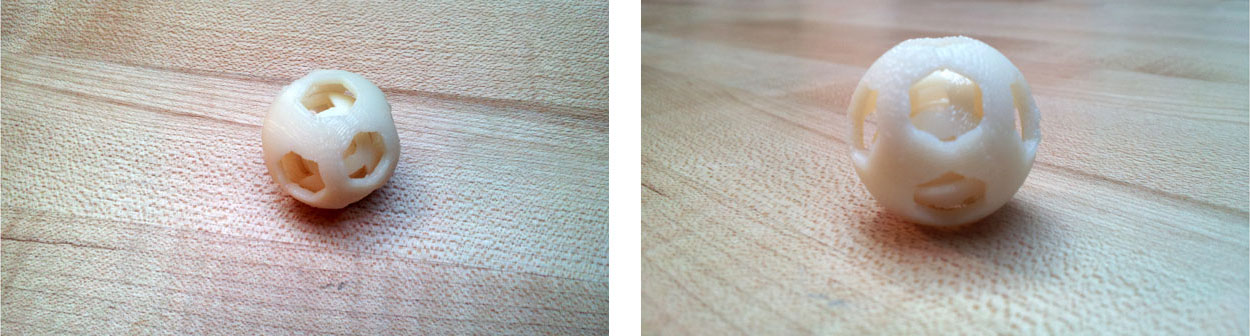
So I decided to make my own version of A Chinese Puzzle Ball.