Week Three: FabISP Programmer
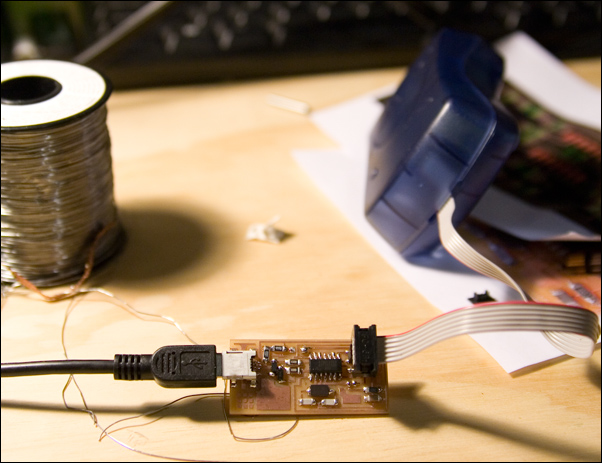
This week, we got to make a board that can program a board. We did this by first milling it, and then programming it with another programmer. Here's my finished board:
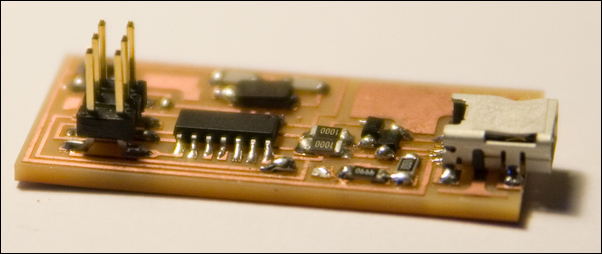
We started out by milling out the traces on a Roland Modela. The images of the traces are found here: [link], and the outline of the board here: [link]. I used a 1/64" endmill (that's roughly .015", or .4mm) for the traces and a 1/32" endmill for the cutout of the board. Everything went smoothly -- the endmill I used was in the sweet spot in its life, so I didn't have to deburr the traces or anything.
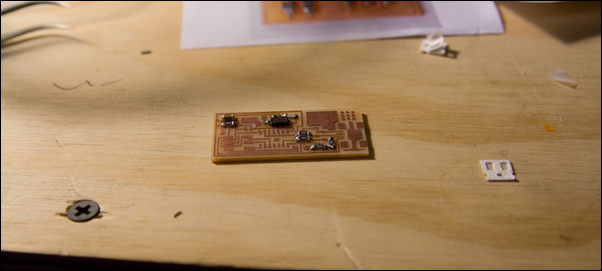
The next part was soldering all the little SMT components down. My technique was to put down a bit of solder on a pad, tack the component on by holding the component with tweezers and heating up the solder already on the pad, and then continue soldering all the other pin(s) down. This worked remarkably well, and was much easier than attempting to hold the component with tweezers and soldering both sides down with my one remaining hand. Perhaps that would work better with a robot arm, or helping hands, or something that I didn't have. One thing that was nice was I had my own soldering iron setup, and could work from the comforts of my own -- this also meant I didn't have nearly as much other equipment as folks working in the lab might've had, but it was raining pretty hard that night. I also learned that it would've been easier to start soldering from center out, just so there would be less of a chance of your soldering iron bumping into a component and burning it out. This didn't actually happen to me, but I also actively sought to avoid this fate. If I were to do it again, I'd tack down the micro first, then go outwards from there. I had decided to start soldering the smallest things down first because that's something I learned from soldering non-SMT things, because you often have to turn things upside down to solder down the pins and it's extremely awkward when you solder the largest thing on first and can't use, say, your desk to hold the component you're soldering in place while your board is upside down. Anyway, here's a photo of my half-finished board, where I soldered the resistors and caps on first:
Soldering-wise, the only trouble I ran into was due to that mini-USB connector with its extremely thin slivers that one might call "pins". I ended up accidentally getting a solder connection between one joint and its neighboring joint, and had to clean it up with some solder wick. In the process of this, I accidentally bridged together that pin and its /other/ neighboring joint, and ... repeat. Eventually all the pins came out cleanly. Well, except one, where it looked like there was a hair of solder connecting the two pins together, so I took a .007" endmill of mine and poked at it to separate them out.
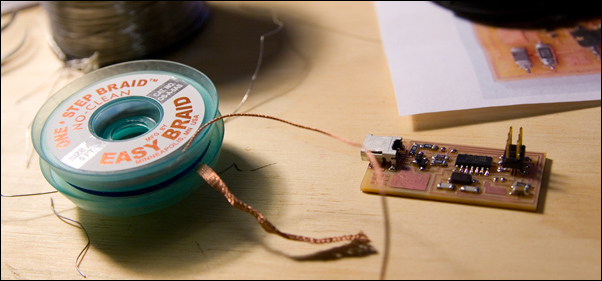
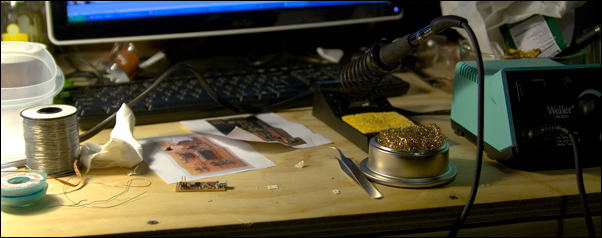
Here's an image of what my desk looked like while I was soldering... tweezers, solder wick, solder, etc:
Here's the part that I spent the most time on: programming the board. I downloaded the files from here: [link], and modified the Makefile to work with the AVR ISP mkII programmer I was using (-c avrispmkii instead of -c usbtiny). Ran "make program", and...nothing. The indicator light was red. Tried this again a few times, and occasionally the indicator light would turn green. I even double checked that I had the pins correct -- and I did, because the red wire on the programmer was on the side that pin 1 was on. I had plugged in the AVR programmer to one of my laptop's usb ports, and my board to another usb port via its mini-usb port. I had the SJ1 jumper soldered, and even tried soldering SJ2 just in case the programmer was confused why it wasn't sensing power from the board on its V pin. When I had SJ2 in, the indicator light would blink red, which according to the programmer manual meant there was a short somewhere. I double checked that all my traces were correct. The error I kept getting was:
avrdude -c avrispmkii -P usb -p attiny44 -U flash:w:main.hex:i
avrdude: stk500v2_command(): command failed
avrdude: stk500v2_command(): unknown status 0xc9
avrdude: stk500v2_program_enable(): cannot get connection status
avrdude: initialization failed, rc=-1
Double check connections and try again, or use -F to override
this check.
avrdude done. Thank you.
make: *** [flash] Error 1
I checked probed the pins on the micro with my multimeter just to see what was up, and it turns out that my Vcc was reading about half a volt! I guess my usb port on my laptop is not actually capable of delivering that much power (although I thought the board would be drawing something on the order of milliamps, which shouldn't have dragged the voltage down by that much...), so I plugged it into a usb port on my desktop. Lo and behold, everything worked! Despite the red blinking light earlier, there was no short on my board. All the lights checked out correctly, the board programmed correctly, and everything was happy.
