

Process:
1. Board Layout: After a very useful tutorial, I set out to design my board using EAGLE. my biggest lesson from this part of the process is that when you set out to lay out your board it is very important to have some kind of knowledge about how Eagle works (opening Schematic and Board layouts at the same time.. library location and use.. etc). For the most part I learned these from going to the tutorial so I highly recommend doing the same..
Base Layout:
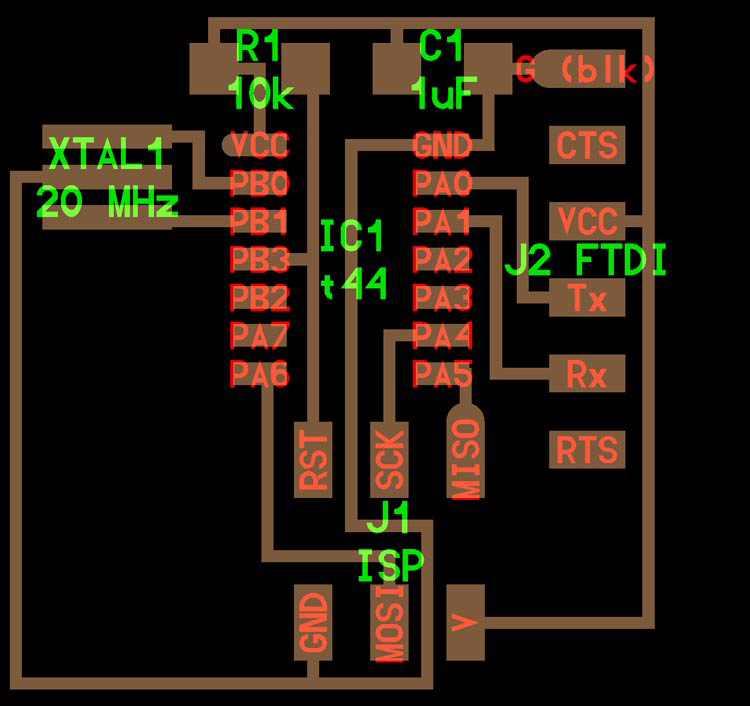
We received this base layout and modified to add a button and an LED light.
2. Board Layout with Eagle : The key thing to remember here is to open both Board mode and Schematic mode at the same time, otherwise your schematic and your board will not be in sync.. Also GO TO THE TUTORIAL.. Otherwise you will be lost.
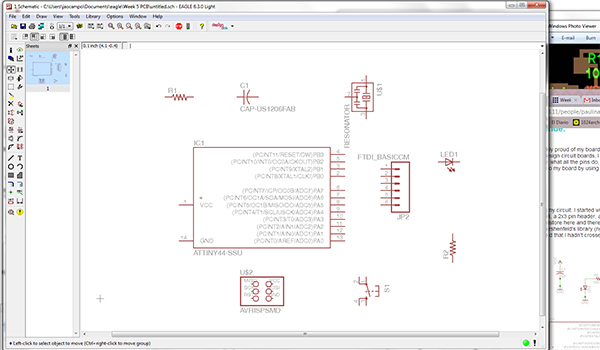 Schematic mode
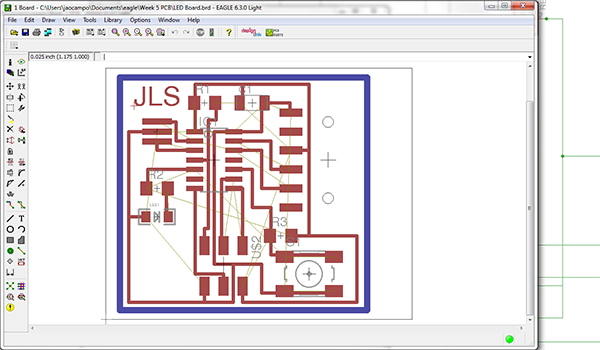 Board Mode
3. Cutting the board: Again, the board is cut in the Modela, a very useful tutoprial on how to do this HERE.
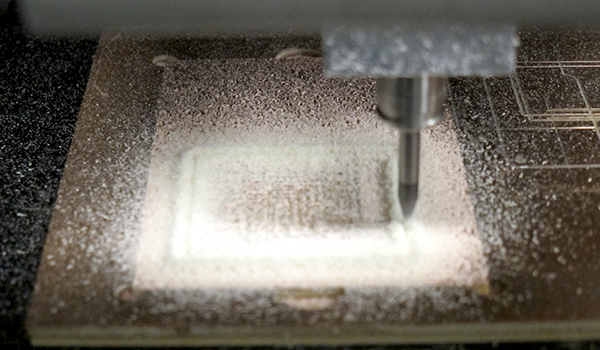
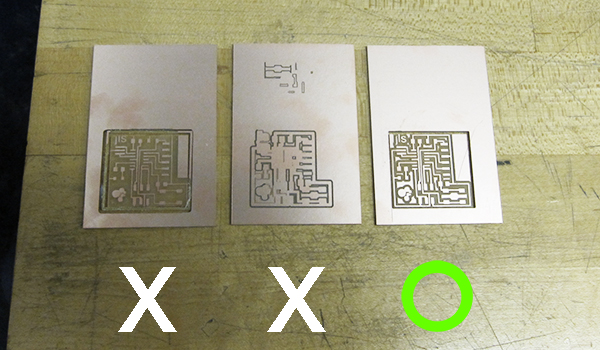
I ran into some textbook mistakes while cutting on the Modela:
1 - I forgot to invert the exterior cut so the Modela cut on the interior edge of the cut line and severed a couple of my circuits rendering the board unusable
2 - Despite the fact that my cut Z level was 0.116 the bit did not go all the way through the copper, I believe the reason for this was a slightly loose bit combined with an uneven surface.
3 - Success! I tightened the bit and made sure to invert the cut file..
Extra Pointers on how to use the FAB module:
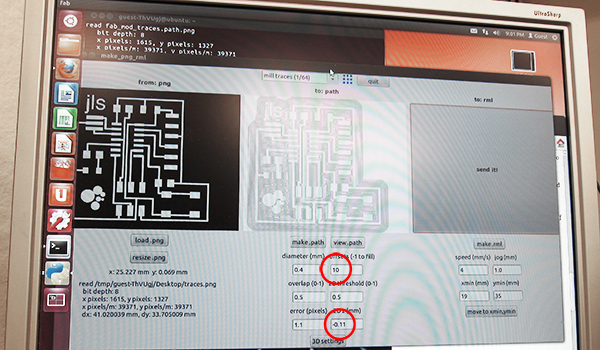
- Change the Number of offsets in order to clear all the un-used copper from your board, the default number of offsets is 4. if you do -1 you will clear all the aun-used copper (10 offsets were enough to clear my board)
- Change the cut Z depth (only in case the copper is not cutting all the way through).. Default number is 0.1 Changing it to 0.16 should be enough.
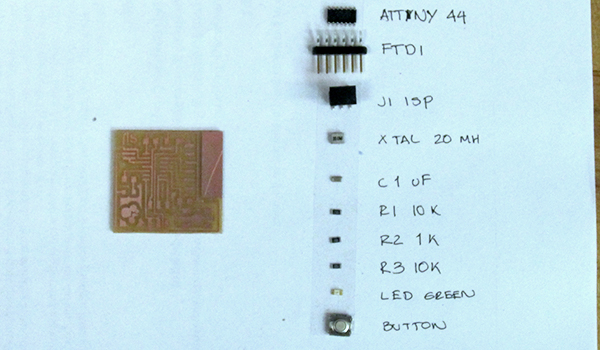
4. Stuffing the Board: I tried to organize my process so I picked out all of my components and layed them out on a piece of double sided tape. It is important to remember that we are adding components to the original board design, the new components are:
- Button
- LED light (can be any color)
- 1k Resistor (Linked to the LED)
- 10k Resistor (Linked to the Button)
5. Final Product:
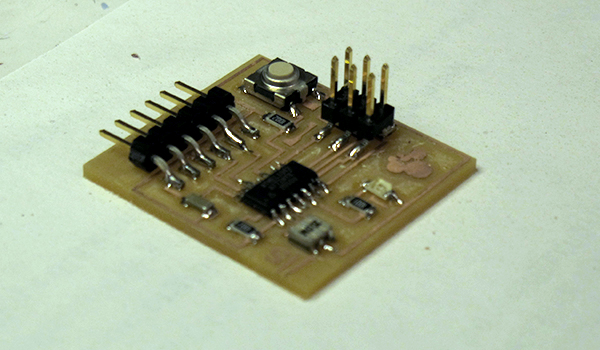

![]()