Housing
In the interest of making things pretty, I also made a housing for my amplifier. I got some wood from my dad to build the box out of. After determining the minimum dimensions in which I could fit all of the electronics, I marked off the lines I needed to cut with a pencil, and took the wood to the table saw. I then fit the six pieces together and held them in place with clamps, and drilled holes for screws.
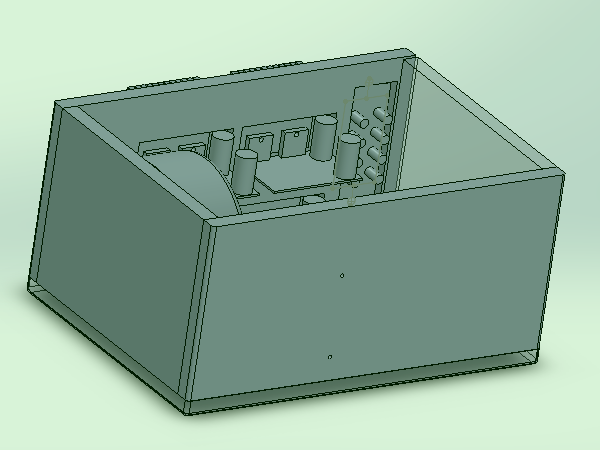
The solidworks model of the housing
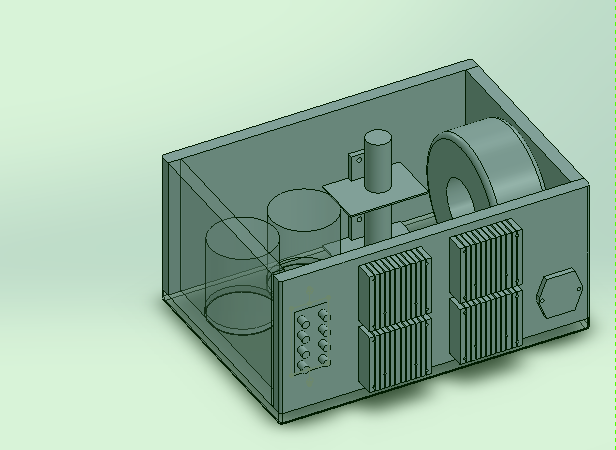
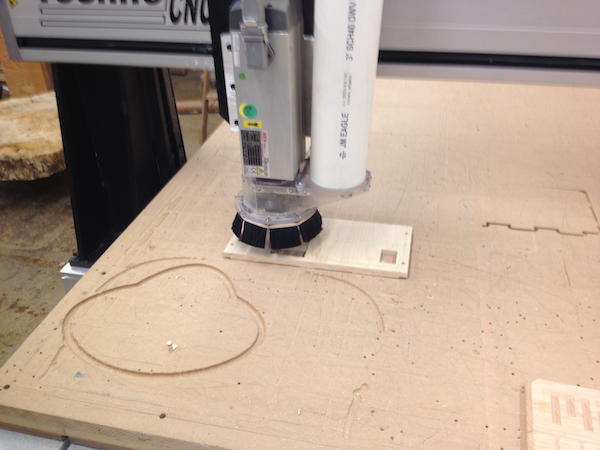
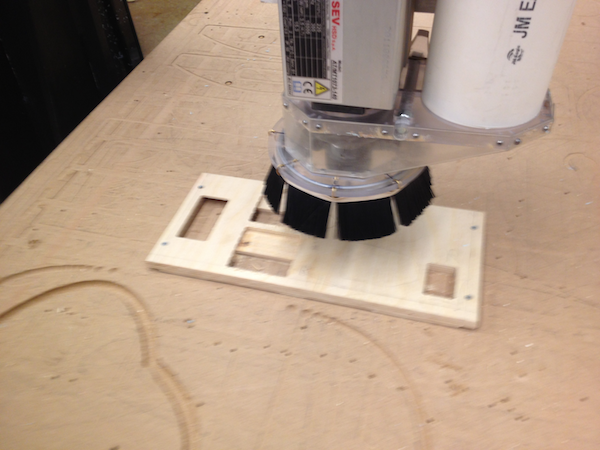
The back of the housing was the only piece that needed special attention, since this was where all of the i/o for the amplifier was (also the heat sinks). I designed a 2D drawing in solidworks, exported as a dxf, and cut the proper holes with the CNC. Since I needed to flip the board to cut from both sides, I had to make sure the back was symmetric accross the vertical axis, which it was.
With a good amount of manual clean up, the housing fit together and after drilling a number of srew holes. my electronics fit in it. Unfortunately the one thing I forgot was the audio input, which is perhaps the most important part.
I found RCA jacks from an old stereo, and milled out a hole using the hand mill in the IDC. Since I didn't need to be precise, but had to be quick, this ended up being way better than using the CNC. There are actually a lot of times where this would have been easier, and I wish I had learned how to use it earlier in the semester.
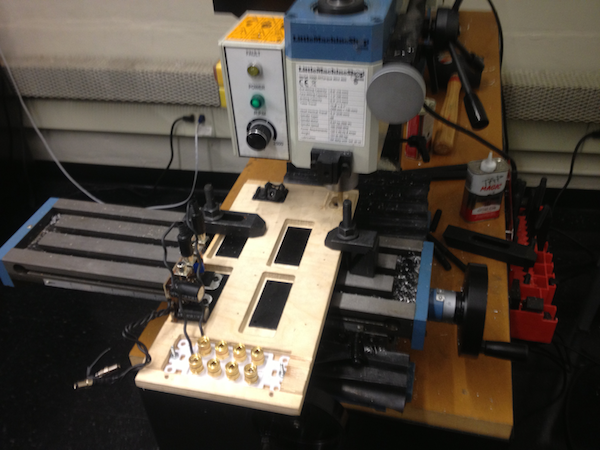
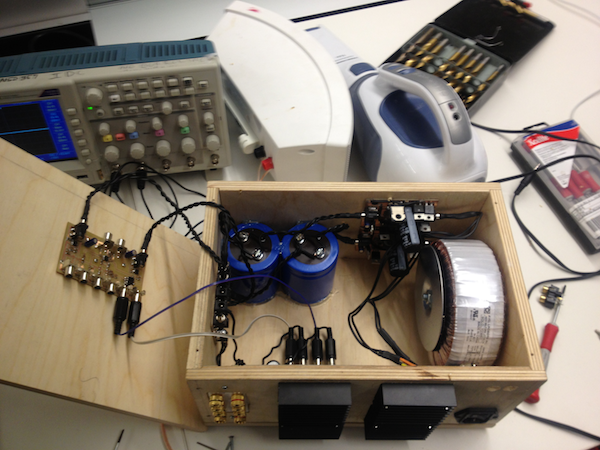
Finally, everything fit inside of my housing, and my amplifier was complete!
The solidworks model of the housing
The back of the housing was the only piece that needed special attention, since this was where all of the i/o for the amplifier was (also the heat sinks). I designed a 2D drawing in solidworks, exported as a dxf, and cut the proper holes with the CNC. Since I needed to flip the board to cut from both sides, I had to make sure the back was symmetric accross the vertical axis, which it was.
With a good amount of manual clean up, the housing fit together and after drilling a number of srew holes. my electronics fit in it. Unfortunately the one thing I forgot was the audio input, which is perhaps the most important part.
I found RCA jacks from an old stereo, and milled out a hole using the hand mill in the IDC. Since I didn't need to be precise, but had to be quick, this ended up being way better than using the CNC. There are actually a lot of times where this would have been easier, and I wish I had learned how to use it earlier in the semester.
Finally, everything fit inside of my housing, and my amplifier was complete!