Composites
This week was composites week, the first in the history of HTM(A)A (I think). Composites are materials with very high strength to weight ratios, and are both strong in tension and compression. Composites acheive this by combining two materials, one strong in tension but weak in compression, and the other string in compression but weak in tension. The most well known example is probably carbon fiber, which is actually a mixture of epoxy and carbon fiber. Epoxy is strong in compression, but weak in tension, and carbon fiber is strong in tension, but weak in compression, but the combination of the two is strong in both. Since carbon fiber can be dangerous to work with (small particles can get in your lungs), we used epoxy and linen to make our composite.
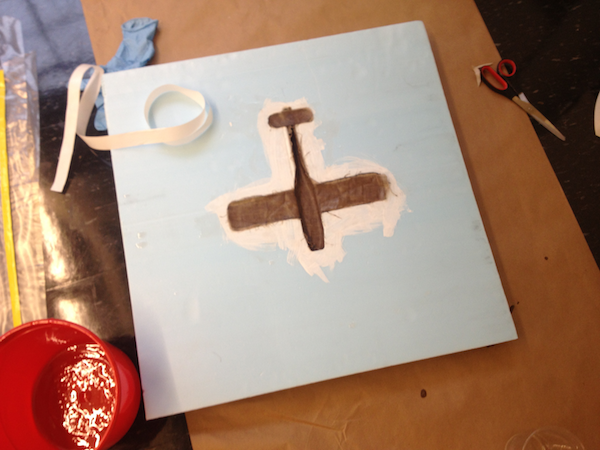
The first step in making a composite part was to design and make a mold. Since one of the major applications for composites is planes, I decided to make a glider. I designed my glider in solidworks, and milled it out of a block of foam using the CNC from the make something big week.
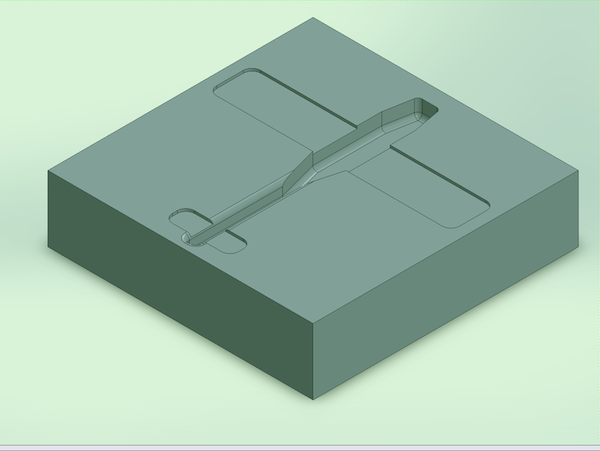
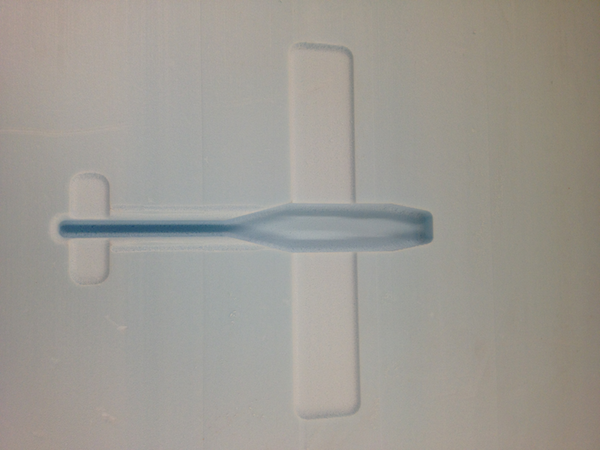
The solidworks model and the final mold
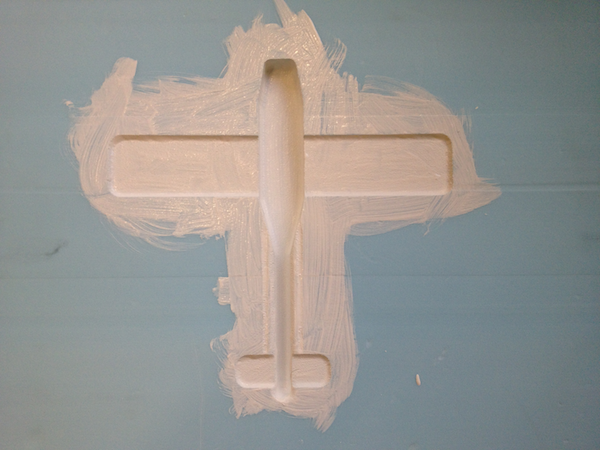
Once I had my mold, I had to ensure when I covered it with epoxy coated linen, the epoxy didn't stick to the foam. There are a number of ways to do this, but the one I chose was to paint my mold with gesso, an acrylic coating.
After giving the gesso several hours to dry, it was time to make my part. The first thing I did was cut strips of linen that covered my mold.
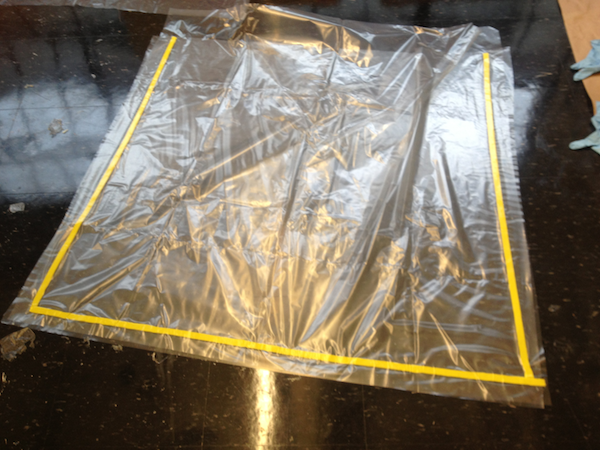
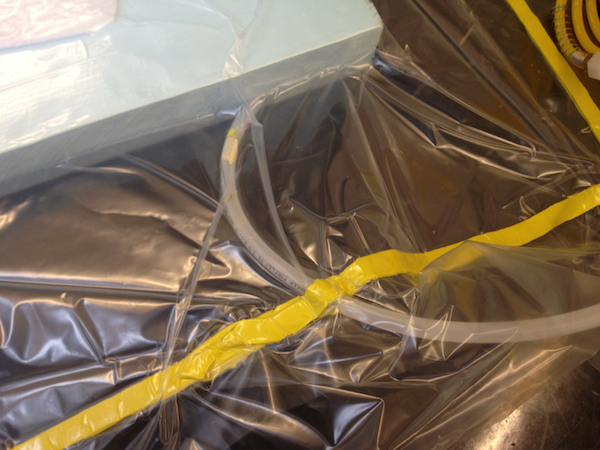
Next, I made my vacuum bag. Since we want our epoxy/linen to conform as tightly to our mold as possible, we place the entire thing in a air tight bag, and suck the air out with a vacuum. This ensures our composite forms to our mold, and that excess epoxy is sucked out. I made the bag using two large rectangles of plastic, which I joined together on three sides using a material that acted as double sided tape. We make the bag before making our composite because the epoxy has a short time during which you can work with it.
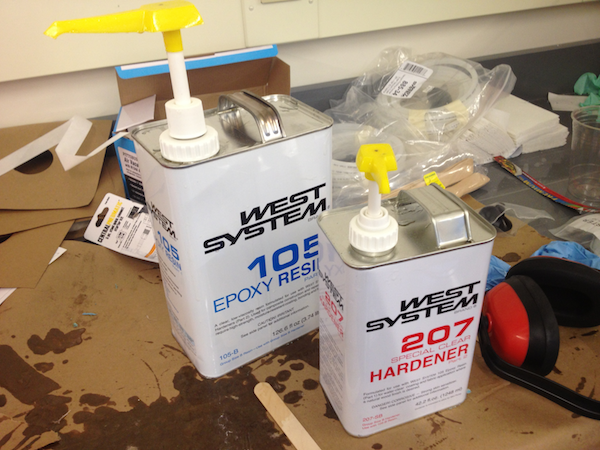
When it was time to make the composite. Our epoxy came in two cans, the resin and the hardener. To get epoxy that will cure, you mix one pump of resin with one pump of hardener in a bucket.
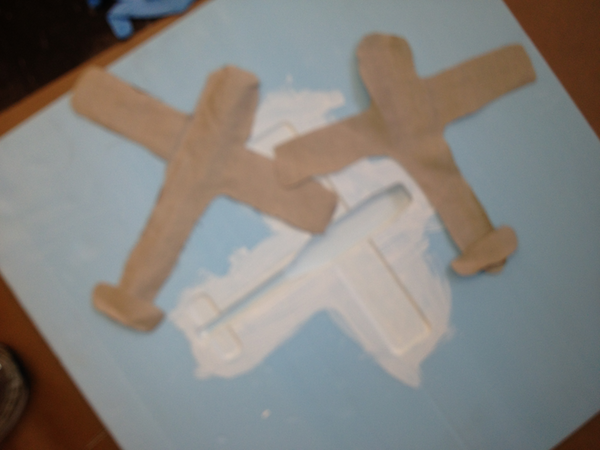
Then, soak the linen completely in epoxy, and then squeeze out as much excess epoxy as possible. Then form the linen around your mold, repeating this process with as many pieces of linen as it takes to cover your mold.
To soak up excess epoxy, we then cover the mold in a "breather", which was essentially a plastic sheet with lots of tiny holes for the epoxy to flow through. Then we cover this with foam, so the epoxy can be absorbed into something. Finally, place the mold/part in the bag, and seal the last side with the vacuum tube inside the bag.
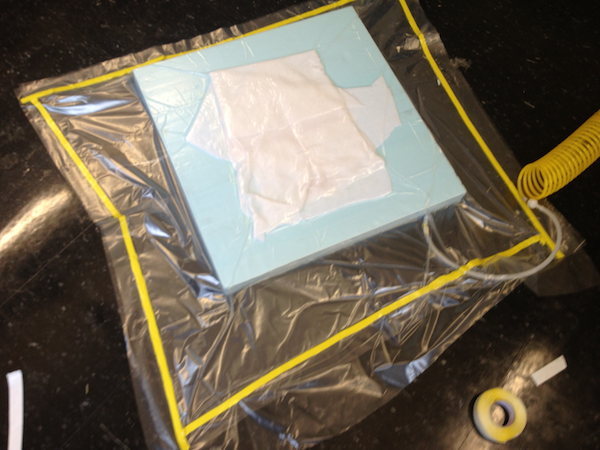
Make sure the end of the tube is in a place where it won't be covered by the bag or accidentally suck up any epoxy, as that would ruin your part/the vacuum, respectively.
Turn on the vacuum, wait a long time for your part to cure, and you should be done! You can add finishing touches to your part by sanding our imperfections.
The first step in making a composite part was to design and make a mold. Since one of the major applications for composites is planes, I decided to make a glider. I designed my glider in solidworks, and milled it out of a block of foam using the CNC from the make something big week.
The solidworks model and the final mold
Once I had my mold, I had to ensure when I covered it with epoxy coated linen, the epoxy didn't stick to the foam. There are a number of ways to do this, but the one I chose was to paint my mold with gesso, an acrylic coating.
After giving the gesso several hours to dry, it was time to make my part. The first thing I did was cut strips of linen that covered my mold.
Next, I made my vacuum bag. Since we want our epoxy/linen to conform as tightly to our mold as possible, we place the entire thing in a air tight bag, and suck the air out with a vacuum. This ensures our composite forms to our mold, and that excess epoxy is sucked out. I made the bag using two large rectangles of plastic, which I joined together on three sides using a material that acted as double sided tape. We make the bag before making our composite because the epoxy has a short time during which you can work with it.
When it was time to make the composite. Our epoxy came in two cans, the resin and the hardener. To get epoxy that will cure, you mix one pump of resin with one pump of hardener in a bucket.
Then, soak the linen completely in epoxy, and then squeeze out as much excess epoxy as possible. Then form the linen around your mold, repeating this process with as many pieces of linen as it takes to cover your mold.
To soak up excess epoxy, we then cover the mold in a "breather", which was essentially a plastic sheet with lots of tiny holes for the epoxy to flow through. Then we cover this with foam, so the epoxy can be absorbed into something. Finally, place the mold/part in the bag, and seal the last side with the vacuum tube inside the bag.
Make sure the end of the tube is in a place where it won't be covered by the bag or accidentally suck up any epoxy, as that would ruin your part/the vacuum, respectively.
Turn on the vacuum, wait a long time for your part to cure, and you should be done! You can add finishing touches to your part by sanding our imperfections.