Pressfit construction kit
The assignment this week was to make a construction kit using 2D parts cut out of cardboard using an Epilog laser.
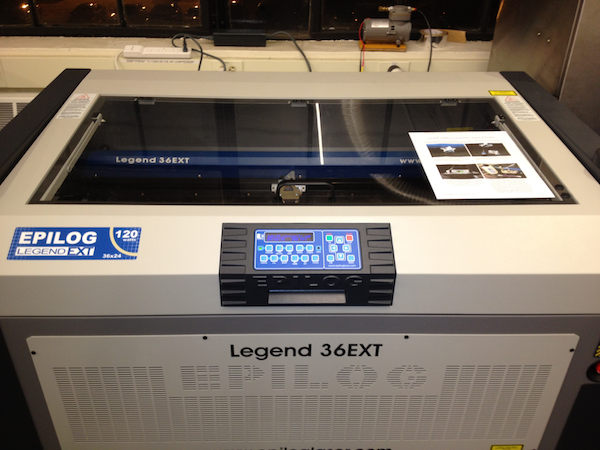
Fortunately I've had a good amount of prior experience using these lasers, so it didn't take me long to get started.
This was my workflow:
Fortunately I've had a good amount of prior experience using these lasers, so it didn't take me long to get started.
This was my workflow:
1. Design part in solidworks
2. Ceate a 36"x24" solidworks drawing from the part (make sure your scale is 1:1)
3. Export to a dxf
4. Open up the .dxf file in coreldraw on the windows machine connected to the laser cutter
5. Configure the laser cutter preferences
6. Print
2. Ceate a 36"x24" solidworks drawing from the part (make sure your scale is 1:1)
3. Export to a dxf
4. Open up the .dxf file in coreldraw on the windows machine connected to the laser cutter
5. Configure the laser cutter preferences
6. Print
When designing my construction kit, I drew inspiration from the millibot, a project I had worked on at CBA during my time there as a UROP. The millibot was able to create arbitrary 3D shapes using a single repeated part and I wanted my kit to be able to do the same.
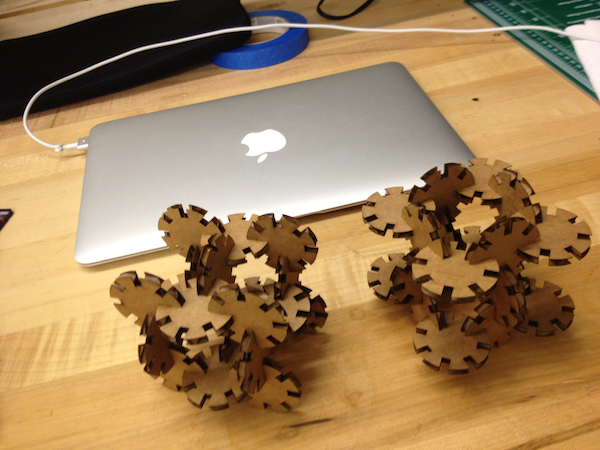
I eventually settled on a part that would allow me to create cubes (among other things), and from these cubes, any shape I could imagine (at pretty terrible resolution).

It took a few tries to get the width of the slot right so that the parts fit tightly together. It probably makes sense to print several different slot thicknesses at first and find the one that fits rather than do them one at a time.
Eventually I found the right slot thickness, created a drawing with a bunch of these parts, and pretty soon I had two fully assembled cubes!
After a lot more cutting...

The CBA logo made out of my parts
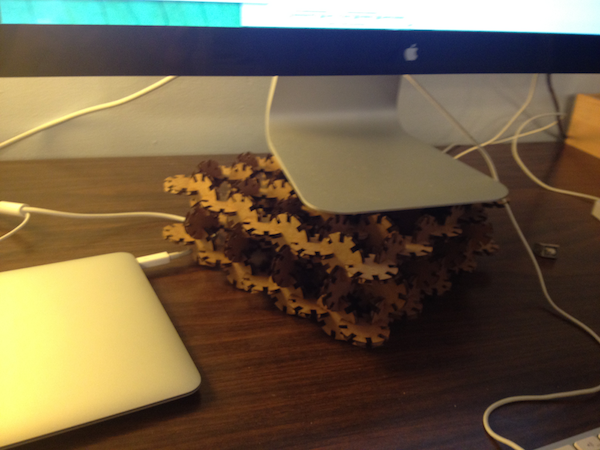
The logo holding my monitor (approx 25 lbs)
I eventually settled on a part that would allow me to create cubes (among other things), and from these cubes, any shape I could imagine (at pretty terrible resolution).
It took a few tries to get the width of the slot right so that the parts fit tightly together. It probably makes sense to print several different slot thicknesses at first and find the one that fits rather than do them one at a time.
Eventually I found the right slot thickness, created a drawing with a bunch of these parts, and pretty soon I had two fully assembled cubes!
After a lot more cutting...
The CBA logo made out of my parts
The logo holding my monitor (approx 25 lbs)