3D printing and scanning
The assignment this week was to learn how to print and scan 3D objects. Scanning creates a 3D computer model from a real life object, and printing creates a real life object from a computer model.
For printing I decided to make a toothbrush holder since I've currently just been leaving my toothbrush resting on the counter. Solidworks is my 3D CAD program of choice.
Since I was worried about the holder tipping over due to a high center of mass, I hollowed out the base so that it could hold nickels, lowering the center of mass.


The base of the toothbrush holder and the plug that holds the nickels
Since prints can take a long time, it is usually a good idea to have one person manage prints, combining multiple jobs into one print. For me, printing was as simple as saving the files as .stl files and sending them to James who was in charge of the dimension printer.
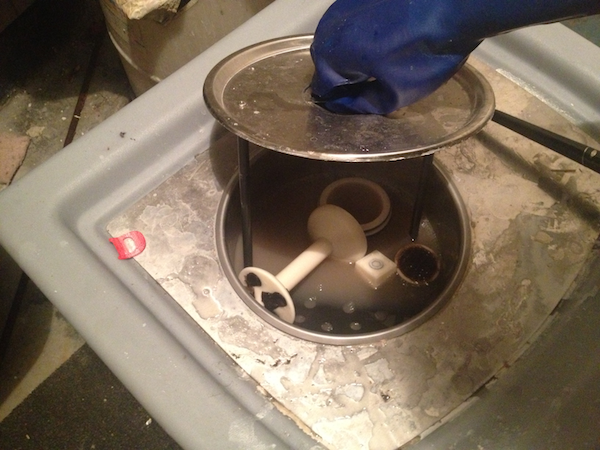
To be able to print complicated structures, the dimension prints in two materials, one of which is a soluble support material. To finish the part the support needs to be dissolved away in a bath. For this printer the solvent is fairly toxic, so gloves should be used when handling it. Other printers may use different supports that can be melted or snapped off.
3D Scanning
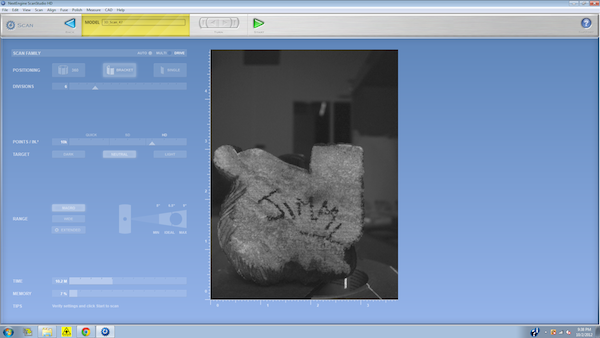
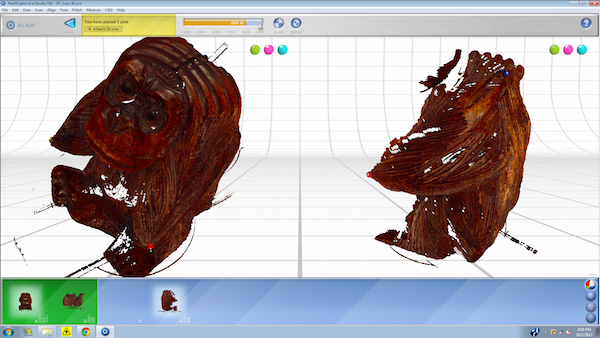
Scanning an object ended up being easier than I expected. All I had to do was open up the nextengine software and start a new scan. The settings for this scanner were surprisingly simple. The first step was to create a 360 degree scan of the object. This obviously works best when the object is centered on the rotation platform and the object is in focus. I used the macro setting, which was the closest I could get while keeping the entire figure in view.
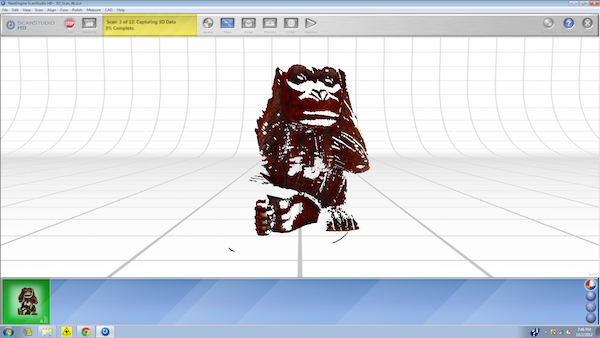
The scan produces a point cloud, on which the 2D image of the figure is projected.
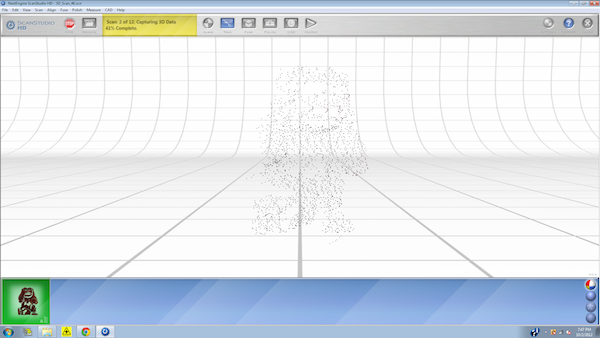
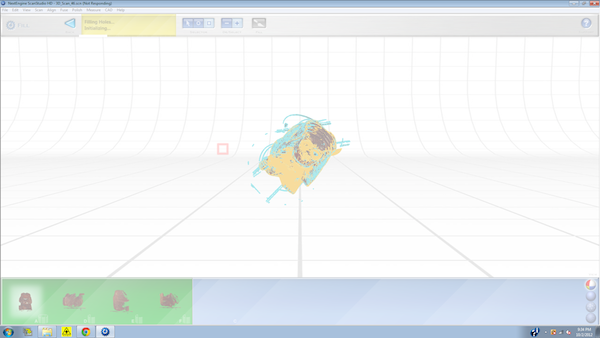
Once the initial scan is complete you'll notice that there a lot of holes in the model, mostly from parts of the object invisible to the scanner such as the top and bottom of the object. To fill in these holes, you need to scan the missing parts and then align the two scans by selecting three points common to both scan. For my object, a monkey, I found that the tips of the elbows and the bridge of the nose were easy to line up.
It took about four scans to fill in all of the big holes that were missing. Unforunately due to the complex carvings on the figure there were a number of small holes still missing. The packaged software comes with a simple tool to fill leftover holes, but the figure ended up being too complicated and the program crashed.
For printing I decided to make a toothbrush holder since I've currently just been leaving my toothbrush resting on the counter. Solidworks is my 3D CAD program of choice.
Since I was worried about the holder tipping over due to a high center of mass, I hollowed out the base so that it could hold nickels, lowering the center of mass.
The base of the toothbrush holder and the plug that holds the nickels
Since prints can take a long time, it is usually a good idea to have one person manage prints, combining multiple jobs into one print. For me, printing was as simple as saving the files as .stl files and sending them to James who was in charge of the dimension printer.
To be able to print complicated structures, the dimension prints in two materials, one of which is a soluble support material. To finish the part the support needs to be dissolved away in a bath. For this printer the solvent is fairly toxic, so gloves should be used when handling it. Other printers may use different supports that can be melted or snapped off.
The scan produces a point cloud, on which the 2D image of the figure is projected.
Once the initial scan is complete you'll notice that there a lot of holes in the model, mostly from parts of the object invisible to the scanner such as the top and bottom of the object. To fill in these holes, you need to scan the missing parts and then align the two scans by selecting three points common to both scan. For my object, a monkey, I found that the tips of the elbows and the bridge of the nose were easy to line up.
It took about four scans to fill in all of the big holes that were missing. Unforunately due to the complex carvings on the figure there were a number of small holes still missing. The packaged software comes with a simple tool to fill leftover holes, but the figure ended up being too complicated and the program crashed.