Molding and casting
This weeks assignment was to mold and cast a part. I accidentally deleted my original version of this page, which documented a failed attempt to make a washer knob. The new version documents my failed attempt to make a housing for a thermometer I tried to make for Week 7, embedded programming. The idea was to have a thermometer that would light up a word describing the temperature, either hot, warm, cool, or cold. The hollow housing would contain the circuitry, and provide word shaped openings for light to shine though.
The first step was to create a model of my two part mold. I designed it using solidworks, which I discussed in one of the first weeks. I designed two molds whose negatives would fit inside eachother, which would ultimately allow me to make a hollow rectanglular prism with one face missing, and another face with the words cut out. Two important things to consider when making your mold is how you will align the two (or more) parts, and how to get your material into the mold. I used pegs that would interlock to align the mold, and made sure to leave a hole in the side so that I could inject the molding material with a syringe.
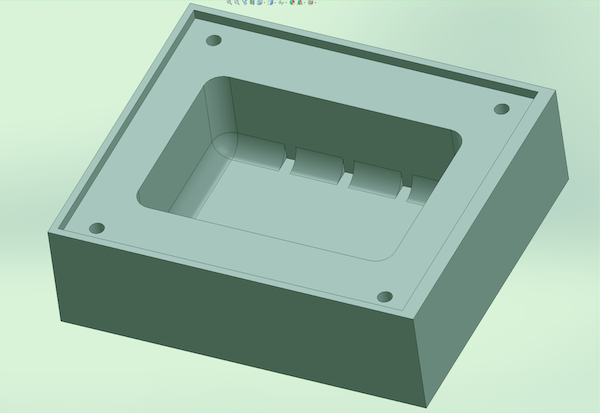
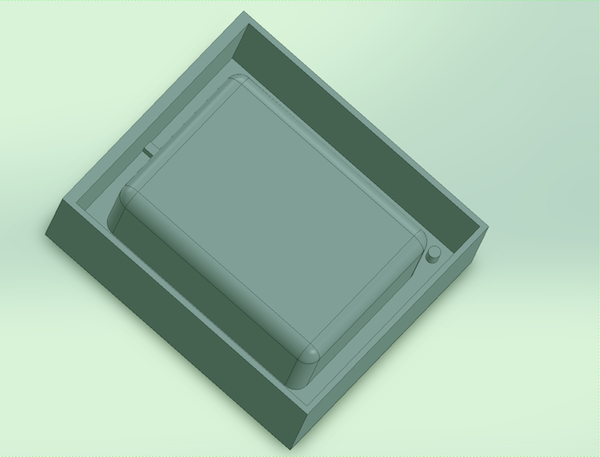
The two molds
Once the mold is designed, save as an stl file, and open it up in the fab module, going from stl to rml. Select an axis and make png until the mold looks like it should (this just determines which side of your part is down). Make sure you select whether you're using mm or in in the drop down menu on top. The first cut should be a rough cut. Select 3D settings, make sure top is 0, and bottom is -1 * the height of your part. Glue your molding wax down to the modela with a hot glue gun, zero the bit to the top of your block of wax, make path, make rml, and send.
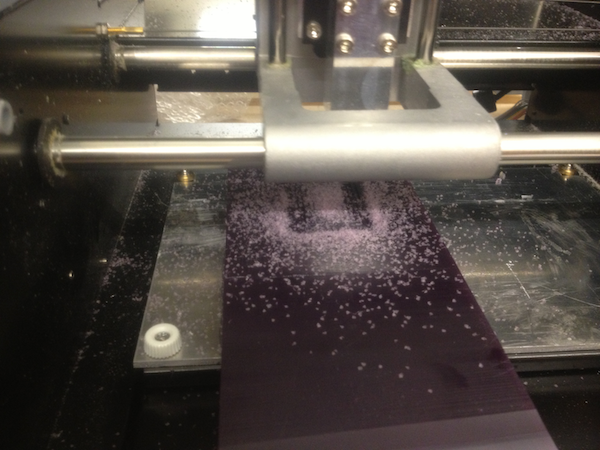
This will take up to several hours and make a big mess
Once the rough cut is done, you may notice that your part is very bumpy. Select finish cut, remake path, remake rml, and send it again. This will be faster and give your part a much smoother finish.
To make the text in my mold, I created a new image in gimp, wrote in a text box, flipped the image horizontally, and exported as a png. I then opened it up in the fab module, set the top as 0 and the bottom as the depth of my letters (3mm), and zeroed the mill to the surface I wanted to mill the text onto. Since the letters weren't very wide, I had to use a 1/32" endmill, which you have to specify in tool thickness in the fab module. Since it was a much smaller tool, a finishing cut didn't end up being necessary.
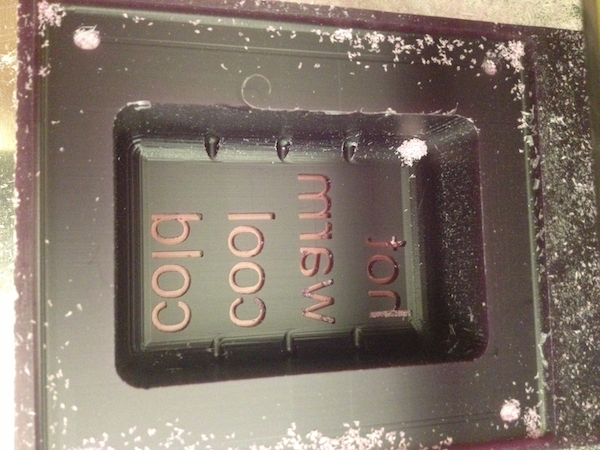
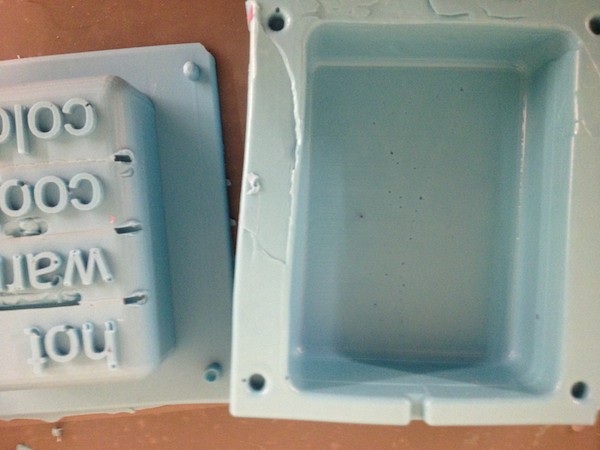
One of the finished molds
Now that the molds are all done, its time to cast the negative with oomoo. This hilariously sounding substance comes in two parts, A and B, which when mixed together cure to form something soft and rubbery. Determine how much oomoo you need by filling your mold with water, and pouring it into a cup. Fill two cups with about half that amout, one with A, and one with B. Mix the two together thouroughly, and pour the result into your mold in a very thin stream to get rid of any air bubbles. Pouring from very high up makes this go much faster.
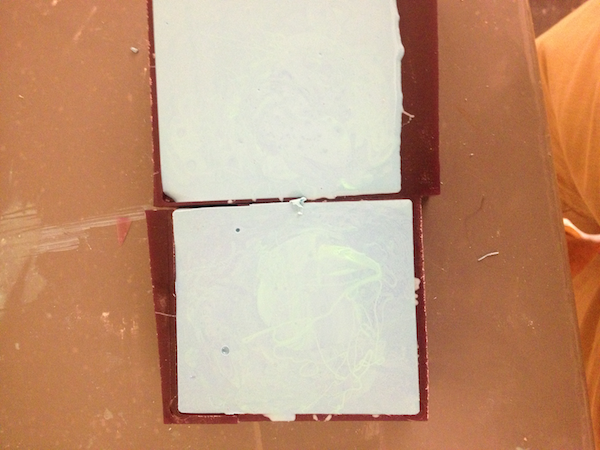
Before...
after
Once the oomoo is cured, you can remove it from the wax. It may be difficult and feel like it's about to tear, but it's pretty strong stuff. Now, put your two molds together and prepare the material you'll be casting. I'll be using gypsum cement, which requires 1 part water to 5 parts cement by mass.
Stir the water and cement together until it's completely mixed. Try to remove any air bubbles. To inject the material into your mold you can use a syringe (minus the needle of course), so long as you rinse it out after. Fill your mold completely, tilting it so that air can escape through the hole you're injecting into. Once the mold is full, wait, hope, and pray.
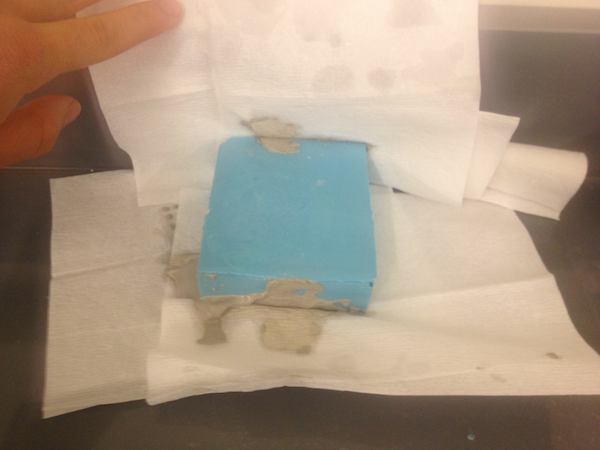
After giving it 24 hours to cure, peel the oomoo away from your part. If all went well it will look like it's supposed to and have no air bubbles. Minor imperfections can be cleaned up with sandpaper.
The first step was to create a model of my two part mold. I designed it using solidworks, which I discussed in one of the first weeks. I designed two molds whose negatives would fit inside eachother, which would ultimately allow me to make a hollow rectanglular prism with one face missing, and another face with the words cut out. Two important things to consider when making your mold is how you will align the two (or more) parts, and how to get your material into the mold. I used pegs that would interlock to align the mold, and made sure to leave a hole in the side so that I could inject the molding material with a syringe.
The two molds
Once the mold is designed, save as an stl file, and open it up in the fab module, going from stl to rml. Select an axis and make png until the mold looks like it should (this just determines which side of your part is down). Make sure you select whether you're using mm or in in the drop down menu on top. The first cut should be a rough cut. Select 3D settings, make sure top is 0, and bottom is -1 * the height of your part. Glue your molding wax down to the modela with a hot glue gun, zero the bit to the top of your block of wax, make path, make rml, and send.
This will take up to several hours and make a big mess
Once the rough cut is done, you may notice that your part is very bumpy. Select finish cut, remake path, remake rml, and send it again. This will be faster and give your part a much smoother finish.
To make the text in my mold, I created a new image in gimp, wrote in a text box, flipped the image horizontally, and exported as a png. I then opened it up in the fab module, set the top as 0 and the bottom as the depth of my letters (3mm), and zeroed the mill to the surface I wanted to mill the text onto. Since the letters weren't very wide, I had to use a 1/32" endmill, which you have to specify in tool thickness in the fab module. Since it was a much smaller tool, a finishing cut didn't end up being necessary.
One of the finished molds
Now that the molds are all done, its time to cast the negative with oomoo. This hilariously sounding substance comes in two parts, A and B, which when mixed together cure to form something soft and rubbery. Determine how much oomoo you need by filling your mold with water, and pouring it into a cup. Fill two cups with about half that amout, one with A, and one with B. Mix the two together thouroughly, and pour the result into your mold in a very thin stream to get rid of any air bubbles. Pouring from very high up makes this go much faster.
Before...
after
Once the oomoo is cured, you can remove it from the wax. It may be difficult and feel like it's about to tear, but it's pretty strong stuff. Now, put your two molds together and prepare the material you'll be casting. I'll be using gypsum cement, which requires 1 part water to 5 parts cement by mass.
Stir the water and cement together until it's completely mixed. Try to remove any air bubbles. To inject the material into your mold you can use a syringe (minus the needle of course), so long as you rinse it out after. Fill your mold completely, tilting it so that air can escape through the hole you're injecting into. Once the mold is full, wait, hope, and pray.
After giving it 24 hours to cure, peel the oomoo away from your part. If all went well it will look like it's supposed to and have no air bubbles. Minor imperfections can be cleaned up with sandpaper.