Make something big
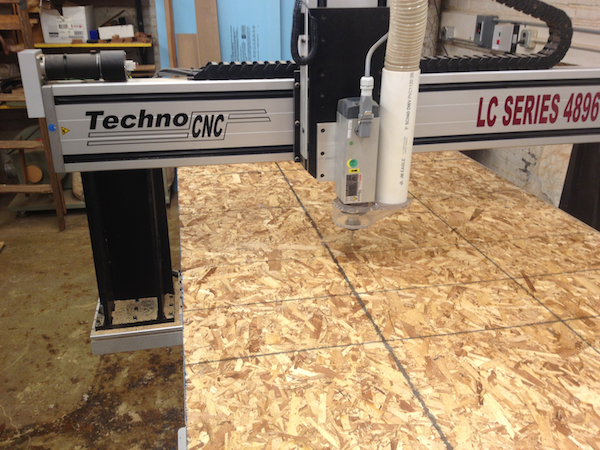
This week was the "make something big" week. Each of us were given a very large (~5'x~8') piece of particle board and were given access to two new machines; a large CNC, similar to the modela mini-mill we've used in the past but on a much larger scale, and a water jet, which is only able to cut in 2D rather than 2.5D. I wound up only using the CNC, but hopefully I'll have a chance to use the water jet sometime soon in the future.
Like most other weeks, the process began at my computer desgining a model of what I wanted to build. Most weeks I've tried to make something somewhat practical, and this week was no different. I live in a fraternity, and space is somewhat limited. My roommate and I have run out of places to put some of our stuff, so I decided to make a cabinet for our room.
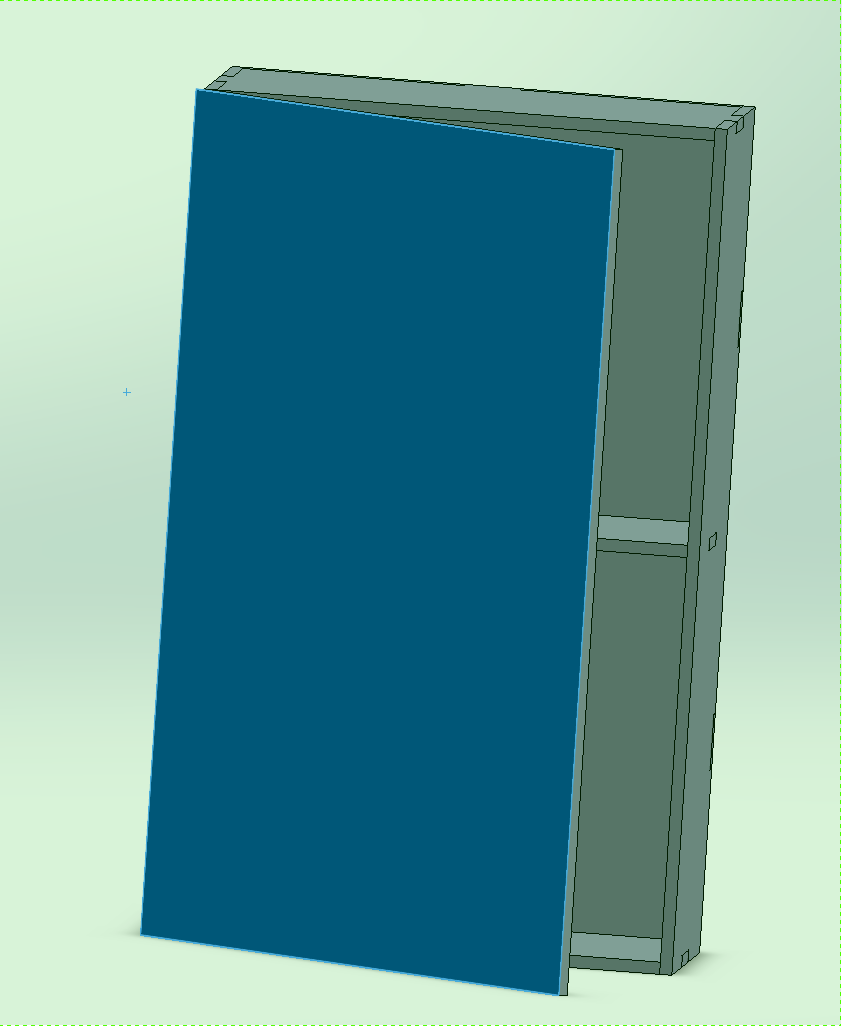
I designed the cabinet parts to press fit, with screws to hold everything together. The door attaches with hinges on the left hand side. Once everything was designed, it was time to start machining. This was the first week where I didn't machine with the fab modules, and the process was a little more involved. The first step was to put all the parts I wanted into a solidworks drawing, so I could cut them all out with one job.
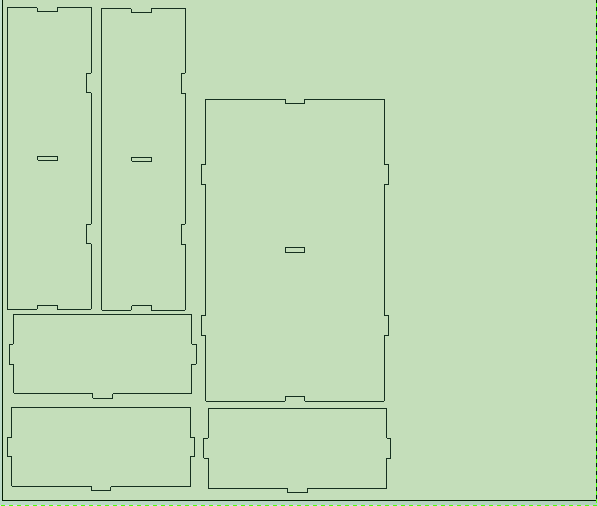
Next I exported as a dxf file, and opened it up in OMAX. Once in OMAX, I scaled it to the right size (for some reason the scale had changed), and saved it as an OMAX file. Next I opened that file in ________ and began to define my cuts. Rather than just clicking a button to make the entire part, in this program I had to define a number of operations that would cut out my parts. I won't go into a detailed tutorial here, but important settings to consider are your tool, feed rate, z step size, and offset side (left or right). The order of your operations matters as well, so make sure you only cut into wood when it's attached to the stock, otherwise it could move around and mess up your part.
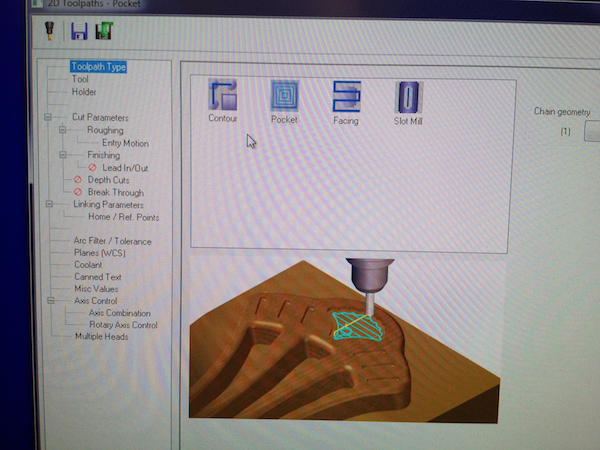
Once all your operations are defined it's a good idea to do a quick sanity check. You can simulate the tool path, and watch as it cuts out your part. So long as nothing comes up red, you're in the clear.
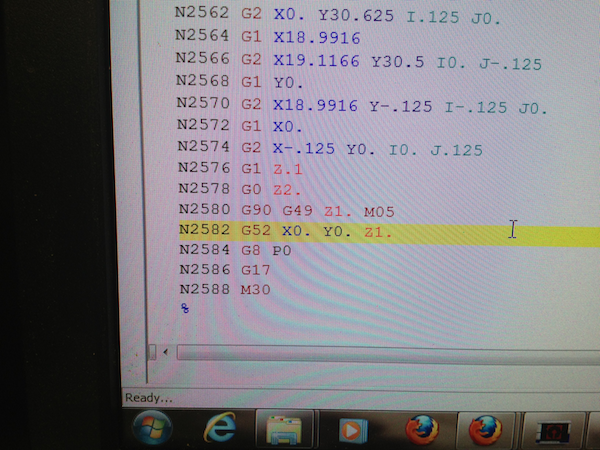
When you're ready, export as gcode. We were told it's useful to change the first two "Z0"s and the last two "Z0"s to "Z1", though I'm not sure why. I think it retracts the tool from the stock when the part is done machining. Once you have your gcode, load it up on the TechnoCNC software, which as you might guess, controls the cnc.
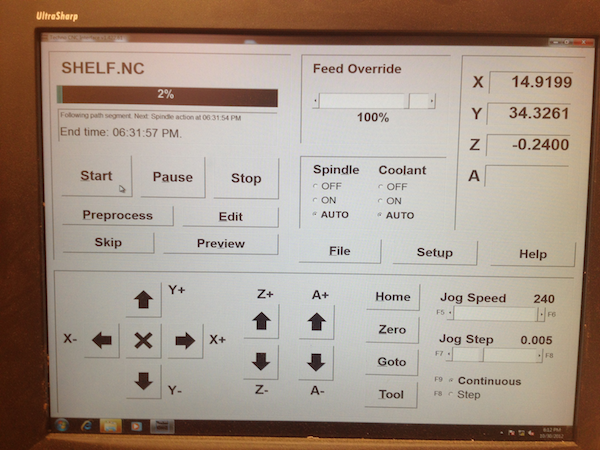
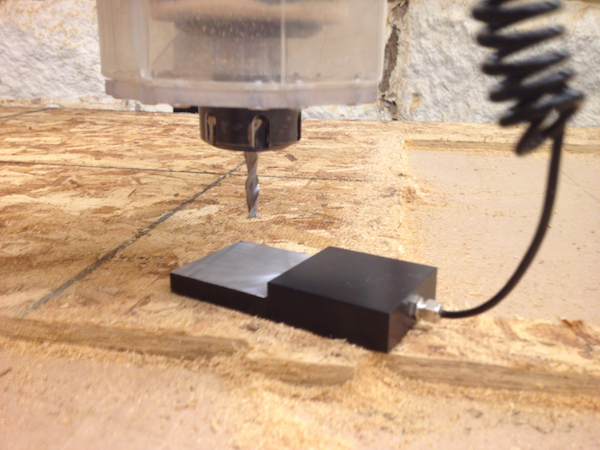
This program has a number of simple, intuitive buttons. First, load up your file and hit preprocess. While it's preprocessing (it doesn't take long) it's a good idea to fix your stock to the bed. For me that consisted of screwing the four corners of my plywood into the sacrificial layer of the bed. Next, zero the tool. For me, the X and Y zeros were not particularly important, so I zeroed those by hand using the arrow buttons in the lower left hand side. Once the tool is where you want it, click zero, and choose to zero X and then Y. Zeroing the Z axis was much more important, and luckily there is a very easy way to do it. On the side of the head of the machine is a small rectangular piece of plastic and metal attached to the rest of the machine by a wire. If you put that metal side up on your stock, right below the bit, and click tool, zero z axis, the bit will zero itself. When it's done, put everything back, make sure your surface is clean, start up the fans, and click start. The CNC should begin to mill your parts.
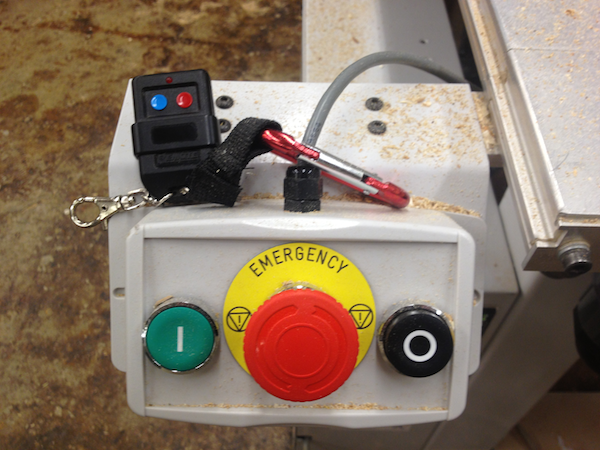
If anything bad happens, or if you need to access somewhere on the bed, there is a big red emergency stop button that will shutdown/prevent the machine from starting.
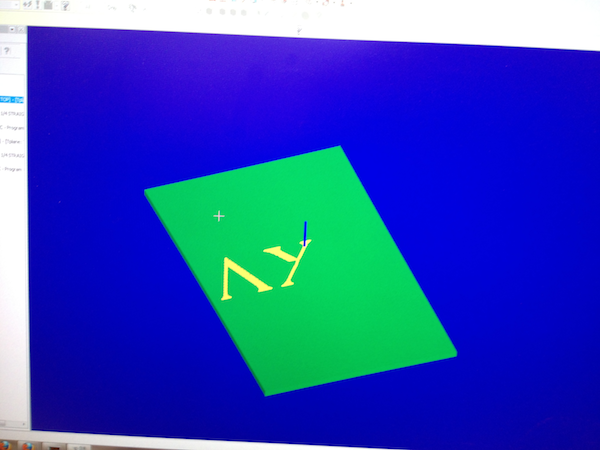
I wanted to make my door a little more interesting, so I decided to use the CNC to carve my fraternity's letters into the front. Since I don't have the skills to do this in solidworks, I created a black and white png of our letters. OMAX has a nice feature that will easily convert a high contrast png into a ____ file. From there, the process was pretty similar. Rather than choosing to cut out the letters completely, I set the depth of cut to be about half the thickness of the stock. Like most of my other parts, with enough sanding, it turned out looking okay.
I pressfit the whole thing together, added a few screws and some hinges, and my cabinet was complete!
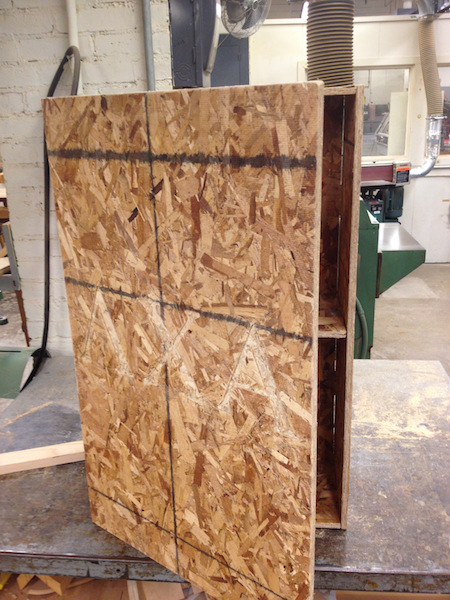
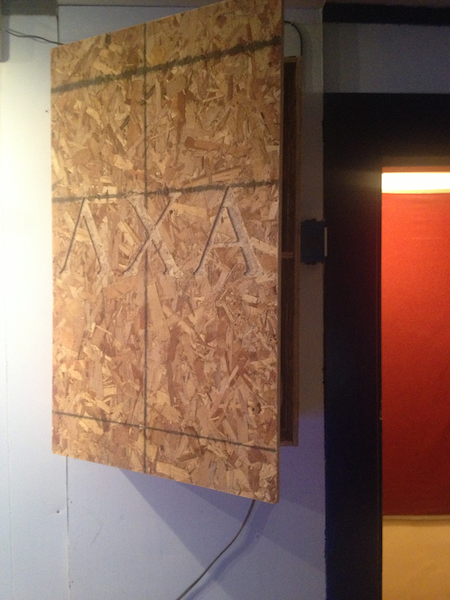
The cabinet assembled in the shop and installed in my room
The contrast between the letters and the rest of the door is pretty poor, so I'll probably end up painting it, I'll add the pictures here if I do.
Like most other weeks, the process began at my computer desgining a model of what I wanted to build. Most weeks I've tried to make something somewhat practical, and this week was no different. I live in a fraternity, and space is somewhat limited. My roommate and I have run out of places to put some of our stuff, so I decided to make a cabinet for our room.
I designed the cabinet parts to press fit, with screws to hold everything together. The door attaches with hinges on the left hand side. Once everything was designed, it was time to start machining. This was the first week where I didn't machine with the fab modules, and the process was a little more involved. The first step was to put all the parts I wanted into a solidworks drawing, so I could cut them all out with one job.
Next I exported as a dxf file, and opened it up in OMAX. Once in OMAX, I scaled it to the right size (for some reason the scale had changed), and saved it as an OMAX file. Next I opened that file in ________ and began to define my cuts. Rather than just clicking a button to make the entire part, in this program I had to define a number of operations that would cut out my parts. I won't go into a detailed tutorial here, but important settings to consider are your tool, feed rate, z step size, and offset side (left or right). The order of your operations matters as well, so make sure you only cut into wood when it's attached to the stock, otherwise it could move around and mess up your part.
Once all your operations are defined it's a good idea to do a quick sanity check. You can simulate the tool path, and watch as it cuts out your part. So long as nothing comes up red, you're in the clear.
When you're ready, export as gcode. We were told it's useful to change the first two "Z0"s and the last two "Z0"s to "Z1", though I'm not sure why. I think it retracts the tool from the stock when the part is done machining. Once you have your gcode, load it up on the TechnoCNC software, which as you might guess, controls the cnc.
This program has a number of simple, intuitive buttons. First, load up your file and hit preprocess. While it's preprocessing (it doesn't take long) it's a good idea to fix your stock to the bed. For me that consisted of screwing the four corners of my plywood into the sacrificial layer of the bed. Next, zero the tool. For me, the X and Y zeros were not particularly important, so I zeroed those by hand using the arrow buttons in the lower left hand side. Once the tool is where you want it, click zero, and choose to zero X and then Y. Zeroing the Z axis was much more important, and luckily there is a very easy way to do it. On the side of the head of the machine is a small rectangular piece of plastic and metal attached to the rest of the machine by a wire. If you put that metal side up on your stock, right below the bit, and click tool, zero z axis, the bit will zero itself. When it's done, put everything back, make sure your surface is clean, start up the fans, and click start. The CNC should begin to mill your parts.
If anything bad happens, or if you need to access somewhere on the bed, there is a big red emergency stop button that will shutdown/prevent the machine from starting.
I wanted to make my door a little more interesting, so I decided to use the CNC to carve my fraternity's letters into the front. Since I don't have the skills to do this in solidworks, I created a black and white png of our letters. OMAX has a nice feature that will easily convert a high contrast png into a ____ file. From there, the process was pretty similar. Rather than choosing to cut out the letters completely, I set the depth of cut to be about half the thickness of the stock. Like most of my other parts, with enough sanding, it turned out looking okay.
I pressfit the whole thing together, added a few screws and some hinges, and my cabinet was complete!
The cabinet assembled in the shop and installed in my room
The contrast between the letters and the rest of the door is pretty poor, so I'll probably end up painting it, I'll add the pictures here if I do.