PCB Fabrication
DCG Power
09.20.12 Thursday
13:00
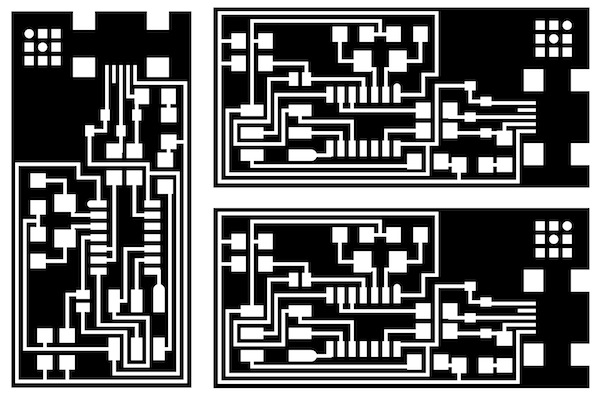
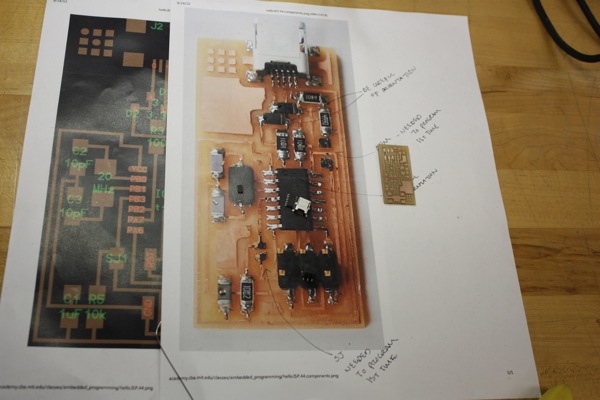
Creating 3 circuit layout for traces:
As we decided to mill our circuits out of one copper board, we gathered with other DCG guys Phillip and Guillermo in the Arch. FabLab. Our approach was pretty straight forward: We were going to fabricate the "simple" version of tiny44 ISP and since we had a lot of time(!) we were going to alter that "simple" design to built our own costumized version. Yes, were were that much optimistic in the beginning. With our Adobe shaped minds we tried to use GIMP to create 3 circuit layout. Things are not that easy as they seem. It took some time to understand the logic of the software, but in the end we were able to create it. Since we have not documented it, I have created it again for demonstrative issues ( took 1 minute without a mouse in PS)
13:30
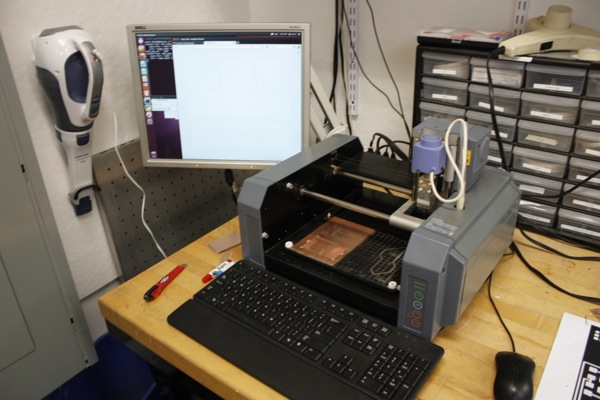
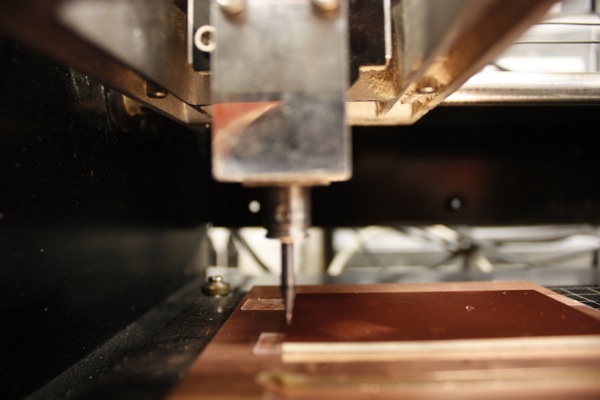
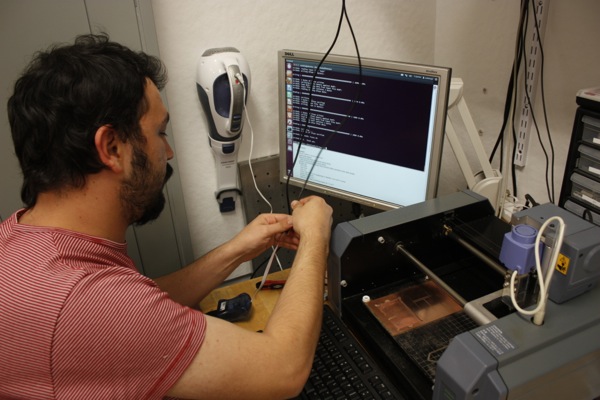
Milling the board:
After succesfully creating the traces with Fab Module, we passed to second step: Setting Up the miling machine. We started with replacig the 1/ 32 drill mounted on the machine with the 1/64 one without a problem. After we tighten the screws we changed the z position of the head so that the drill almost touches the copper. When it was enough close, we loosened the screws and make the drill touch the copper properly and screw it again. We now understand that this was important, because in our second attempt the copper was not carved out enough since we probably moved the drill a little bit up while screwing.
14:30
After we carved the traces, we repated the steps for putting 1/32 back and cutting the boards out but... Things gone mad eventually, the machine started to follow the same path with the traces. We immediately stopped the machine and followed the steps for killing a job in modela. How to use Modela We were able to reset the job and this time the machine cut the pieces correctly.
16:00
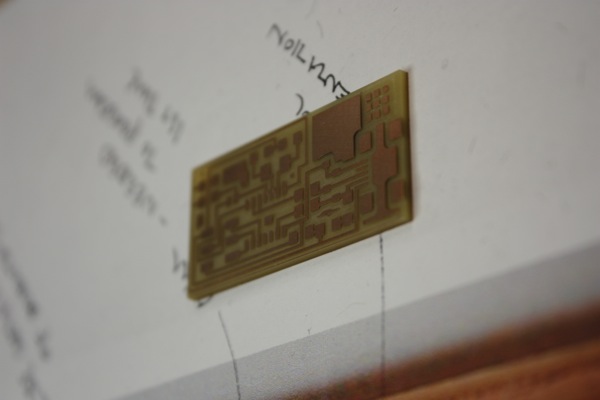
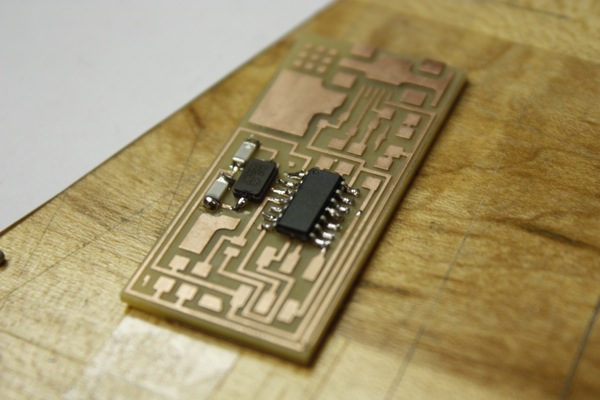
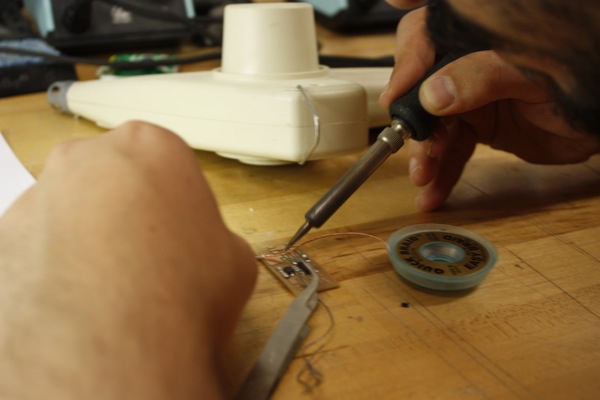
Stuffing:
Following our break after the first part I have started to work on stuffing the board. I used the close-up photo of the example board to put all the pieces together.
Then took everything on board to have an idea about what I was going to deal with.
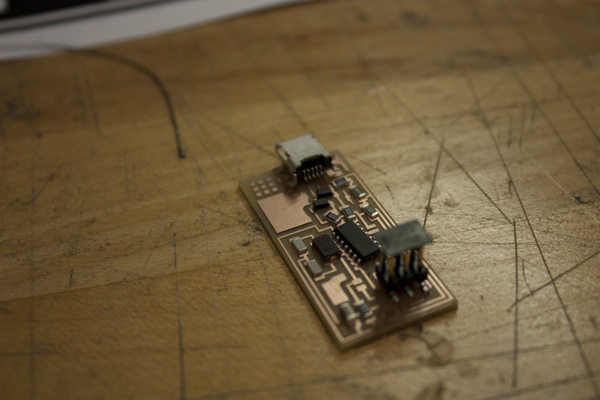
FIrst I have decided to solder the smallest and the most central part, but then eventually noticed that the orientation of the tiny44 microcontroller would cause problems if I do so. So I started with tiny44 and then followed the first logic afterwards. Taking a littile bit solder on the soldering iron helped a lot expecially in the first connections.


18:00
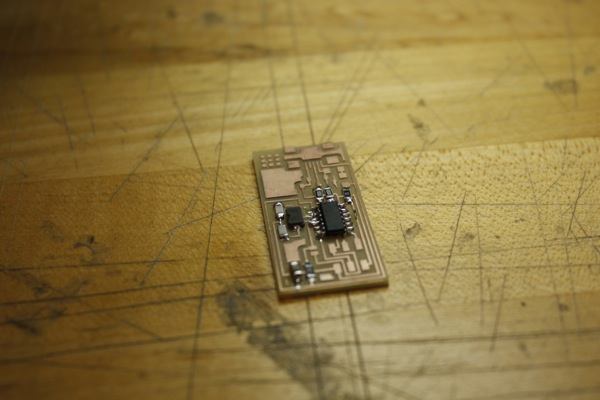
After a couple of hours I was able to solder most of the parts. But I had a mistake on one of the connections, so I needed to desolder the component. I used two different methods. FIrst I holded the component with pincer and used hot air gun. It makes solder loose enough to be pulled away from component. After the component was removed, I used braid to clean the rest of the solder from the board.
19:00
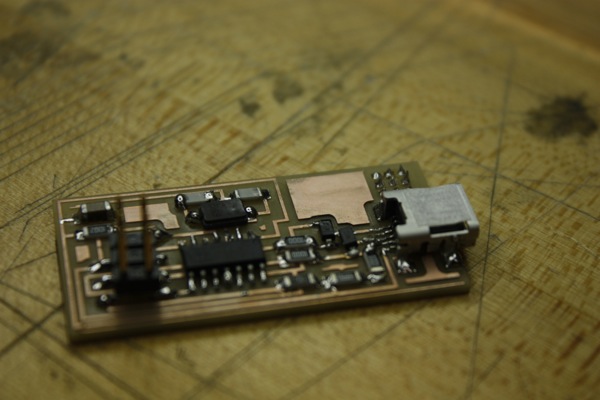
Uploading the Software:
I finished soldering the components after hours and thought that it was the time to upload the software. After I have figured out how to use Makefile and connected AVR mkII to my board I followed the codes provided. But... no. It was saying that there was a problem and I should check the connections again!
20:00
I have replaced some parts that looked weak and yet it was not working. In the end I realized that the usb pins were not touching the circuit properley. I resoldered the usb and it worked! ISP software succesfully uploaded to the board.
09.25.12 Tuesday
We went back to the fablab, to make our connection cables.
Back